
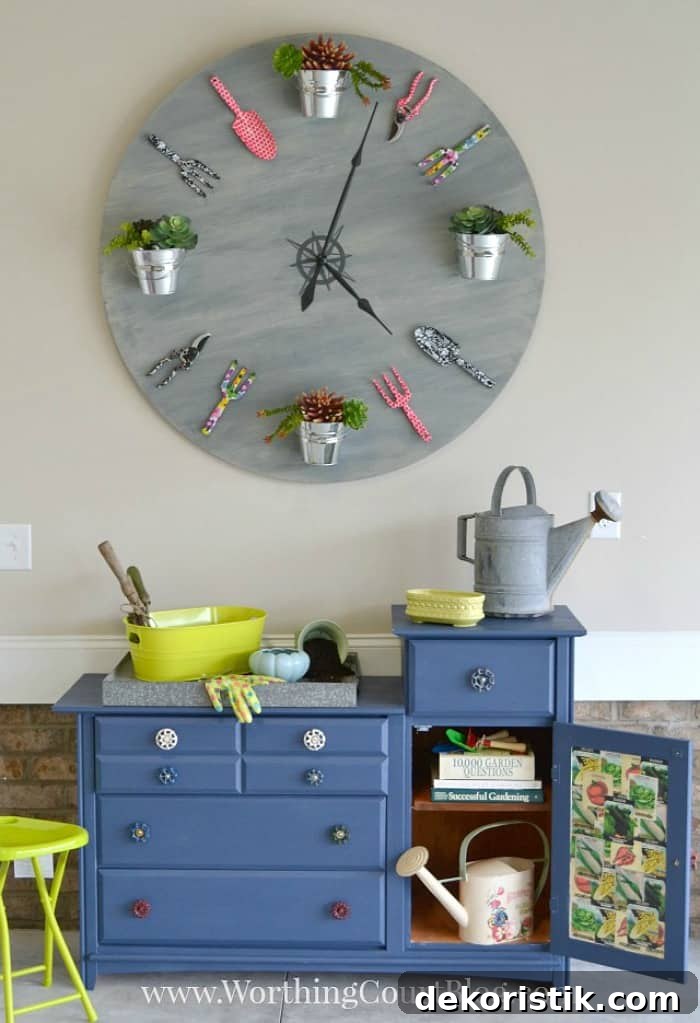
Step-by-step directions to create a faux “living” garden clock using a repurposed tabletop and colorful gardening tools. This cheerful DIY is perfect for indoor or outdoor display and makes a playful focal point for a porch, sunroom, mudroom, or garden wall.
This was one of the most fun DIY projects I’ve ever completed. It was surprisingly simple to assemble, and I love the bright, whimsical result.
This post and photos may contain affiliate links. As an affiliate I may earn a small commission from qualifying purchases at no extra cost to you. All opinions are my own.
On a sweltering summer day I went junkin’ with my friend Amy from Atta Girl Says. We hunted for treasures for the Chic Chateau Showhouse, a designer-decorated charity showhouse where designers donated repurposed and upcycled decor. At the end of the show everything was for sale, and the house was full of inspiring projects.
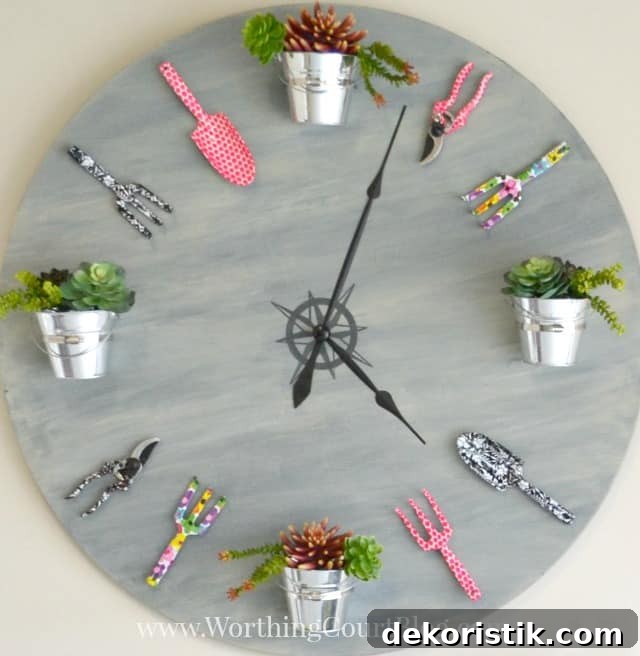
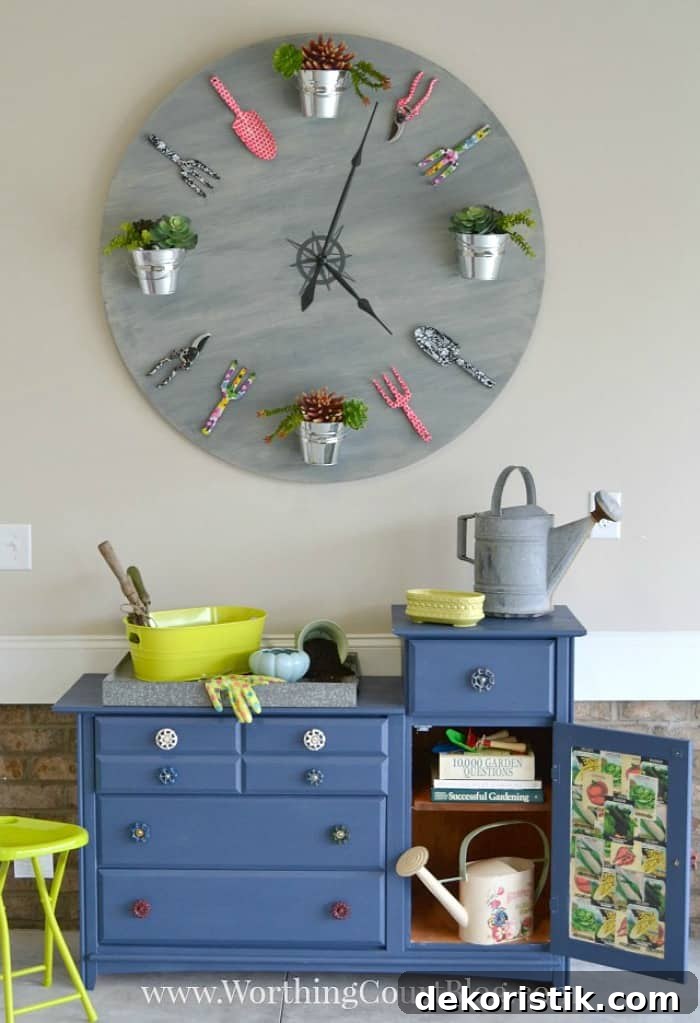
My friend Amy repurposed a changing table into a charming potting bench, and I imagined a large garden clock to accompany it. I wanted my clock to be fresh and colorful rather than rusty and vintage, so I chose new, brightly painted gardening tools to stand in for most of the hour markers. To create a “living” feel, I used galvanized buckets at 12:00, 3:00, 6:00, and 9:00 and filled them with faux succulents for the showhouse; if you plan to keep your clock at home, live plants will work beautifully as long as you can water them.
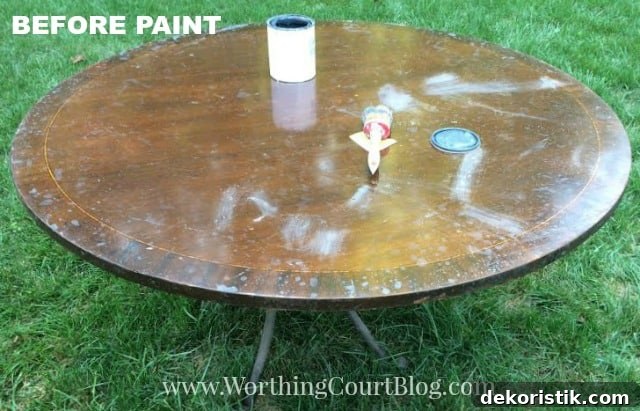
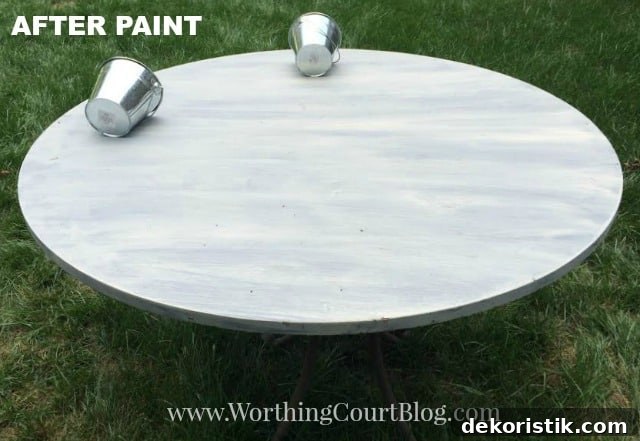
I nearly dreaded cutting a perfect circle from pallet wood, but luck found an old tabletop for just $5—ideal for the project. Amy painted the top with a gray chalk paint base and a watered-down white topcoat to achieve a weathered finish before I finished the assembly at home.
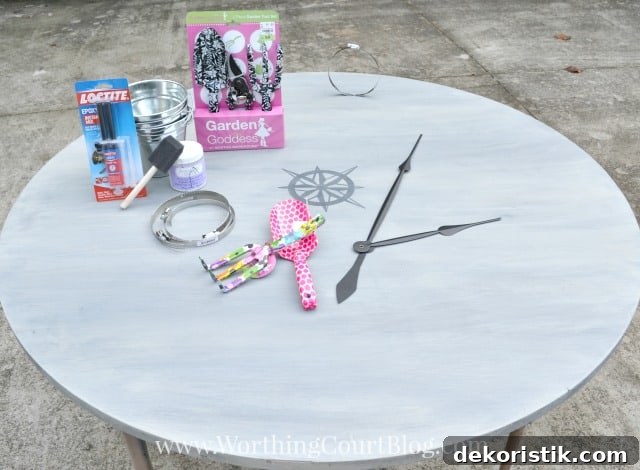
SUPPLIES YOU’LL NEED
– Round tabletop or circular wood panel (common sizes: 30″, 36″, 42″, 48″)
– Gray chalk paint and white or off-white chalk paint for a weathered finish
– Clear outdoor sealer (if you plan to hang the clock outdoors)
– Paintbrushes and rags for wiping and distressing paint
– Two D-ring picture hangers for secure mounting
– Four galvanized buckets for the cardinal positions (12, 3, 6, 9)
– Four adjustable pipe clamps to hold the buckets in place
– Four wood screws to secure the pipe clamps
– Screwdriver or battery-powered drill
– A selection of gardening tools to use as hour markers (trowels, cultivators, small rakes, shears, etc.)
– Plants, live or faux (succulents are low-maintenance and look great)
– Compass-shaped stencil or sticker for a centered medallion
– Clock hands (choose a size appropriate to your tabletop diameter)
– Round wooden cabinet knob to hide the center attachment
– Black craft paint and epoxy glue for securing hands and knob
Notes and tips
– If you plan on a functional clock, use a high-torque clock mechanism designed for long hands and larger faces.
– Choose lighter-weight tools and buckets if your tabletop will be hung on drywall; reinforce the hanging points if needed.
HOW TO ASSEMBLE
1. Before painting or decorating, attach two D-ring hangers to the back of the tabletop. Place them more than halfway up toward the top and ensure they are perfectly level with each other so the clock will hang straight.
2. Paint the clock face. For a weathered look, apply gray chalk paint as a base, then wash a thin coat of white over it and wipe off the excess with a rag to reveal a distressed finish. Let the paint dry completely.
3. Center and paint or apply your compass stencil or sticker. If you prefer a cleaner look, omit the N, E, S, W lettering and keep only the compass design.
4. If the clock will be outdoors, seal the painted surface with a clear outdoor sealer to protect the finish from the elements.
5. Mark the center and the four cardinal positions, keeping in mind the placement of the D-ring hangers. Attach the adjustable pipe clamps at 12, 3, 6, and 9 using wood screws, and adjust each clamp to fit the circumference of your galvanized buckets.
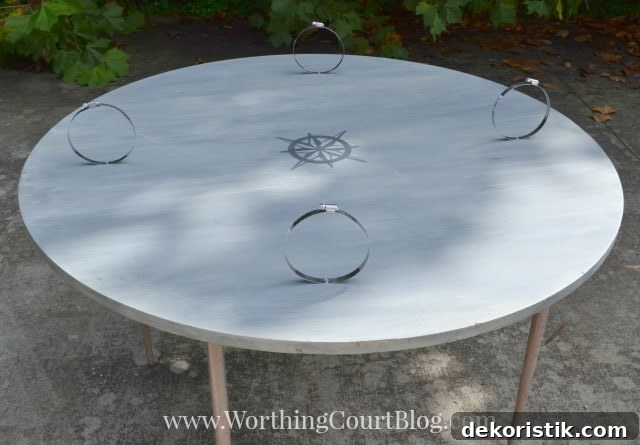
6. Paint the wooden knob black. This will serve as a decorative center cap. Glue the clock hands to the center of the compass medallion with epoxy and then glue the painted knob on top of the hands where a typical clock nut would cover the hardware.
7. Without gluing, arrange the garden tools around the face to represent the remaining hours. Step back and adjust placement until the layout looks balanced and even. This dry-fit step is important because it lets you tweak spacing and orientation before anything is permanently attached.
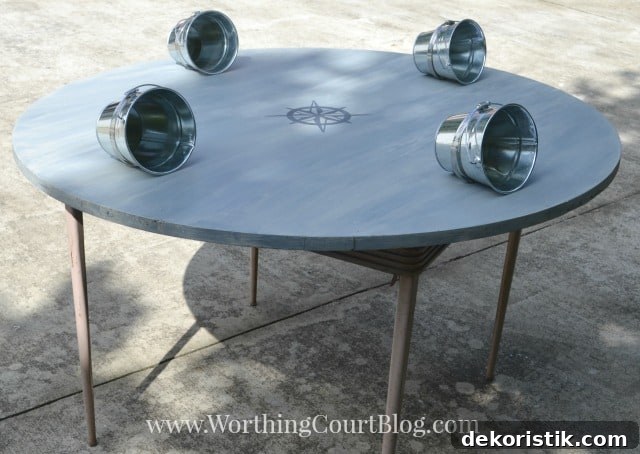
8. Once you are happy with the arrangement, glue the tools in place and secure any pieces that need extra support. Place your galvanized buckets into the pipe clamps and tighten them to hold the buckets securely. Fill buckets with plants or faux succulents as desired.
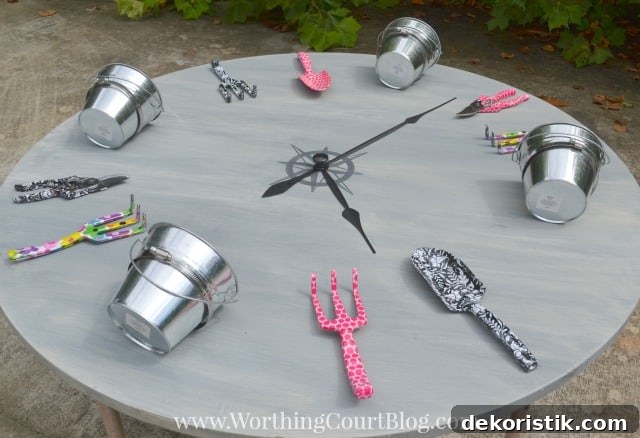
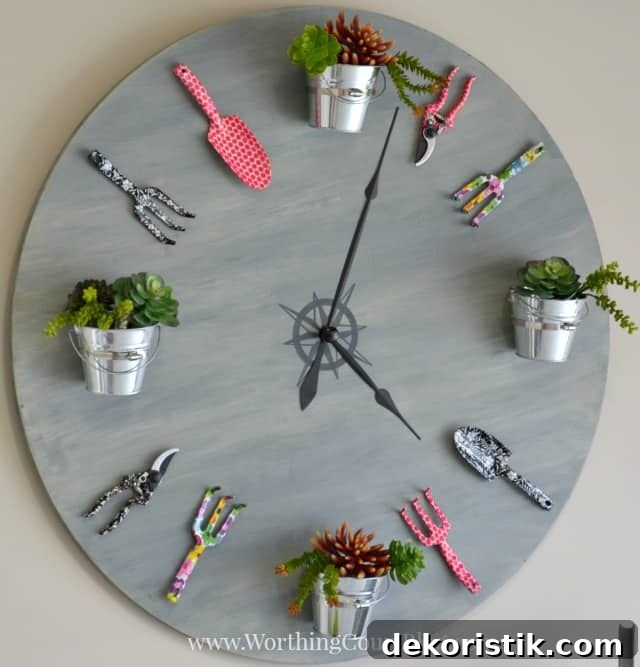
If you want the clock to be fully functional, choose a heavy-duty clock movement designed for longer minute and hour hands and for the weight of any decorative elements. Install according to the movement manufacturer’s instructions.

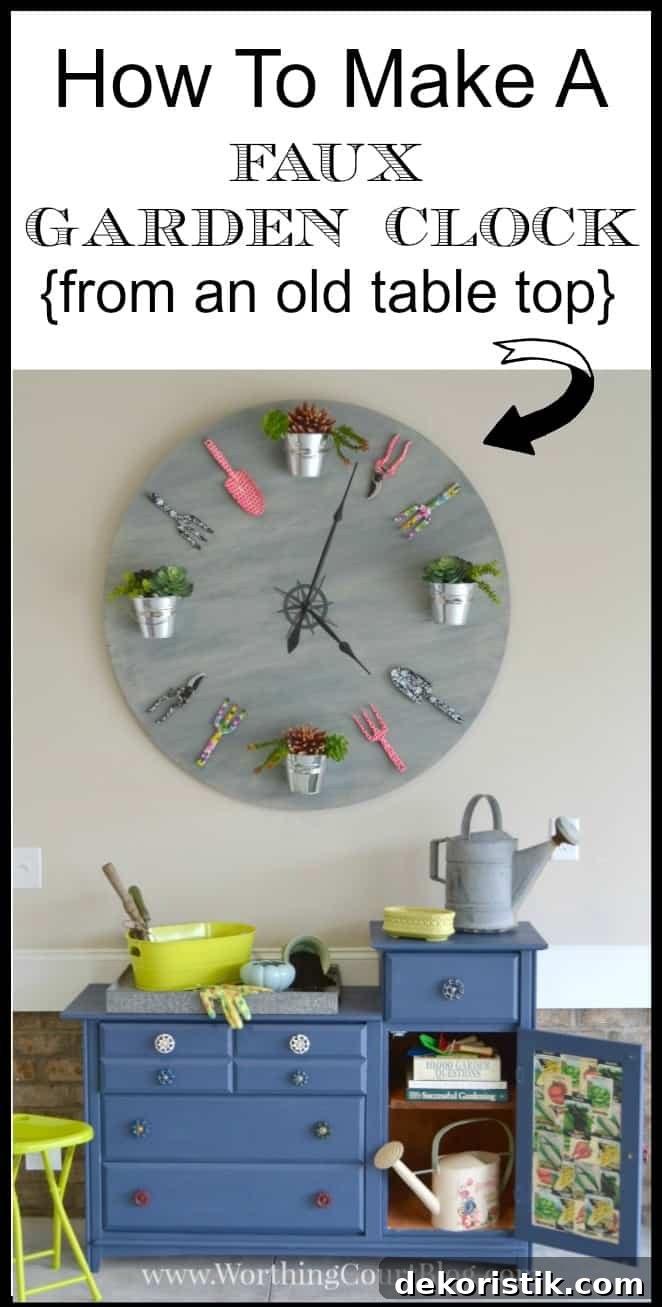
This garden clock is an excellent upcycling project, and it offers lots of flexibility—swap in seasonal plants, repaint the tools for a new look, or convert the buckets to hold candles for evening ambiance. With just a few basic supplies and some creativity, you can build a custom wall piece that brightens any indoor or outdoor space.