

How to Make an Upholstered Cornice — Part II
If you missed Part I, refer to the first installment for building the cornice box. In this second and final part, we cover finishing techniques: batting, fabric, cording, and final trims to achieve a polished, professional look.
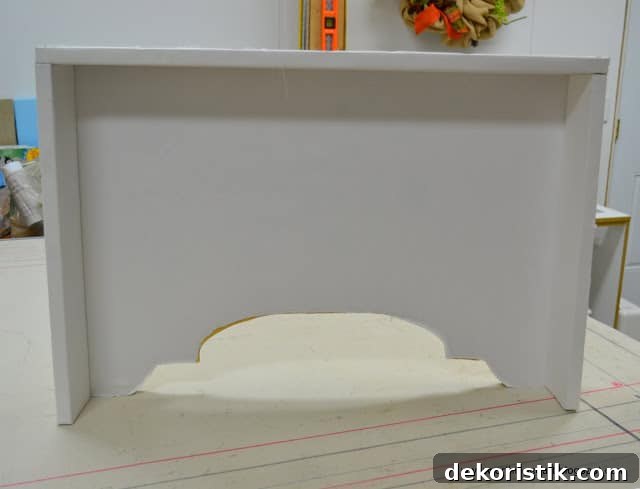
Cover the cornice with batting
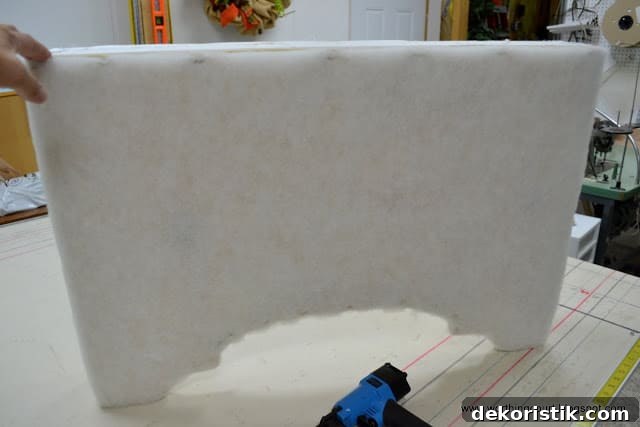
I recommend a batting thickness of 3/4″ to 1″. It may look a bit puffy at first, but it compresses slightly once the fabric is applied and gives a soft, tailored finish.
Cut a single piece of batting several inches wider and taller than the cornice face and sides—avoid piecing smaller pieces together. Lay the batting over the cornice face, wrap it around the sides and bottom, and secure with staples. Pull taut but not overly tight to avoid distortion. After stapling, trim the batting flush with the wood.
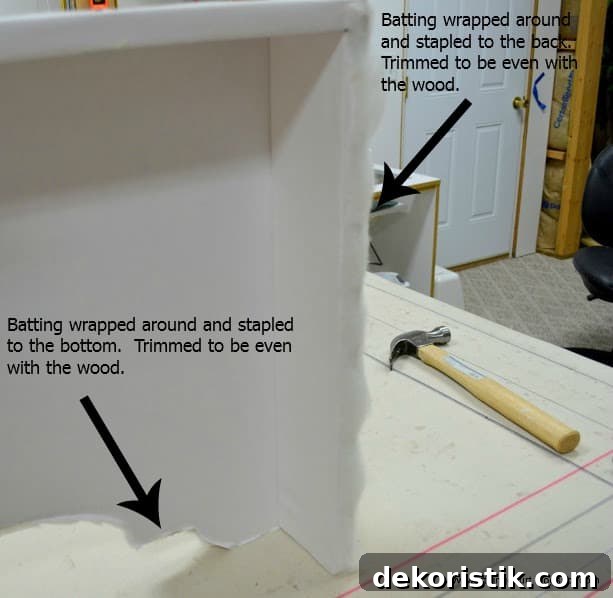
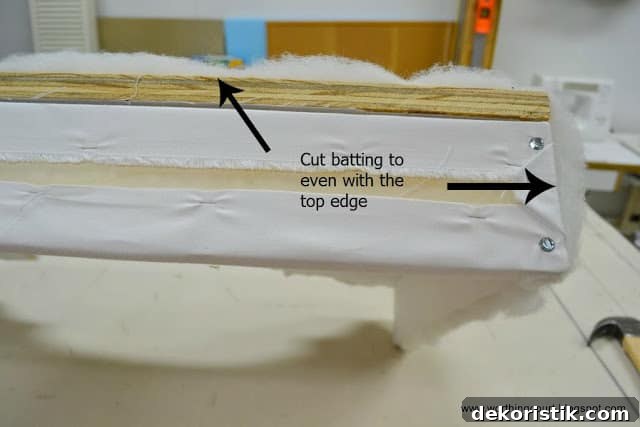
When the batting is attached and trimmed, gaps or dimples from staples on the top will generally disappear once the fabric is in place, unless the fabric is extremely thin.
Cover the cornice with fabric
Carefully position your decorative fabric over the batting. If the fabric has a pattern, align it so the motif sits where you want it on the face of the cornice.
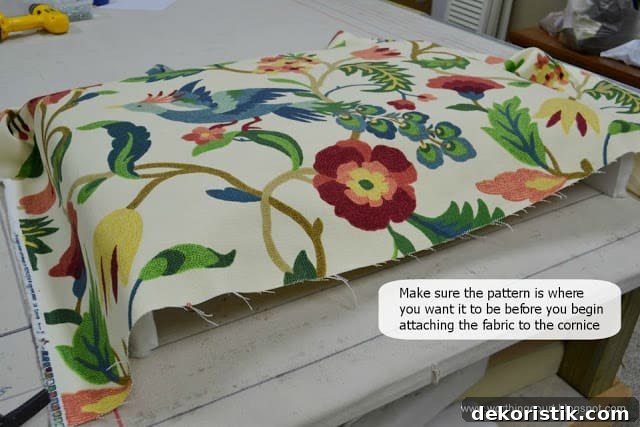
I usually begin attaching the fabric at the dust board along the top, which helps keep patterns straight. Wrap the fabric around the sides and bottom and secure with staples. Work a few staples at a time, alternating sides, and check the front frequently to ensure the fabric sits evenly and the pattern is not distorted. Pull the fabric taut but avoid stretching it beyond its bias. Trim the fabric even with the wood.
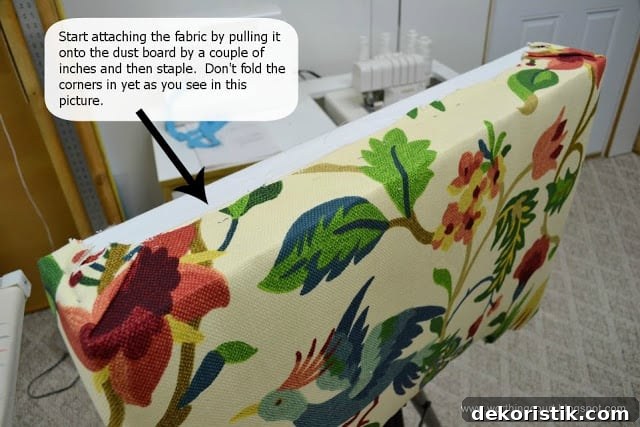
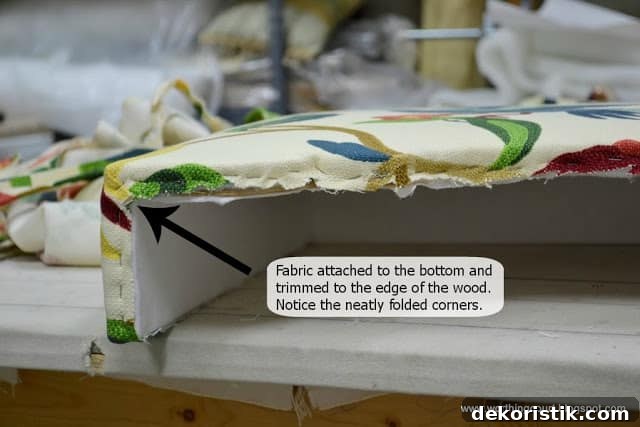
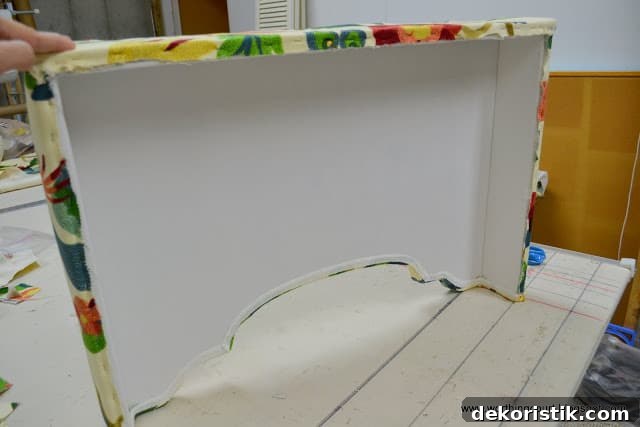
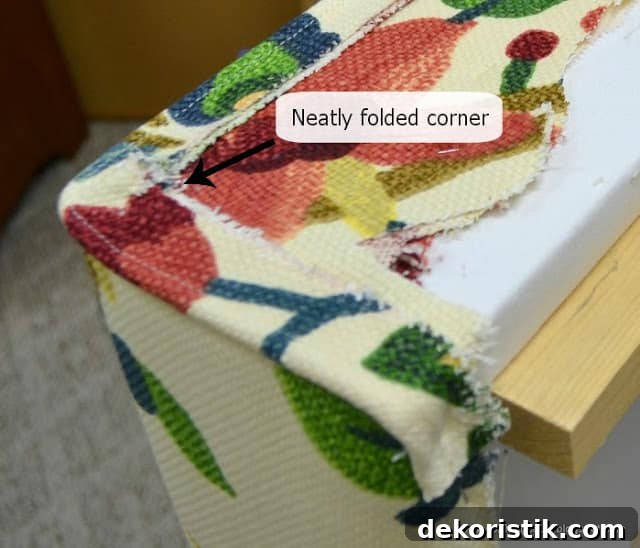
After the main fabric is secured, neatly fold and secure the top corners. Here’s what the back looks like once the fabric is attached and trimmed.
Add definition with covered cording
Adding covered or contrasting cording along the top and bottom adds definition and creates a professional finish. I prefer hot glue to staples for attaching cording because glue provides continuous adhesion without gaps.
When covering cording with fabric, leave at least a 4″ fabric lip to hold while attaching, and pull the cording taut as you work. The bottom cording will hide the staples that secure the fabric on the underside.
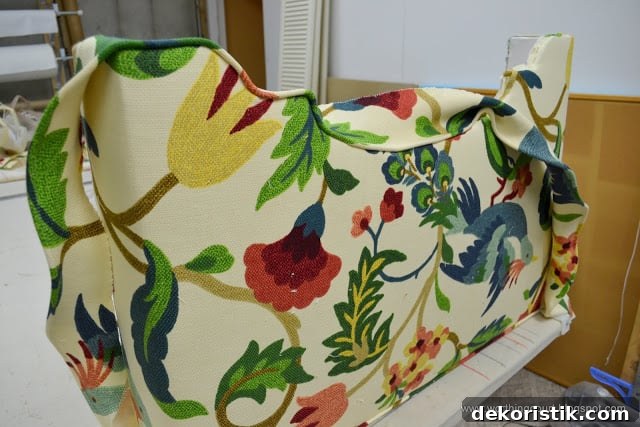
Run short beads of hot glue along the wood edge where the staples sit and press the cording into place, checking the front to make sure the cording lies on the face of the cornice rather than on the bottom edge. As you wrap the lip of the cording around the back, you may need to make small clips in the fabric to allow it to conform to any curves—be careful not to cut the stitching on the covered cording.
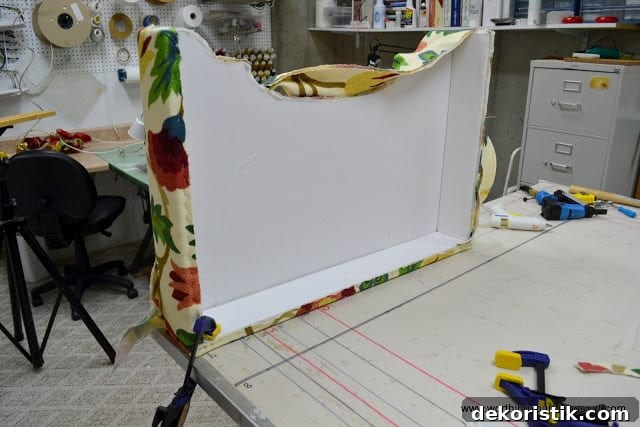
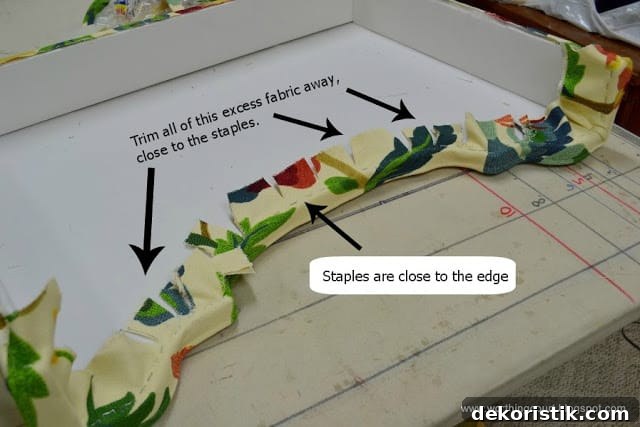
Staple the cording lip close to the wood edge and trim the excess fabric.
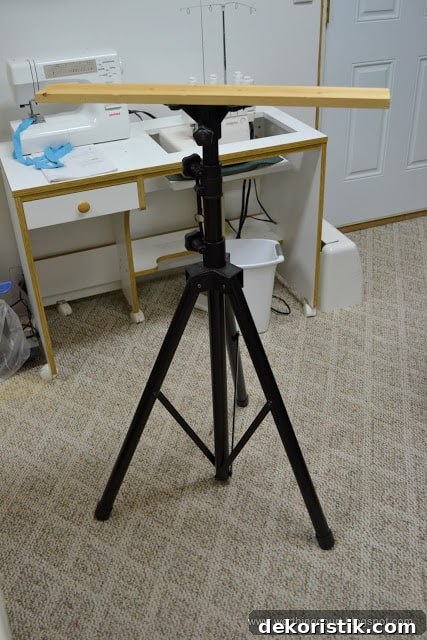
To attach cording to the top, I clamp the cornice to an adjustable stand with a plywood surface so I can work comfortably on the dust cap. Glue the cording in short sections, checking the front to keep it aligned with the top edge. The cording should sit on the face of the cornice, not along the top edge of the dust board.
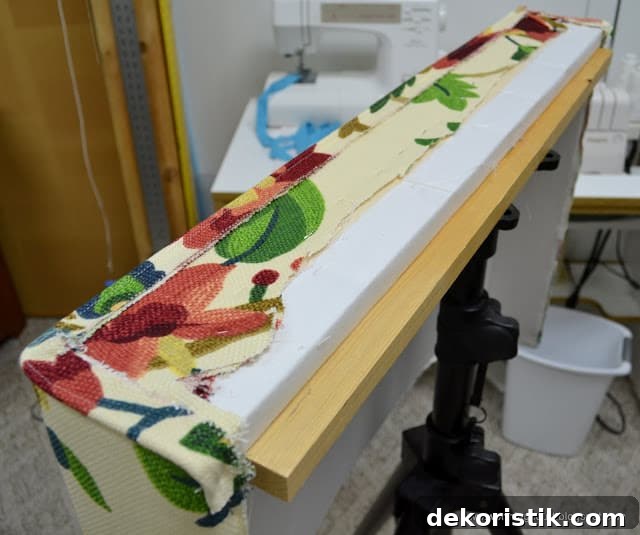
Neatly fold any corner excess. You can remove some bulk in the corners by trimming fabric, depending on how bulky the fabric and batting are.
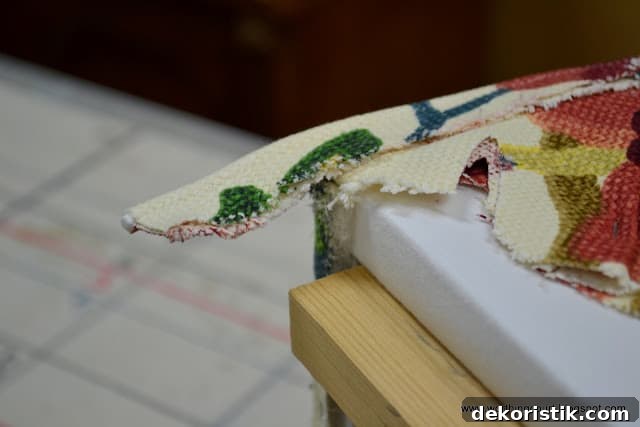
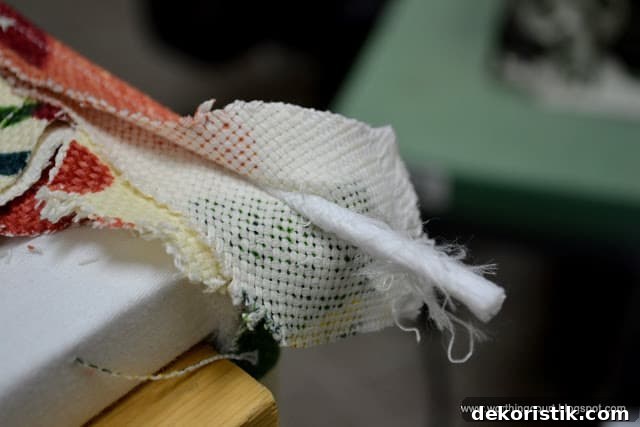
When cording ends meet, open the covered cording slightly to expose the inner cord, cut it flush with the back wood, then fold the fabric back together and staple it about an inch down the back for a clean finish.
Add fabric to the dust cap
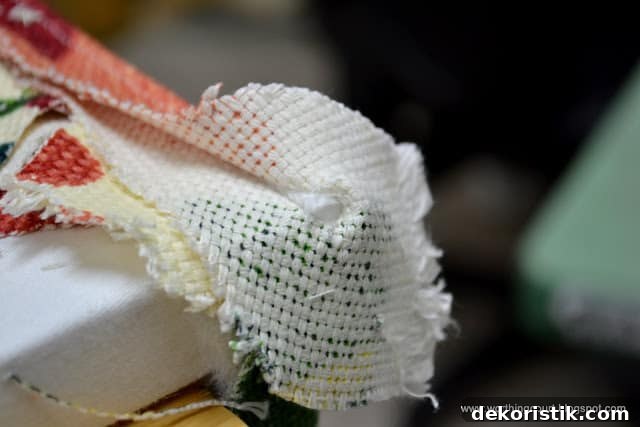
Covering the dust cap gives the cornice a complete appearance and is essential if the piece might be seen from above. Cut a fabric strip wide enough to cover the dust cap wood and long enough to wrap around the ends, allowing extra for stapling. If you’re not pattern matching the cording to the face fabric, you can be less exact here because the cording will break up the design.
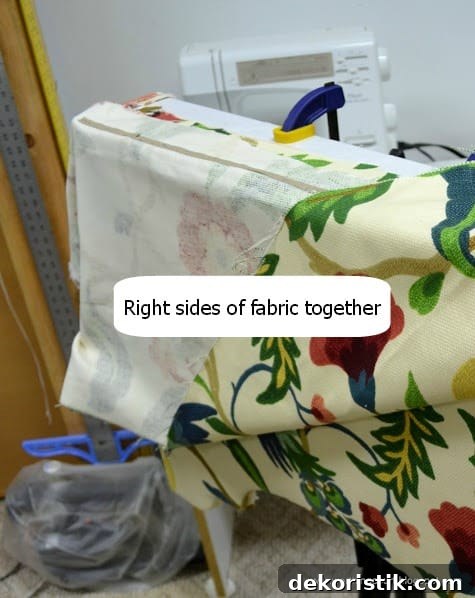
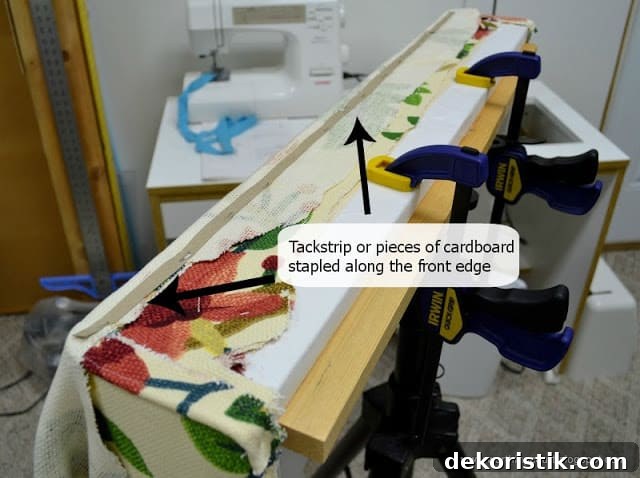
With right sides together, staple the strip along the front of the cornice. For a sharp front edge, I use tackstrip; if you don’t have it, cardboard strips can be used as alternatives. Flip the fabric over to cover the dust cap wood, staple to the back side, and neatly tuck in the sides.
Finish the raw edge at the bottom
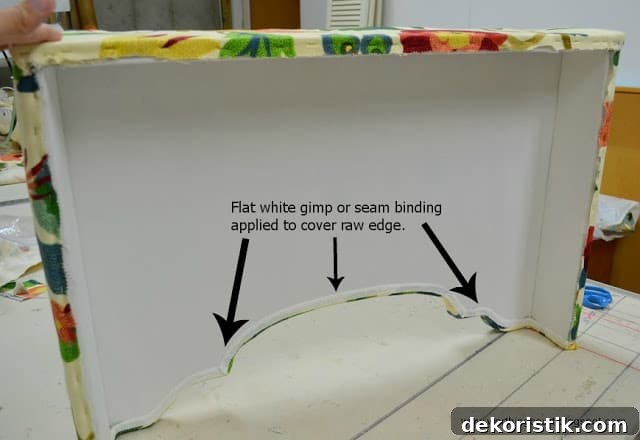
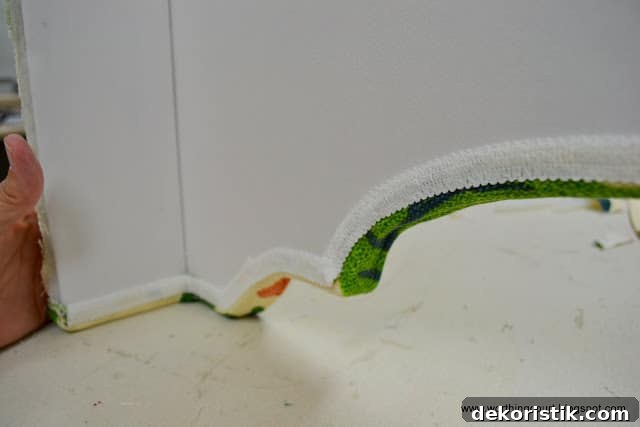
The raw edge created when the cording was attached on the bottom should be covered for a neat underside. Hot glue a flat gimp or seam binding along the raw edge to conceal staples and raw fabric. This step ensures the cornice looks finished even from below.
All done!
Take a moment to enjoy the finished cornice—clean lines, defined edges, and a professional appearance. Well done!
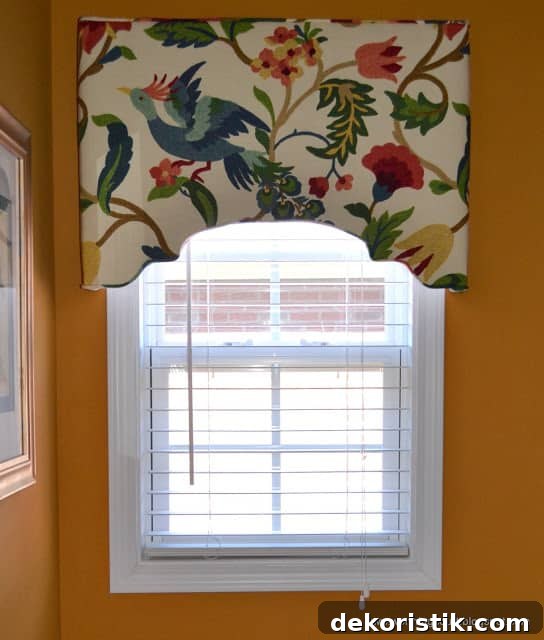
Fabric used: Richloom Lucy Eden