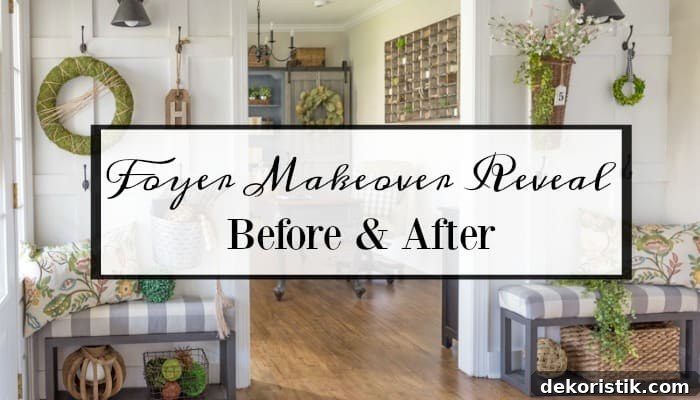
Find out how to work within the space that you have to give a small, awkwardly shaped entryway a fresh and inviting new look.
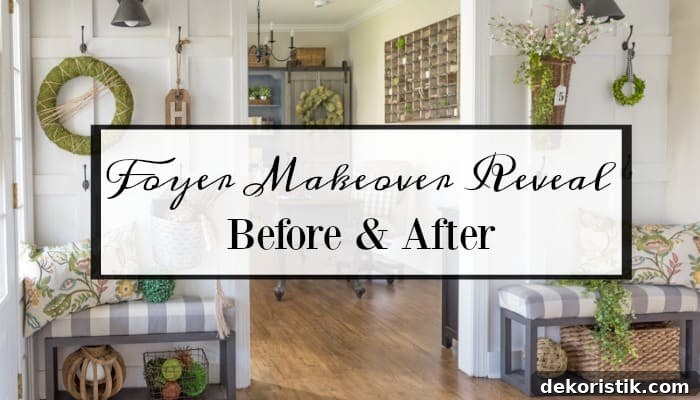
The makeover of our entryway finally came together after a long haul of planning and small updates. Looking back, it’s surprising to realize it’s been more than a year since I first shared the initial plans. This is a full tour of the transformation, so sit back and enjoy the before-and-after photos. A resource list follows at the end of the post.
Entryway Makeover
To understand the change, here’s the foyer as it looked when we first toured the house. The walls were a pale lavender and the trim and floors were dark brown—none of which felt like us. You can’t see it in the photo, but the space had a very dated, oversized glass chandelier with a verdigris green finish hanging from the two-story ceiling.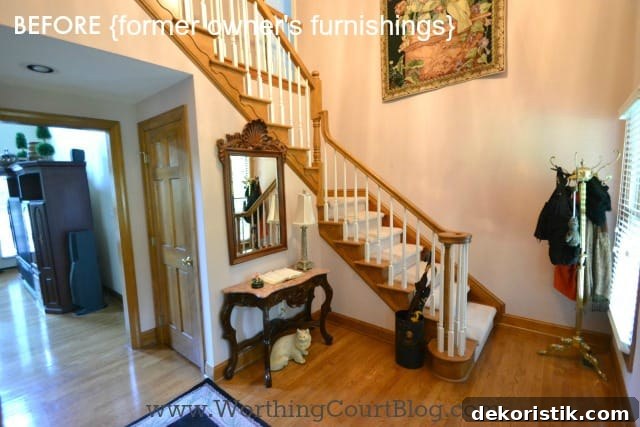
Before we moved in, we refinished the hardwood floors, replaced the stair runner, and painted the walls, trim, and stair banister. At that time I hadn’t settled on a decorating direction, so we used the furnishings we already owned and lived with the space for a while before committing to a full makeover.
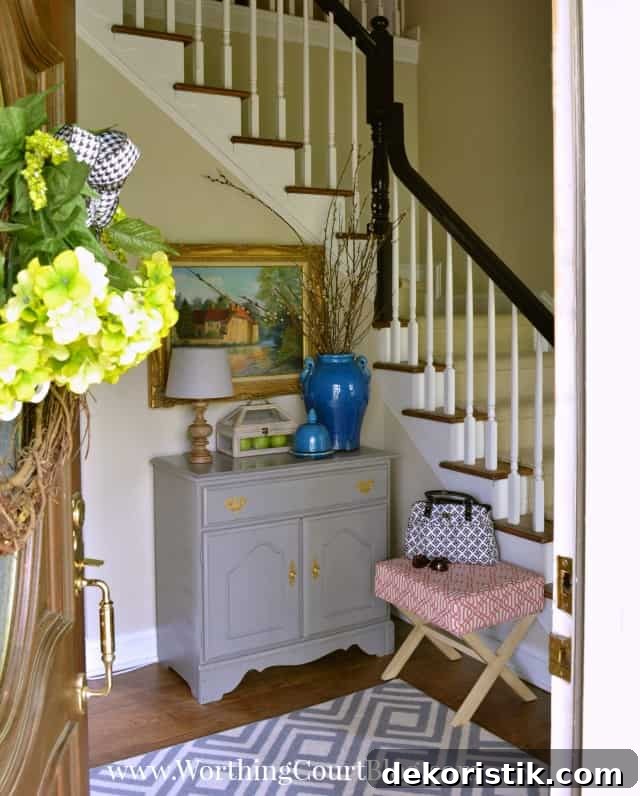
Although the foyer has a two-story ceiling, the layout is small and awkwardly L-shaped. Multiple doors, a window, and the staircase interrupt the space, which made creating a functional, welcoming entry a challenge. The bird’s-eye view of the completed makeover gives a sense of how the foyer flows, including the portion that extends back into the family room entry, which creates the L-shape effect.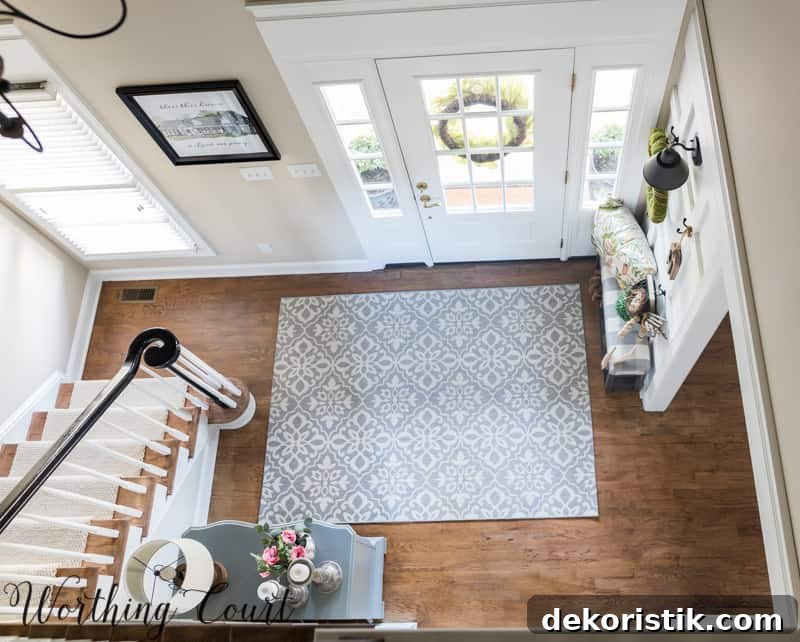
Step inside and see how much brighter and more inviting the entry feels now.
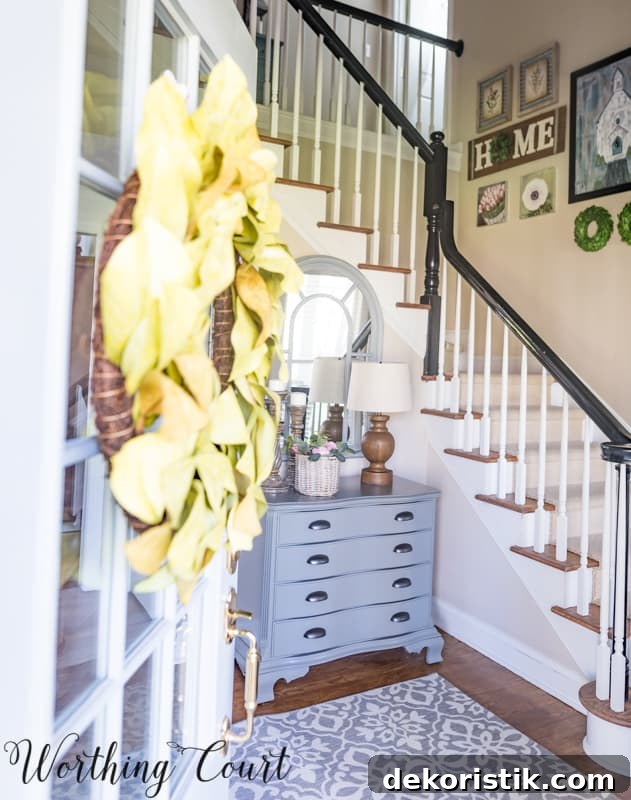
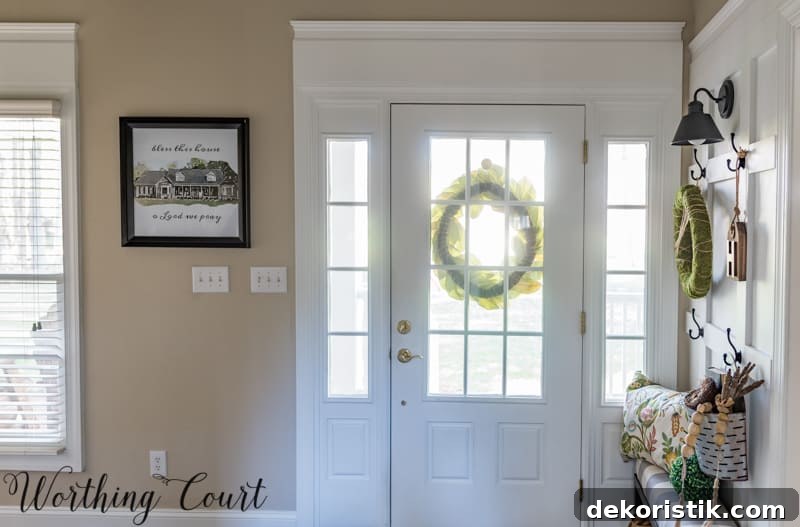
The very first change that made the biggest difference was swapping the heavy mahogany front door for a new door with glass panes and sidelights. That one update instantly brightened the entire foyer. Technically, the first real project of the makeover was adding board and batten on either side of the opening into the office and installing larger trim above the front door and the window at the foot of the stairs. The board and batten added instant character, and the beefier trim helps anchor your eye on the two-story walls.
Board And Batten Walls
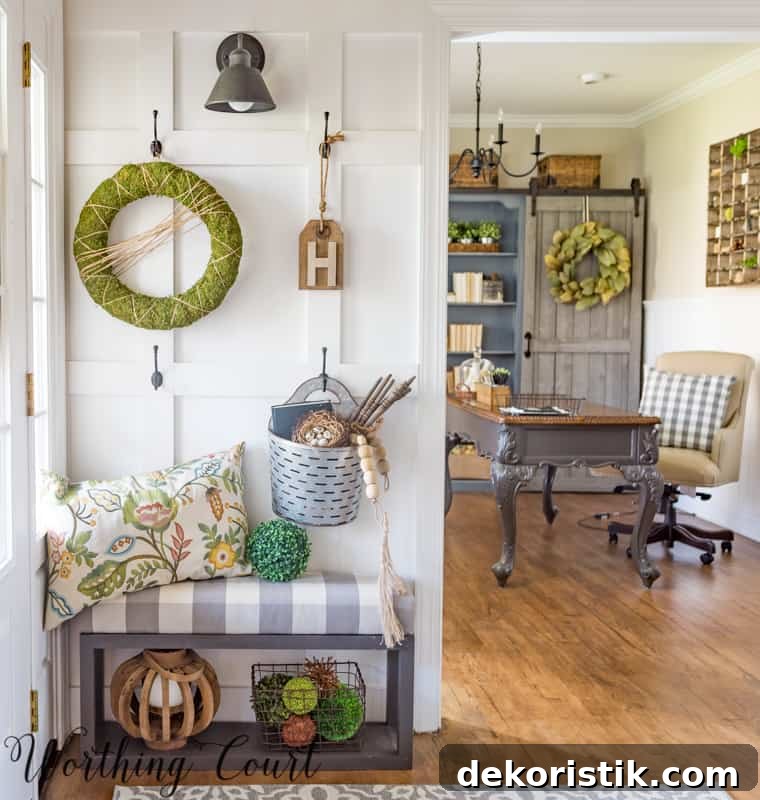
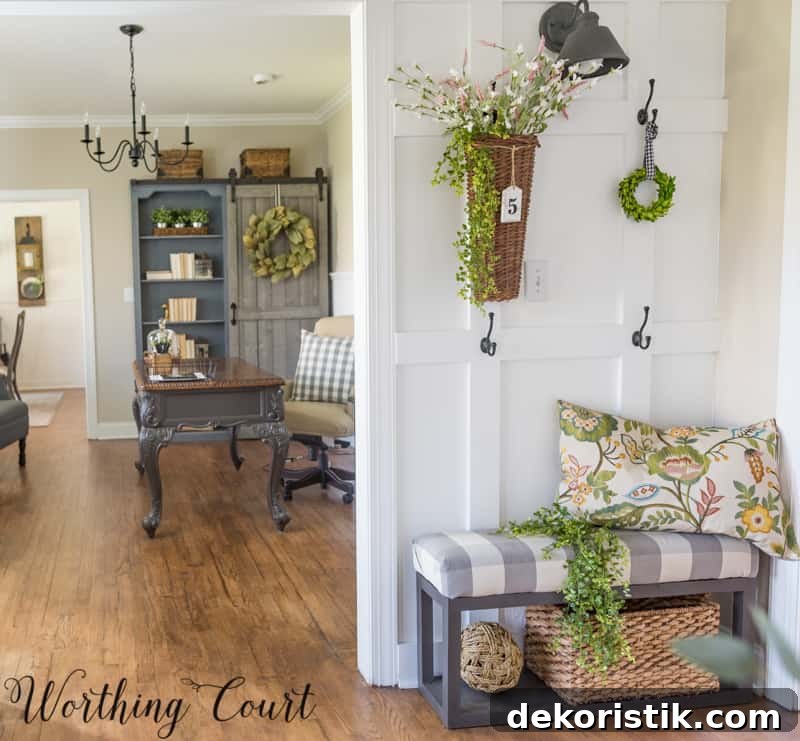
I added multiple hooks to the board and batten wall thinking they’d be for extra coats when guests arrive. In reality, that wall has become one of my favorite spots for seasonal and holiday decor. If you want to add inexpensive character and texture to a room, this simple wall treatment is a great option. I’ve used it in the hallway, guest room, and even in a condo dining room—everywhere it makes a big impact.
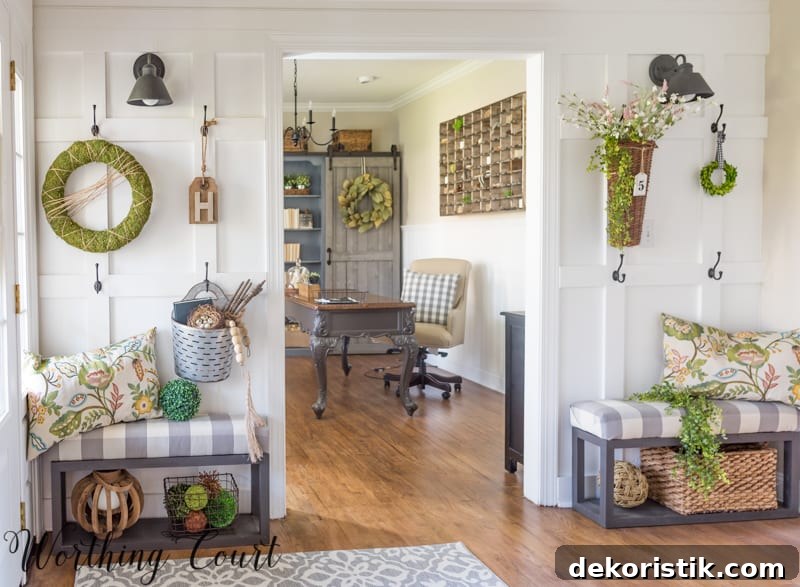
To make the space cozier and provide a place to sit, I built two simple benches to flank the office opening. They were straightforward to construct and add both function and balance to the area.
Lighting was another major improvement. The original fixture was heavy and unsafe—the electrician discovered it wasn’t properly supported and could have come down. I chose a new chandelier that blends metal and wood for an open, airy feel that suits the two-story space and complements the updated trim and board-and-batten detail.
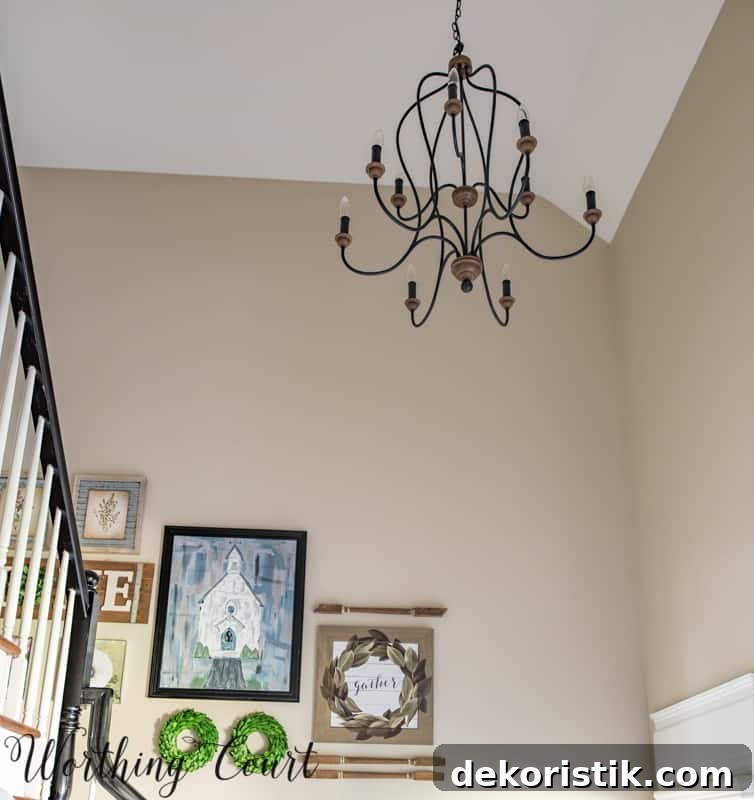
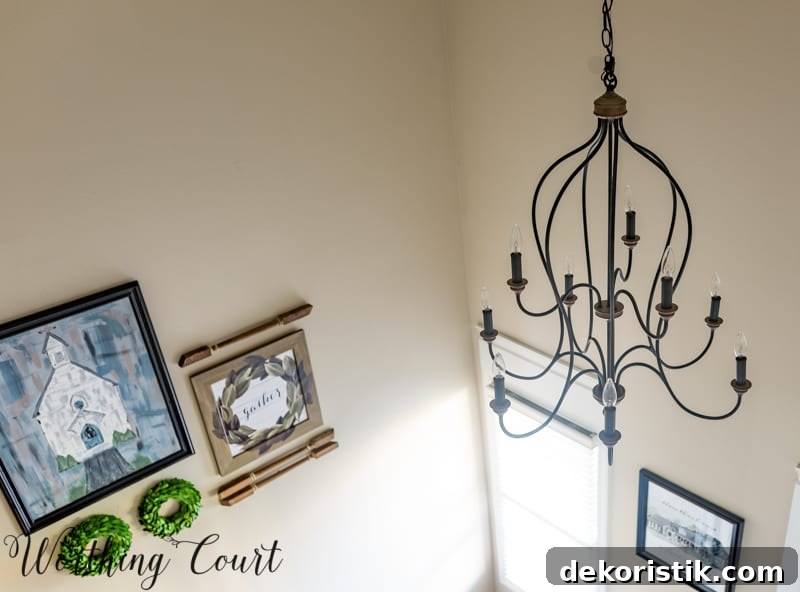
The final piece of the puzzle was the gallery wall running up the staircase. I hung the frames and planned the layout months ago but stalled on filling them with artwork. A lucky find at a home decor store supplied the perfect pieces to finish the look and bring cohesion to the stair wall.
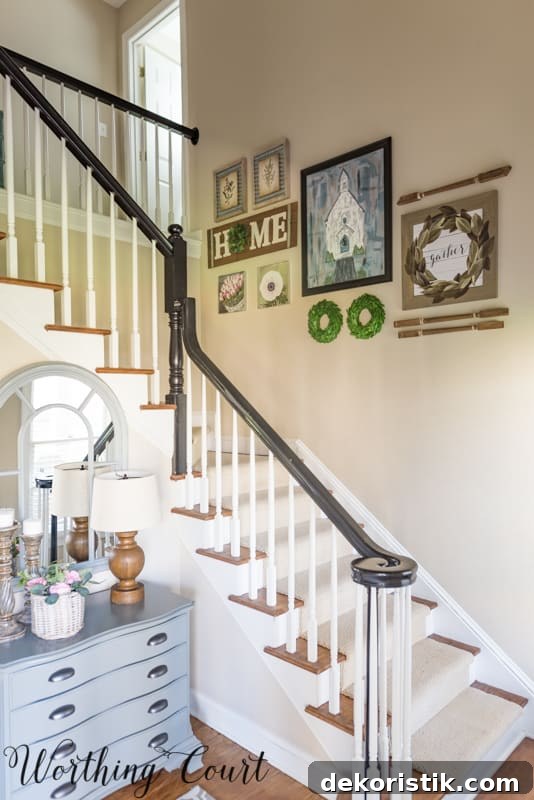
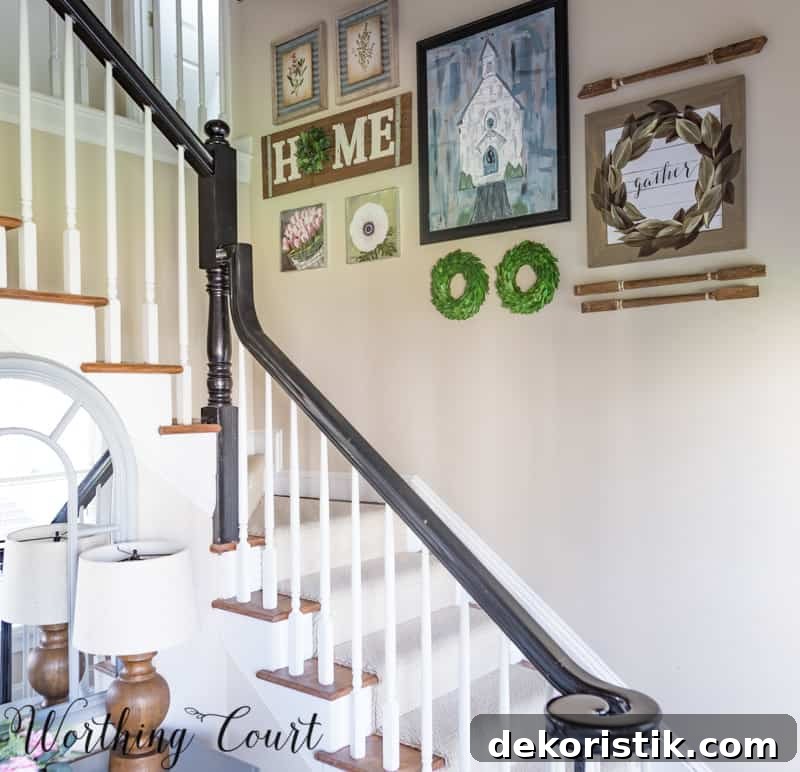
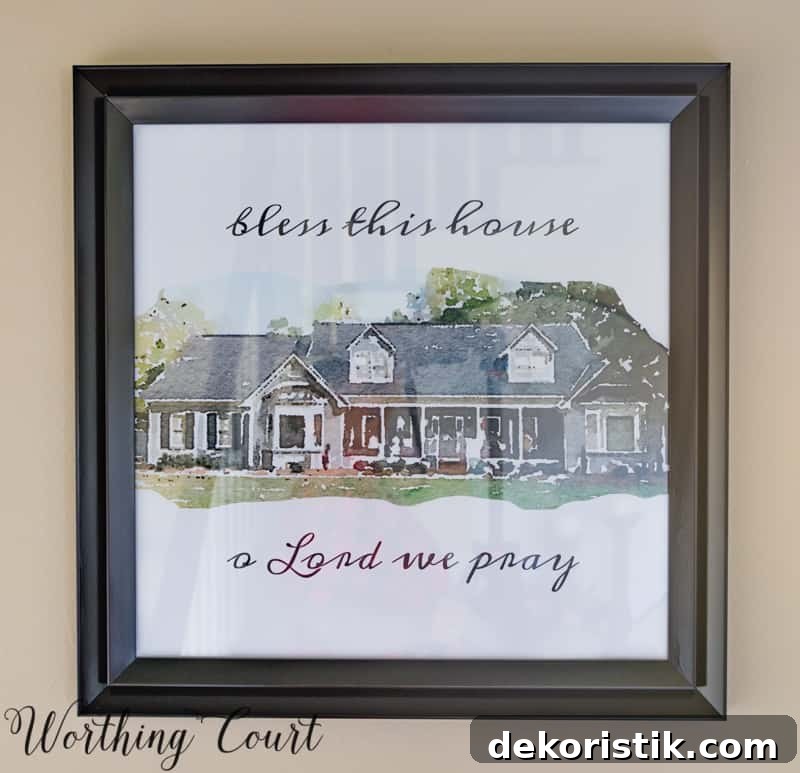
I also added a small piece between the front door and the window at the bottom of the steps: a faux watercolor rendering of the exterior of our house. It was a quick, personal touch that feels right in that spot. Please excuse the glare in the photos—some reflections were unavoidable.
With a few final accessories and finishing touches, the entryway makeover is complete. It now feels lighter, more functional, and welcoming—exactly what a small foyer should be.
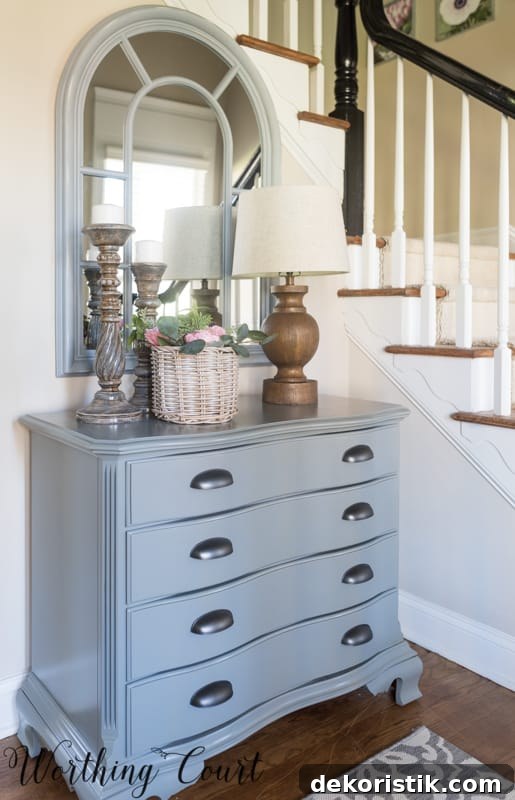
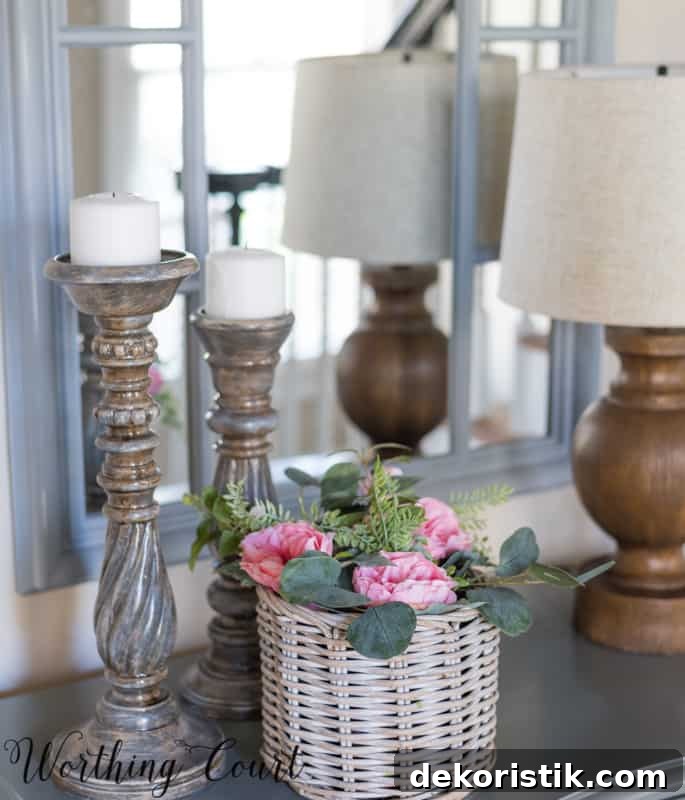
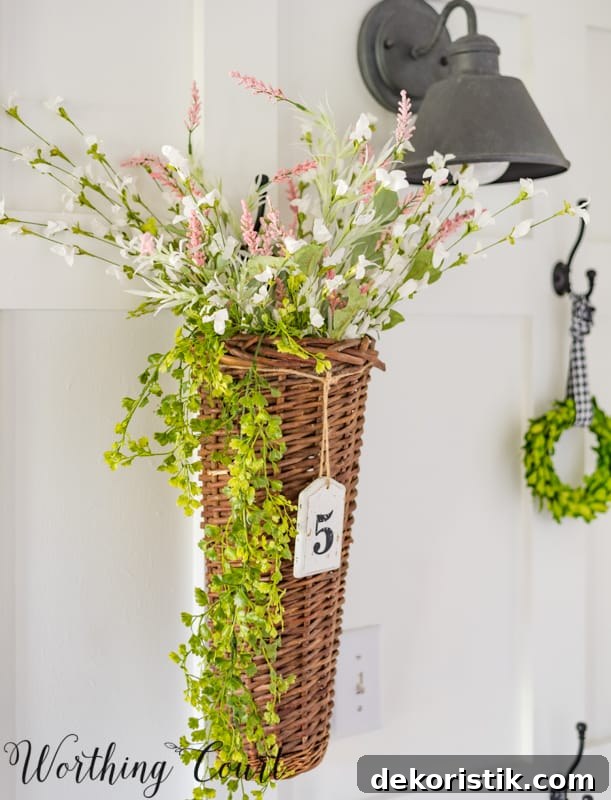
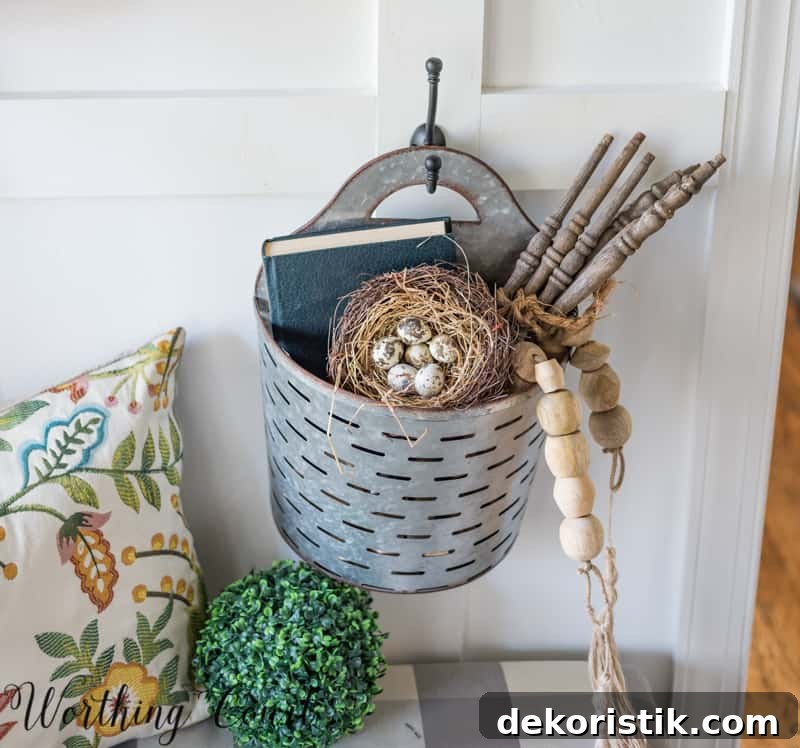
Below is the original to-do list and notes on what I ultimately decided not to do:
- Caulk and paint the board and batten wall white to match the trim.
- Replace the chandelier and consider replacing the can light in front of the coat closet with a flush mount fixture. (I kept the can light and only replaced the chandelier.)
- Replace the area rug — the old one didn’t hold up well with two dogs.
- Add hooks to the board and batten wall to the left of the office opening.
- Decide on treatment for the board and batten wall to the right of the office opening.
- Potentially build two benches—one for each side of the office opening (I built two simple benches).
- Create a gallery wall up the staircase (completed).
- Consider adding sconces beside the mirror above the gray chest (decided against it).
- Add an outlet inside the coat closet for the modem and router.
- Consider drapery or a shade for the window at the bottom of the steps (not added).
- Add finishing accessories.
RESOURCES:
Paint Colors: Walls – Sherwin Williams Accessible Beige; Trim – Sherwin Williams Extra White; Bannister – Sherwin Williams Black Enamel (oil base)
Black Wall Sconces – Home Depot
Chandelier – Home Depot
Gray Chest – Wayfair (similar)
Arched Mirror – Wayfair (similar)
Lamp – Wayfair (similar)
Indoor/Outdoor Rug – Target (similar)
Anemone Floral Square Art – Kirkland’s
Tulips Floral Square Art – Kirkland’s
Magnolia Wreath Gather Framed Art – Kirkland’s
HOME Sign with Wreath – Kirkland’s
Floral Pillows – Target (similar)
Gray Candlesticks – Wayfair (similar)
Artificial Flowers – Michael’s
Benches – DIY project (tutorial available)
Church Painting – DIY project
Watercolor-Look House Picture – tutorial coming soon