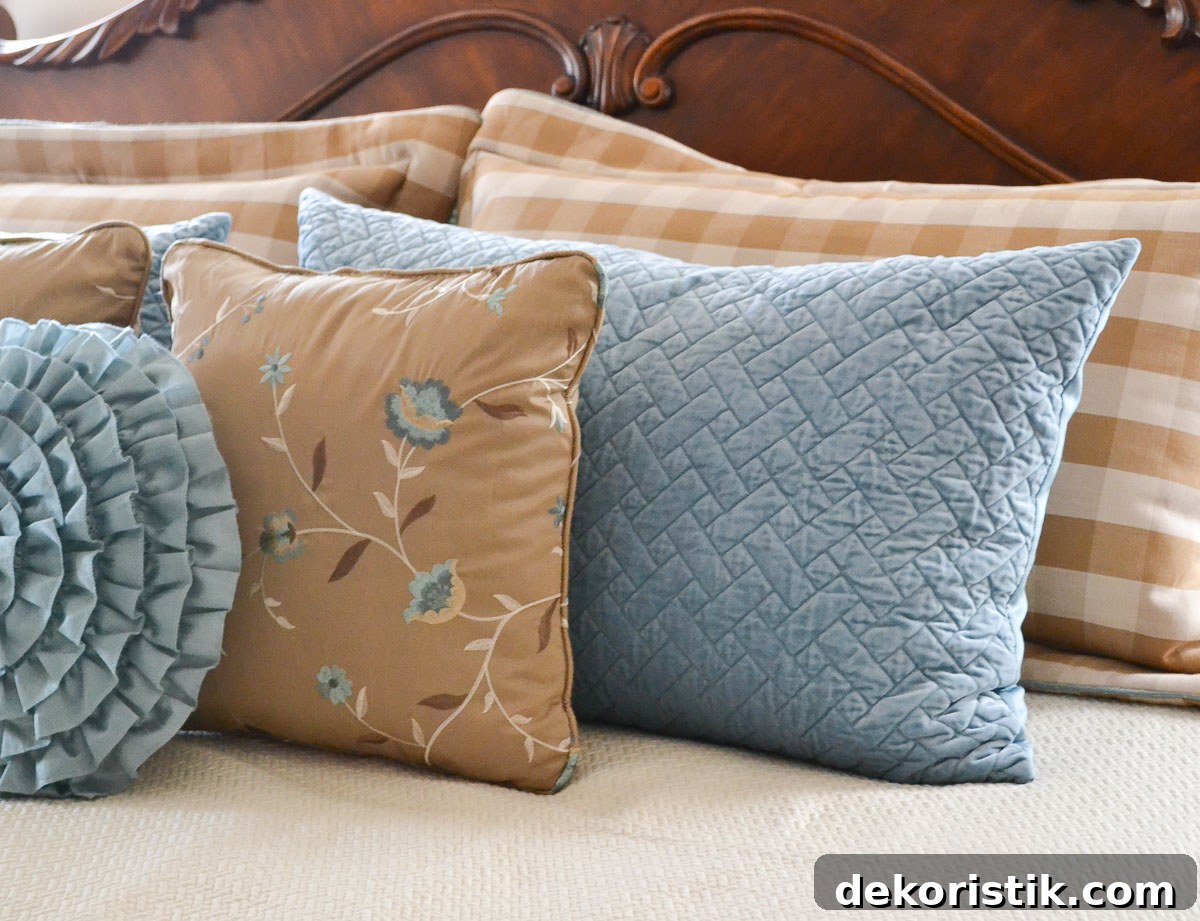
Welcome to Part 2 of the step-by-step tutorial on how to make a pillow sham.
If you missed Part 1, you can view it here.
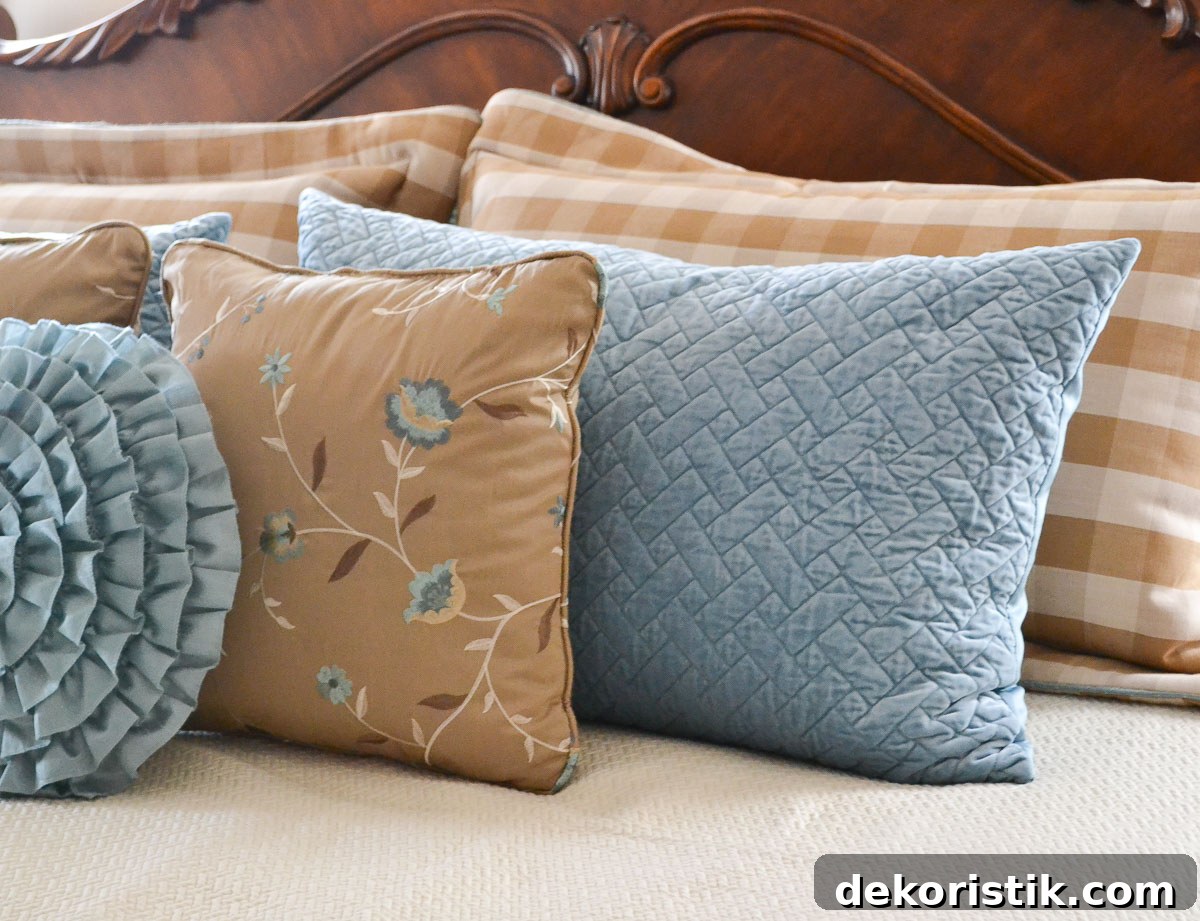
I made two matching shams to complete the pillow arrangement on my master bed. At the end of Part 1 we had cut and assembled the front panel and applied the covered cording. This final section walks you through cutting and finishing the back, attaching closures, and completing the final assembly so your sham looks professional and lays flat on the bed.
There’s only a little left to do. In Part 1 we focused on the front — cutting, piecing, and adding batting and cording. In this part we’ll cut the two back pieces, add a hem and a secure closure, and sew the front and back together to form the finished sham.
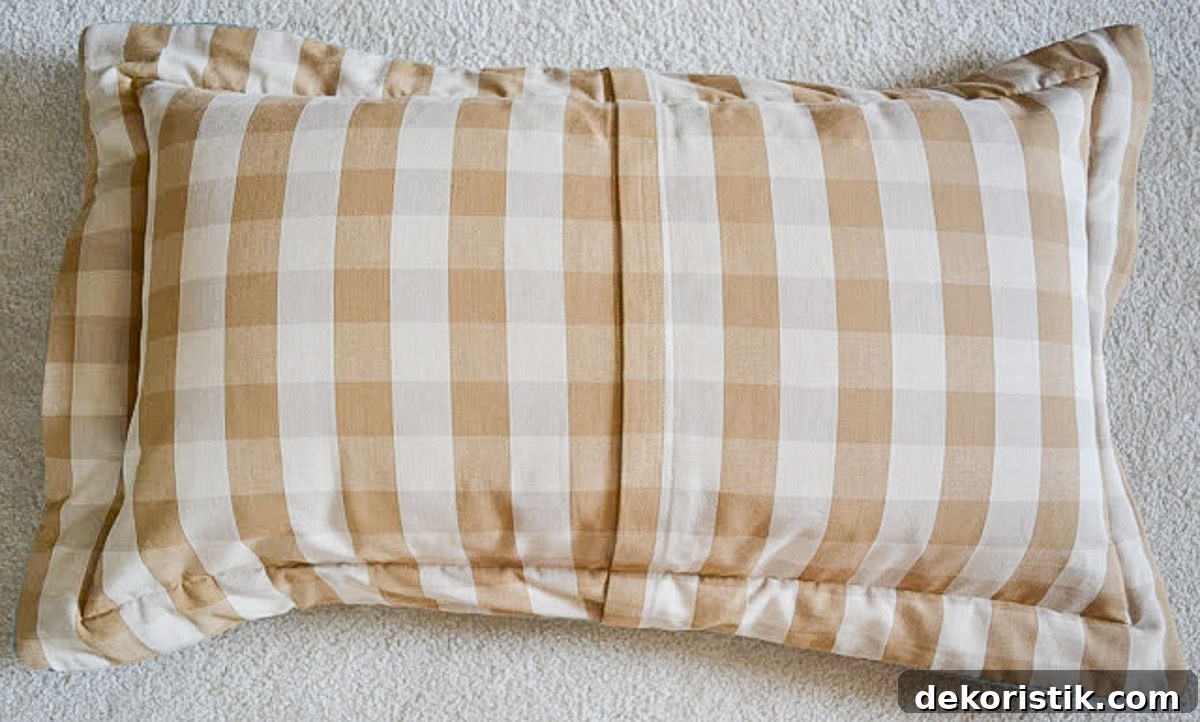
For the back I used a single fabric to keep the look simple and coordinate with the front. Since batting is only required on the front, I left the back unlined for this personal project; if you’re making a sham as a gift, consider lining the back for extra durability.
Cut the Fabric for the Back of the Sham
The back of a pillow sham is made from two overlapping panels that create an enclosure for the pillow insert. Each panel is the same height as the front piece and slightly wider to allow for a hem at the opening.
How to calculate the width
Use this approach to determine your cut size:
- Start with the finished width of the front piece. In this example the front width is 43″.
- Divide that width by two: 43″ ÷ 2 = 21.5″.
- Add 3″ to each back panel to allow for hemming at the overlapping opening.
- The height of each back panel equals the height of the front (in this example, 34″).
Therefore, cut two back panels at 24½” wide × 34″ high.
Prepare for Sewing the Sides Together
After cutting the two back pieces, fold and press a 1½” double hem along one long edge of each panel. This hem becomes the finished edge at the sham opening.
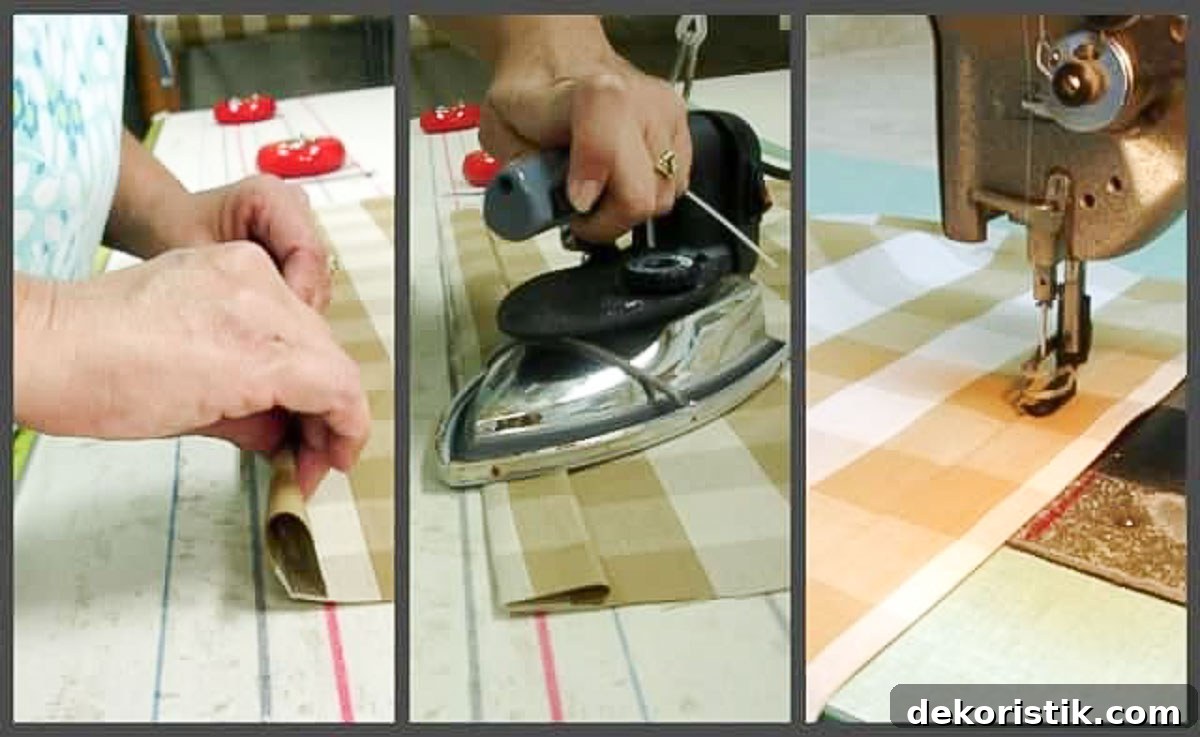
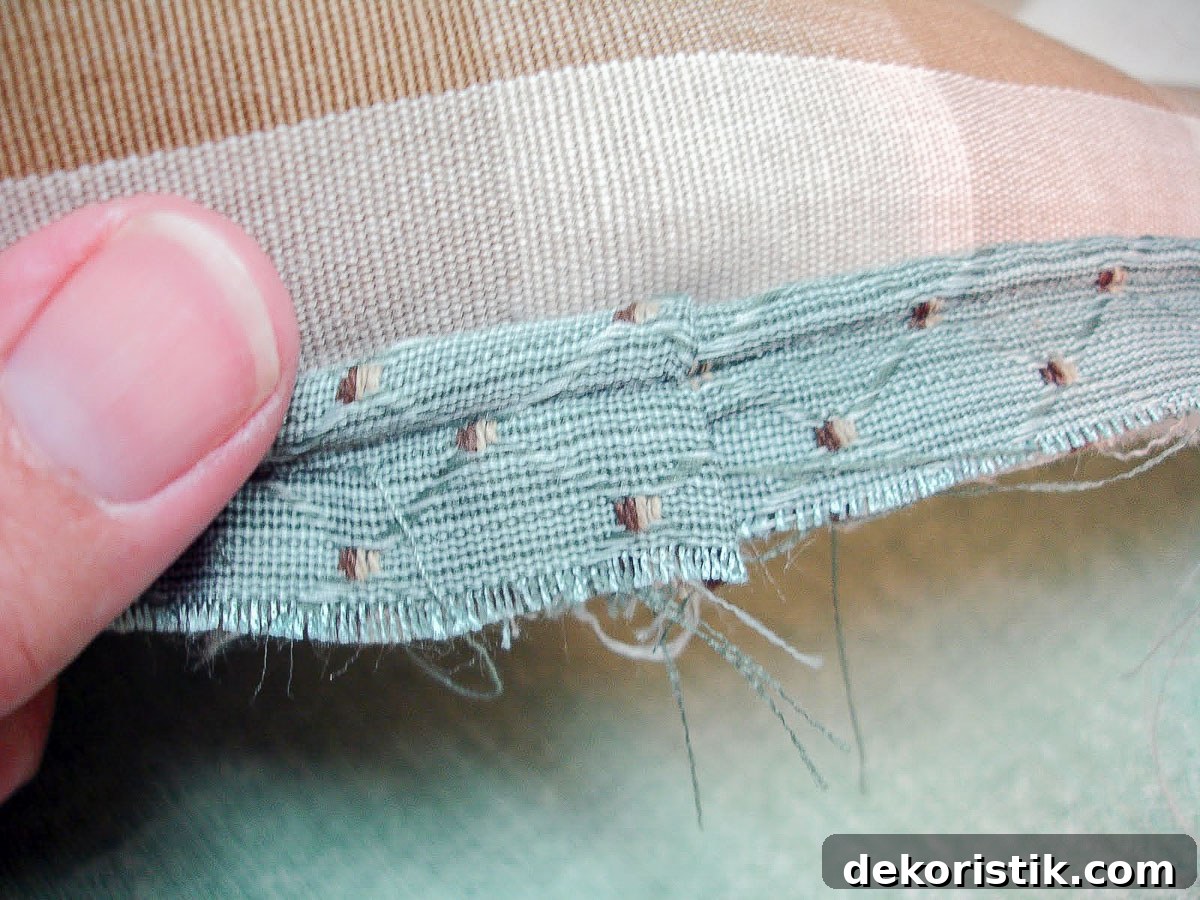
To prevent the back from gaping, I use hook-and-loop (Velcro) as a closure. Important: do not use adhesive-backed Velcro for sewing — the adhesive will gum up your needle. Cut a 12″ length of Velcro, separate the two strips, and sew the loop (soft) side to one hemmed panel and the hook (rough) side to the other hemmed panel. Position the Velcro approximately halfway between the top and bottom edges of the sham so the overlap sits neatly when closed.
TIP: Before stitching, line up both Velcro strips on the two panels and temporarily fasten them so you know they match. If they’re offset, the sham will not lie flat when closed.
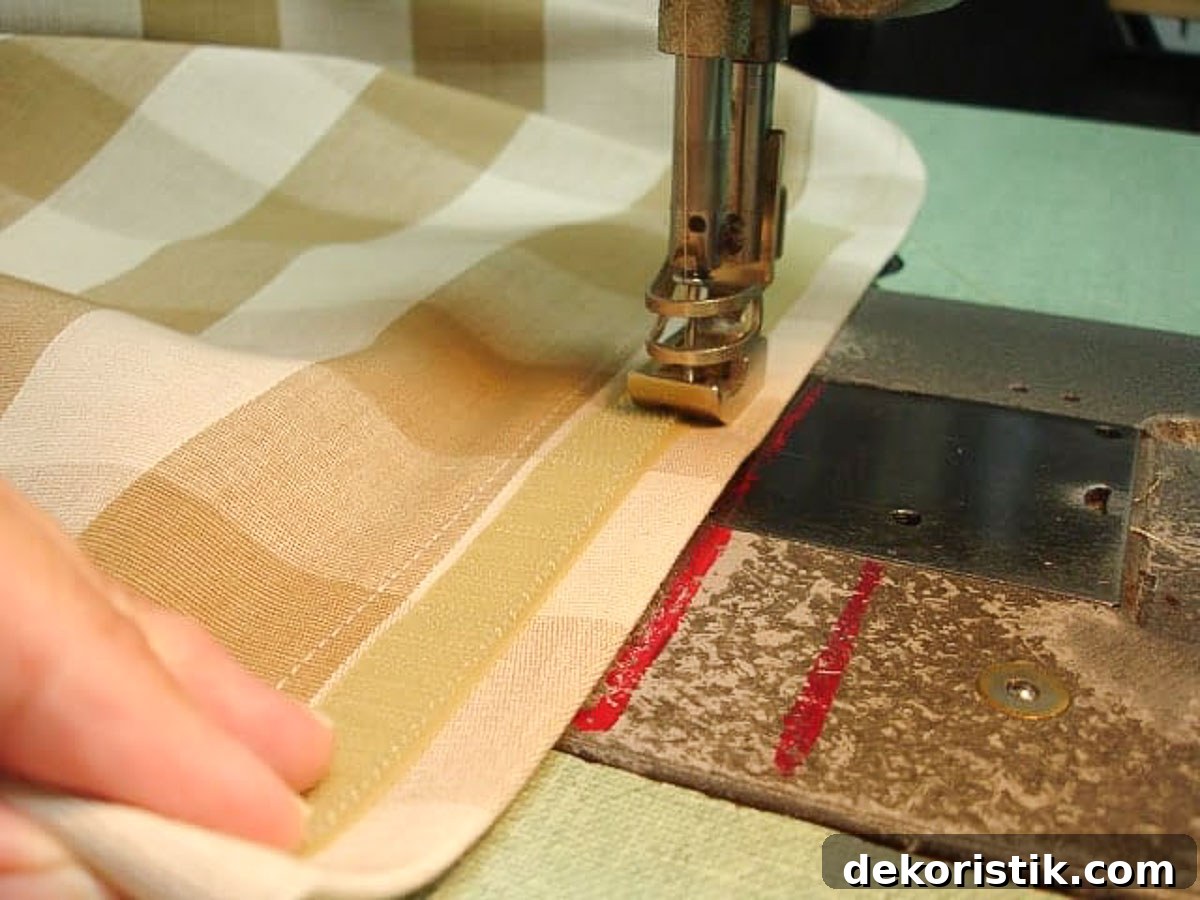
This photo shows the Velcro sewn in place on each hem. Once both sides are attached, fasten them together to confirm they align and that the top and bottom of the sham match up evenly.
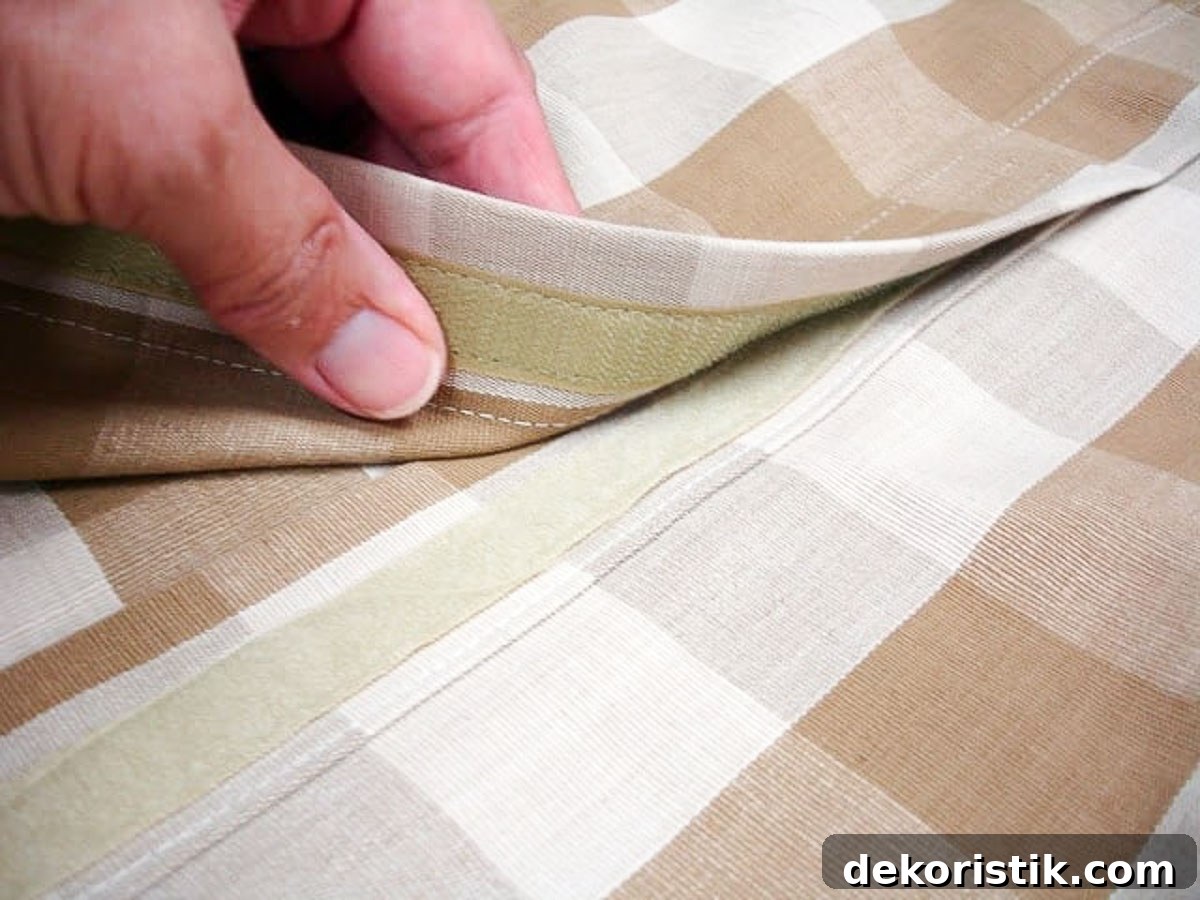
Now the back is ready to be joined to the front.
Sew the Sides Together
Place the front and back panels right sides together, aligning all edges. If you used matching fabric for both front and back, double-check that pattern direction and seams are consistent before pinning.
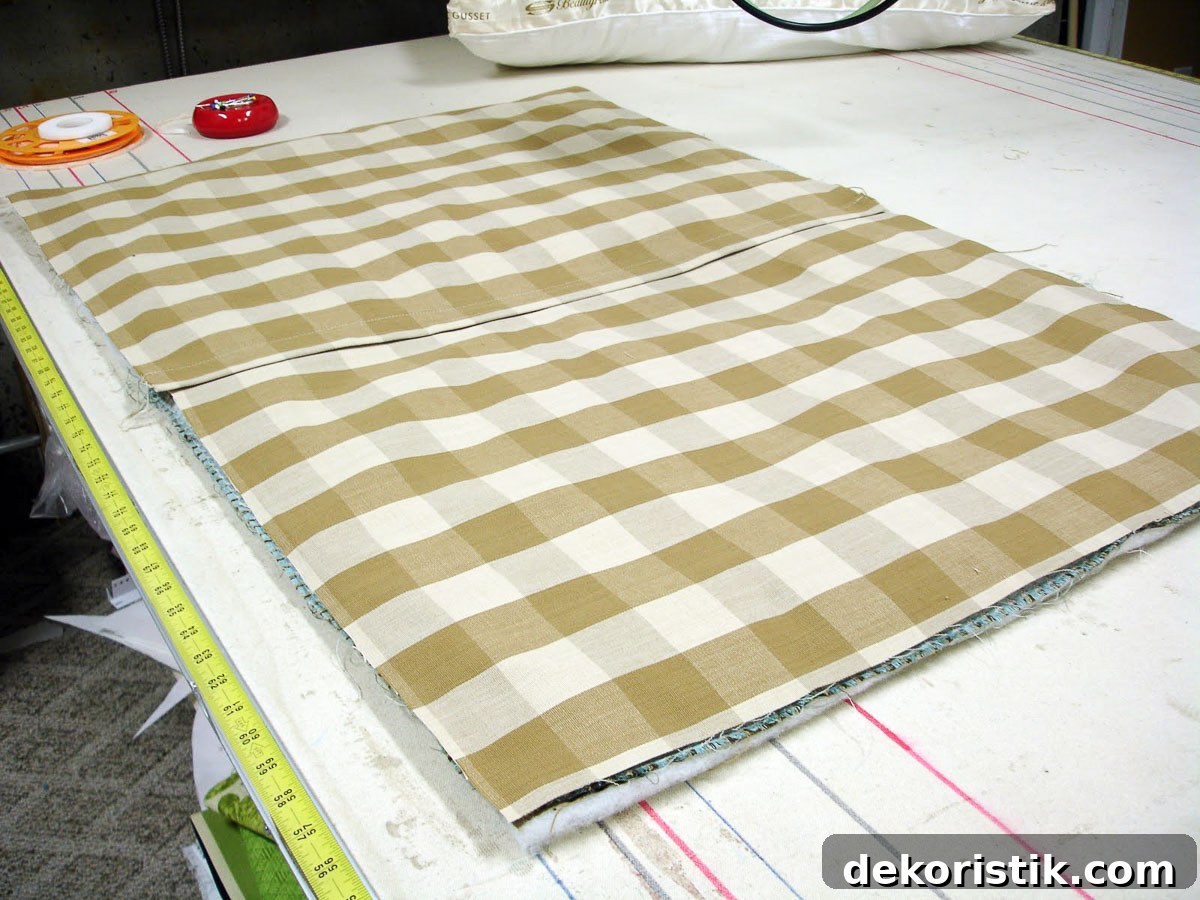
Pin and stitch all four sides. If you added covered cording to the front, sew as close to the cording as possible using a zipper foot or cording foot to maintain a neat edge. Clip the corners to reduce bulk, being careful not to cut your stitches, and then turn the sham right side out.
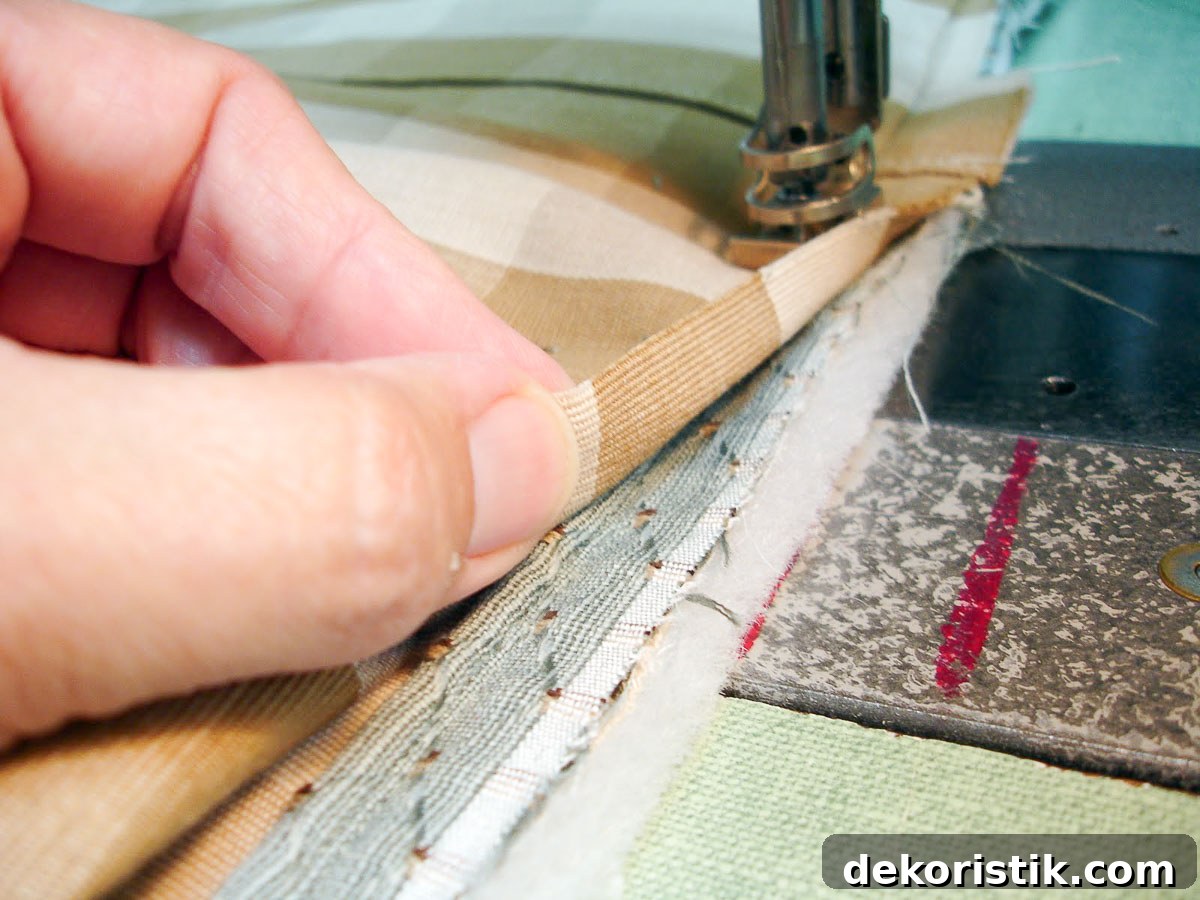
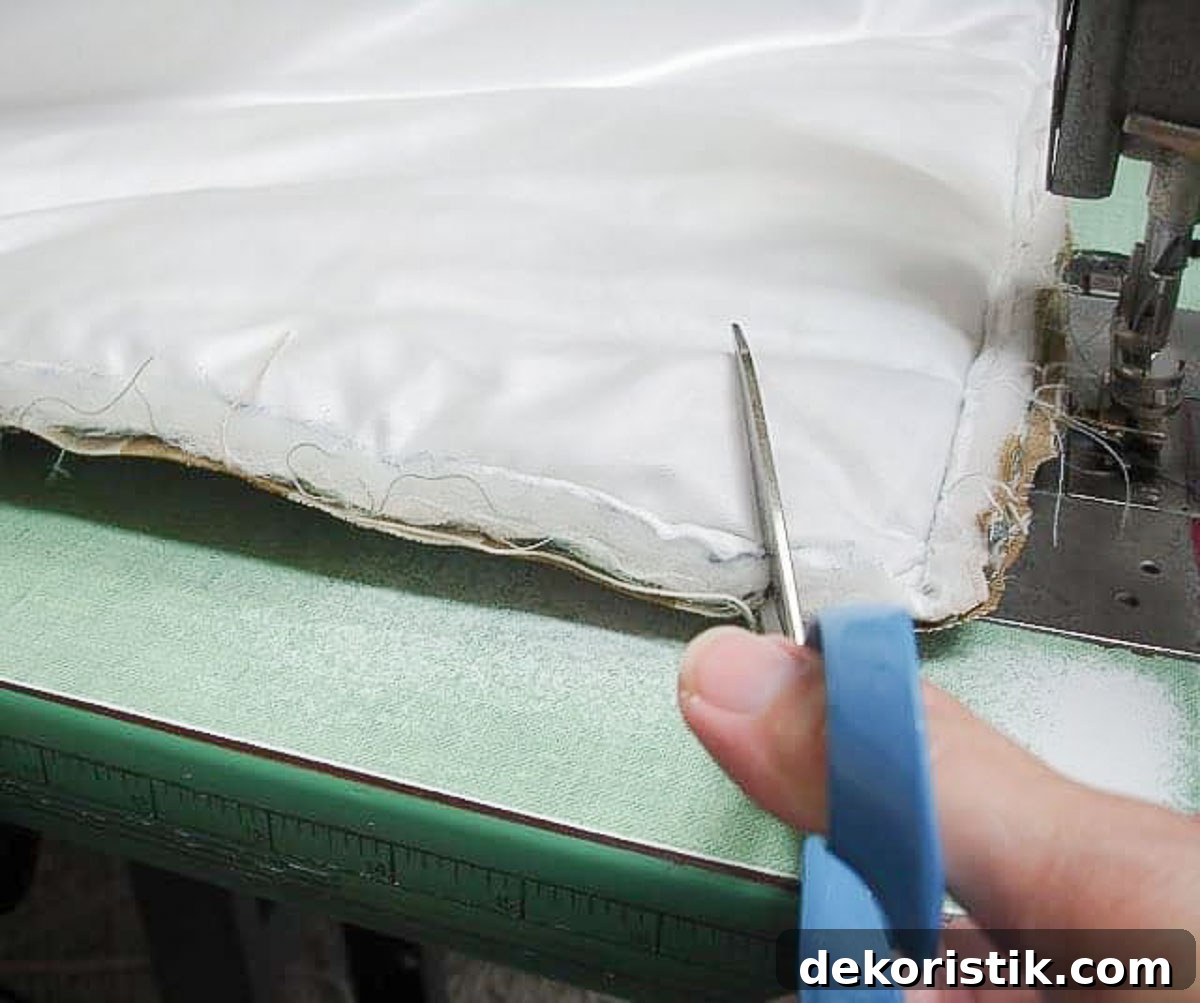
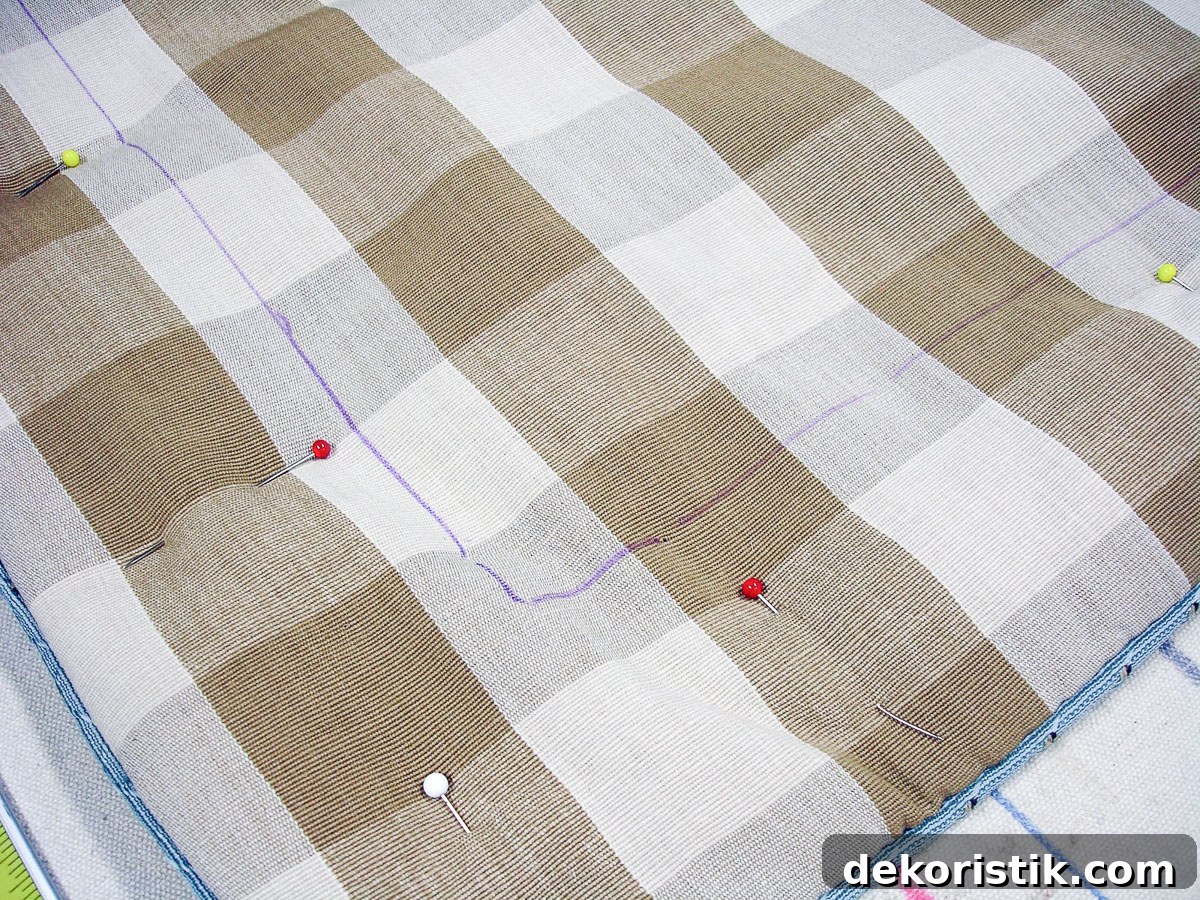
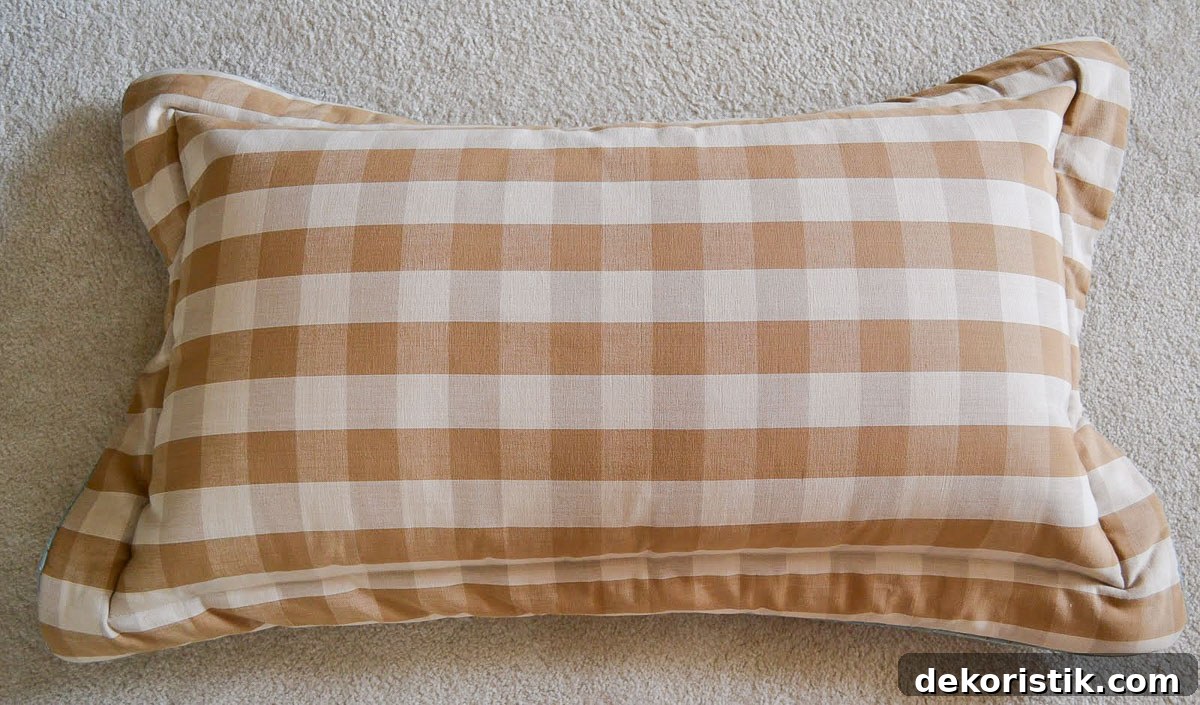
Once turned right side out, smooth the fabric and push the cording fully into the seam lines, especially in the corners. To create a clean flange, measure 3″ in from each outer edge and draw a light line with a disappearing-ink fabric pen. Pin around that line to stabilize the seams, then stitch slowly on the marked line so the flange lies flat without puckers.
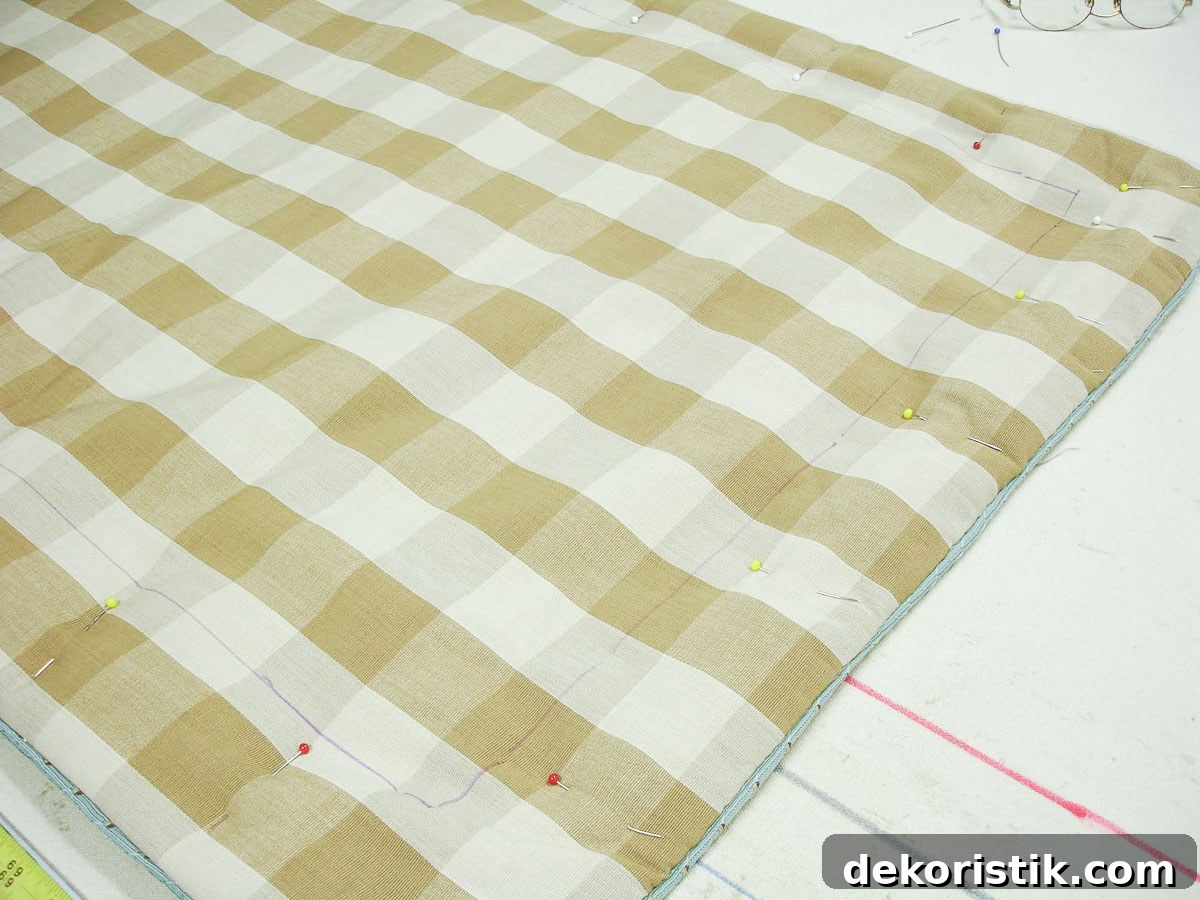
Open the Velcro, insert your pillow, fasten the closure, and give the sham a final press. Your custom pillow sham is finished and ready to display.
Voila — you’ve completed a beautiful, professionally finished pillow sham!

Well done — I’m so proud of you for following along! If you’d like to save this tutorial for later, feel free to bookmark the page or save the images.