
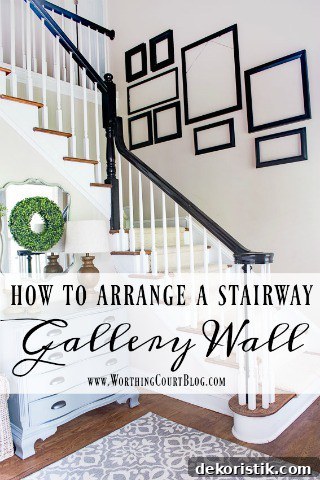
The best way to arrange a gallery wall on a staircase
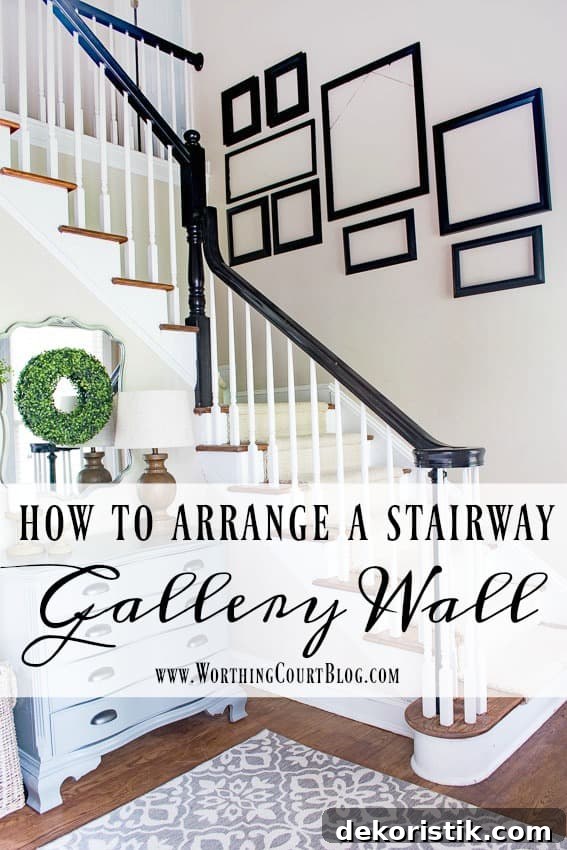
My foyer makeover is nearly finished, and one of the biggest challenges has been planning a gallery wall that climbs the stairs. That tall, two-story expanse felt intimidating at first—big, awkward and hard to visualize—but with a plan and a little patience I worked through several layouts until I found one that felt right.
At first I considered several options: extending board and batten to cover the space, hanging two or three oversized pieces of art, or creating a full gallery wall. I was hesitant about a gallery wall because they can be tricky to balance on a stairway, but ultimately it seemed like the best solution for scale and visual interest. I tested a variety of arrangements and lived with each one for a few days to see what read best from both the bottom and the top of the stairs.
How I planned the gallery wall
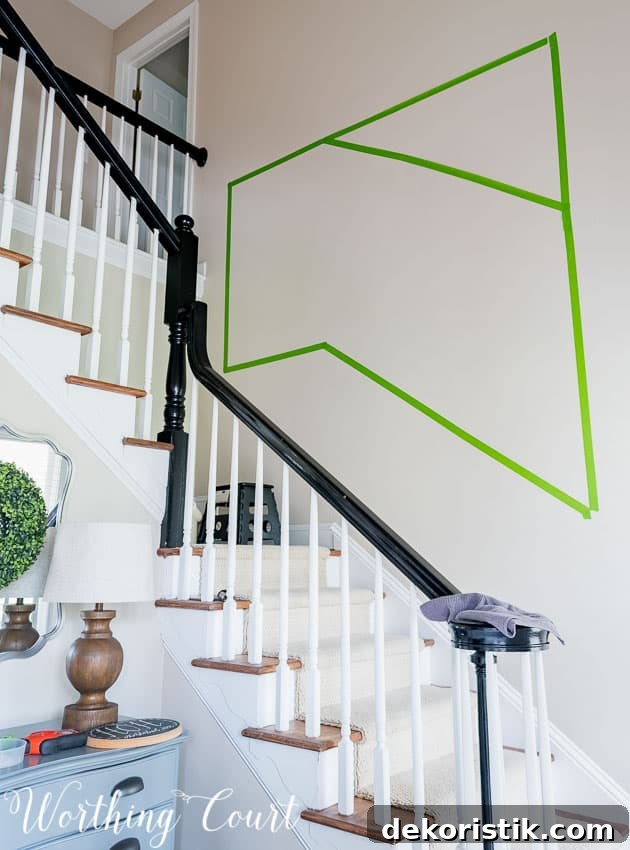
The first thing I did was map out the gallery area with painter’s tape. Taping the outline let me see the exact footprint of the collection before making any holes. For reference, I started the bottom edge at the landing and measured a straight, horizontal line 36″ from the floor. I marked the same distance on the lower right, then ran painter’s tape in an angled line to match the slope of the stairs. From there I taped up the sides to the height I wanted and finished by marking the top edge. Using tape to frame the space made it much easier to visualize proportions and balance.
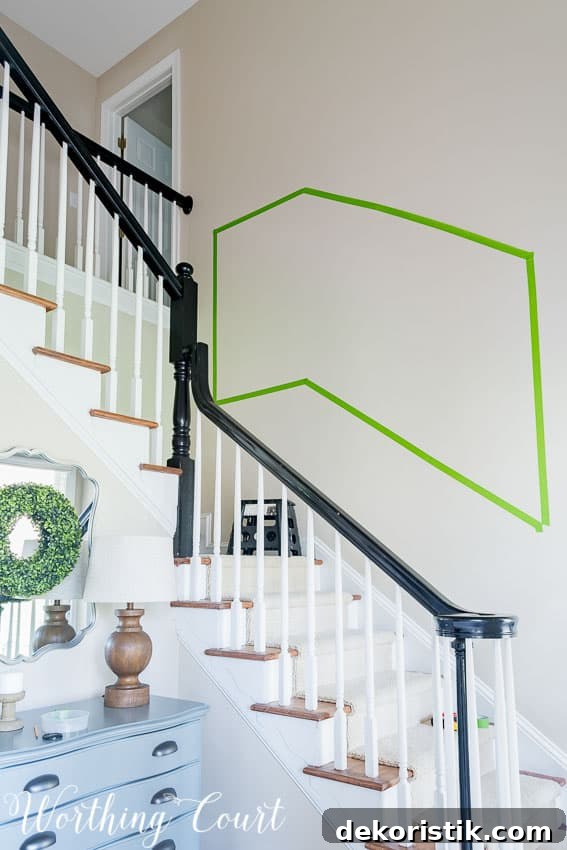
After the taped layout, I adjusted the outline slightly—squaring the right edge made the composition feel more intentional and grounded. Then I gathered frames from the attic. Since the stairway gets a lot of traffic, I selected relatively flat frames to reduce the chance of something being knocked loose when carrying items up and down the steps.
With the frames arranged on the floor and then on the wall within the taped area, I experimented with different placements and swaps until the balance felt right. Looking at the arrangement from the top of the stairs was especially helpful—what reads well from below can look off from above, and vice versa.
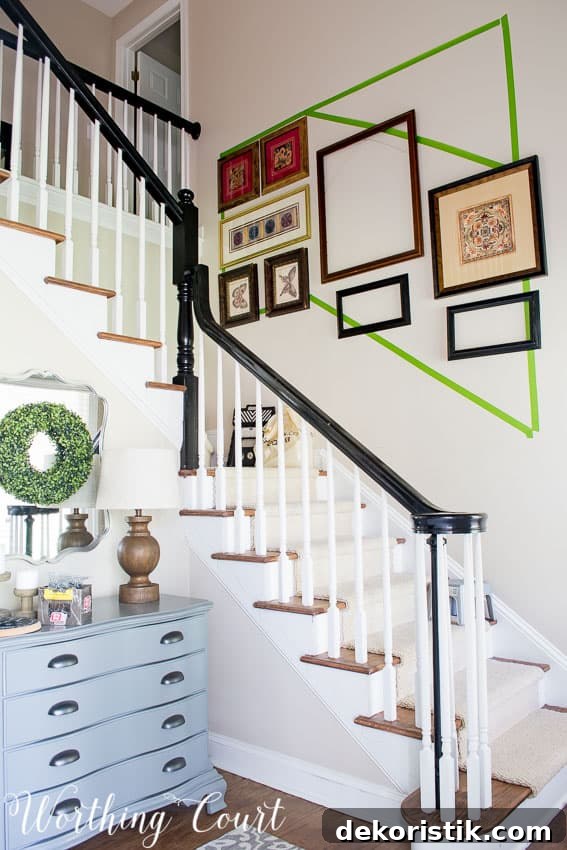
Once I settled on the layout, I removed the existing artwork from each frame and painted every frame the same color—black—to create a cohesive, unified look. Painting the frames the same color helps tie different sizes and styles together, so the wall reads as one intentional installation rather than a collection of mismatched pieces. I also filled and touched up a lot of little nail holes from previous arrangements.
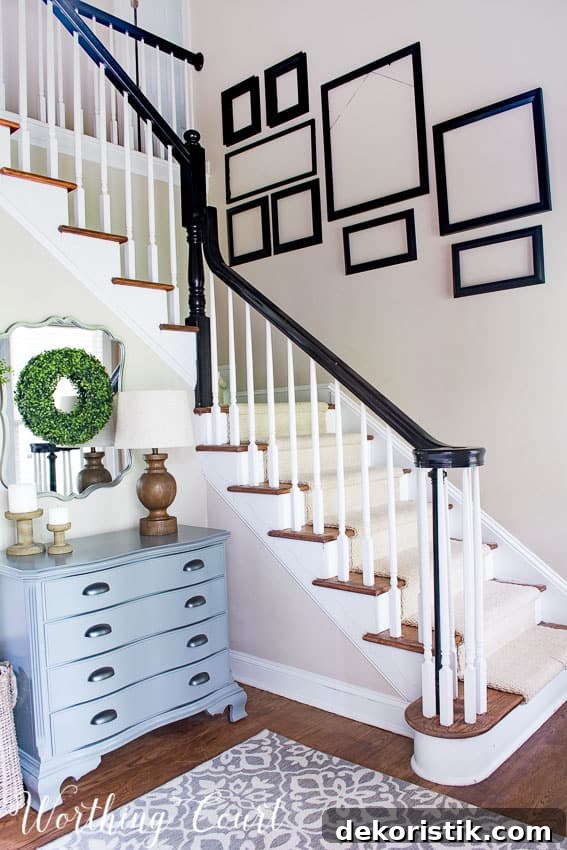
Here’s a peek at the gallery from the top of the stairs. It took several tries to get the spacing, scale and overall flow right, but I’m very pleased with the direction it’s heading. The angled layout follows the stair rise and feels balanced from multiple sightlines.
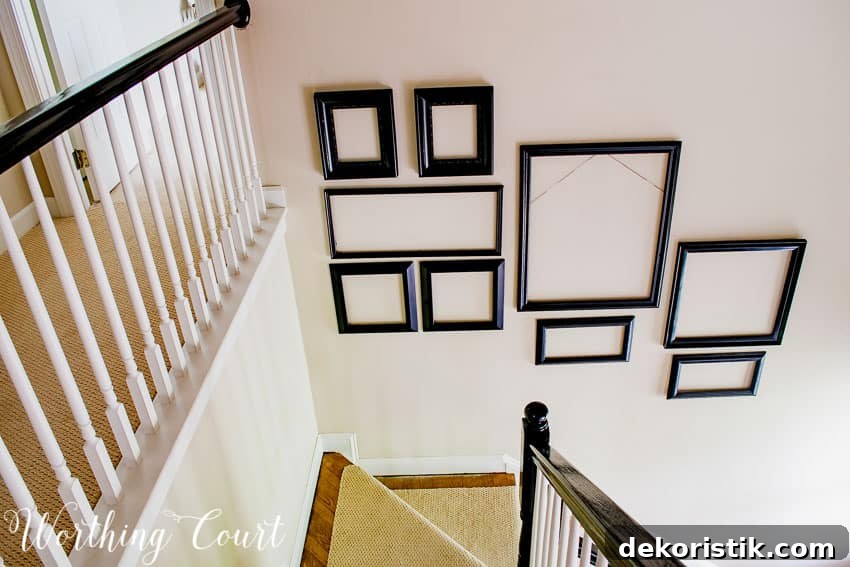
The next step is to fill the frames with artwork and photos. I have a few ideas for prints, family photos and paper pieces that will provide contrast and personality, but filling and arranging the artwork thoughtfully will take some time.
Below is my current foyer to-do list. Items crossed out are complete; remaining items are still in progress.
Caulk and paint the board and batten wall white to match the trim.Replace the chandelier, add sconces beside the office doorway, and install a matching flush mount in the upstairs hallway.- Replace the area rug; the current rug doesn’t hold up well with two dogs.
Add hooks to the board and batten wall to the left of the office opening.Decide what to do on the board and batten wall to the right of the office opening.Build (maybe) two benches—one for each side of the office opening.Address the big wall that runs up the steps—gallery wall chosen.- Add artwork to the gallery wall frames.
Decide whether to add sconces beside the mirror above the gray chest.Add an outlet inside the coat closet for modem and router (avoid extension cords running along the wall).- Add drapery or a shade to the window at the bottom of the steps.
Replace the smoke detector in the upstairs hallway.- Add accessories to finish the space.
I’ll share updates as I add artwork and final details. If you’re planning a stairway gallery wall, start by taping out the space, test frame arrangements on the floor and wall, and keep your frame finishes consistent for a cohesive look. Small adjustments and careful spacing make a big difference when the wall spans multiple levels.
Sharing at these great parties.