Upholstered Cornice: How to Make One (Part 1)

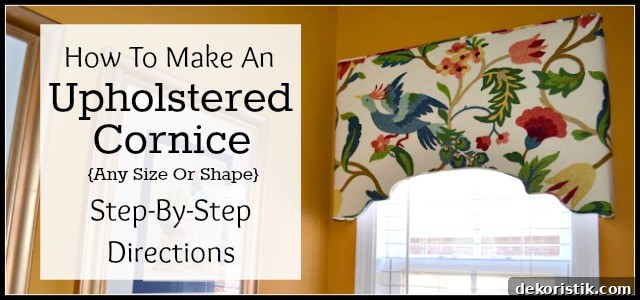

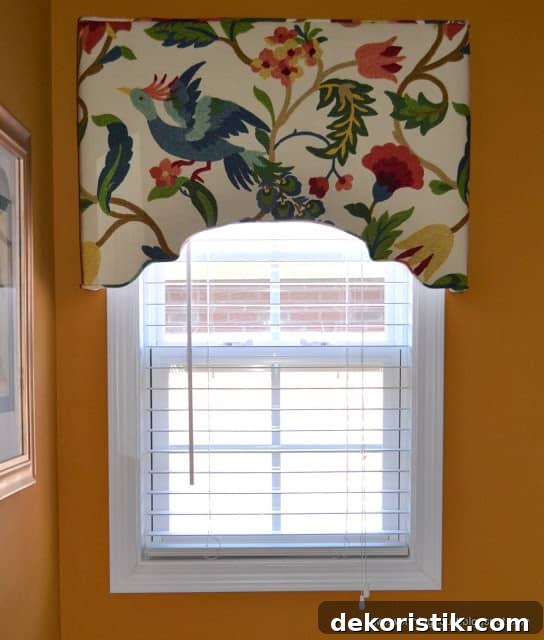
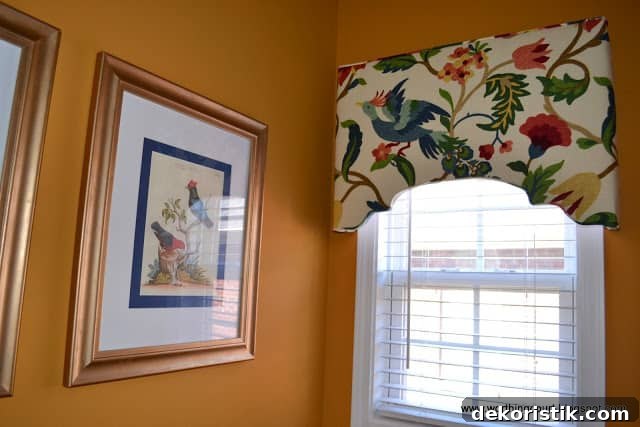
When I revealed my lighter, brighter powder room last September, many readers asked for a tutorial showing how I made the upholstered cornice. Several of you expressed interest, and I apologize for the delay—here is Part I of that step-by-step guide.
Before you begin, a few notes:
- Photos in this tutorial were taken in my workroom and are intended to document the process rather than be polished images—this is real, small-scale production work.
- I used some professional tools (for example, an air compressor staple gun). You don’t need them to get the job done; everyday manual tools will work fine.
- I’ll include practical tips throughout. To keep the tutorial manageable, I’ve split it into two parts. This first part covers planning, cutting, and assembly; the second part will cover upholstery finishing.
- Different workrooms use different methods—these are the techniques that work well for me.
Supply List
{* denotes optional}
1/2″ or 3/4″ plywood (do not use thinner plywood to avoid warping)
1″ x 4″ boards
Decorative fabric for the exterior
White lining or light-colored fabric for the interior
Flat white gimp (trim)
Cording* (optional)
Batting
Staple gun and 1/2″ staples
Hammer
Drill or screwdriver and 1.5″ wood screws
Clamps* and a work stand* (optional but helpful)
Anatomy of a Cornice
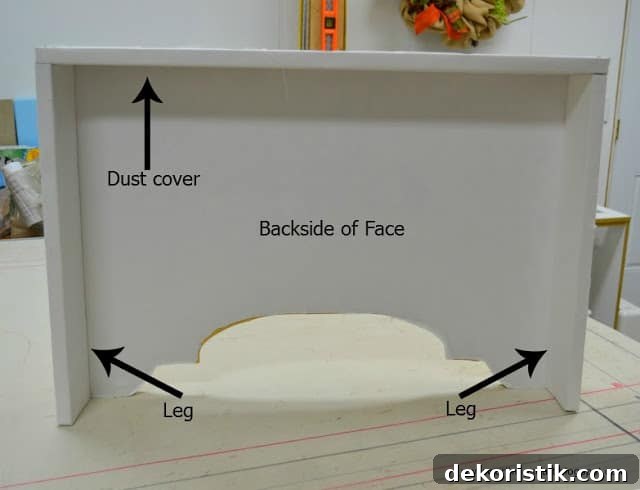
The basic cornice is a simple box: a shaped plywood face, two side legs, and a top dust cover (the top board). Below are images of the parts before and after assembly to help you visualize how everything fits together.
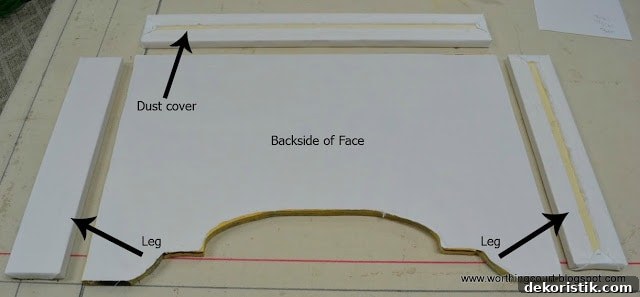
Backside of the assembled cornice:
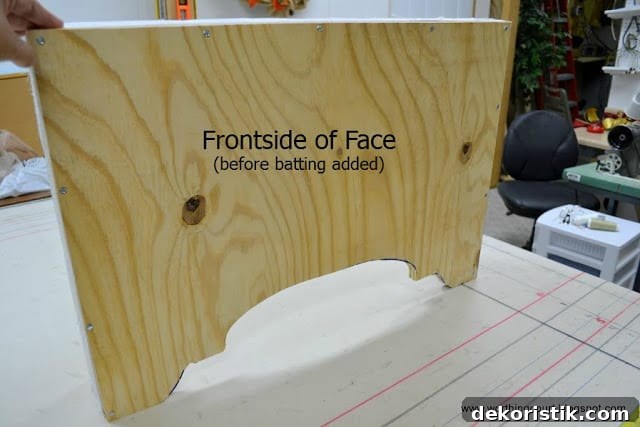
Frontside of the assembled cornice:
Plan Your Cornice
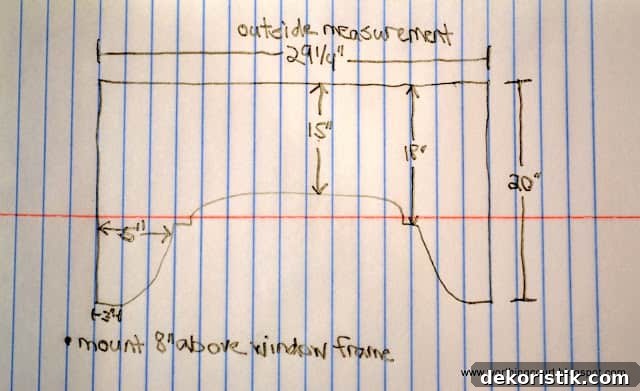
Steps to determine size and shape:
- Measure the window and decide how high the cornice will hang and how far the legs will extend on each side. Cornices can be mounted inside or outside the window frame; I usually mount mine outside and above the frame for visual width.
- Decide the design—arch, straight top, stepped edge, etc. You can buy patterns, but sketching a full-size shape on paper or using cord/string to form the curve is quick and effective.
- Decide the finished dimensions for each section of the design. Account for the thickness of the wood (for example, my 1″ x 4″ boards are actually 3/4″ thick). Plan the finished face width and subtract leg and dust cover thickness when cutting parts.
Prepare the Plywood Face
Sketch a life-size half-pattern on paper or cardboard first. Using a length of cord to mock up the curve helps; trace the cord line once you are satisfied. Remember you only need to draw half—you can flip the pattern to transfer the other side to the plywood.
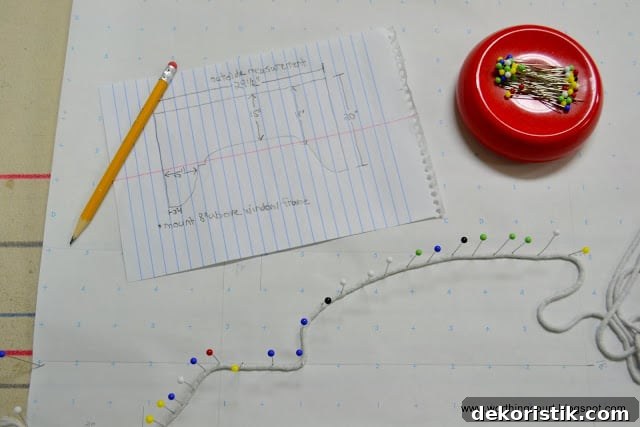
After cutting the paper pattern, trace the shape onto your plywood along the bottom edge (assuming a straight top). Use a jigsaw to cut the shape. Cut the plywood to the finished overall height and width for the cornice face before cutting the design.
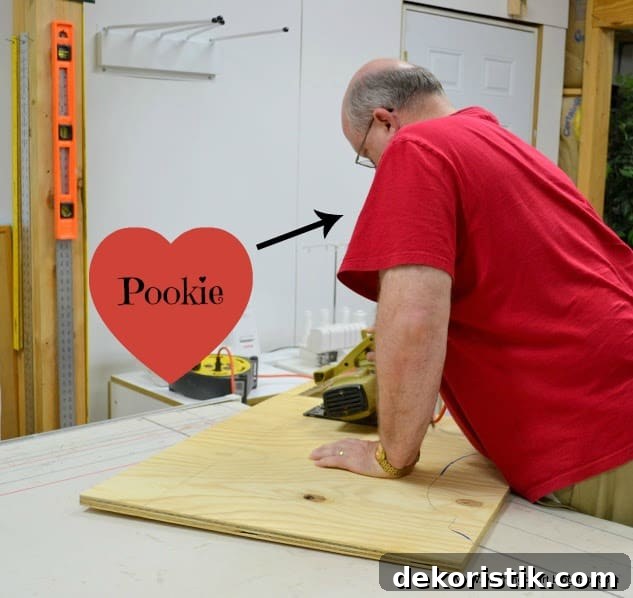
My helpful workroom companion, Pookie.
Gather and Cut the Legs and Dust Cover
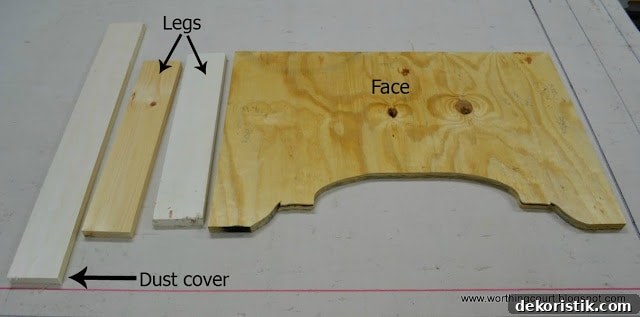
“Dust cover” is simply the top board on the cornice. You will need two legs and one dust cover per cornice, all cut from 1″ x 4″ boards. The legs should be the finished side height minus the thickness of the dust cover. For example:
Finished height: 20″
– Dust cover thickness: 3/4″
Leg length: 19.25″
The dust cover width should match the finished width of the face (29.25″ in my example).
Prepare and Line the Individual Pieces
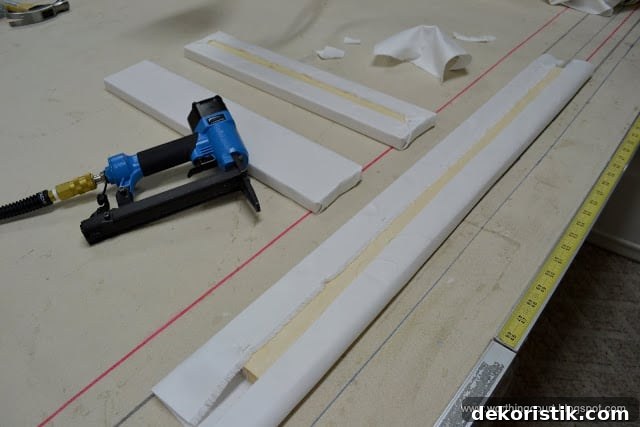
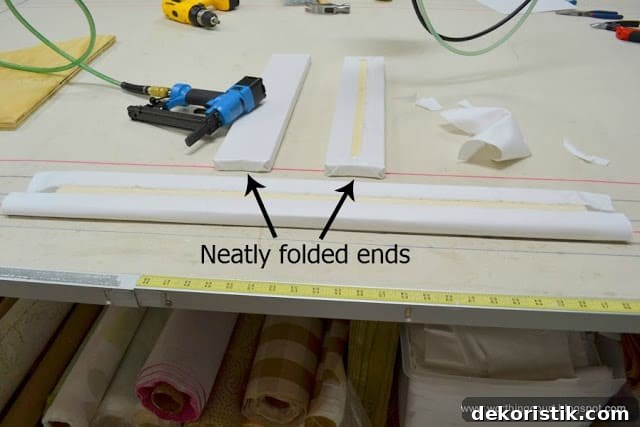
For a clean, professional result, line the interior wood pieces with white lining or a light fabric. Cut fabric pieces large enough to wrap each 1″ x 4″ board, staple the fabric neatly on the back, and finish the ends tidy. If the underside of your cornice will be visible, line it with the same fabric as the exterior for a polished look.
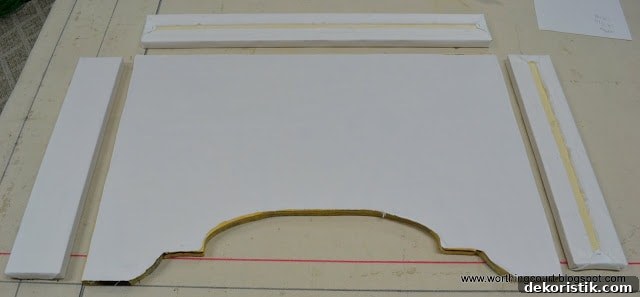
Cut fabric to exactly fit the plywood face and glue a thin bead around the perimeter to adhere it. Don’t worry about visible glue—everything will be covered by batting, trim, and the outer fabric.
Here are the lined pieces ready to assemble; gaps on the inside edges are acceptable because they will be covered when the box is assembled and upholstered.
Assemble the Frame
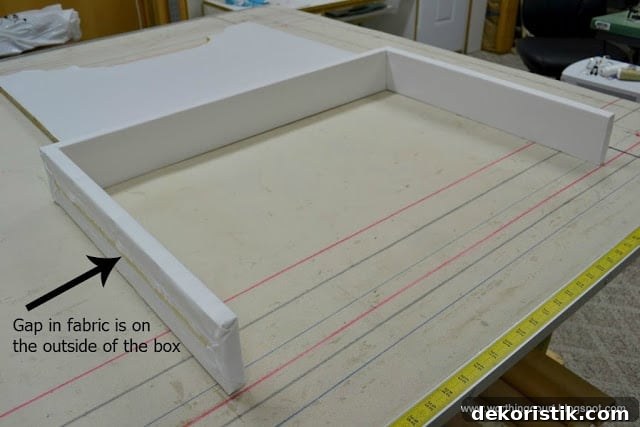
Attach the legs to the underside of the dust cover. I use 1.5″ wood screws to secure the frame. They are long enough to hold everything tightly without poking through the outer faces. Start screws with a hammer if needed and drive them in with a drill or screwdriver. Pre-drilling is optional.
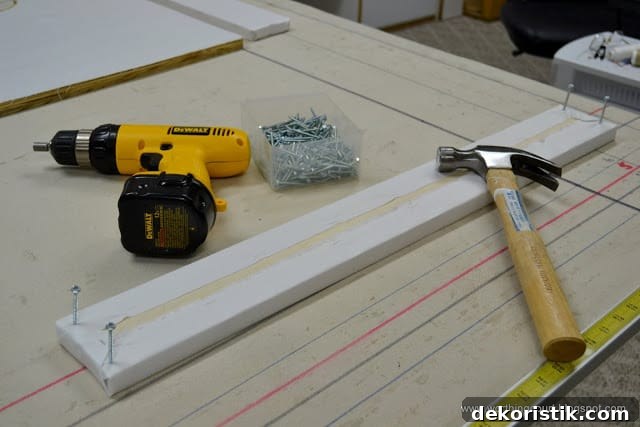
Here is how the completed box should look. The back shows multiple screws along the plywood-to-leg seam to prevent future warping:
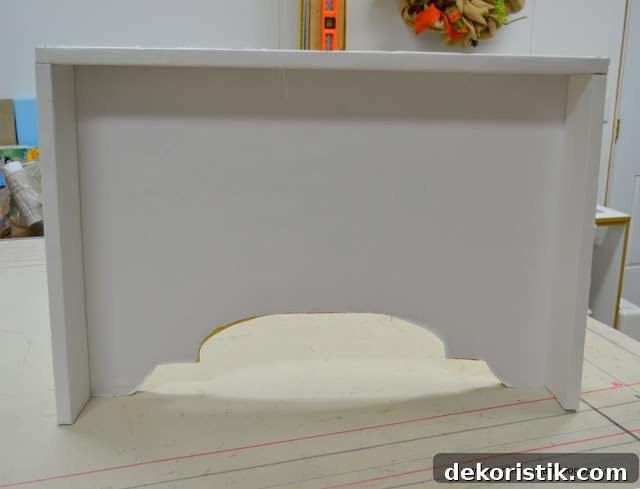
The front of the box is ready for batting and exterior fabric. Ignore any batting visible here—those steps come in Part II.
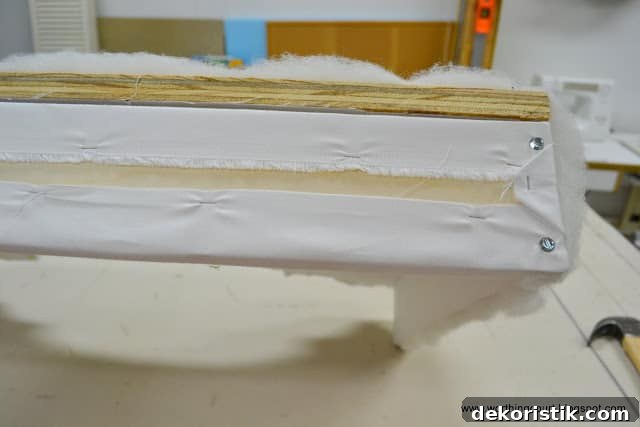
This is a good stopping point for Part I. In Part II I will show how to apply batting, upholster the face and legs, add trim, and securely mount the cornice over the window. If you have questions about measurements, tools, or materials, please ask.
FABRIC USED: Richloom Lucy Eden