

Create a beautiful festive Christmas garland with directions from a pro!
The team at Total Bliss returns with a clear, professional guide for decorating a Christmas garland. Nancy, the owner, demonstrates how to transform a simple faux garland into a lush, eye-catching display perfect for mantels, staircases, or doorways.
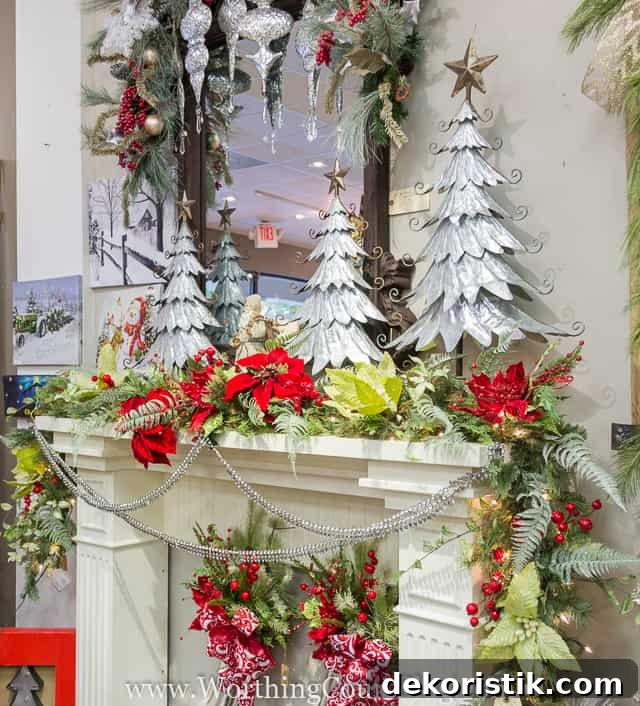
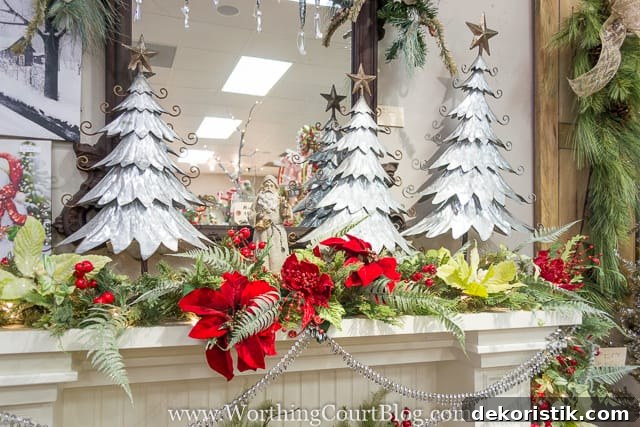
This finished garland is shown draped over a faux fireplace mantel and accented with silver trees and crystal beads that catch the light. The result is elegant and festive without feeling overdone.
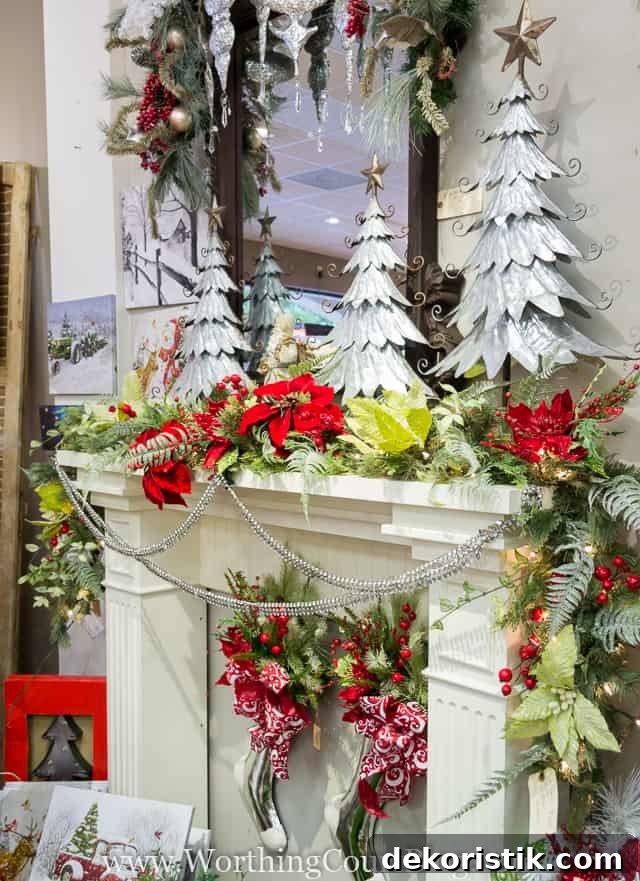
Before you begin decorating, take time to fluff the garland so it looks full and natural. If your garland has built-in lights, plug them in and test them first to avoid working around a faulty strand later.
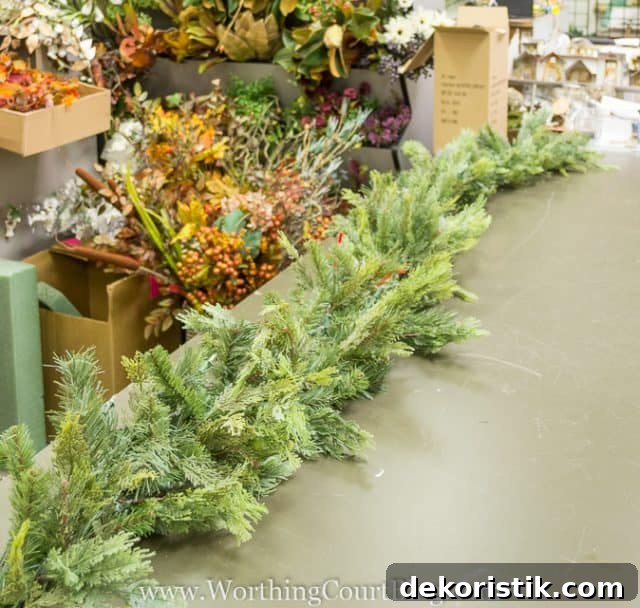
Step 1 – Gather supplies and choose a color scheme
Assemble the supplies you might need: cable ties, green floral wire, pipe cleaners, wire snips, scissors, and a hot glue gun with glue sticks. Many decorations tuck securely into the garland without extra fastening, but heavier ornaments may require ties or wire. Pick a color palette that coordinates with the rest of your holiday decor—this keeps the finished look cohesive and visually appealing.
Step 2 – Find the center
Locate the center of the garland and mark it with a ribbon or a small clip. Beginning from the center helps you build balance and control how the design flows toward each end.
Step 3 – Add dimension with stems and picks
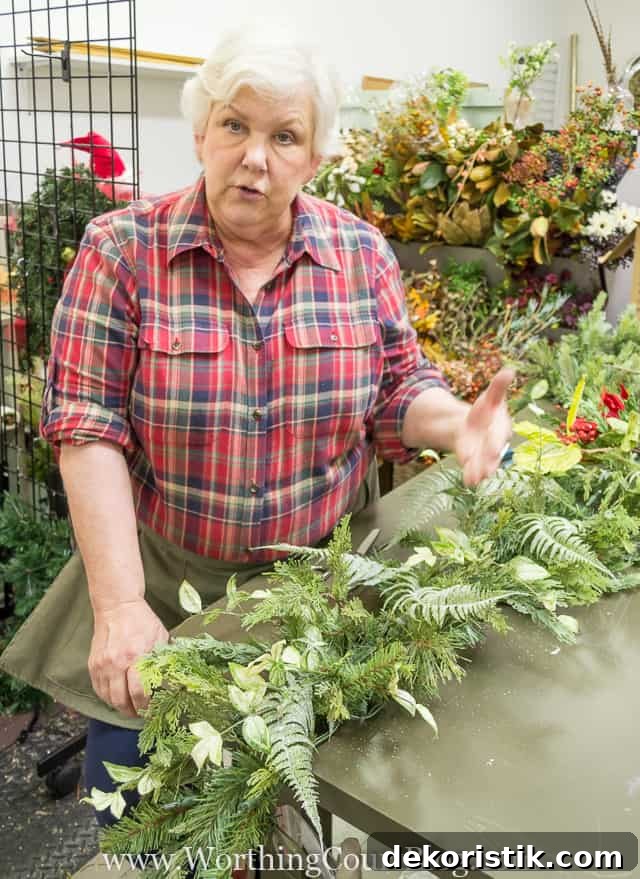
Start by inserting leafy stems, twigs, and greenery picks to create texture and depth. Cut larger sprays apart to spread them farther along the garland. Fluff, bend, and shape each stem so it looks natural—then tuck it in. Most lightweight stems stay in place without wire or glue.
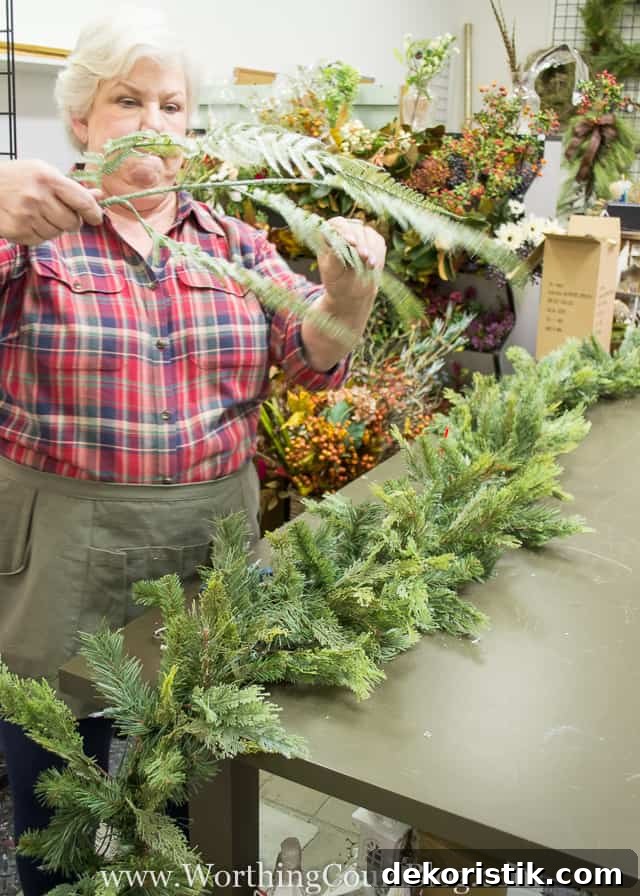
Use a mix of stem types to avoid a monotonous look. Vary textures and lengths, and taper the amount of greenery as you move toward the ends of the garland.
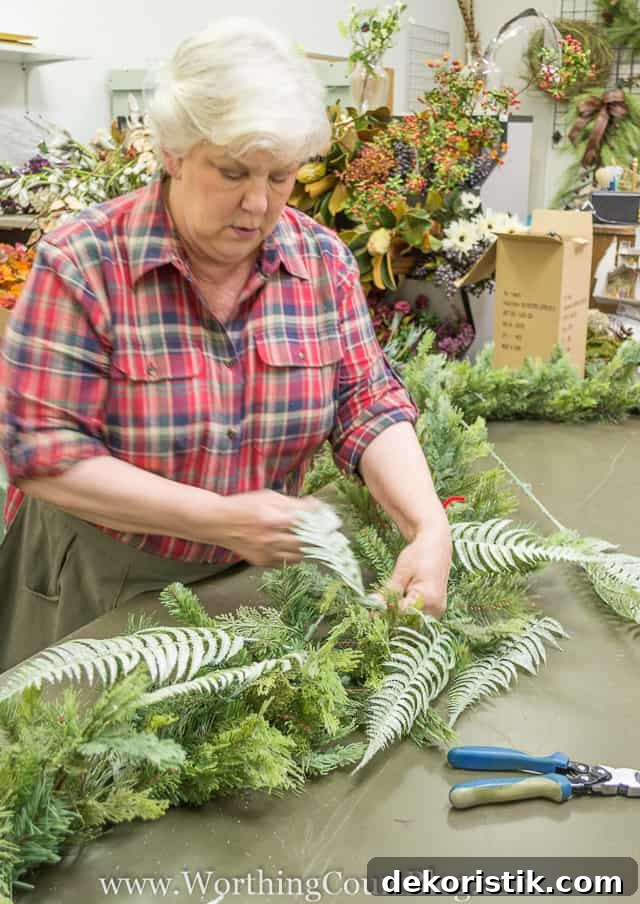
Step 4 – Introduce larger focal elements
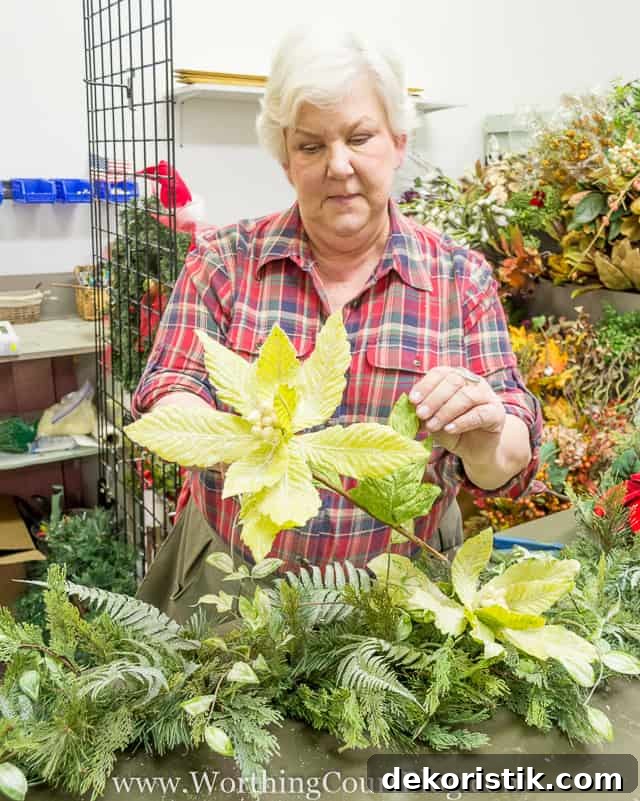
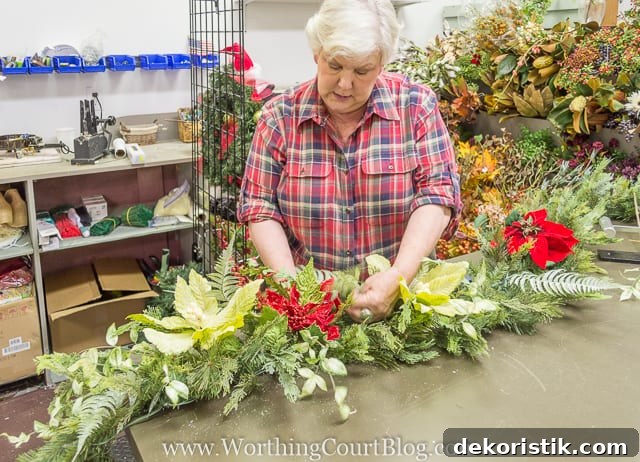
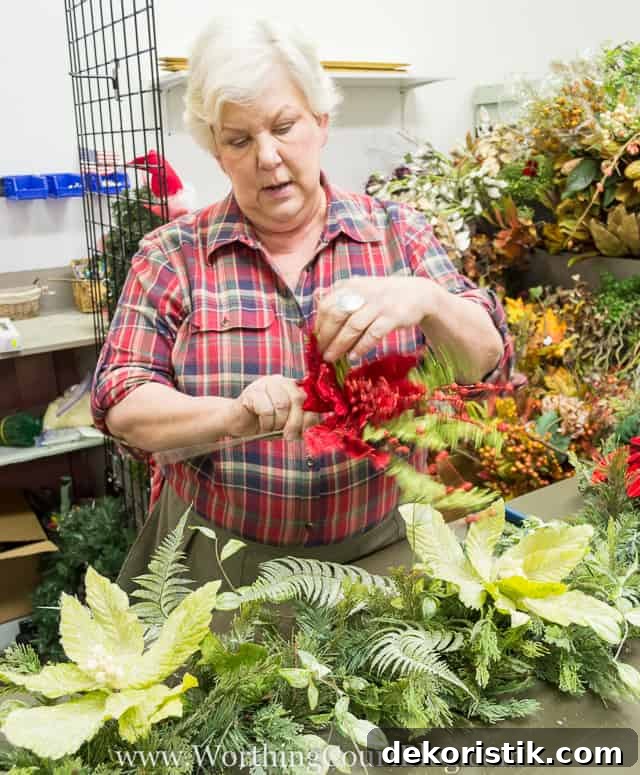
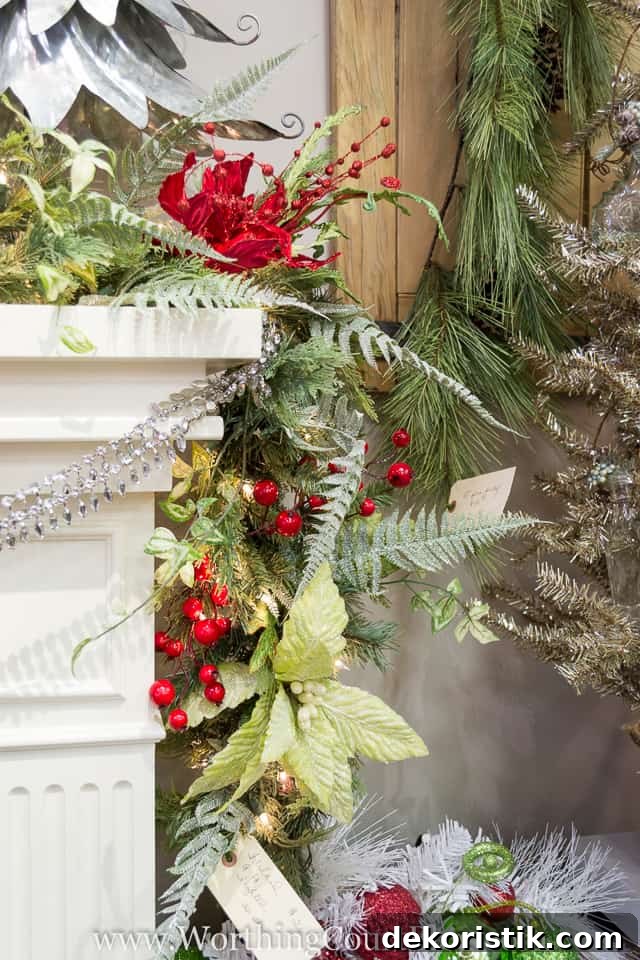
Once the base is established, add larger pieces such as flowers, large berries, or standout picks. Mix different floral types and group multiple picks together to make a bolder statement. For example, wiring a poinsettia with leafy and berry picks creates a dynamic focal cluster.
Step 5 – Add finishing touches
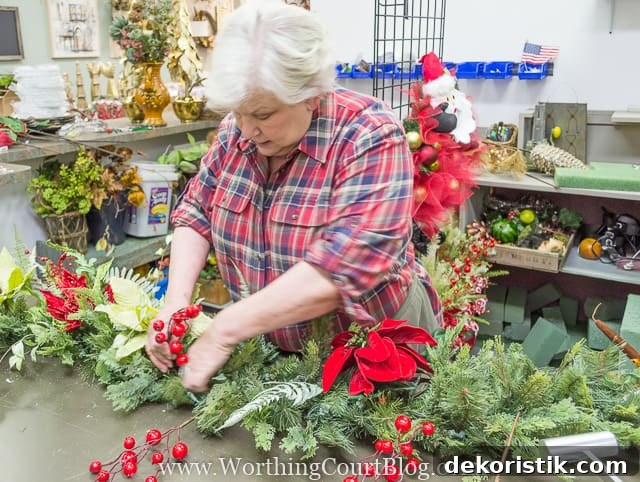
Small accents—like single berries, mini pinecones, or bits of glittering ornamentation—bring everything together. Nancy sliced a large bunch of red berries apart and distributed the pieces across the garland, adding bright pops of color that enliven the greenery.
Step 6 – Create a focal center
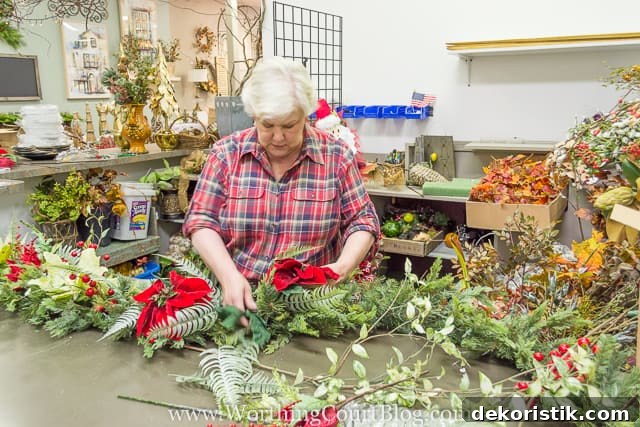
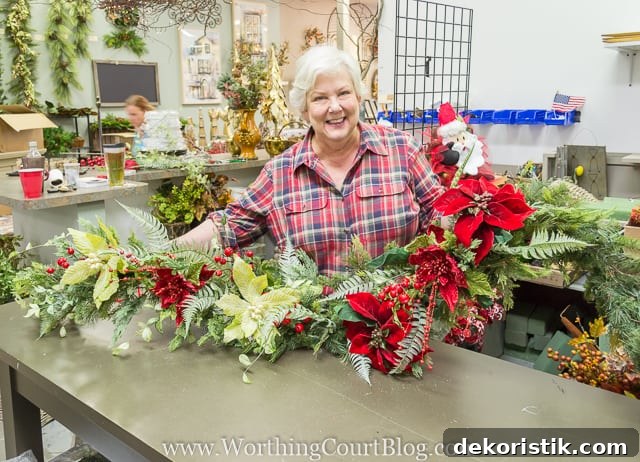
Instead of a single bow, Nancy chose a focal cluster of large poinsettias, fern leaves, and berries for the center. This anchor point lends structure to the design and draws the eye to the middle of the display.
Step 7 – Mirror and finish
Repeat the same balance and placement on the other half of the garland so both sides mirror each other. Taper elements toward the ends for a natural, finished look. Once complete, step back and make any small adjustments to spacing, fullness, or symmetry.
If you found these garland-decorating tips helpful, the same professionals at Total Bliss also offer step-by-step guidance for decorating Christmas trees and wreaths for a coordinated holiday look.
Step-By-Step Christmas Tree Decorating Directions From The Pros
How To Decorate A Christmas Wreath – Directions From A Pro
Sharing at THESE great parties.