
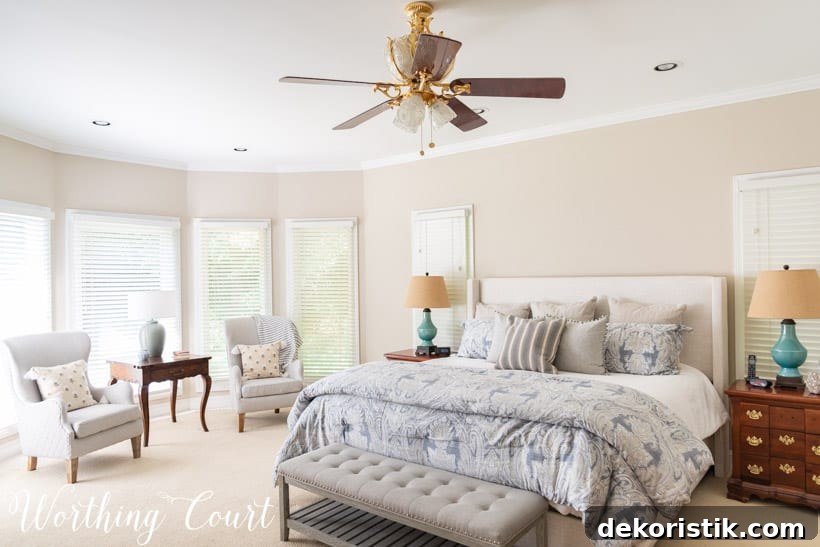
In the reality of a master bedroom makeover, the “during” stage rarely looks polished. Right now my master bedroom is exactly that: some elements are finished, others are still in progress, and the overall effect is a bit mismatched — but that’s all part of the process.
Home design takes time. Unlike quick television makeovers, real-life room updates require planning, sourcing the right pieces, doing the projects, and saving for the purchases — all while keeping up with everyday life. I’ve been working on this makeover for months, and I’m sharing progress now for three reasons:
- To keep myself accountable and on track with the plan.
- To remind you (and myself) to be patient with your own projects — progress doesn’t always happen overnight.
- To show an honest, real-life snapshot of the process rather than a perfectly staged final reveal.
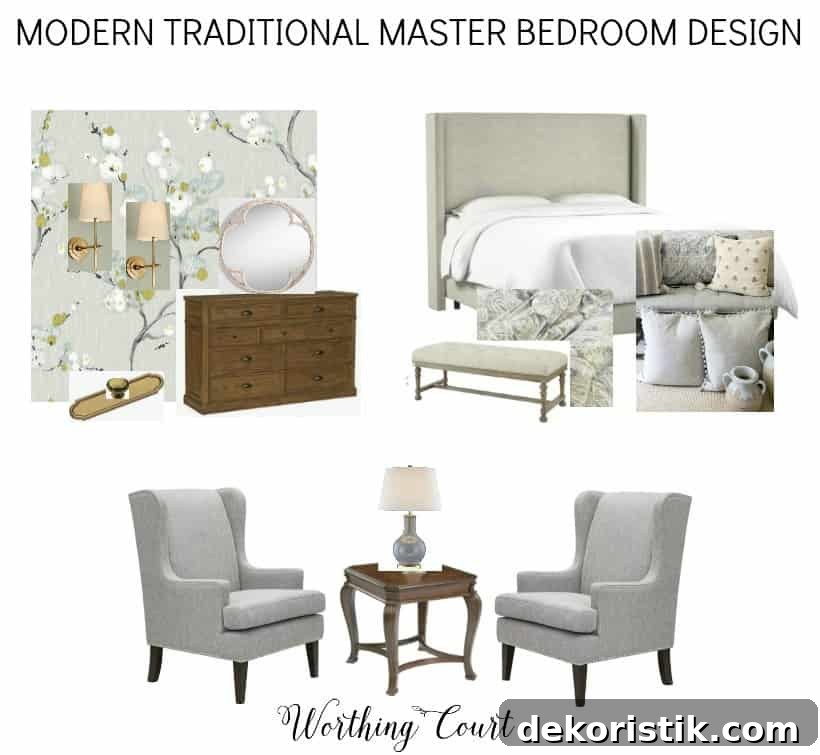
Below I’ll walk through what’s been completed and what remains. First, here’s my updated design board for the room. The revisions were minor, but they help clarify the overall aesthetic. If you saw the original board, this version tightens the palette and confirms the furniture and accent choices.
Affiliate links have been used in this post. See my full disclosure in the blog disclosure and privacy statement.
Wallpaper | Sconces | Mirror | Dresser | Upholstered Bed | Comforter Set | Dresser
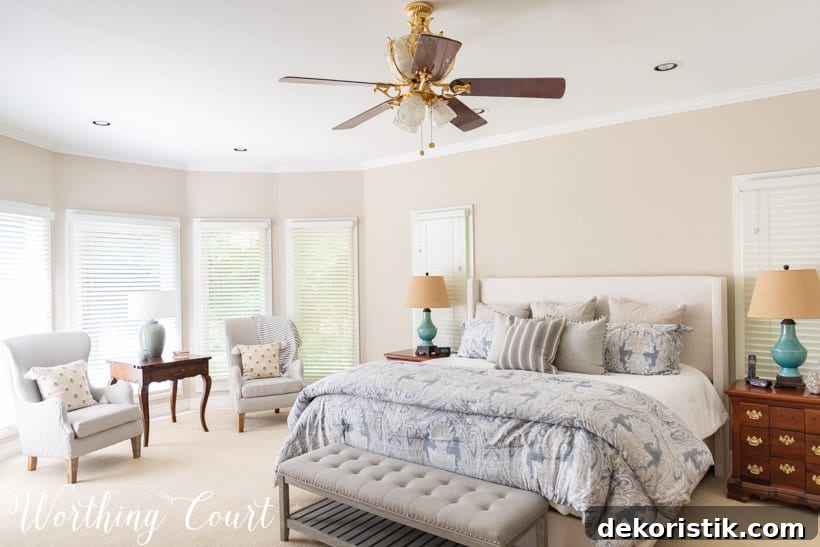
One of the first major changes was the bed. I wasn’t replacing our old bed out of necessity — I simply wanted a more updated, modern-traditional look — and the new upholstered bed with coordinated bedding and a bench at the foot gives the room the fresh foundation I was after.
The nightstands still need paint and new hardware, and the bedside lamps will either be refreshed or replaced. Those finishing touches matter, but they can patiently wait until the next phase.
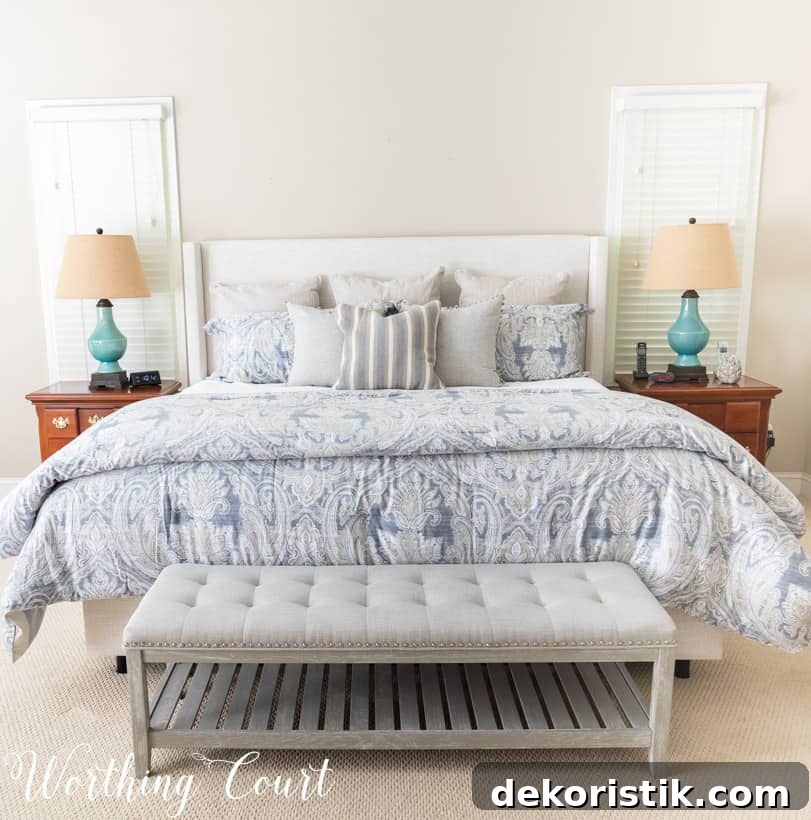
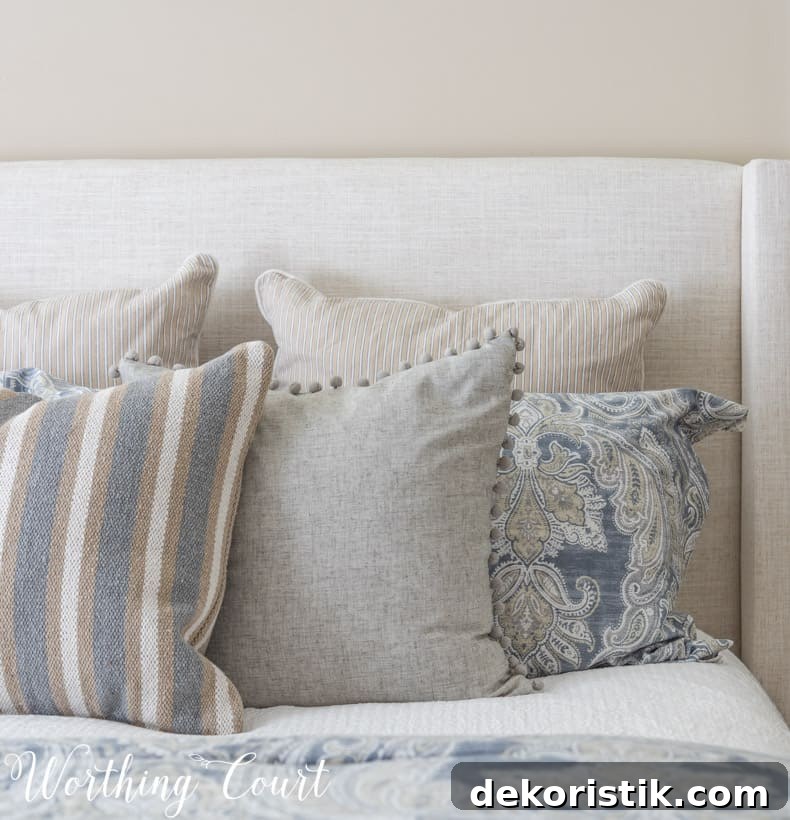
Mixing patterns and textures is my favorite part of decorating, and I enjoyed pulling together the assortment of pillows for the bed. The layered solids, stripes, and paisleys add depth and a comfortable, collected look — though my husband jokes there are “about eight too many” pillows now.
I also found two gray chairs that are exactly what I envisioned for the bay window area. I loved that each chair uses two different fabrics — a small detail that feels intentional and adds visual interest in the seating nook.
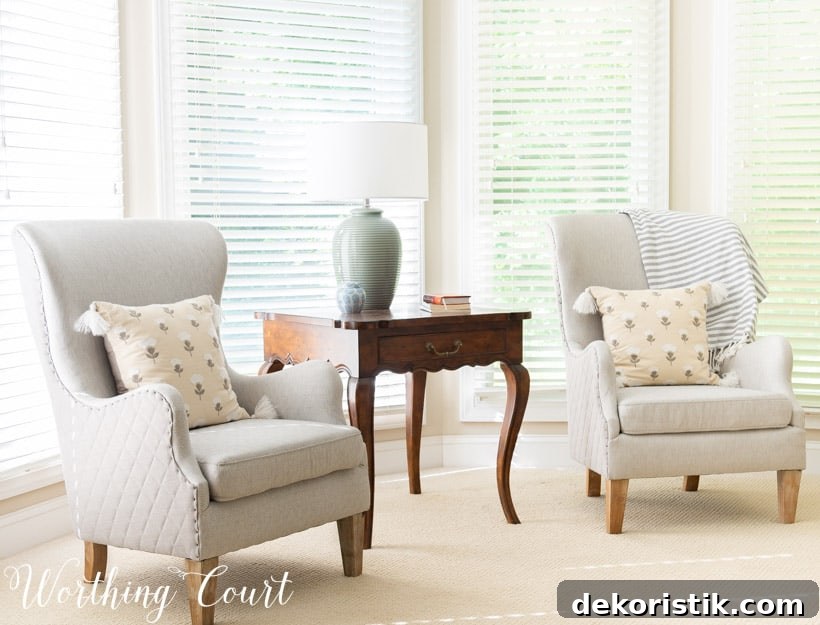
Window treatments were one of the trickier decisions. I plan to hang drapery panels between the windows in the bay to create a soft, layered look. For the windows flanking the bed, faux Roman shades in the same fabric as the bay draperies should tie the composition together without overwhelming the space.
And yes — the existing ceiling fan will be replaced. I tried to refresh it, but the frosted glass and overall style aren’t compatible with the new direction.
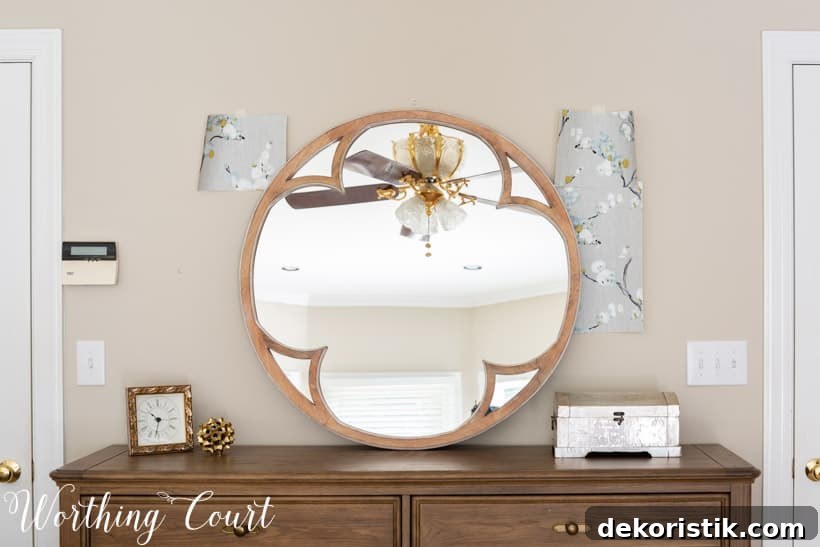
Opposite the bay windows, on the other side of the bed, sits the new dresser. The original hardware felt too rustic for the updated aesthetic, so we swapped it for vintage brass backplates and coordinating knobs. Small changes like that can dramatically shift the perceived style of a piece.
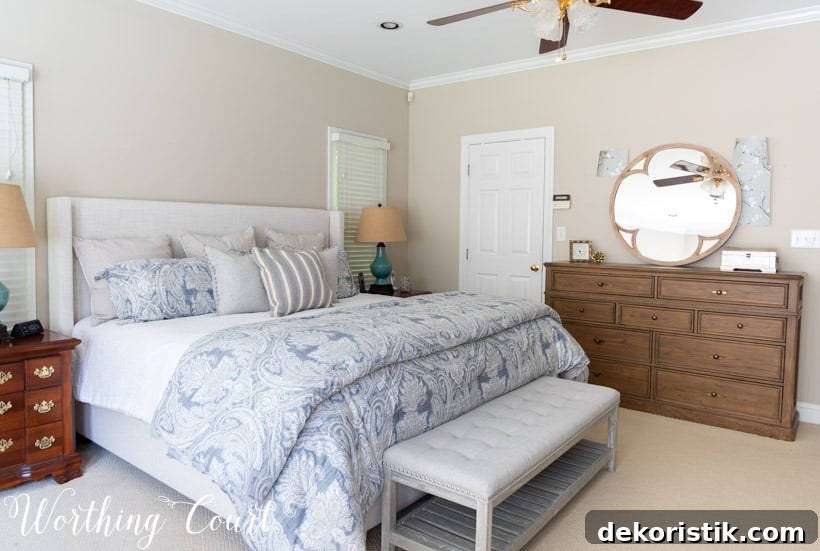
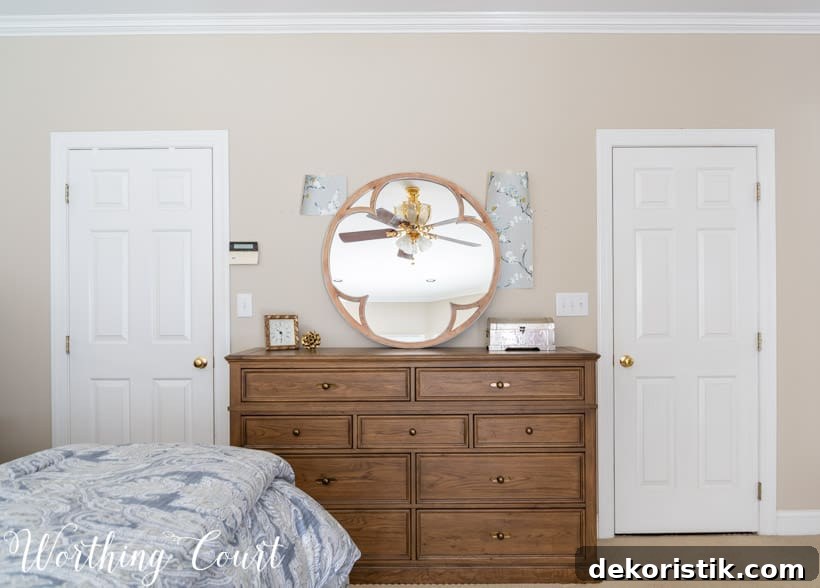
I debated where to install wallpaper and even polled followers about whether it should go behind the bed or on the opposite wall. Most people favored behind the bed, but in this layout that wall doesn’t work well because it intersects with the bay window. Instead, I’ll paper the wall behind the dresser. It will be less visible from the doorway and become a pleasant surprise when you step into the room.
Below is the current to-do list showing completed items and tasks that remain. It’s a helpful way to track progress and plan the next steps.
Purchase new dresser and chest of drawers and change hardware.Purchase new chairs.Purchase new bed and bedding.Purchase new bench for foot of the bed.- Hang wallpaper.
Replaceand hang mirror above dresser.- Paint nightstands and change hardware.
- Makeover or replace lamps on nightstands.
- Add artwork above bed and above chest of drawers.
- Add window treatments.
- Replace ceiling fan.
Replace lamp in bay window area.Purchase accent pillows.
That’s the current status of the master bedroom makeover: a strong foundation is in place and the remaining tasks are a mix of practical updates and styling details. I’ll continue to share progress photos and notes as the room evolves, and I hope this honest, in-progress view encourages you to embrace the imperfect middle of your own projects.