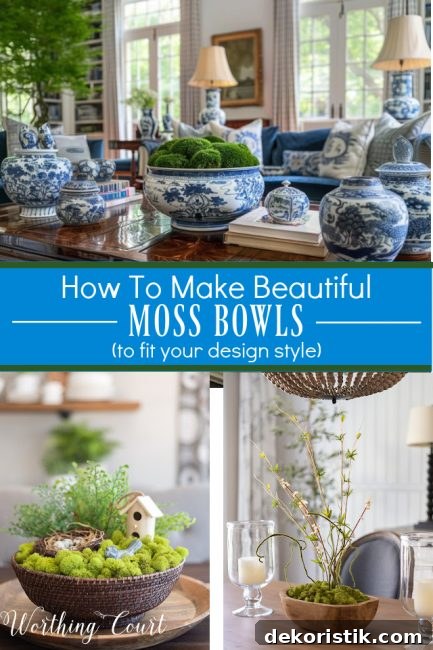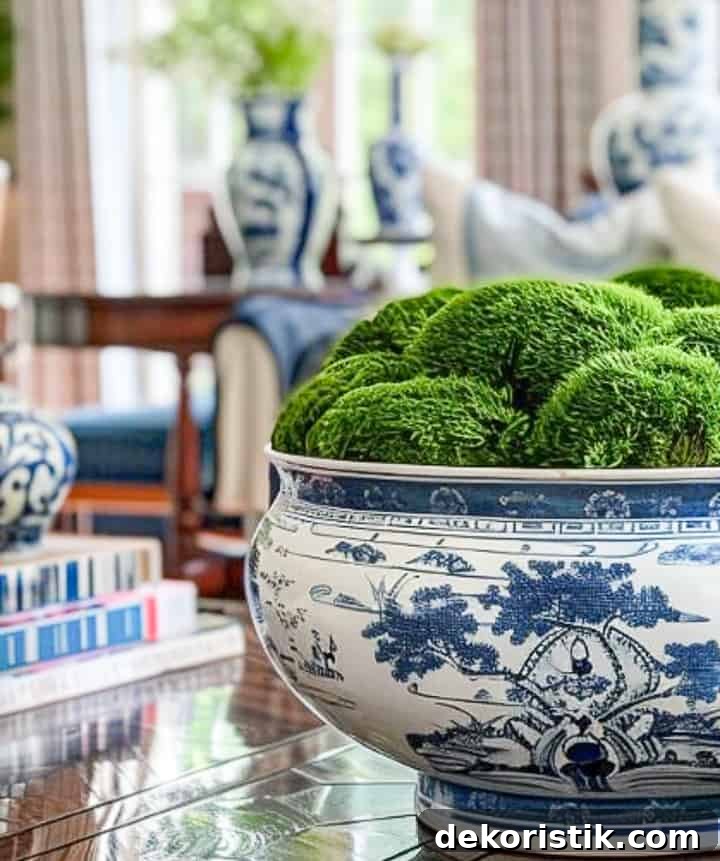
A DIY preserved moss bowl is one of the simplest and most rewarding projects you can make to bring a fresh spring green accent into your home. It takes only a few minutes to assemble, requires minimal materials, and adapts beautifully to any decor style—from classic chinoiserie to rustic wood or modern glass. Preserved moss is low-maintenance, long-lasting, and perfect for adding texture and color without the care live plants need.
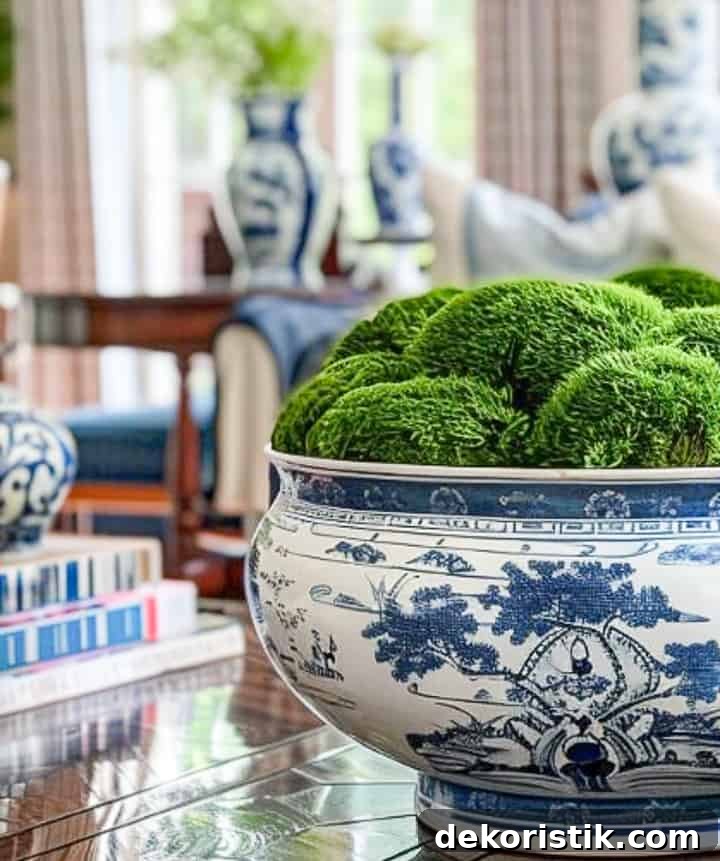
One of the best things about moss bowls is how versatile they are. Use any container you like—a decorative bowl, wooden dough bowl, wicker tray, pedestal vessel, or even a shallow basket. Because preserved moss comes in different textures and colors, you can easily customize the look to match your table setting, mantel, shelf, or entry console.
Places to Use a Moss Bowl
- As a centerpiece on a dining table
- On a coffee table
- On a side or end table
- Tucked into a shelf or bookcase vignette
- On a sofa or entry table
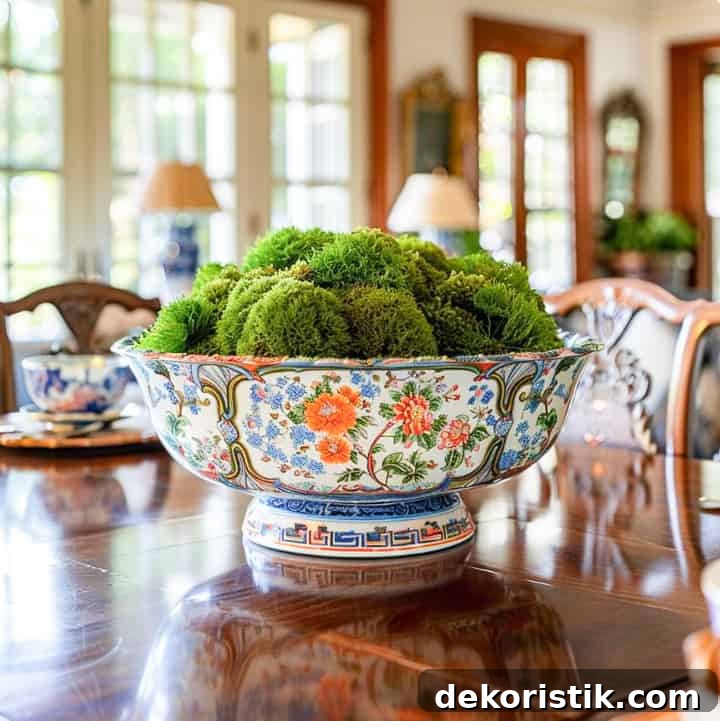
Supplies for a Basic Preserved Moss Bowl
To build a simple preserved moss bowl you only need a handful of items. Choose preserved moss for a long-lasting display that requires no watering.
- A container (bowl, tray, basket, or pedestal)
- Preserved sheet moss and reindeer moss (or other preserved varieties)
- Filler for the interior (floral foam, Styrofoam block, plastic bags, or packing material)
- Optional: removable adhesive putty or a hot glue gun for securing pieces
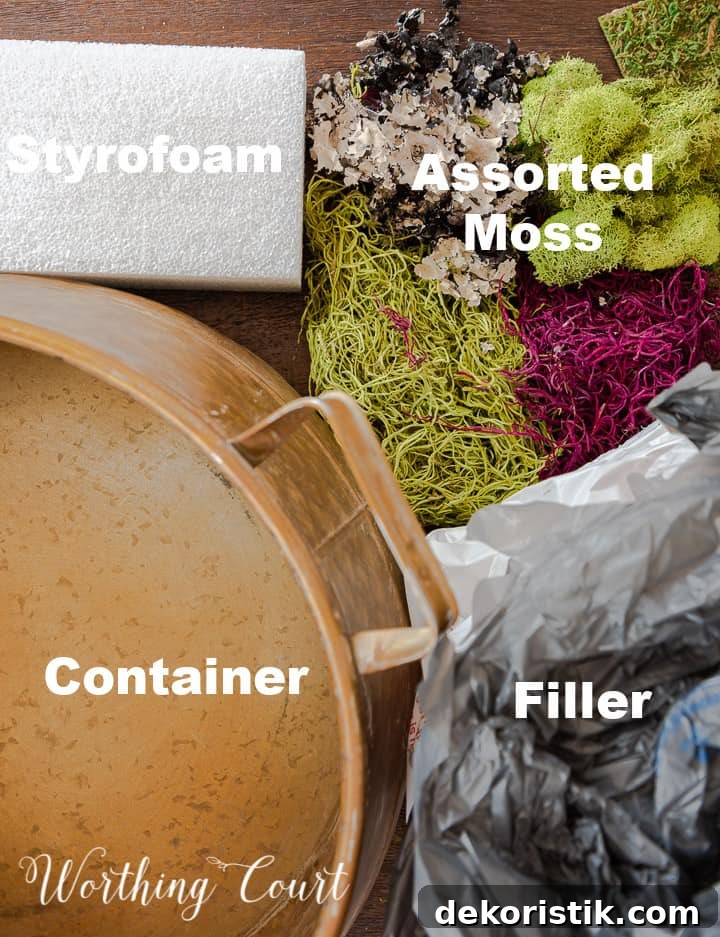
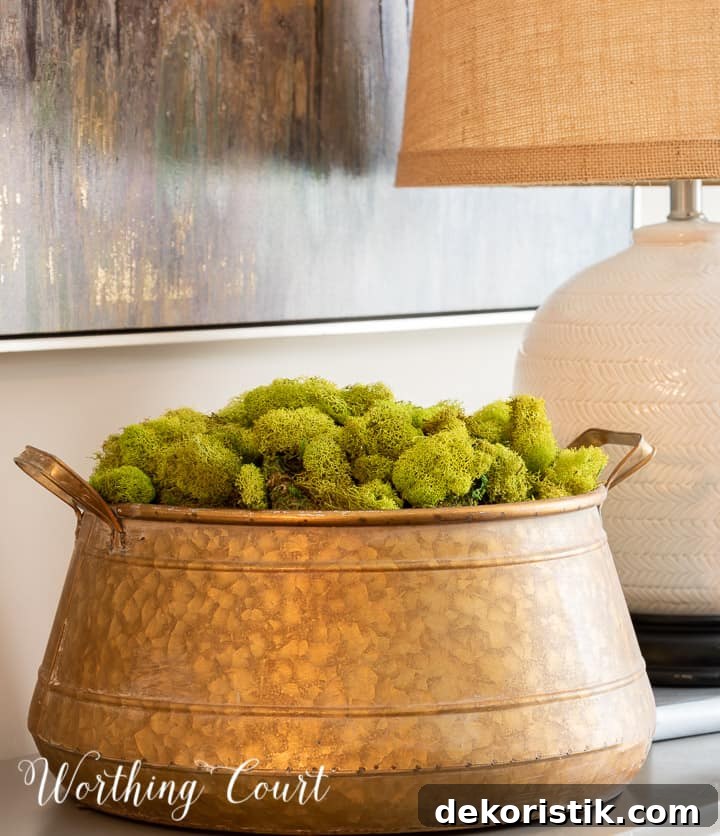
How to Make Your Own Moss Bowl
Creating a basic moss bowl is quick and forgiving. Follow these straightforward steps:
- Place filler in your container to build up volume and shape. For a mound effect, pile the filler higher in the center.
- Cover the filler with sheet moss. Leave the backing in place if the sheet moss is adhesive-backed; it makes a stable surface for the next layer.
- Arrange reindeer moss or clumps of preserved moss on top to create texture and visual interest.
Sheet moss provides a solid base that hides the filler and helps the top layer of moss sit neatly. Reindeer moss usually nests into the sheet moss without extra adhesive, but you can use a small amount of removable putty or hot glue if a piece needs securing. Aim for a slightly raised, mounded top for the best visual impact.
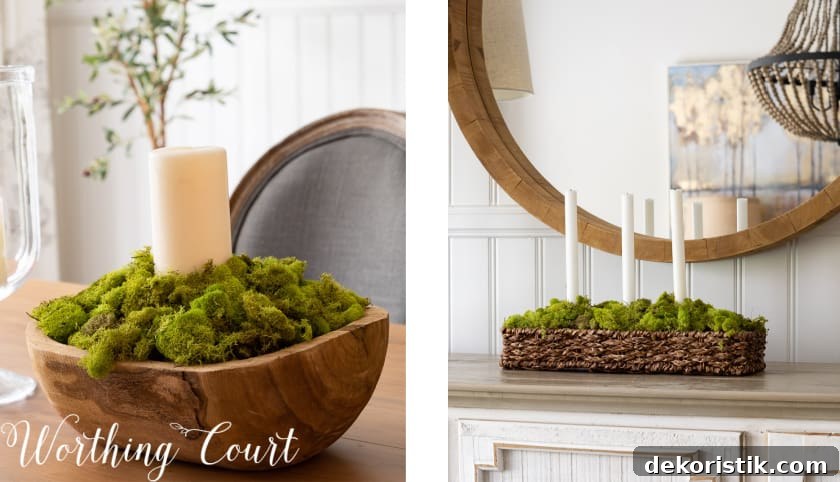
Moss Doughbowl or Tray with Candles
Moss bowls work beautifully as candle displays. To make a safe, stable candle arrangement, use floral foam or Styrofoam anchored with removable putty and insert candle stakes for taper candles. Cover the foam with reindeer moss and arrange candles evenly. If your moss layer is thick, sheet moss may not be necessary.
Making a Moss Bowl Centerpiece
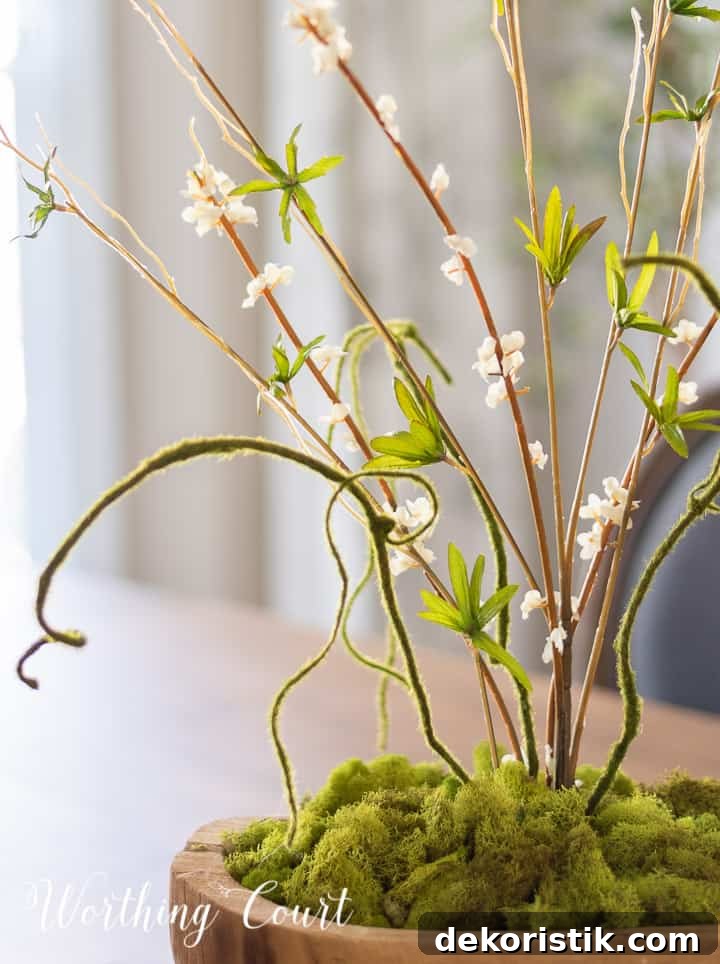
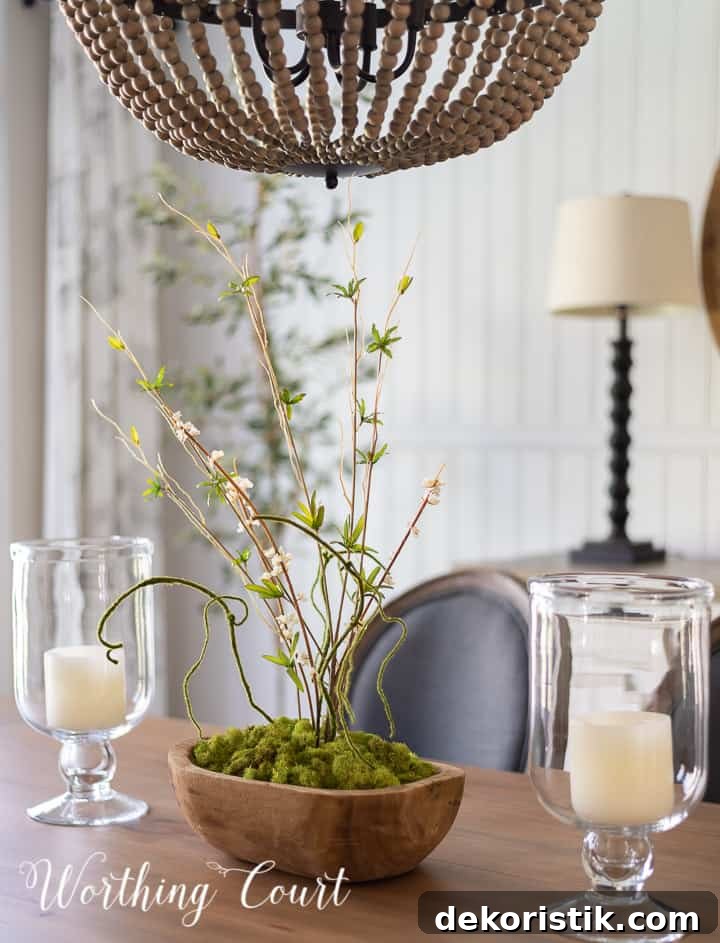
To add height and drama to a centerpiece, tuck a few faux stems or tall accents into floral foam placed beneath the moss. Pull back a small section of moss, insert the stems into the foam, and then fluff the moss back around them. Natural-looking bending branches or moss-covered vines make a striking focal point.
Making Customized Bowls
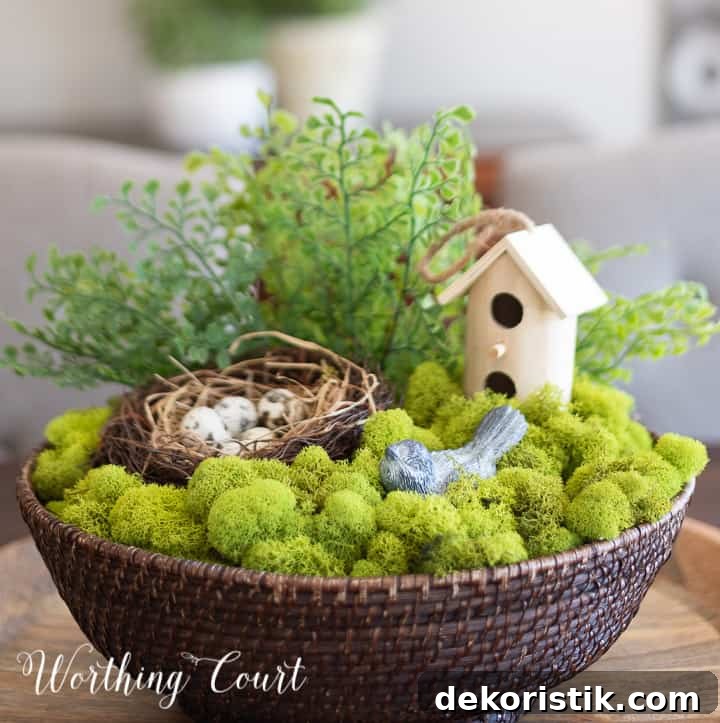
Personalize your moss bowl by adding small decorative accents: faux succulents, tiny bird nests, wooden birdhouses, small ceramic pieces, or seasonal objects. For a casual look you can simply nest these items into the moss so they sit securely. If you plan to add stems or heavier accents, anchor a block of Styrofoam under the moss to provide stability.
Types of Moss to Use
Different preserved mosses create different looks. Common options include:
- Cushion moss – soft, compact, and mound-forming with a light green tone.
- Moss mound or pillow moss – lush and dense with a deep green color.
- Forest moss – more varied texture and tone for a natural, woodland feel.
- Reindeer moss – a spongy lichen often dyed for bright color and great texture contrast.
- Adhesive sheet moss – convenient as a base layer to cover filler.
- Moss balls – moss-covered spheres that add sculptural interest.

Care for Preserved Moss
Preserved moss does not require watering, but following a few simple guidelines will keep it looking fresh for years:
- Avoid direct sunlight to prevent color fading—choose a spot with indirect light.
- Maintain moderate humidity. In very dry indoor conditions, occasional light misting helps preserve texture, but avoid over-wetting.
- Dust gently with a soft brush or use a cool hairdryer setting to remove dust without damaging the moss.
- Keep moss away from harsh chemicals and cleaning sprays.
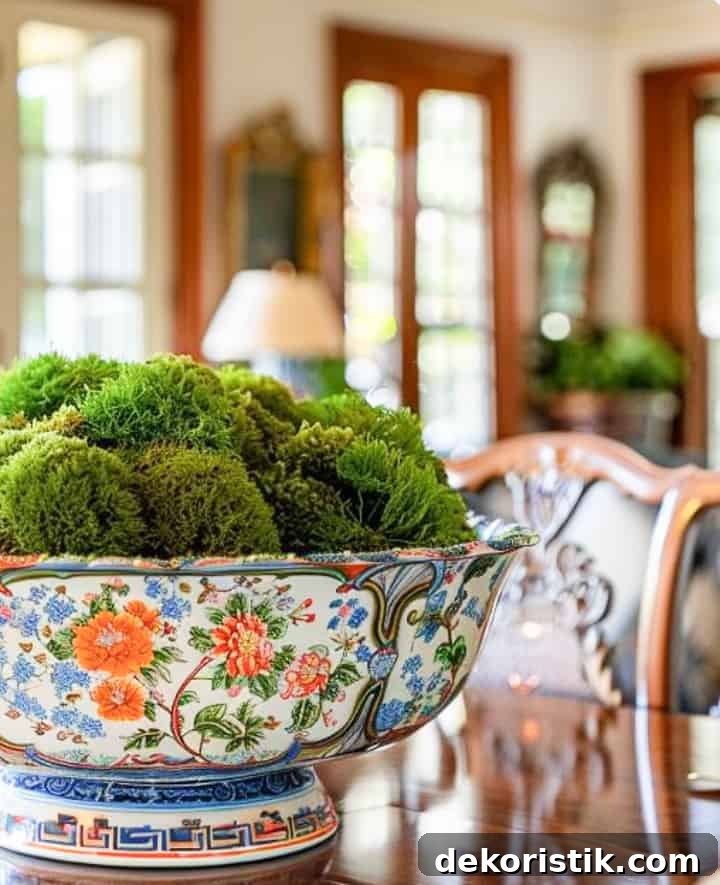
The beauty of a moss bowl lies in its simplicity and adaptability. Experiment with different containers, moss types, and decorative accents to create a custom piece that reflects your style. With minimal care and a few inexpensive materials, you can make a long-lasting, lush accent that brings natural texture and color into any room.