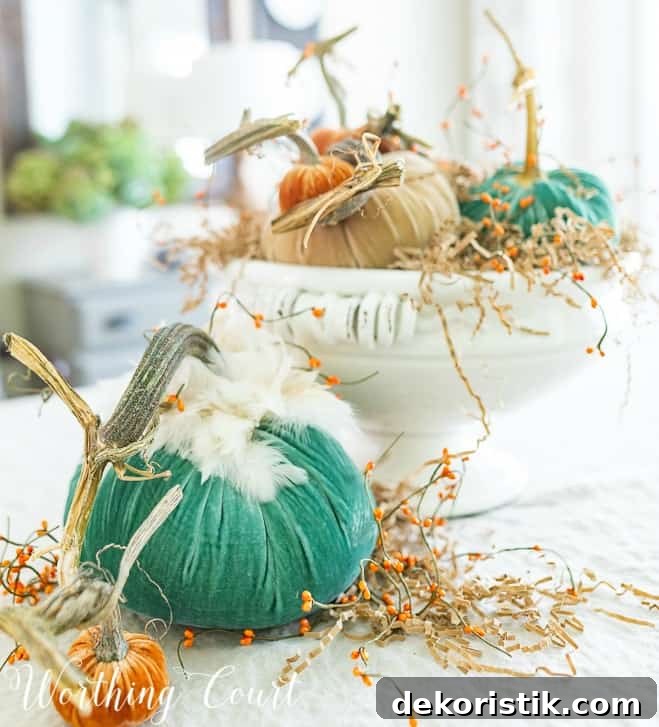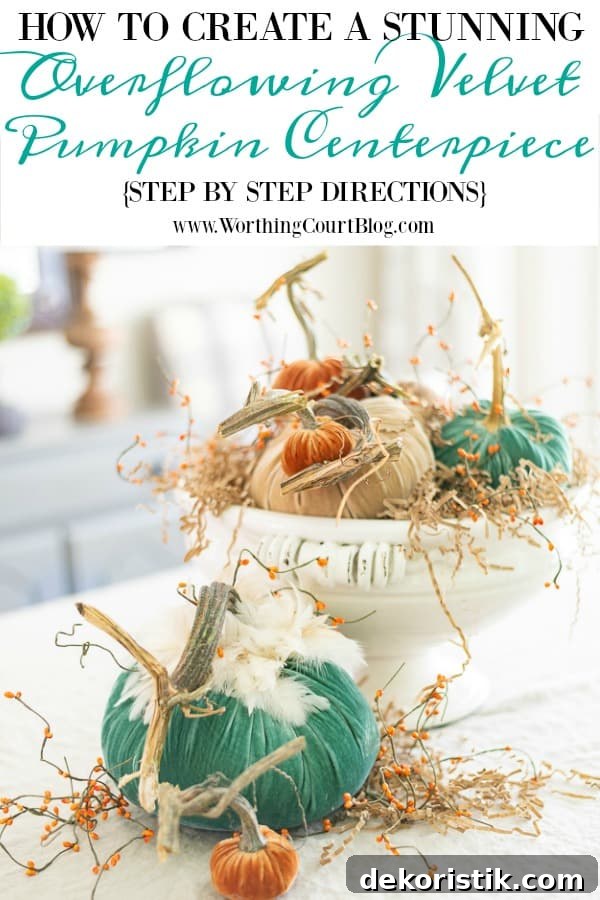
Elevate your table this fall with a simple, elegant centerpiece that looks like it’s overflowing with pumpkins. With a few strategic supplies and a little arrangement know-how, you can create a luxe, layered display that reads abundant and sophisticated—without spending a fortune.
This post was sponsored by LoveFeast. The original project, photos and opinions are 100% my own. See my full disclosure HERE.
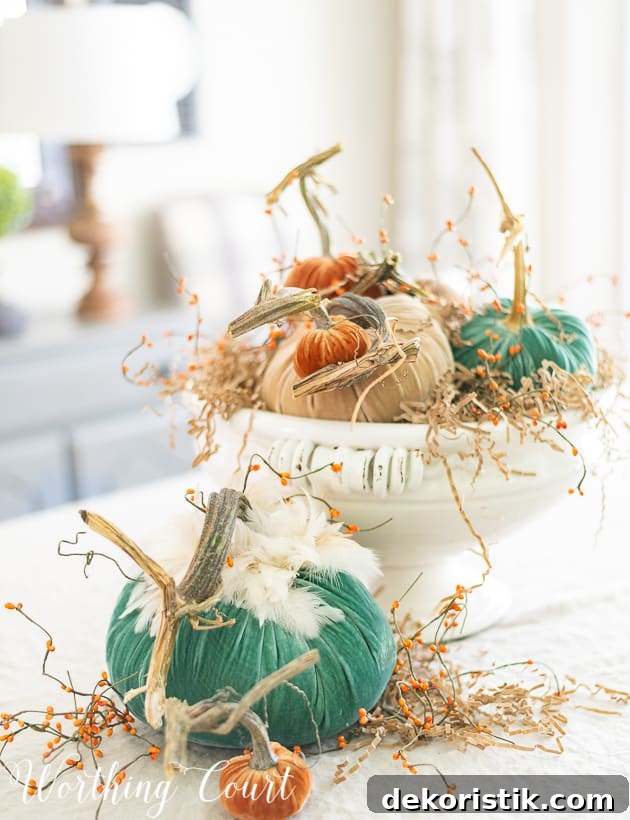
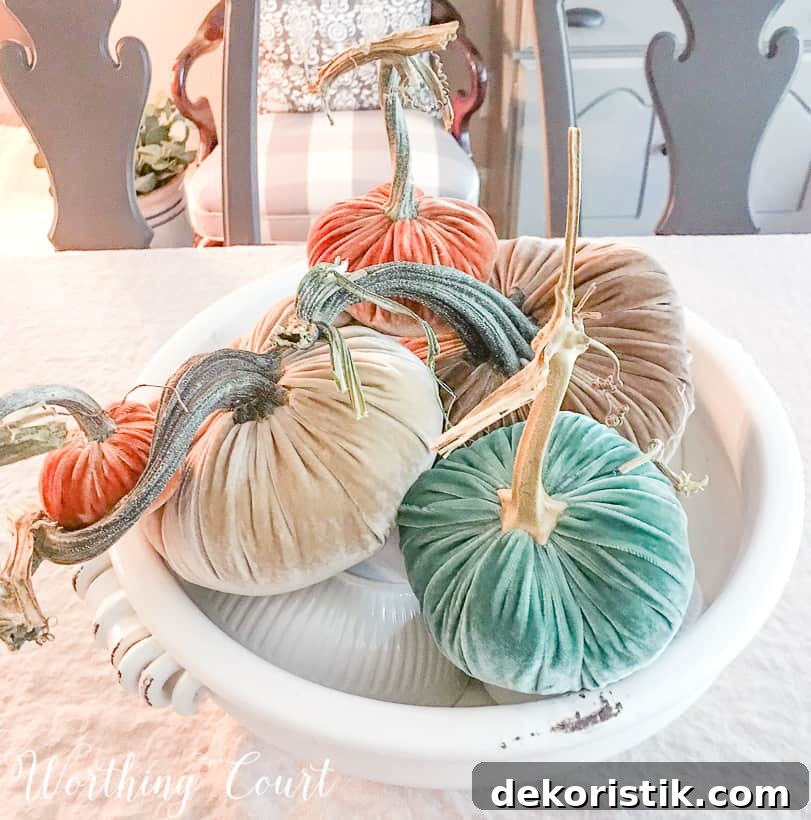
For a refined dining-room centerpiece I used velvet pumpkins, but the same technique works with ceramic, real, or felt pumpkins—anything with pleasing shape and color. Choose two or three coordinating palettes (for example, neutral, turquoise/blue, and warm russet) so the grouping feels curated. I grouped the pumpkins in a large white footed bowl and set it on a washed natural linen tablecloth so the colors really pop against a neutral backdrop.
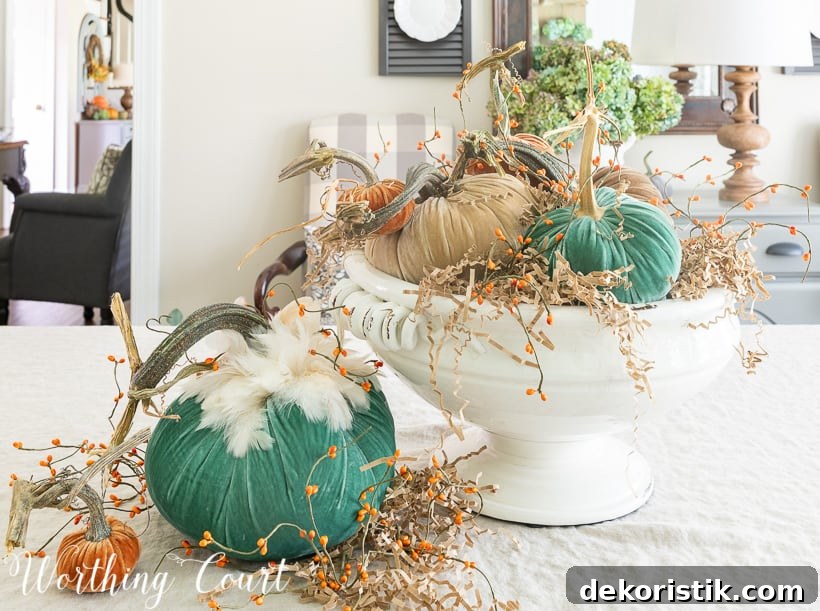
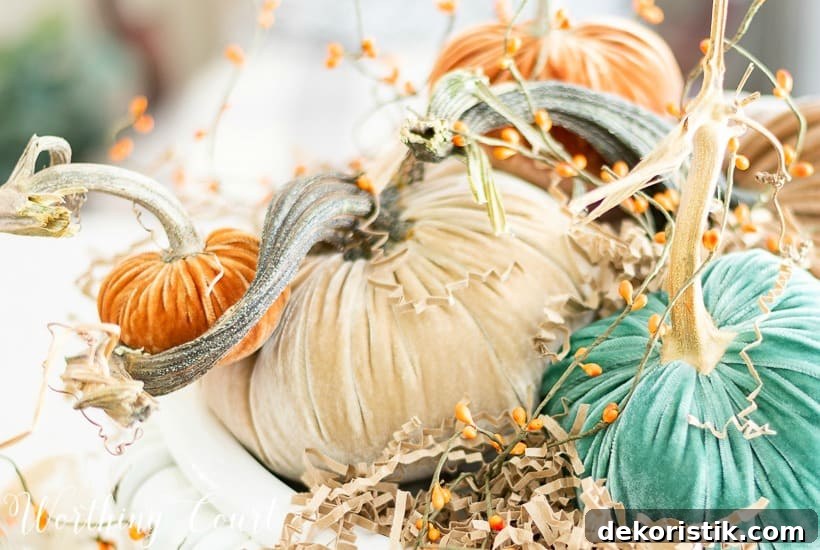
I love the contrast of textures—soft velvet, smooth ceramic, and natural linen—which gives the arrangement depth and a tactile, inviting quality. Small details, like realistic-looking stems and clusters of dried berries, make the centerpiece feel abundant and thoughtfully styled.
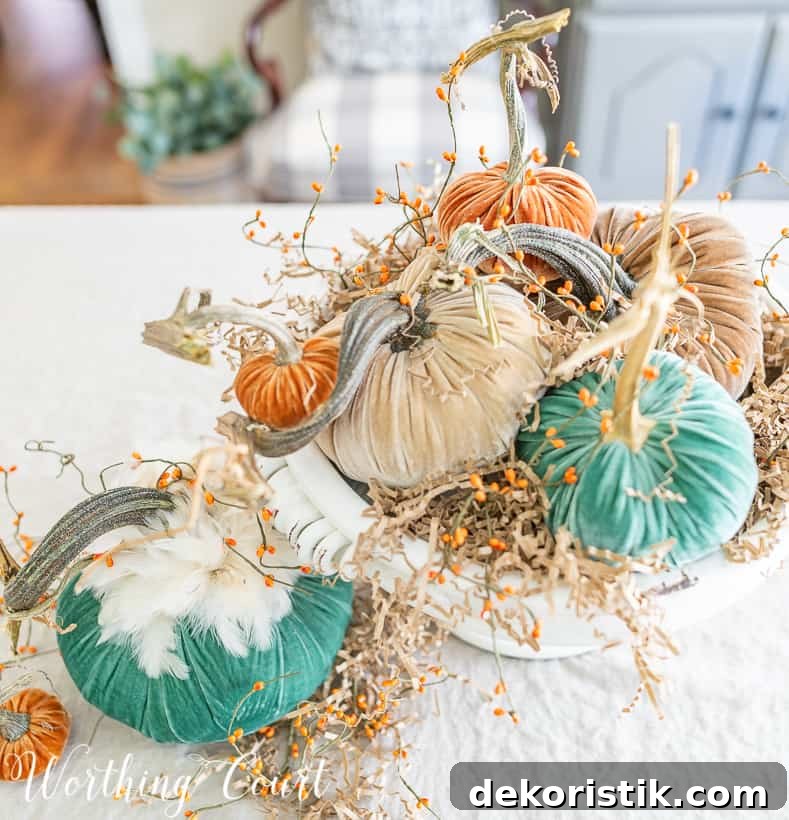
When I think of autumn I picture a bountiful harvest, and this approach captures that timeless look. The trick is optical: strategically raising pumpkins so the bowl appears full to overflowing, even when you’ve used fewer items than it seems.
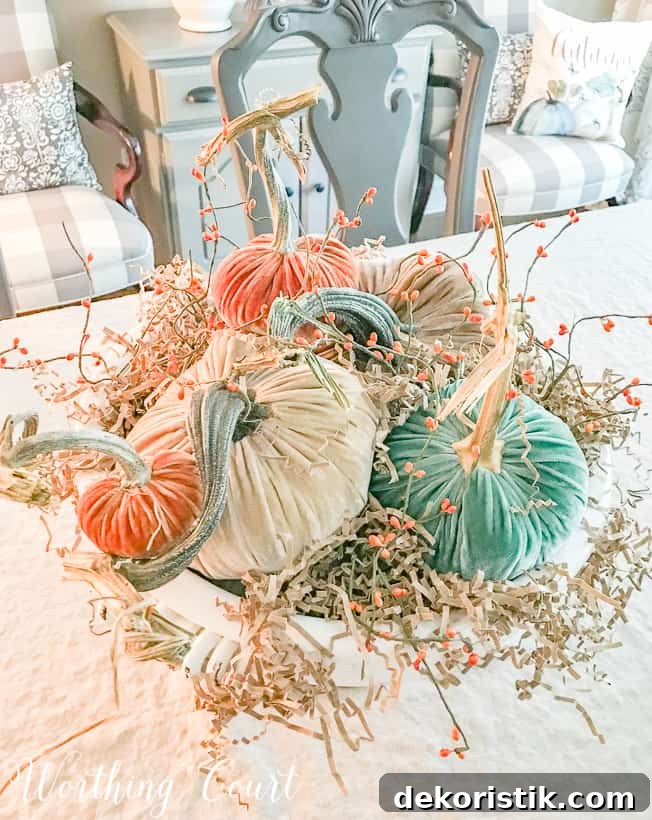
I focus on decorating affordably, so this technique is designed to deliver maximum impact on a budget. By building height and hiding inexpensive supports beneath decorative filler, you can achieve a rich, layered centerpiece without buying a large number of pumpkins.
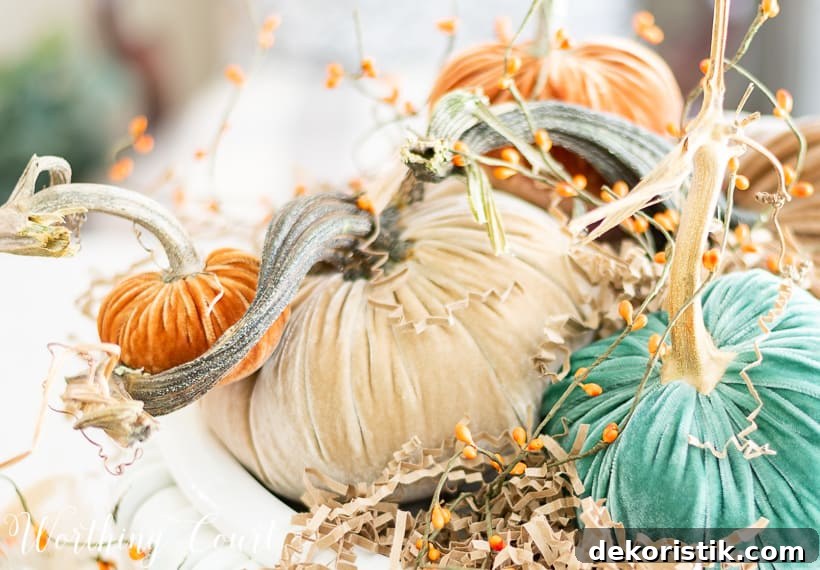
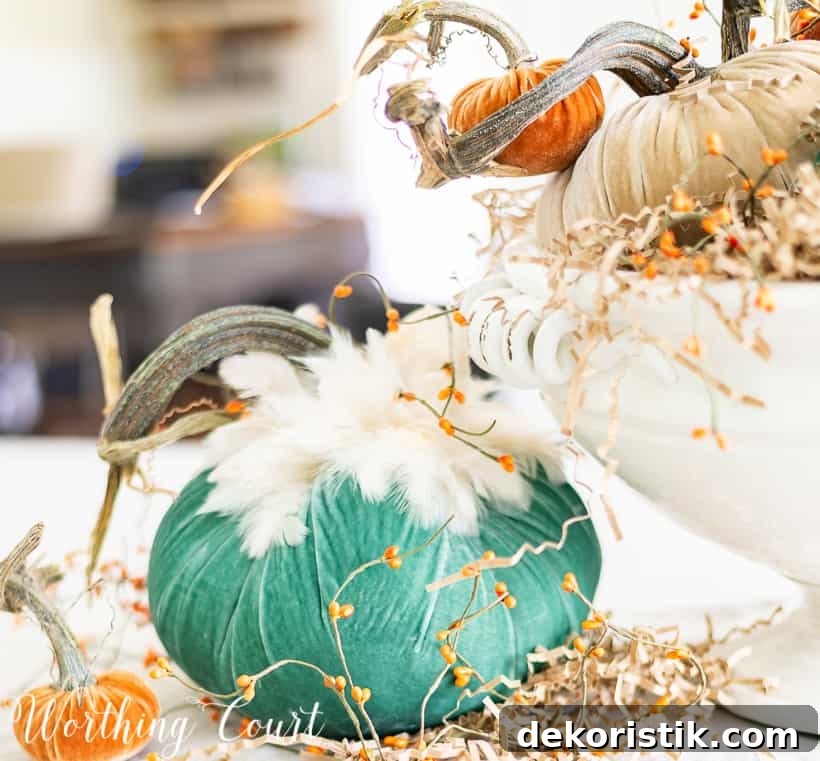
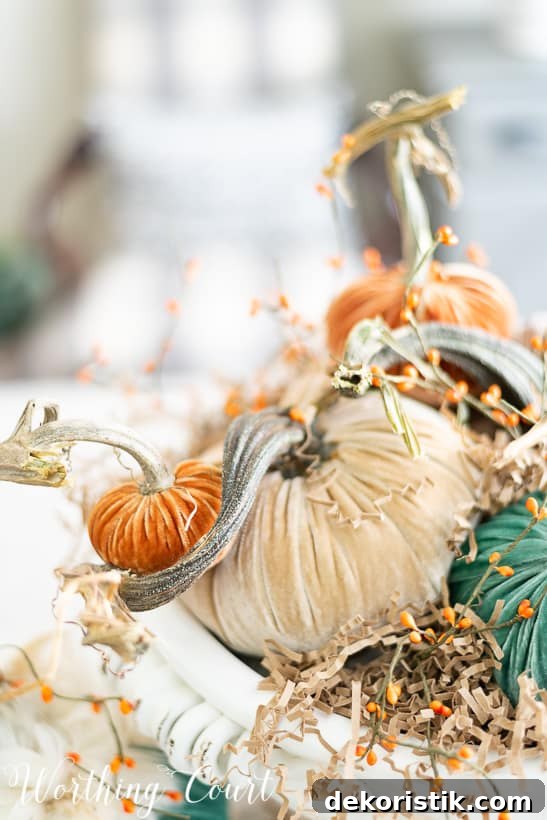
Creating a dramatic arrangement like this is much easier than you think
Below are the exact steps I followed. Once you understand the method, adapt it to fit your home, the pumpkins you have, and the container you prefer.
Supplies
- Pumpkins in assorted sizes and colors (velvet, ceramic, fake, or real)
- A large container or footed bowl (mine has a 14″ opening and is 9″ tall)
- Several smaller bowls or dishes to act as risers
- Neutral shredded paper or paper crinkles to hide supports
- Sprigs of dried berries or other small accent foliage
Ignore the candle and candlestick pictured—I ended up not using them. The key supplies are the container, risers, filler, pumpkins, and a few berry stems for accents.
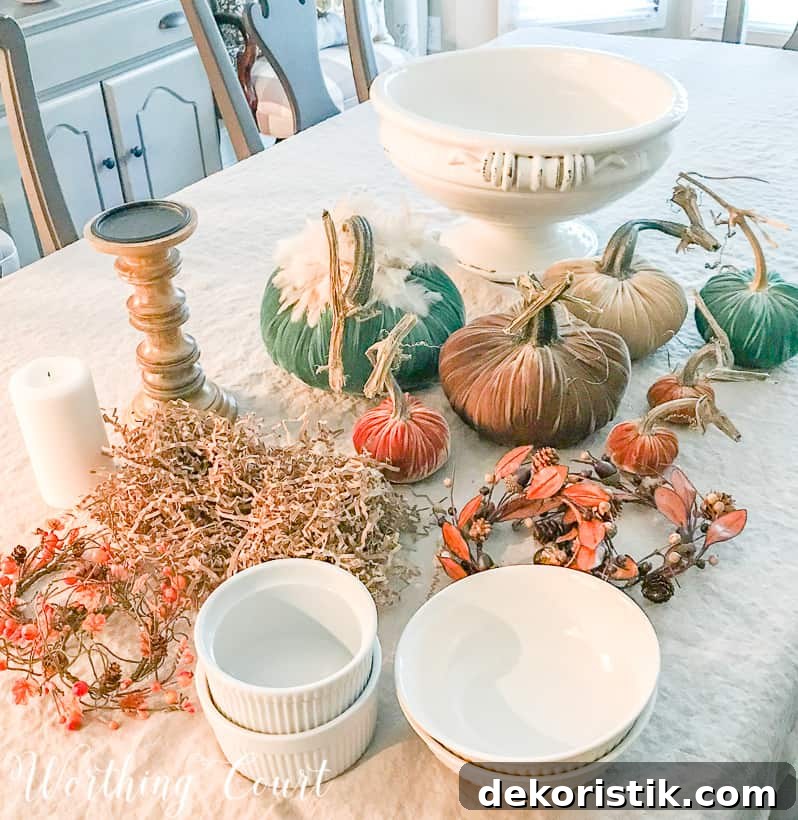
Let’s fool the eye
Directions
1. Choose your container and risers: Turn small bowls, dishes, or low serving pieces upside down inside the larger bowl to create several different height levels. The variation in height is what makes the display read abundant.
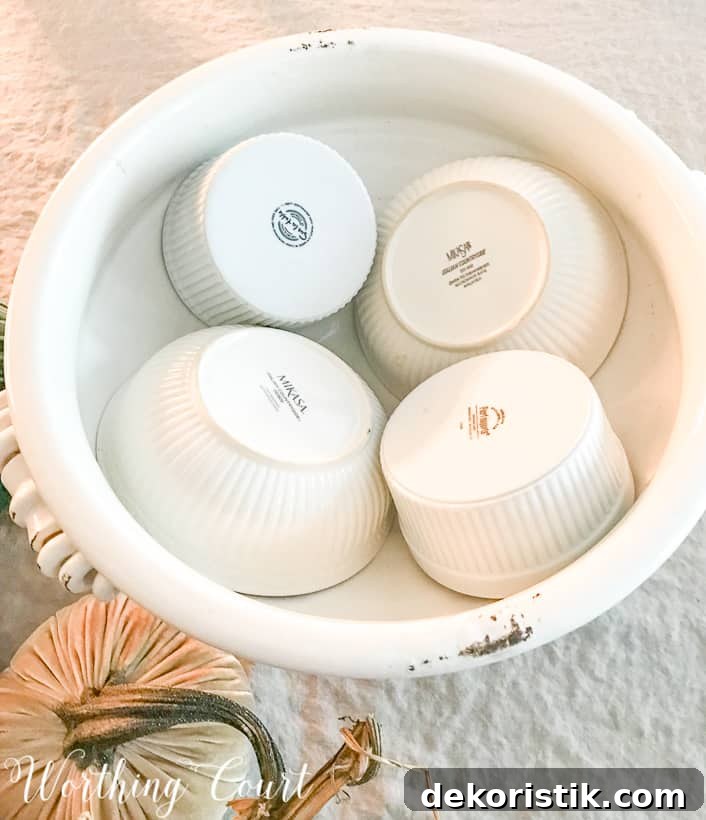
2. Arrange the pumpkins: Place pumpkins on the upside-down bowls. Tilt and rotate them at different angles—avoid lining every stem up straight. A few pumpkins slightly leaning or overlapping creates movement and naturalism.
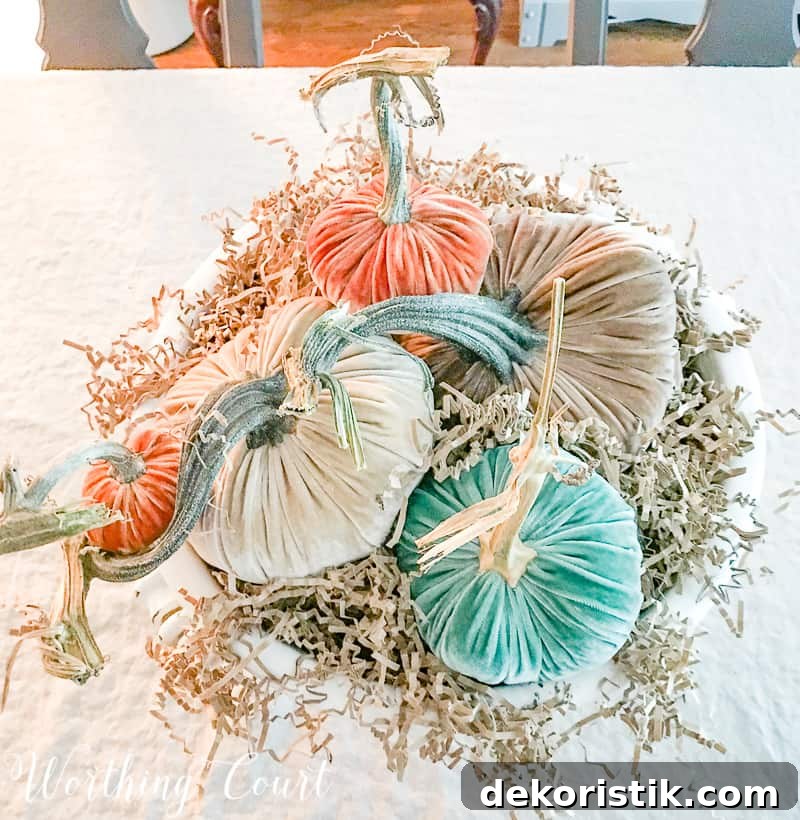
3. Conceal the supports: Fill the gaps and spaces around the risers with shredded paper or paper crinkles, tucking it in so the bowls are invisible. Use neutral tones that blend with your container and table linens for a cohesive look.
4. Add accents: Tuck small clusters of dried berries or delicate foliage among the pumpkins to add color, texture, and visual interest. Place a couple of berry stems higher and a few lower so the eye moves through the arrangement.
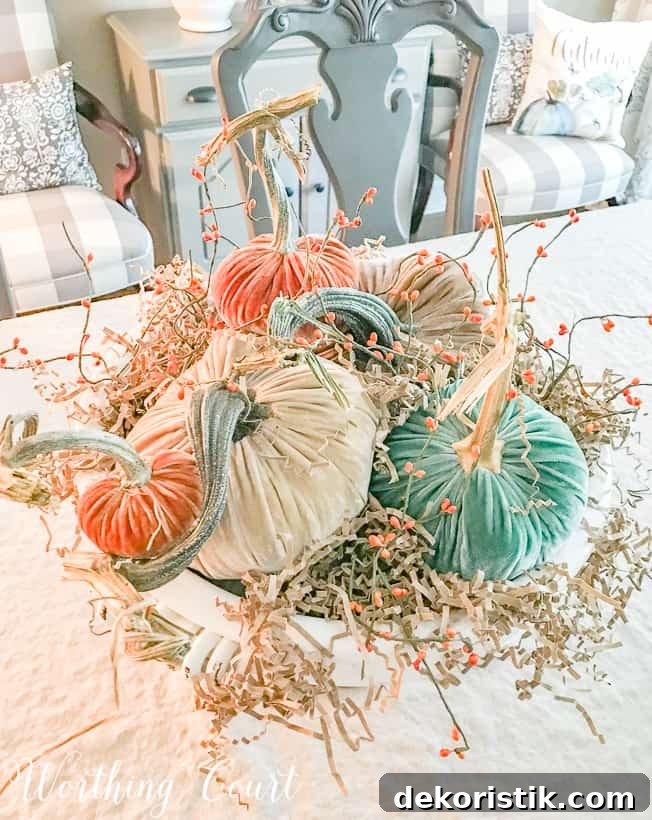
5. Anchor the scene: For added presence, arrange one or two pumpkins beside the bowl on the table along with more paper crinkles and the same berry stems. This creates a sense of spillover and anchors the centerpiece so it looks natural rather than staged.
And there you have it: a beautiful, bountiful fall pumpkin centerpiece that looks lavish but is simple and budget-friendly to assemble. Change the color palette or container to suit your style—this method is flexible and always effective.