
How to Make a Moss Wreath for Your Door


My moss covered wreath creates a big impact in my decor and is easy to make. Let me show you how!
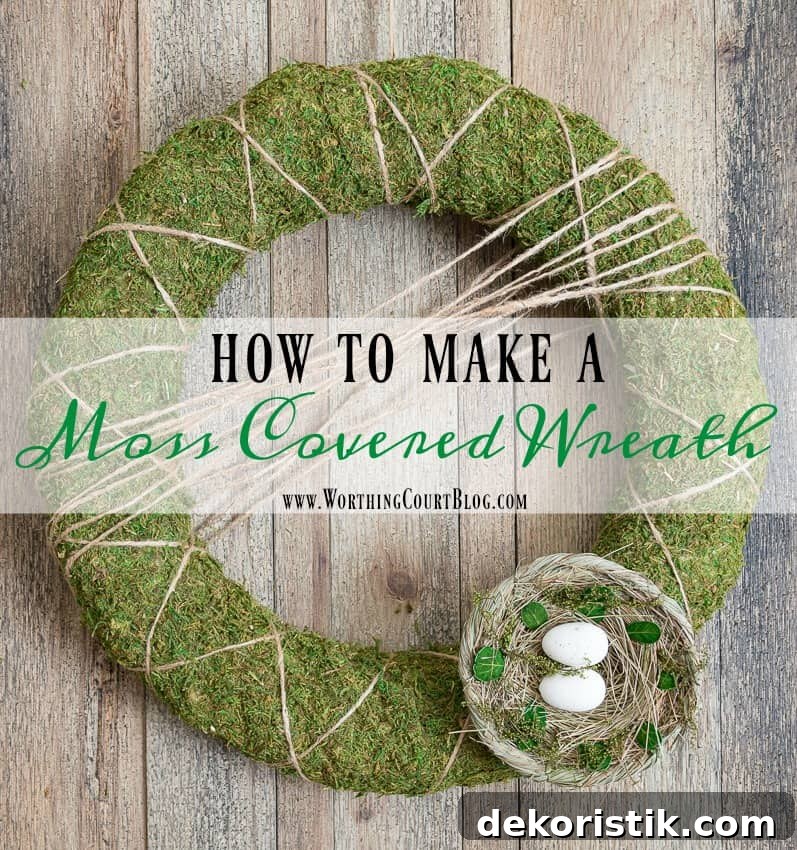
One of my favorite things about spring is the return of lush green moss on the shady side of our yard. While we work to grow grass in other areas, I love that this little moss carpet thrives—it’s soft, cool underfoot, and a spot I don’t want to change. That shady, peaceful patch is exactly the inspiration for the moss covered wreath I made to hang above my spring fireplace mantel.
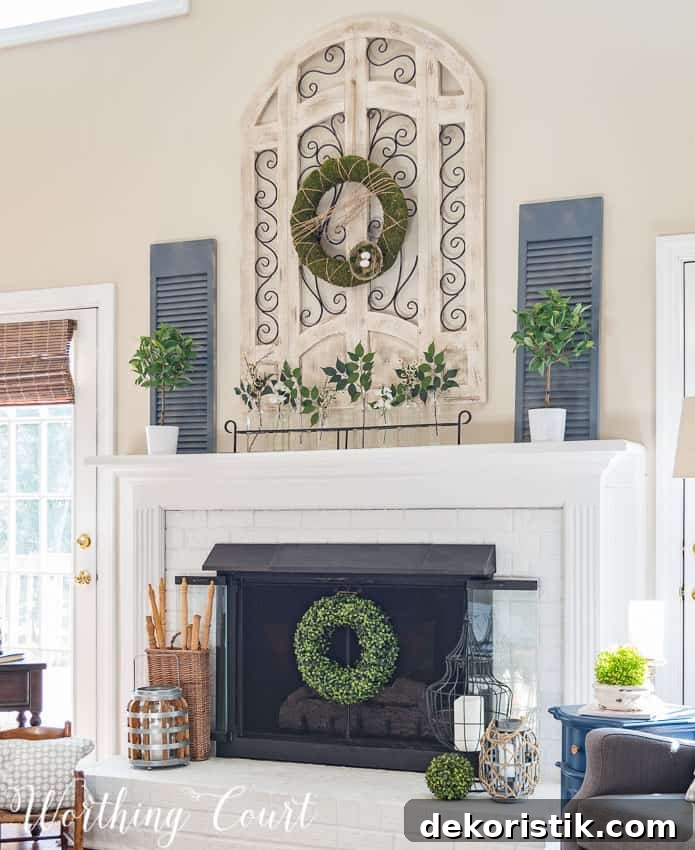
Creating this moss wreath is simple and budget-friendly. It’s a bit messy while you work, so pick a craft area that’s easy to sweep. Below is a clear, step-by-step DIY wreath tutorial with tips to make the wreath look full and last longer. This project is perfect for spring decor, farmhouse-style interiors, or as a nature-inspired accent year-round.
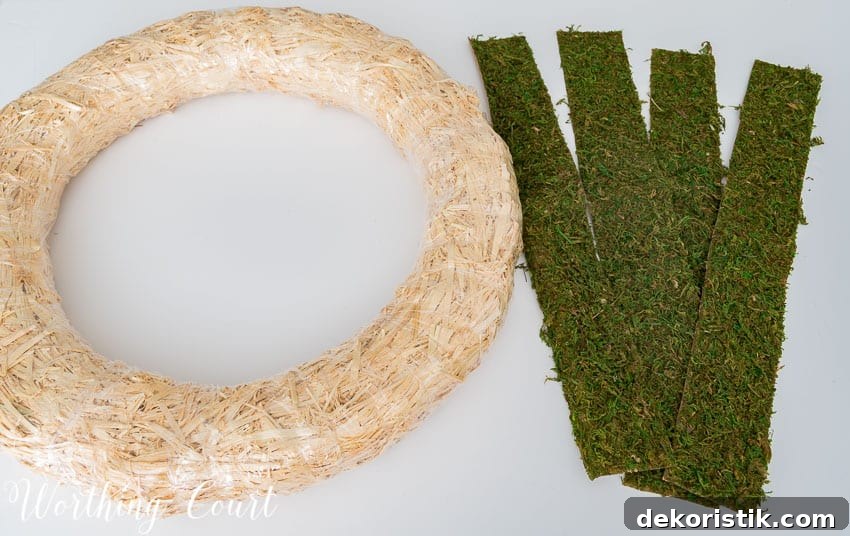
Supplies for a DIY Moss Wreath
- 18″ straw wreath form
- Peel-and-stick sheet moss (about 3 packages, depending on coverage)
- Jute twine or natural twine
- Small decorative bird’s nest with eggs (about 4″ size) or a similar focal accent
- Green floral wire
- Spray sealer (optional, helps minimize shedding)
- Scissors or a craft knife
These basic supplies are widely available and work well for a rustic, organic look. Adjust quantities based on wreath size and how densely you want the moss to appear.
Step 1: Prepare the Moss
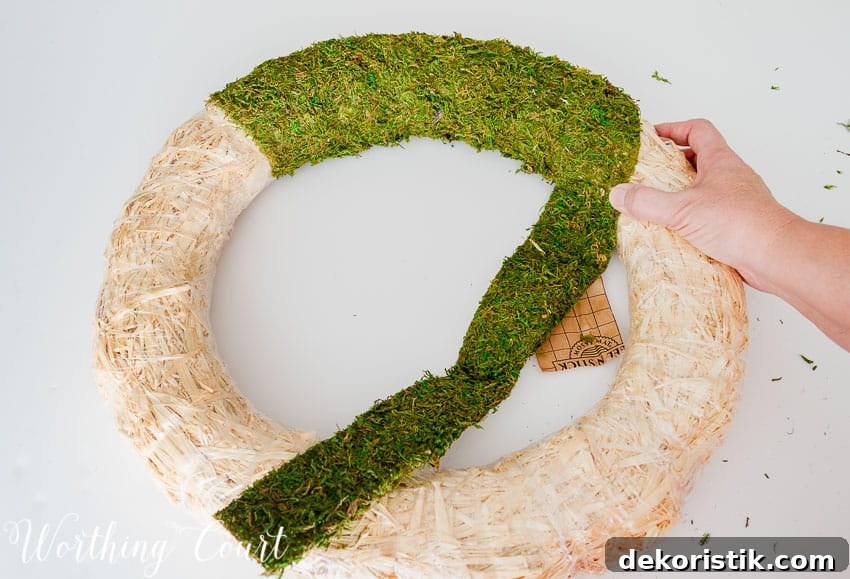
Cut the peel-and-stick sheet moss into strips roughly 3″ wide. Keep the paper backing on while you cut—this prevents the adhesive from gumming up your scissors and makes handling easier. Cutting the moss with the paper side up helps keep scissors clean and preserves the moss texture.
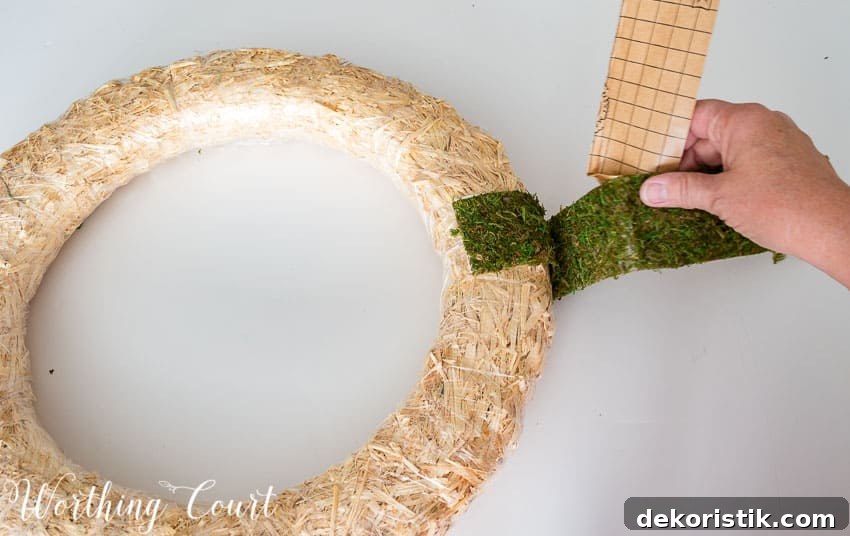
Step 2: Apply Moss to the Wreath Form
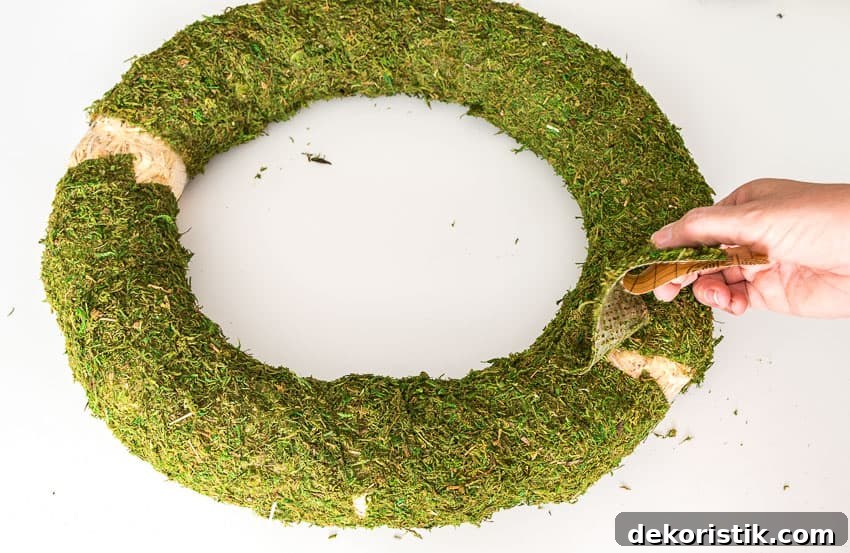
Begin wrapping the moss strips around the straw wreath form. Do not remove the adhesive backing from all the pieces at once—instead, peel the paper off as you press each strip onto the form. This keeps things tidy and allows you to position each strip for even coverage. Overlap strips slightly so there are no visible gaps.
Step 3: Fill and Smooth the Surface
Continue cutting and applying strips until the entire wreath form is covered. For any spots that look thin, patch them with small scrap pieces of moss. If you end up with raised edges or small bumps, simply press those areas flat; the adhesive will settle and conceal seams. Take a step back and check for evenness and fullness—adding a few more scraps where needed will give the wreath a lush, finished look.
Step 4: Add Twine for Texture and Hangability
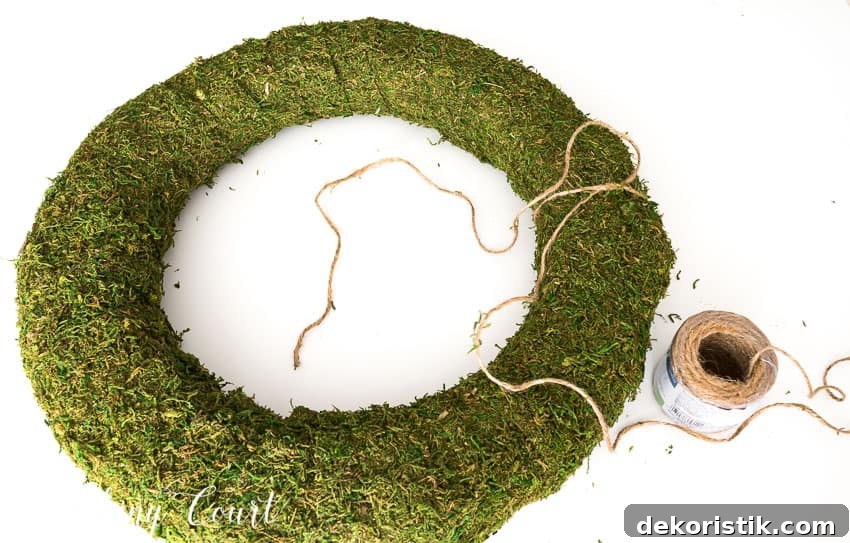
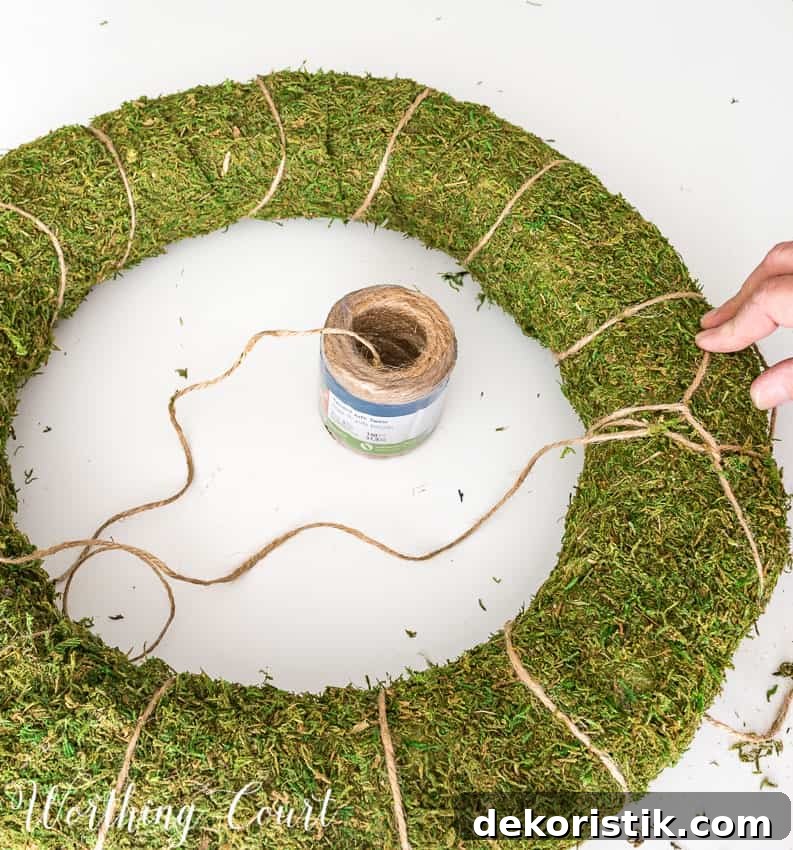
Wrap jute twine around the finished moss wreath in one direction. Start by tying a loop with a long tail—this tail can be used to hang the wreath. Continue wrapping the twine, spacing it as you like. Then tie another loop on the opposite side and wrap twine in the other direction for a subtle crisscross effect. The twine adds texture, visual interest, and extra security for the moss.
Step 5: Attach the Bird’s Nest Accent
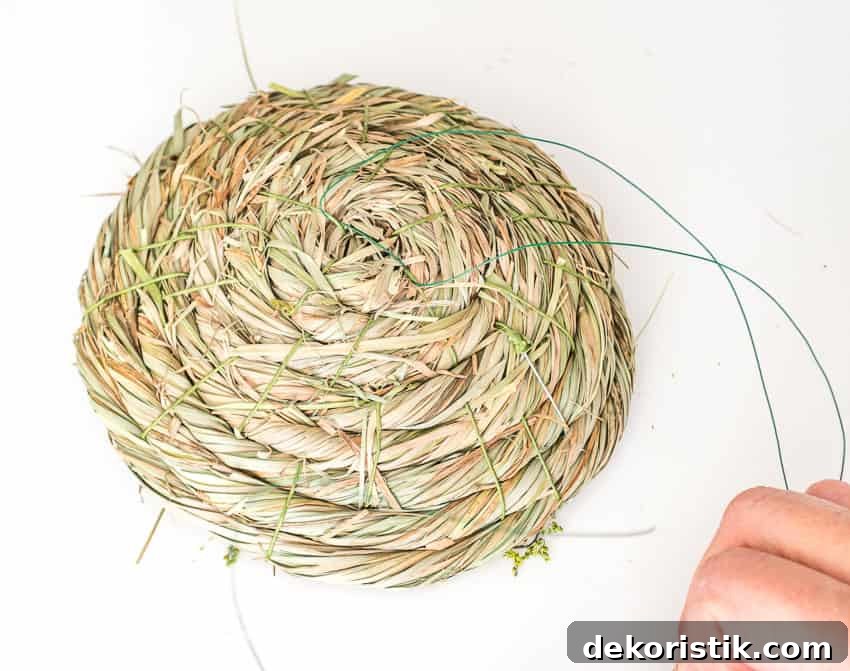
Thread a length of green floral wire through the straw base of the bird’s nest so the wire wraps around the wreath form securely. Position the nest where you prefer—bottom center is classic, but side placement also looks great—and twist the wire tightly on the back side of the wreath so the nest sits snugly against the moss.
Step 6: Final Touches and Preservation
If you want a slightly more pronounced look, add a few diagonal strands of twine across the wreath for added depth. When you’re satisfied with the design, consider applying a light coat of spray sealer to the front and back. This optional step helps reduce shedding and keeps loose bits of moss in place, extending the wreath’s life while maintaining its natural feel.
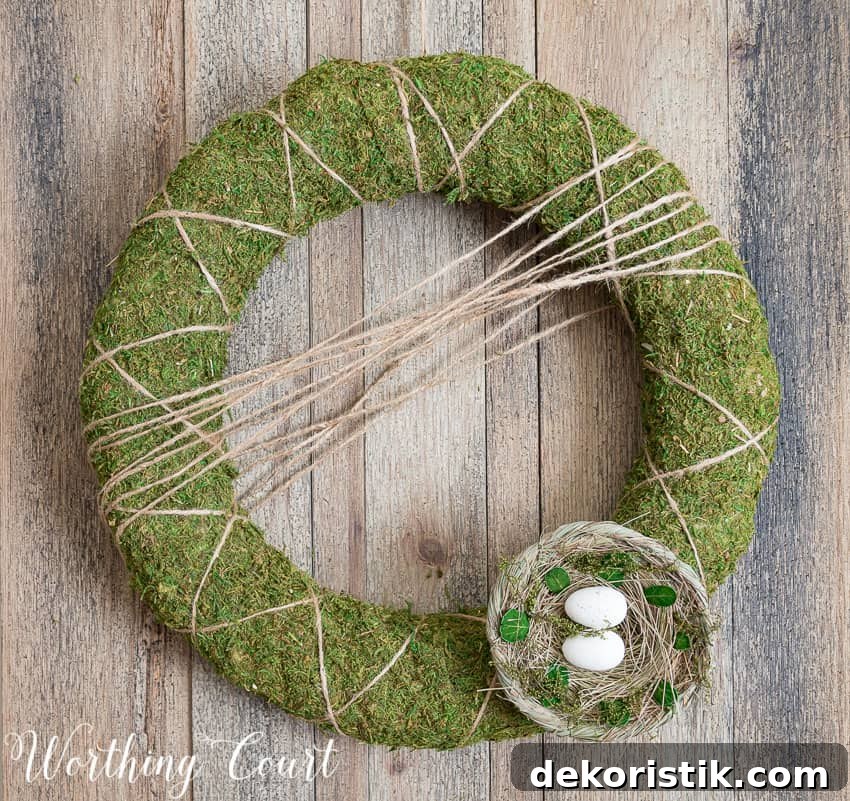
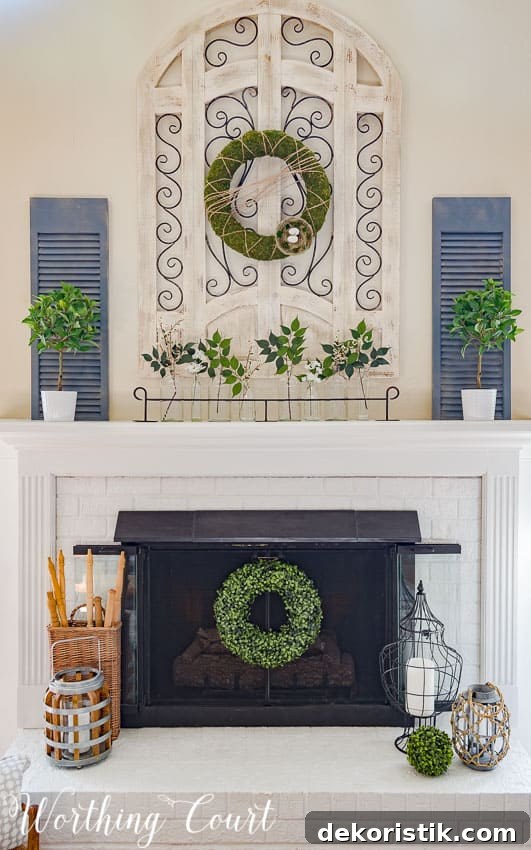
Enjoy your finished moss covered wreath. It makes a striking but simple addition to spring decor, and with care it can last through multiple seasons. Hang it on a mantel, a front door, or a gallery wall to bring a touch of natural texture and green into your home.
PIN IT FOR LATER!

Sharing at THESE great parties.