
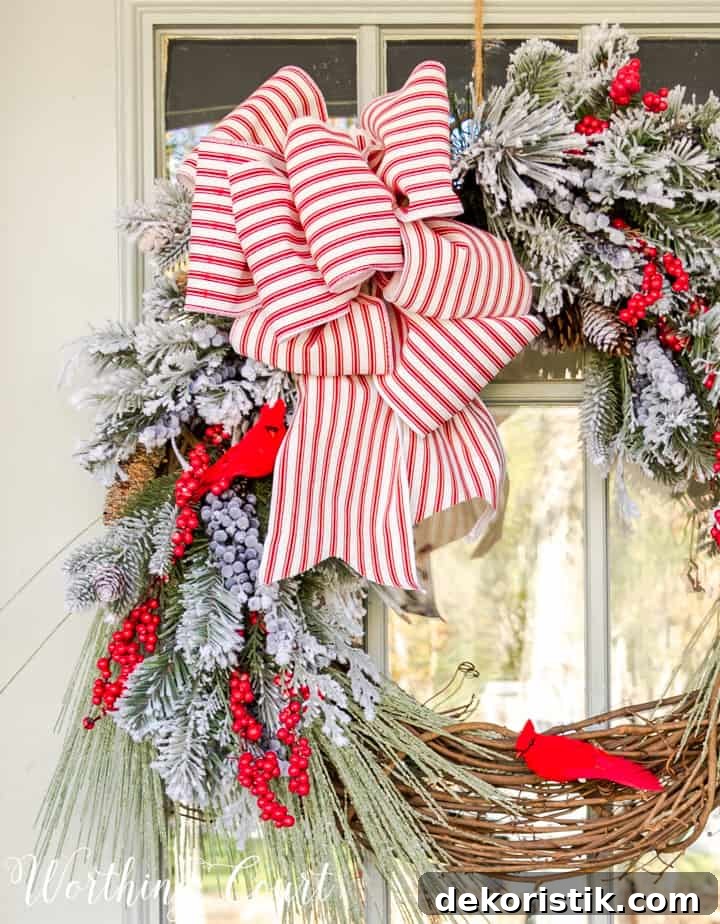
Get step-by-step directions for making a festive Christmas wreath to dress up your home this holiday season.
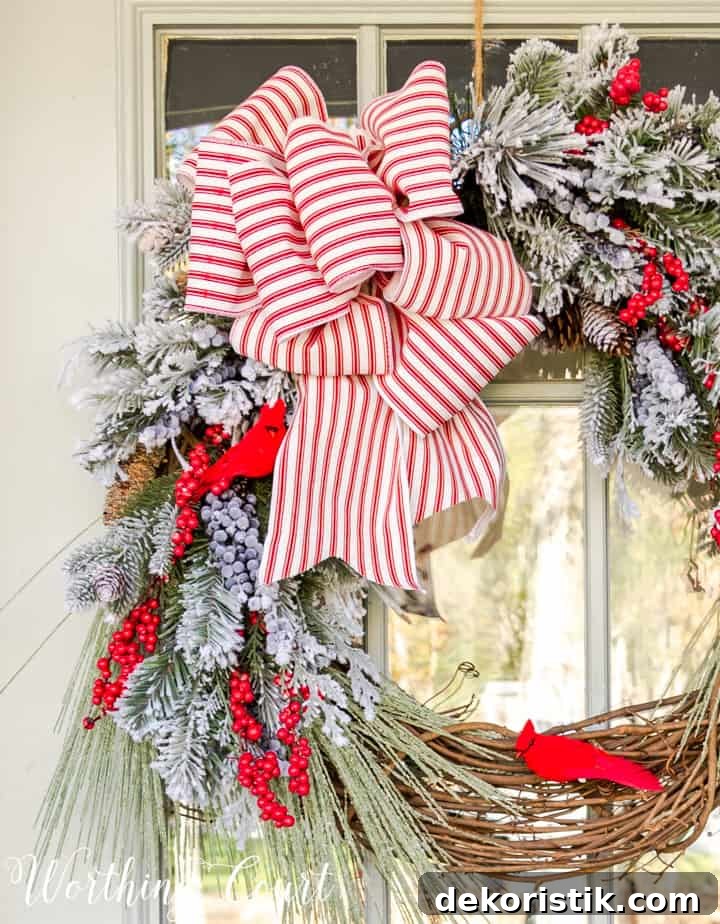
I love sharing holiday decorating ideas, and this year I’m excited to join a group of talented bloggers for a Celebrate Christmas blog hop. Instead of full-home tours, we’re focusing on manageable seasonal projects you can finish in a day: Christmas tree inspiration, tabletop and centerpiece ideas, and door decor—like this easy DIY Christmas wreath. Read on for a clear, step-by-step tutorial so you can create an eye-catching wreath for your front door or porch.

If you arrived here from Dabbling & Decorating, welcome—Ann always has beautiful vintage style. Each year I challenge myself to design a new wreath for the front door. This season I wanted to echo the red-and-white theme from my family room tree across the porch, creating a cohesive look that hints at the interior decor.
For this wreath I focused on four main elements to match my indoor theme:
- red and white ribbon
- snowy, flocked branches
- bright red accents
- natural wood texture
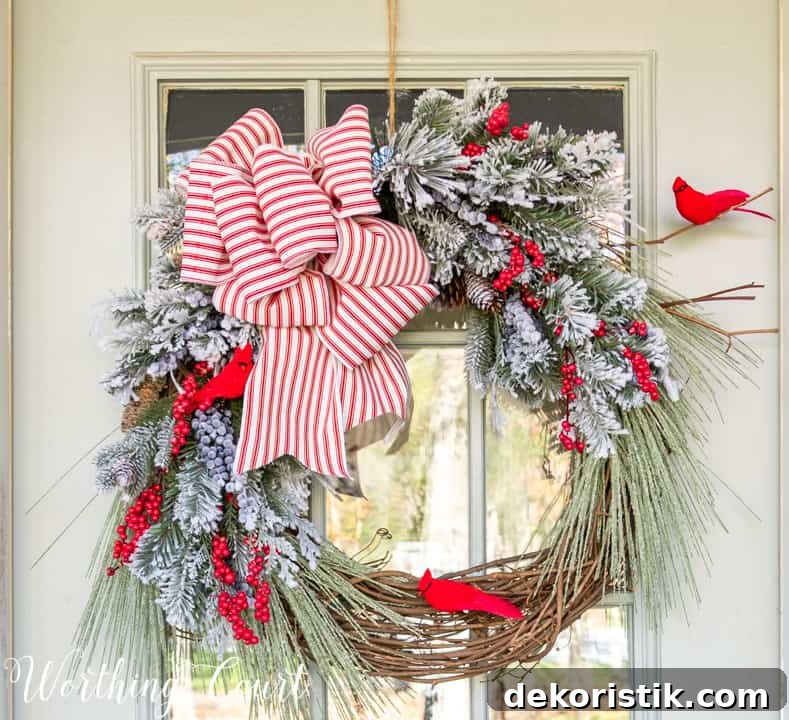
The result is a grapevine-based wreath with flocked greenery, red berries, and small faux cardinals—cheerful, outdoors-ready holiday decor that complements the rest of the porch styling.
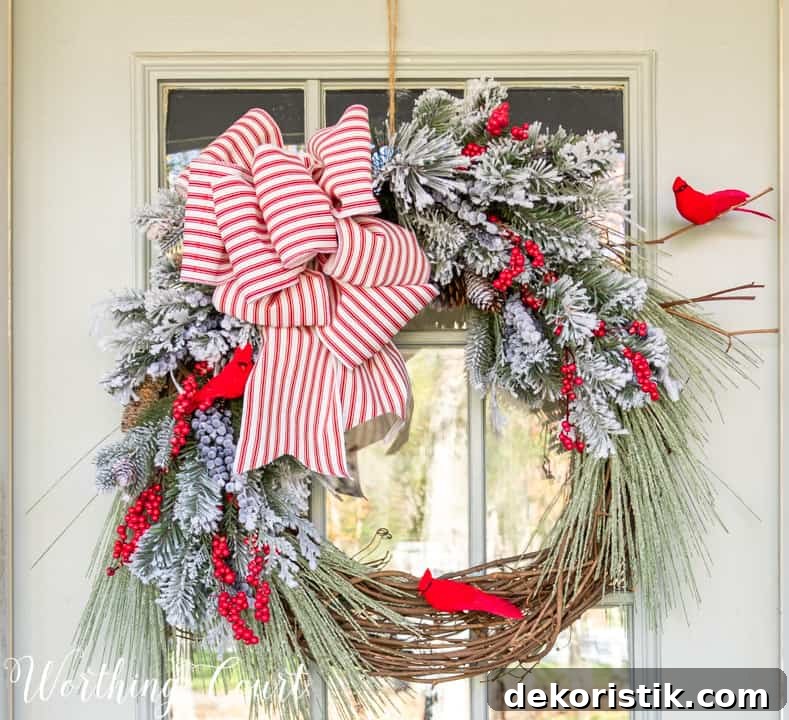
I often use a grapevine wreath as my base because it’s versatile, reusable, and provides that natural wood element without extra fuss. The grapevine also makes it easy to tuck greenery and branches securely in place.
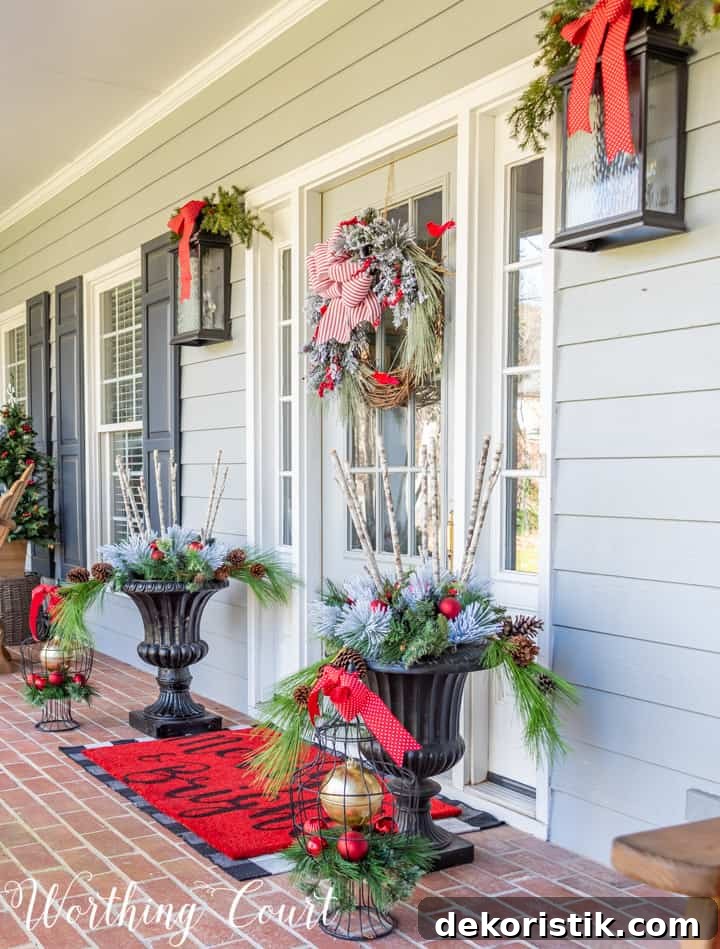
Making a wreath is straightforward if you follow a simple plan. Below are the steps I used to create this festive Christmas wreath, including helpful tips for placement and materials so it looks great from the curb.
HOW TO MAKE A FESTIVE CHRISTMAS WREATH
STEP 1: Gather supplies
Choose the wreath diameter that best suits your door. A wreath that’s too small can look lost; for a single door with sidelights, I prefer something larger so it reads well from the street. The wreath used here is a 22″ grapevine wreath.
Supplies used for this DIY Christmas wreath:
- 22″ grapevine wreath
- 4 long-needle flocked pine greenery bushes
- 4 mixed flocked greenery bushes
- red berry sprigs
- faux cardinals
- wide red-and-white ribbon for the bow
- several small natural branches from the yard
- hot glue gun and plenty of glue
- wire snips and scissors
- floral wire
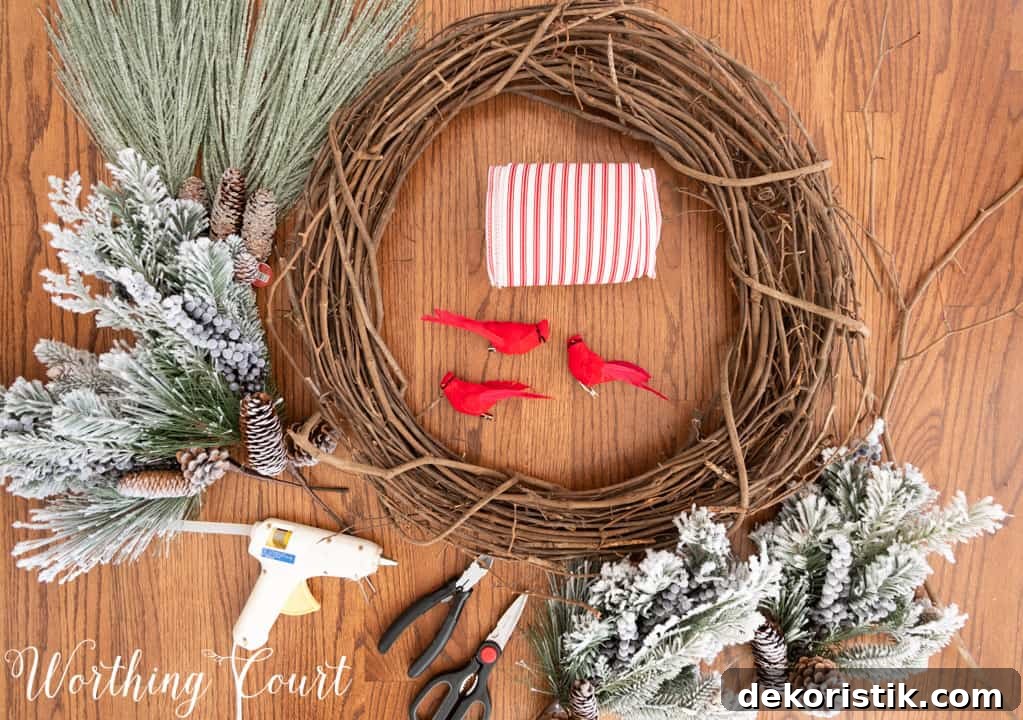
STEP 2: Do a dry fit
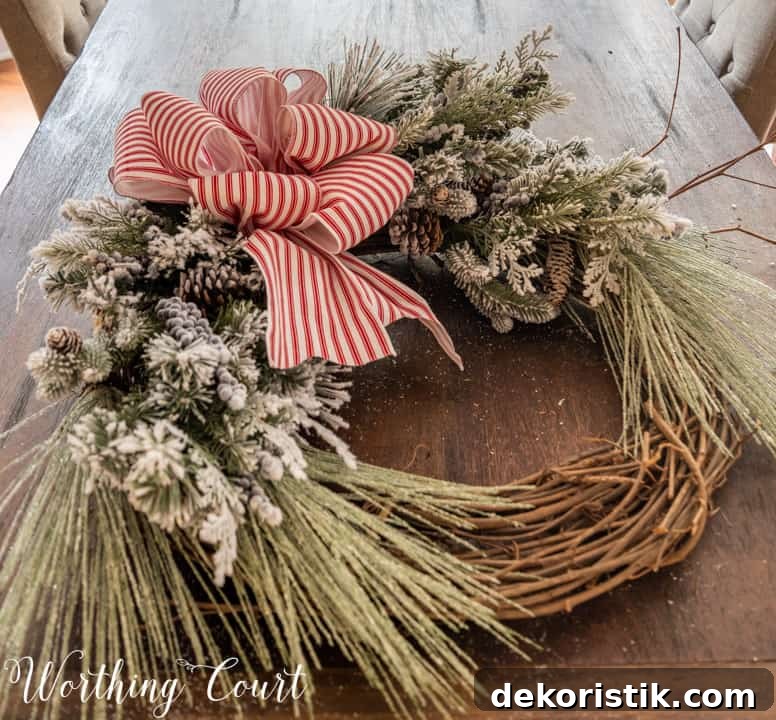
Lay out the greenery, ribbon, and branches on the grapevine wreath before attaching anything. I arranged my wreath asymmetrically so one side of the grapevine shows and left a spot for the bow on the upper left. Dry-fitting helps you adjust spacing and balance before committing.
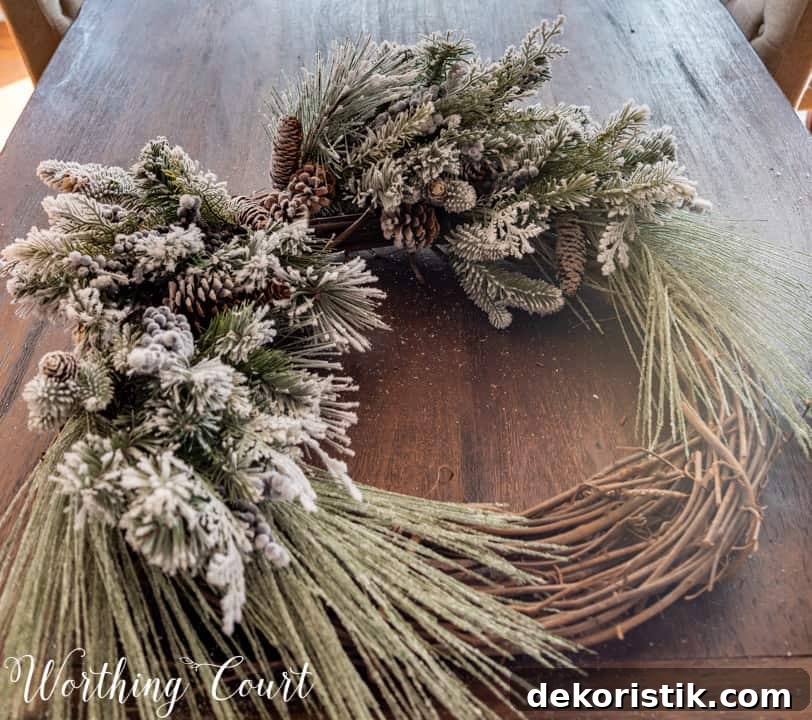
STEP 3: Attach the branches and greenery
Begin with the long-needle pine branches: wedge each stem into the grapevine and secure with floral wire. Place two on each end and stagger them so they don’t sit directly on top of one another. Next, tuck the fuller greenery bushes in the same way, leaving room for the bow. Fluff the greenery for a full, natural look.
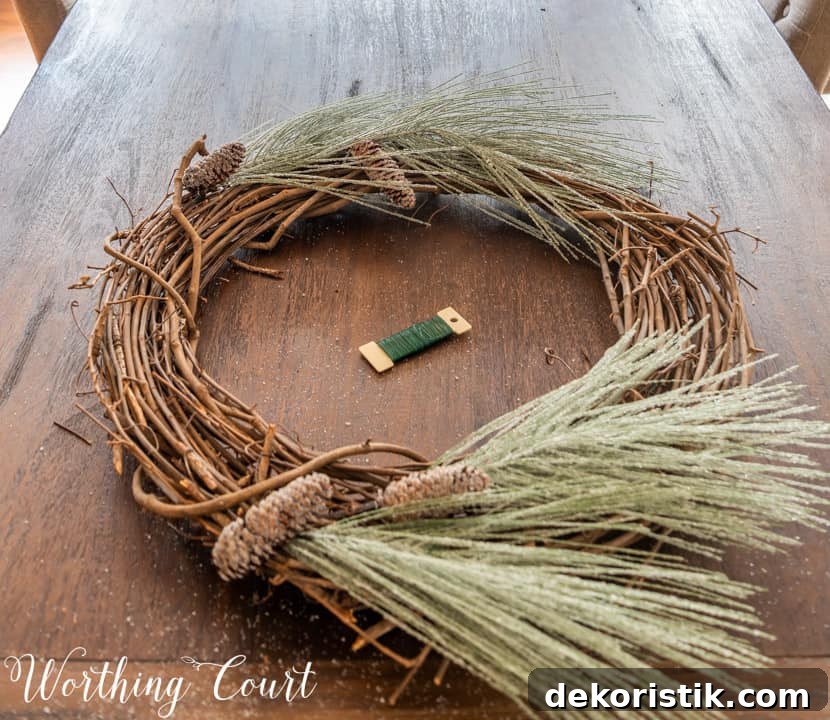
STEP 4: Add the bow and natural branches
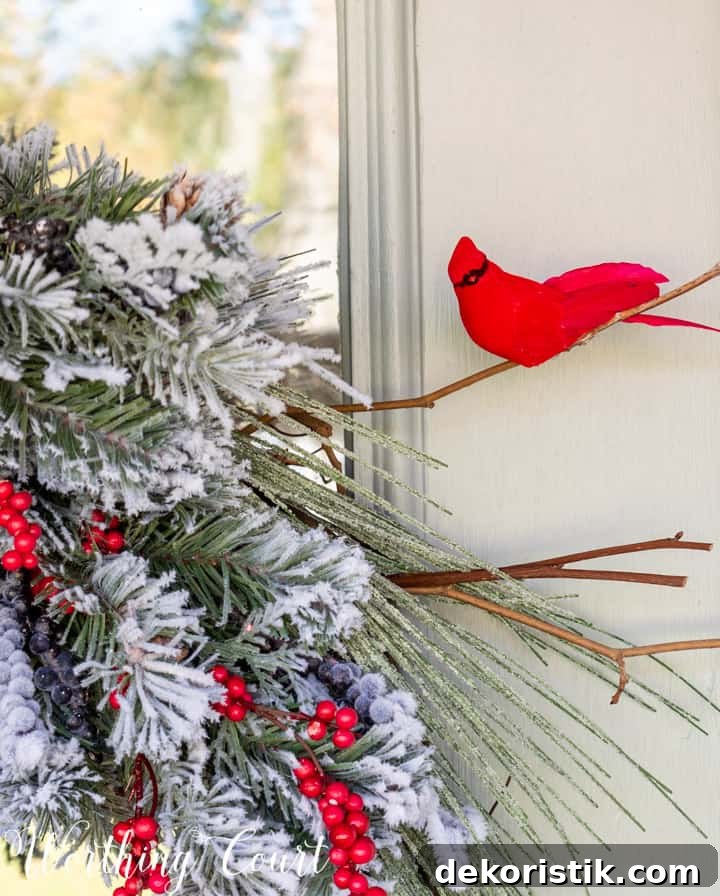
Attach a large, statement bow in the gap you left using floral wire. I prefer bows with an odd number of loops for a balanced but lively look; this one has eleven loops and is made from 5″ ribbon. On the side opposite the bow, wedge and hot-glue three or four small yard branches into the grapevine to form a perch for a cardinal. Use plenty of glue to secure the branch ends.
STEP 5: Add red berries
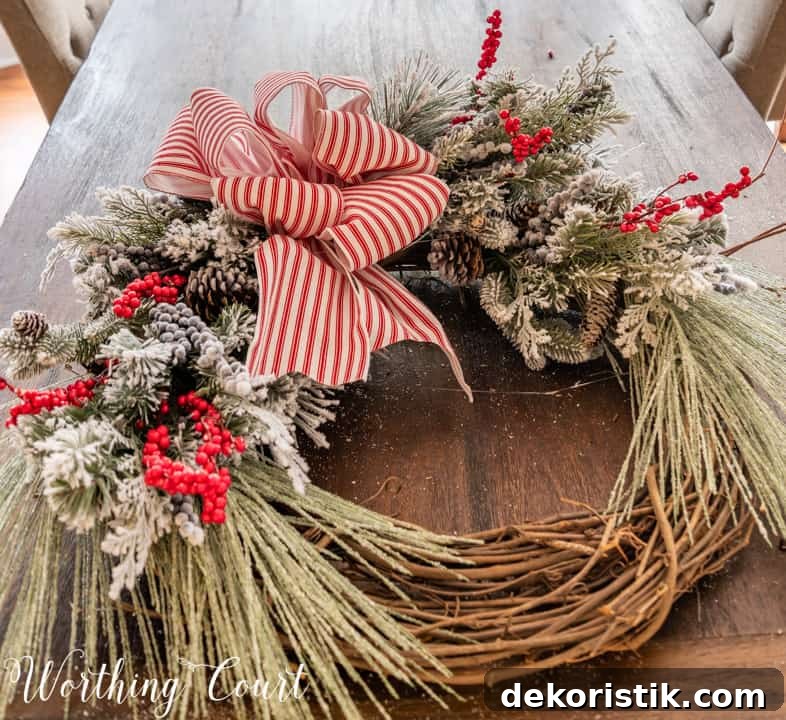
Dot red berry sprigs throughout the greenery. Apply a small blob of hot glue to each berry stem and press it into the foliage to secure. Distribute clusters evenly to carry color throughout the wreath.
STEP 6: Attach the cardinals
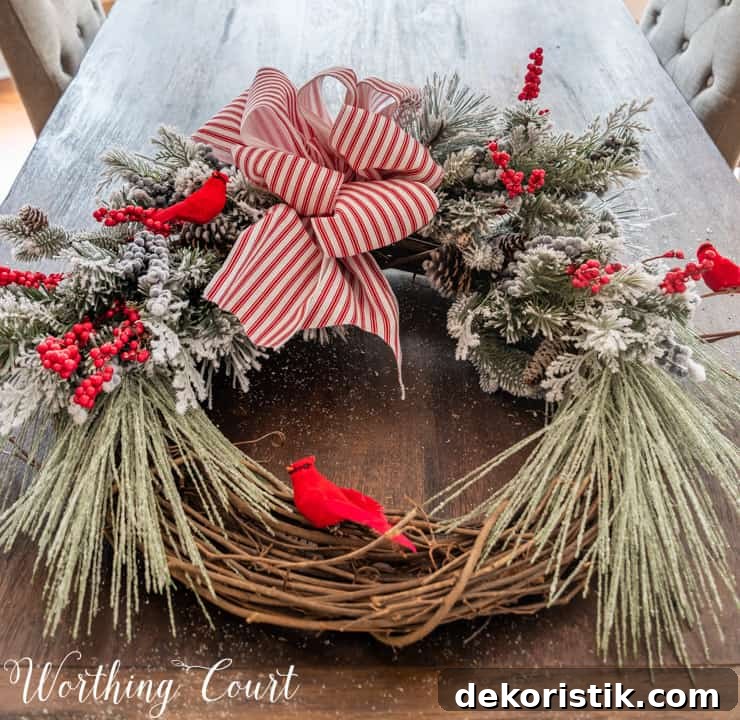
Use a generous amount of hot glue to attach the faux cardinals to the branches and foliage. These bright red birds add personality and become a focal point—bringing warmth and charm to your holiday wreath.
STEP 7: Enjoy
Hang your wreath on the front door or anywhere in your home where you want a festive touch. The entire process took about 30 minutes from start to finish. This wreath is weather-friendly and makes a welcoming holiday statement.
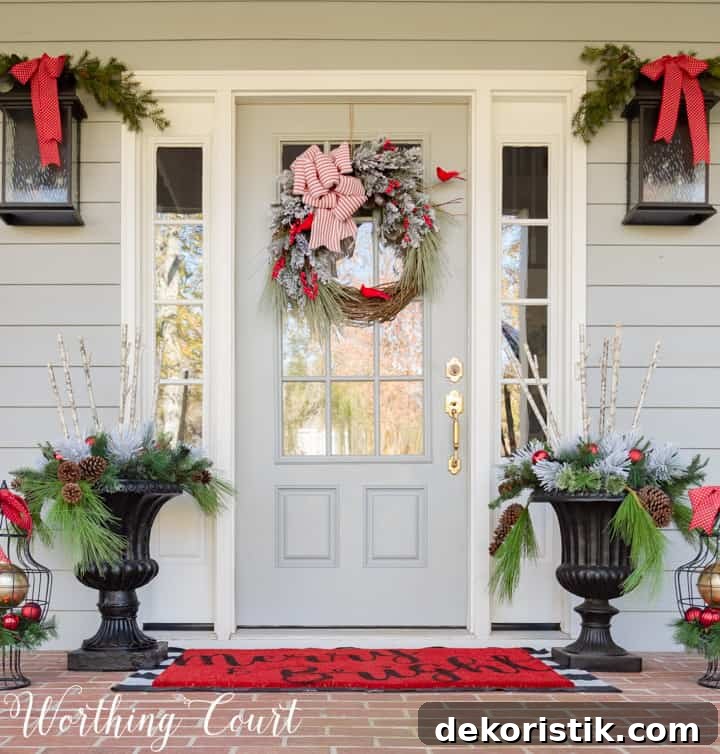
I hope this DIY Christmas wreath tutorial inspires you to create your own version. Use the suggested materials as a guide, but feel free to personalize colors, textures, or embellishments to match your holiday style. Now go make a cheery wreath and enjoy the seasonal curb appeal!
Next, visit Tattered Pew to see another beautiful outdoor wreath idea.


Atta Girl Says // Harbour Breeze Home // Kippi at Home // A Life Unfolding
Thistle Key Lane // Aratari At Home // Postcards from the Ridge // What Meegan Makes
Hearth and Vine // Sustain My Craft Habit // My Family Thyme // Dabbling & Decorating
Worthing Court // The Tattered Pew // Zucchini Sisters // Sweet Pea
Noting Grace // Sonya Burgess Blog // White Arrows Home // The Little by Little Home