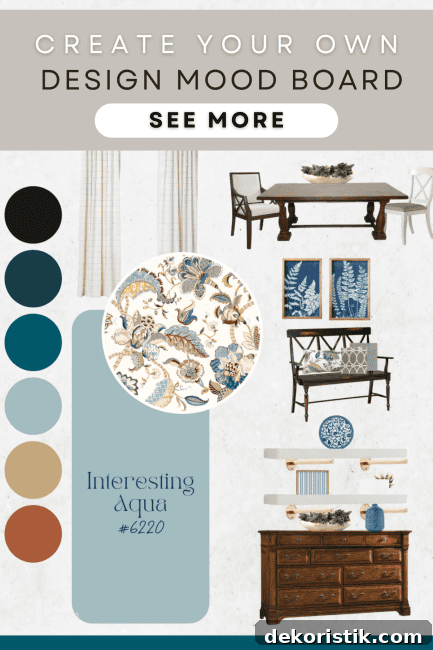
Creating a mood board is one of the most enjoyable—and most useful—steps in any decorating project. A well-made mood board helps you gather ideas, visualize your ideal space, and keep your design coherent as it develops.
As Houzz Pro points out, mood boards give a visual life to what a designer imagines for a space and provide a clear starting point to organize ideas. Keeping all of your design items in one place makes it much easier to stay focused on the overall goals and vision as your project progresses.
In this guide, I’ll walk you through creating a digital mood board using the free version of Canva—an accessible, user-friendly graphic tool that makes the process fast and fun.
Welcome to chapter 3 of the Simply Decorating Series, a free decorating resource designed for the DIY decorator who wants to transform their home into a space that reflects personal style and needs. If you’re just beginning, start with chapter 1: How to Decorate a Room – Where To Start.
Digital Mood Boards vs Physical Mood Boards
Both digital and physical mood boards have their advantages. The best choice depends on how you like to work and what you need from your planning process.
Digital mood boards are flexible and easy to update. You can save images from websites, take screenshots, or upload photos of fabrics and finishes. Editing is quick, letting you experiment freely without tracking down physical samples each time you want to test a new idea.
Physical mood boards are invaluable if you want to interact with real materials. Touching fabrics, feeling textures, and layering paint chips can reveal details that screen images cannot. If tactile feedback helps you make decisions, a physical board can be the right choice.
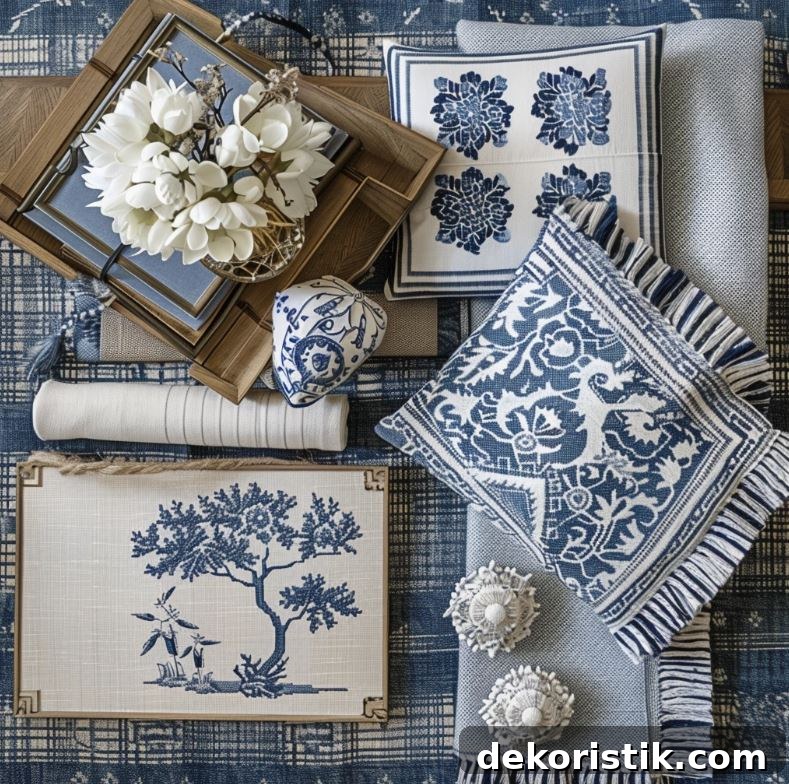
Creating Digital Mood Boards
Design professionals and enthusiastic DIY decorators alike often prefer digital mood boards. They speed up visual decisions, help you test combinations, and keep everything tidy in one place. Best of all, you don’t need prior design or graphic experience to start.
Canva offers a wide range of mood board templates you can customize. You can begin with a template that matches your aesthetic and then swap images, colors, and text to fit your project.
Over the years I’ve used mood boards to plan room makeovers for spaces like:
- Master bathroom
- Tiny dining area
- Master bedroom
- Breakfast room
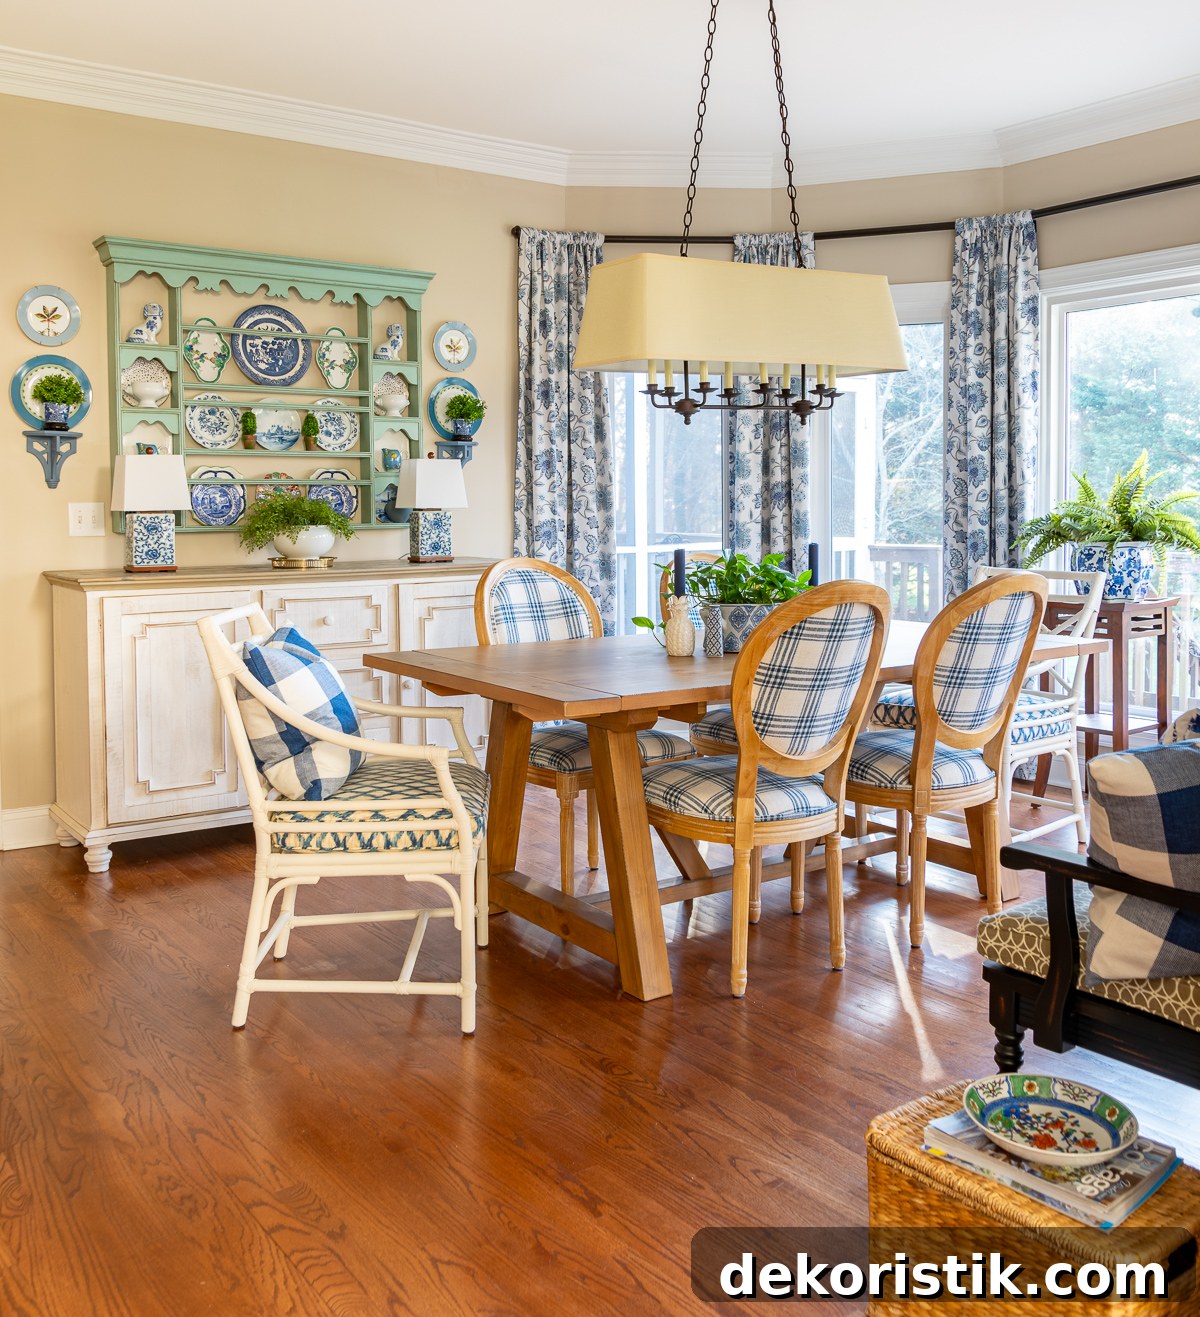
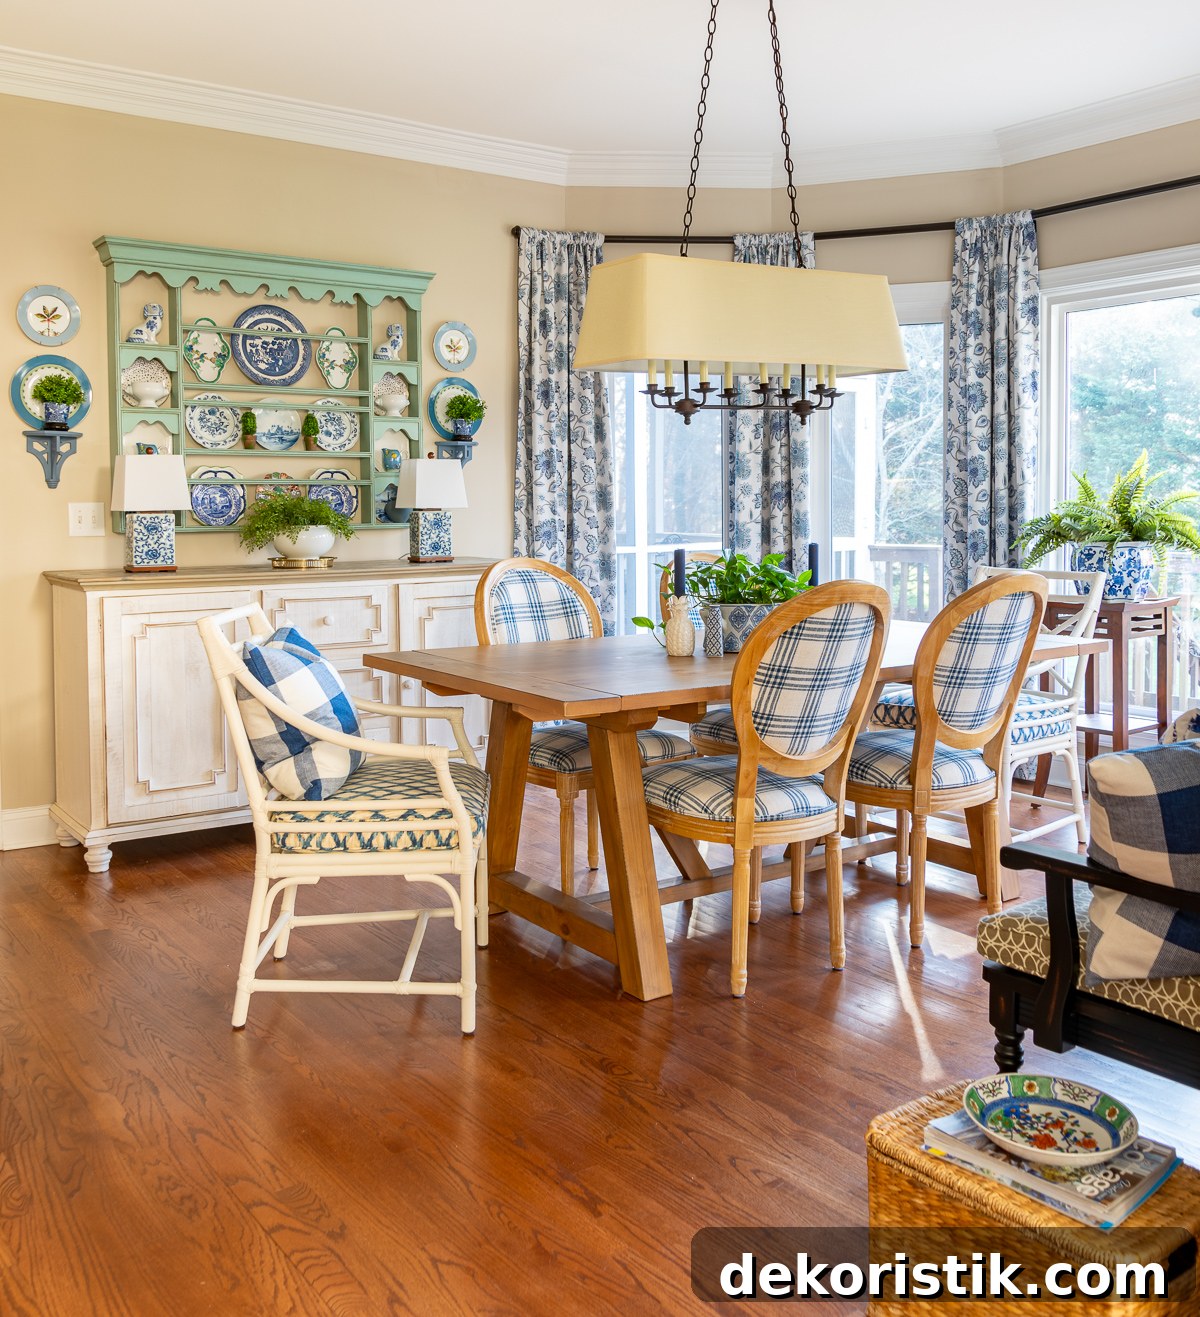
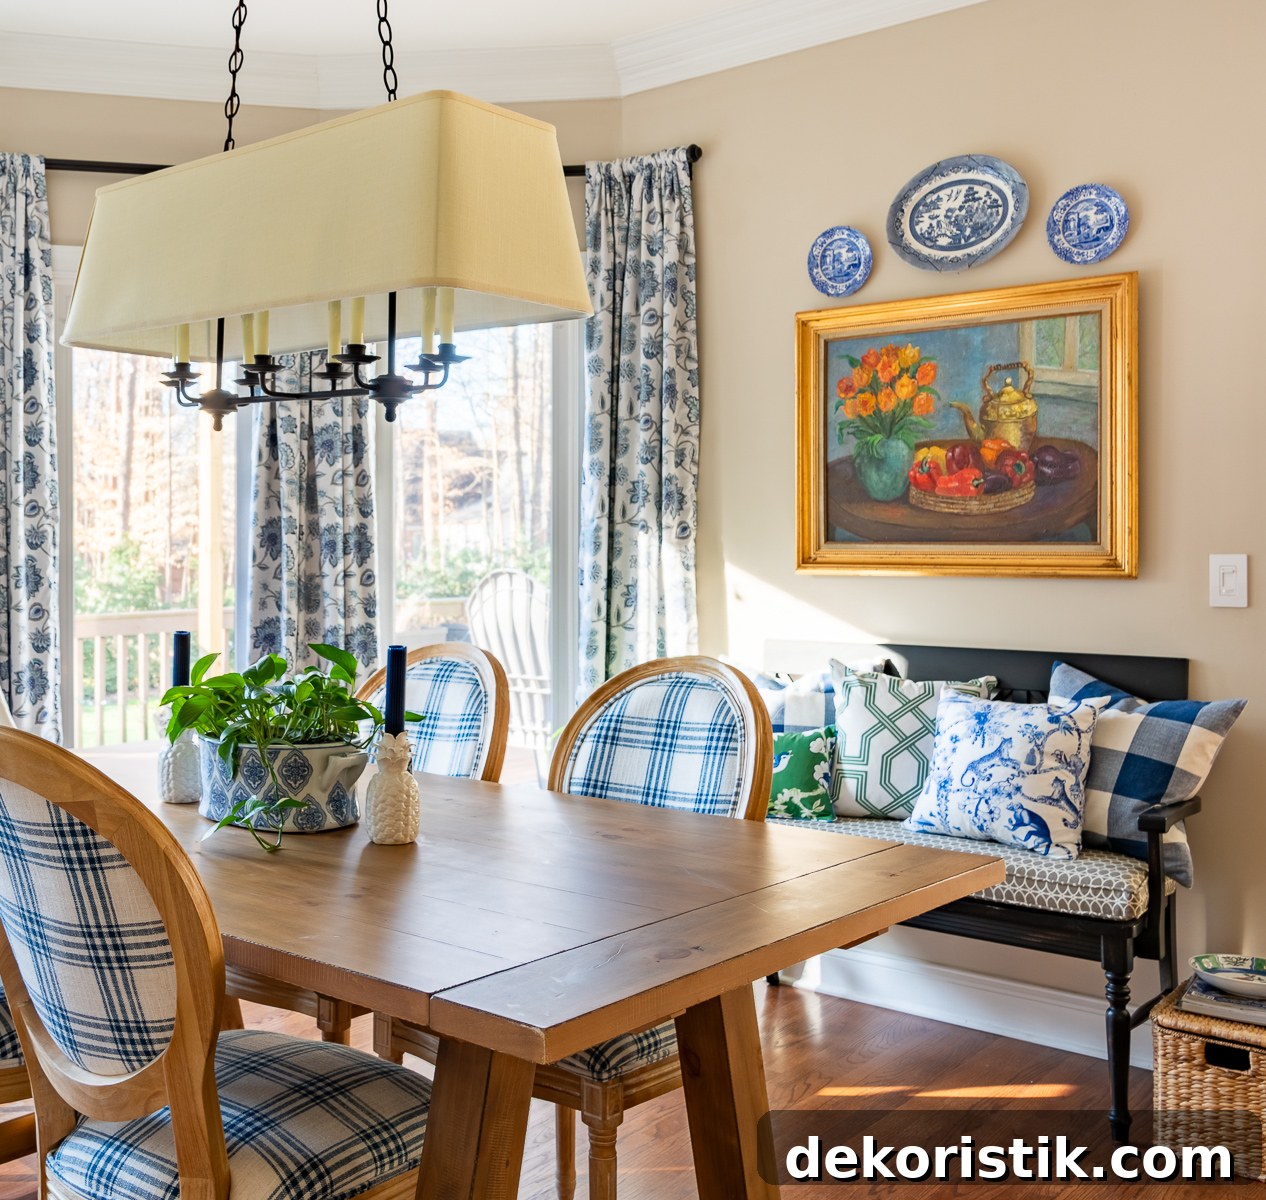
Each project benefited from visualizing the pieces together before purchasing or rearranging anything. My breakfast room makeover is a recent example where the mood board helped refine the palette, textiles, and lighting decisions.
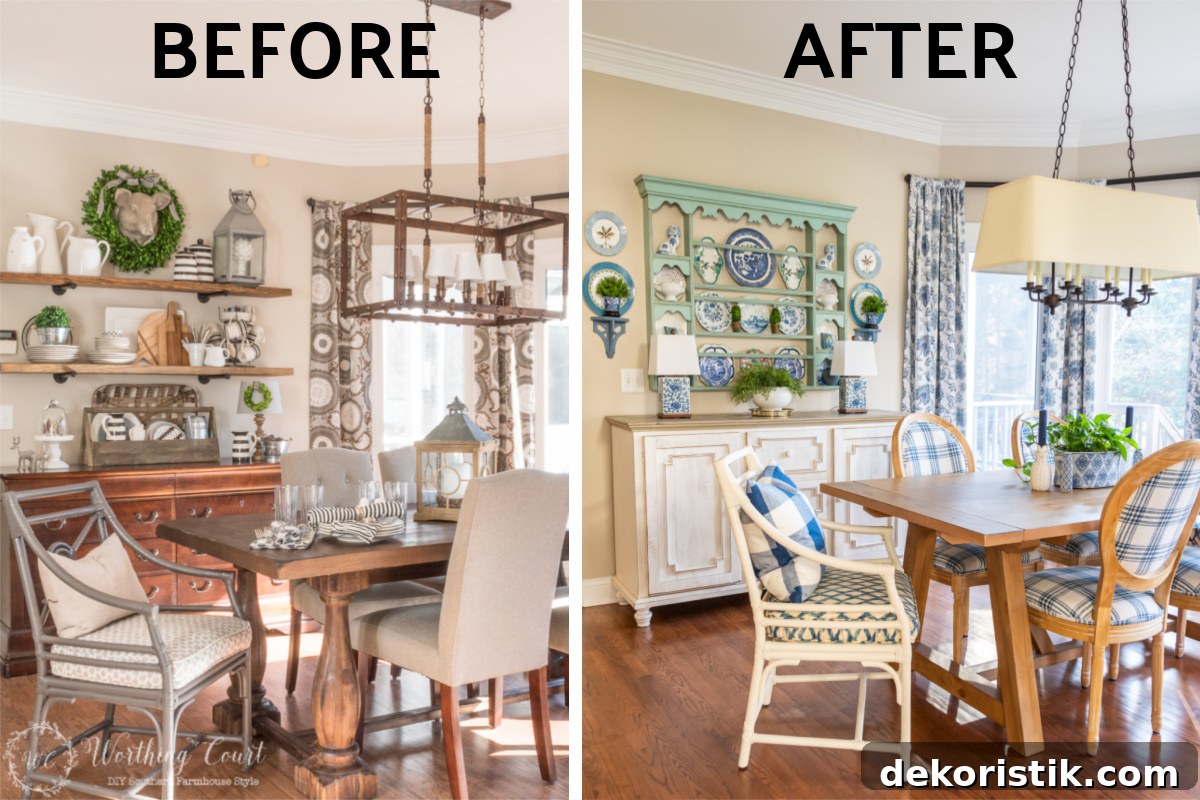
Early on I built mood boards by placing every element manually on a blank canvas, which was time-consuming. Templates in Canva greatly simplify this: they let you produce a polished board in less time while keeping full creative control.
Designing a Digital Mood Board in Canva
Here’s a practical, step-by-step approach to building a digital mood board in Canva using only free tools and features. These steps will help you produce a clear, actionable visual plan for any room.
TIP: If you’re unsure where to begin, take a moment to determine your design style before you start collecting images.
Step 1: Sign Up or Log In to Canva
Go to Canva and sign up or log in. You can create a free account quickly using your email or a social login. The free account provides everything you need to build a mood board.
Step 2: Choose the Right Template
Search for “mood board” in Canva’s template library and choose a layout that suits your aesthetic. Templates are fully customizable, so don’t worry about placeholder images or colors.
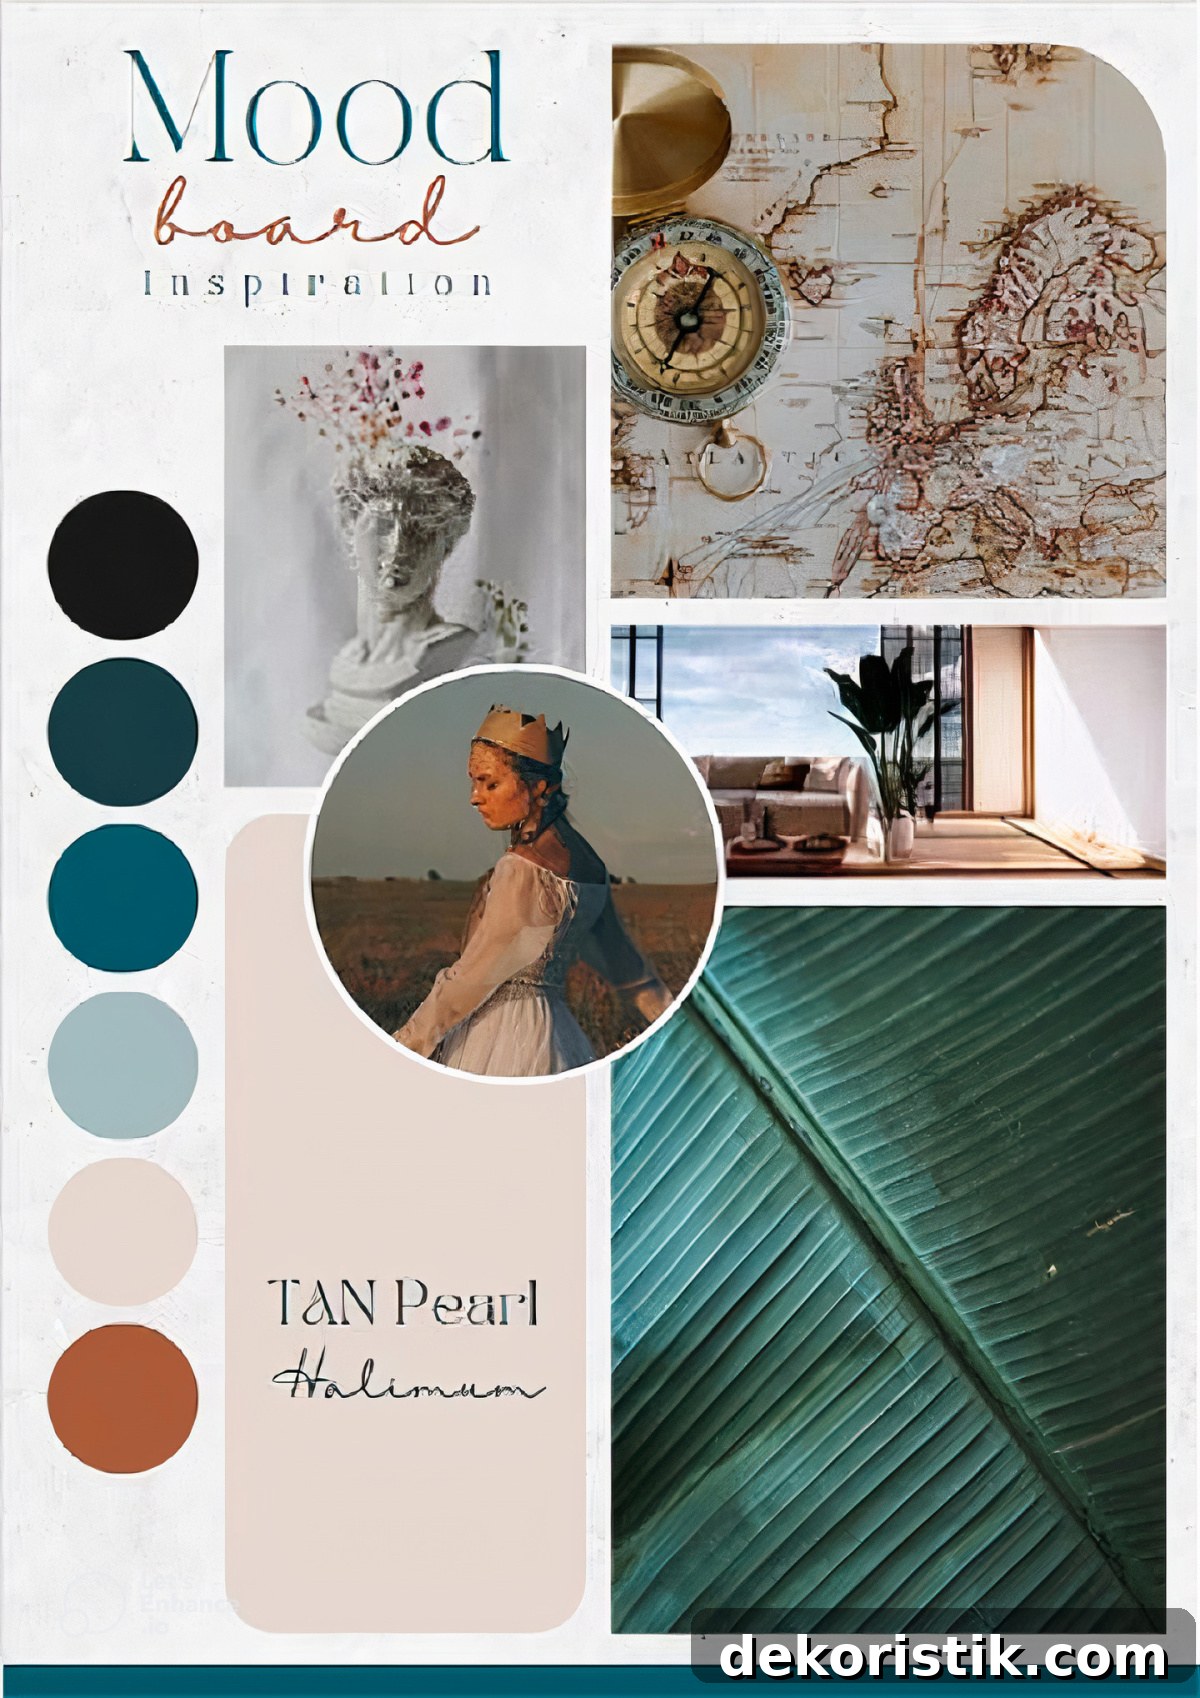
Click any element to change color, size, or position. Duplicate parts you like, delete unwanted elements, and move images around until the composition feels right.
Step 3: Collect Your Inspiration
Gather images that represent the textures, colors, furniture, lighting, and accessories you love. Save them to a folder on your computer or device so they are easy to upload.
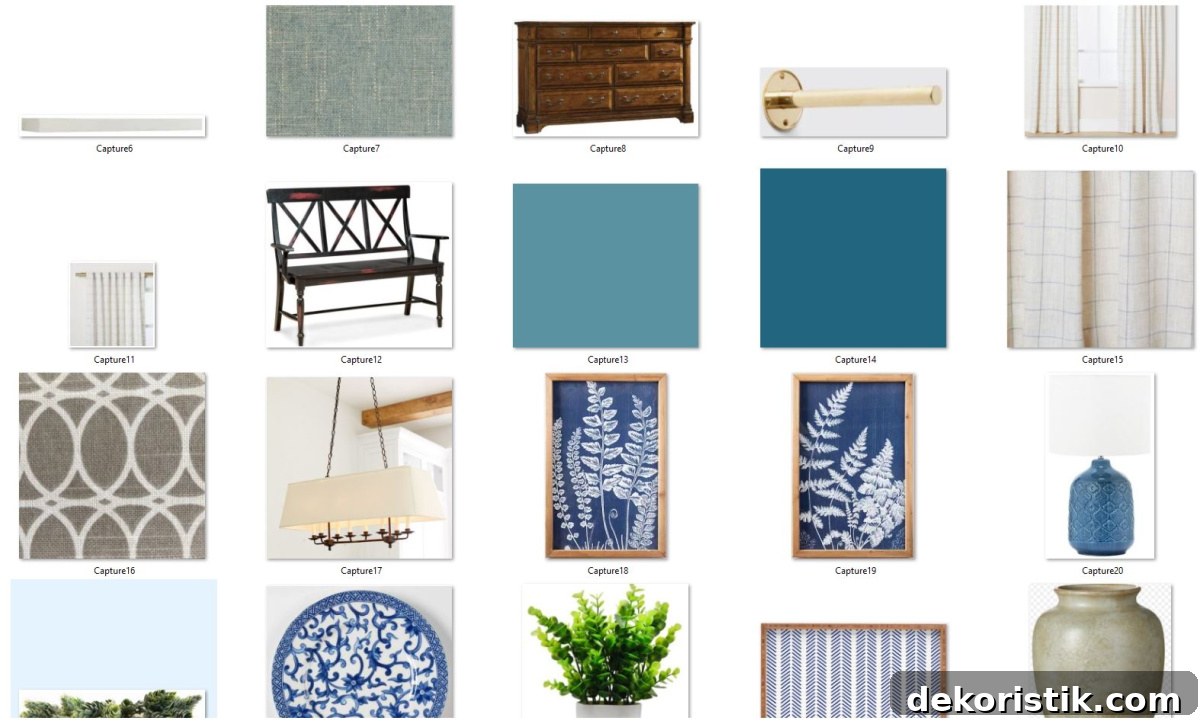
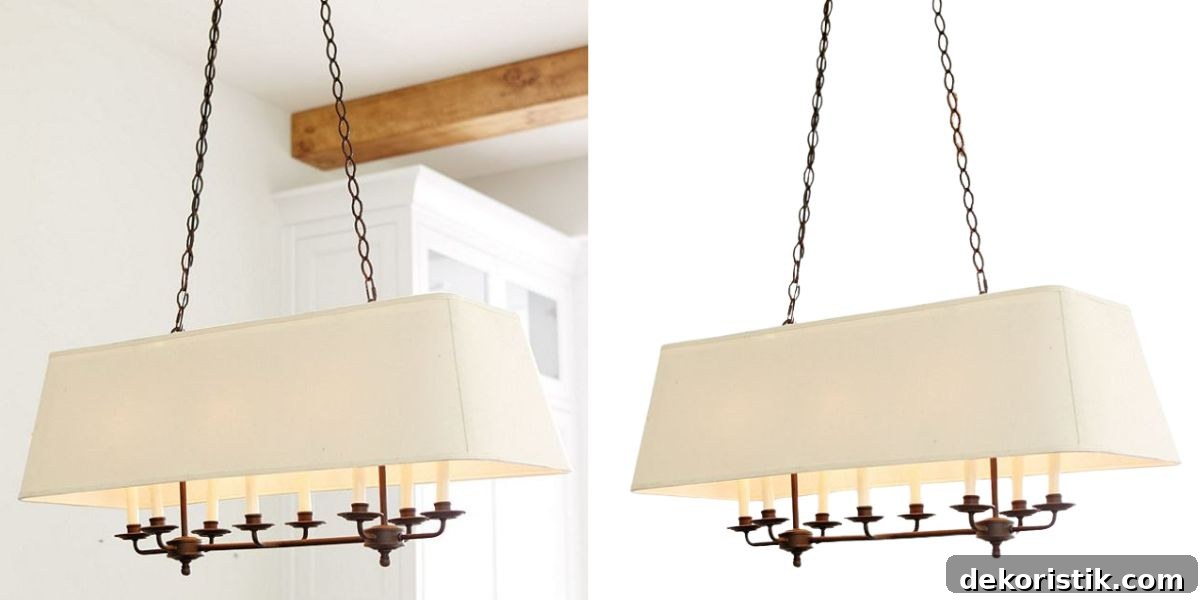
Many photos include distracting backgrounds. If possible, remove backgrounds before importing images so your elements feel cleaner and layer more naturally. Canva Pro includes a background remover, but there are free options available online if you don’t use the paid plan.
TIP: Even if you don’t yet know all the specifics for a room, assembling a mood board will help you refine your look and make clearer decisions.
Step 4: Upload Your Images
Use Canva’s Uploads panel to drag and drop your saved images into the project. Once uploaded, your photos will be available to drag onto the template.
Step 5: Create Your Mood Board
Drag images into frames, resize them, swap elements, and try different arrangements. Templates often include grids and placeholders; you can delete the sample images or replace them while keeping the layout structure if that helps speed the process.
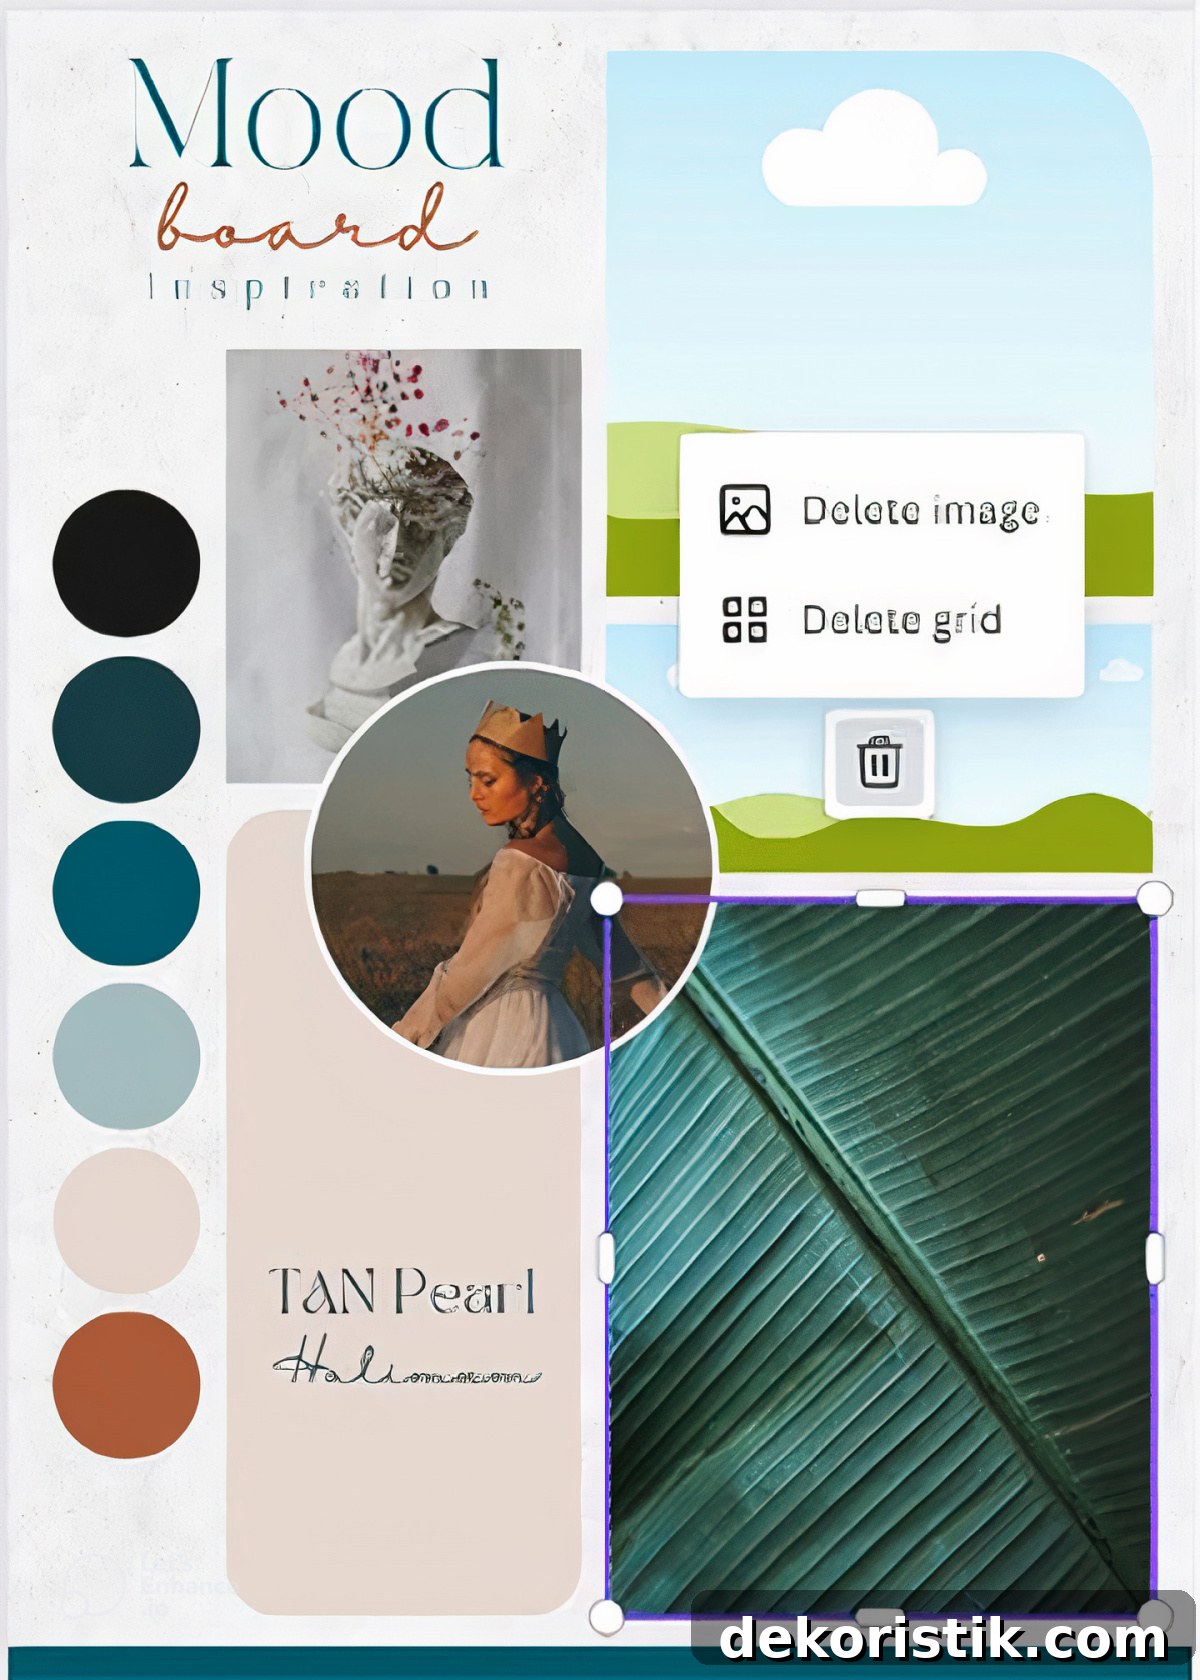
Play with scale and placement until the composition feels balanced. You can keep frames and grids from the template, or remove them for a more organic layout.
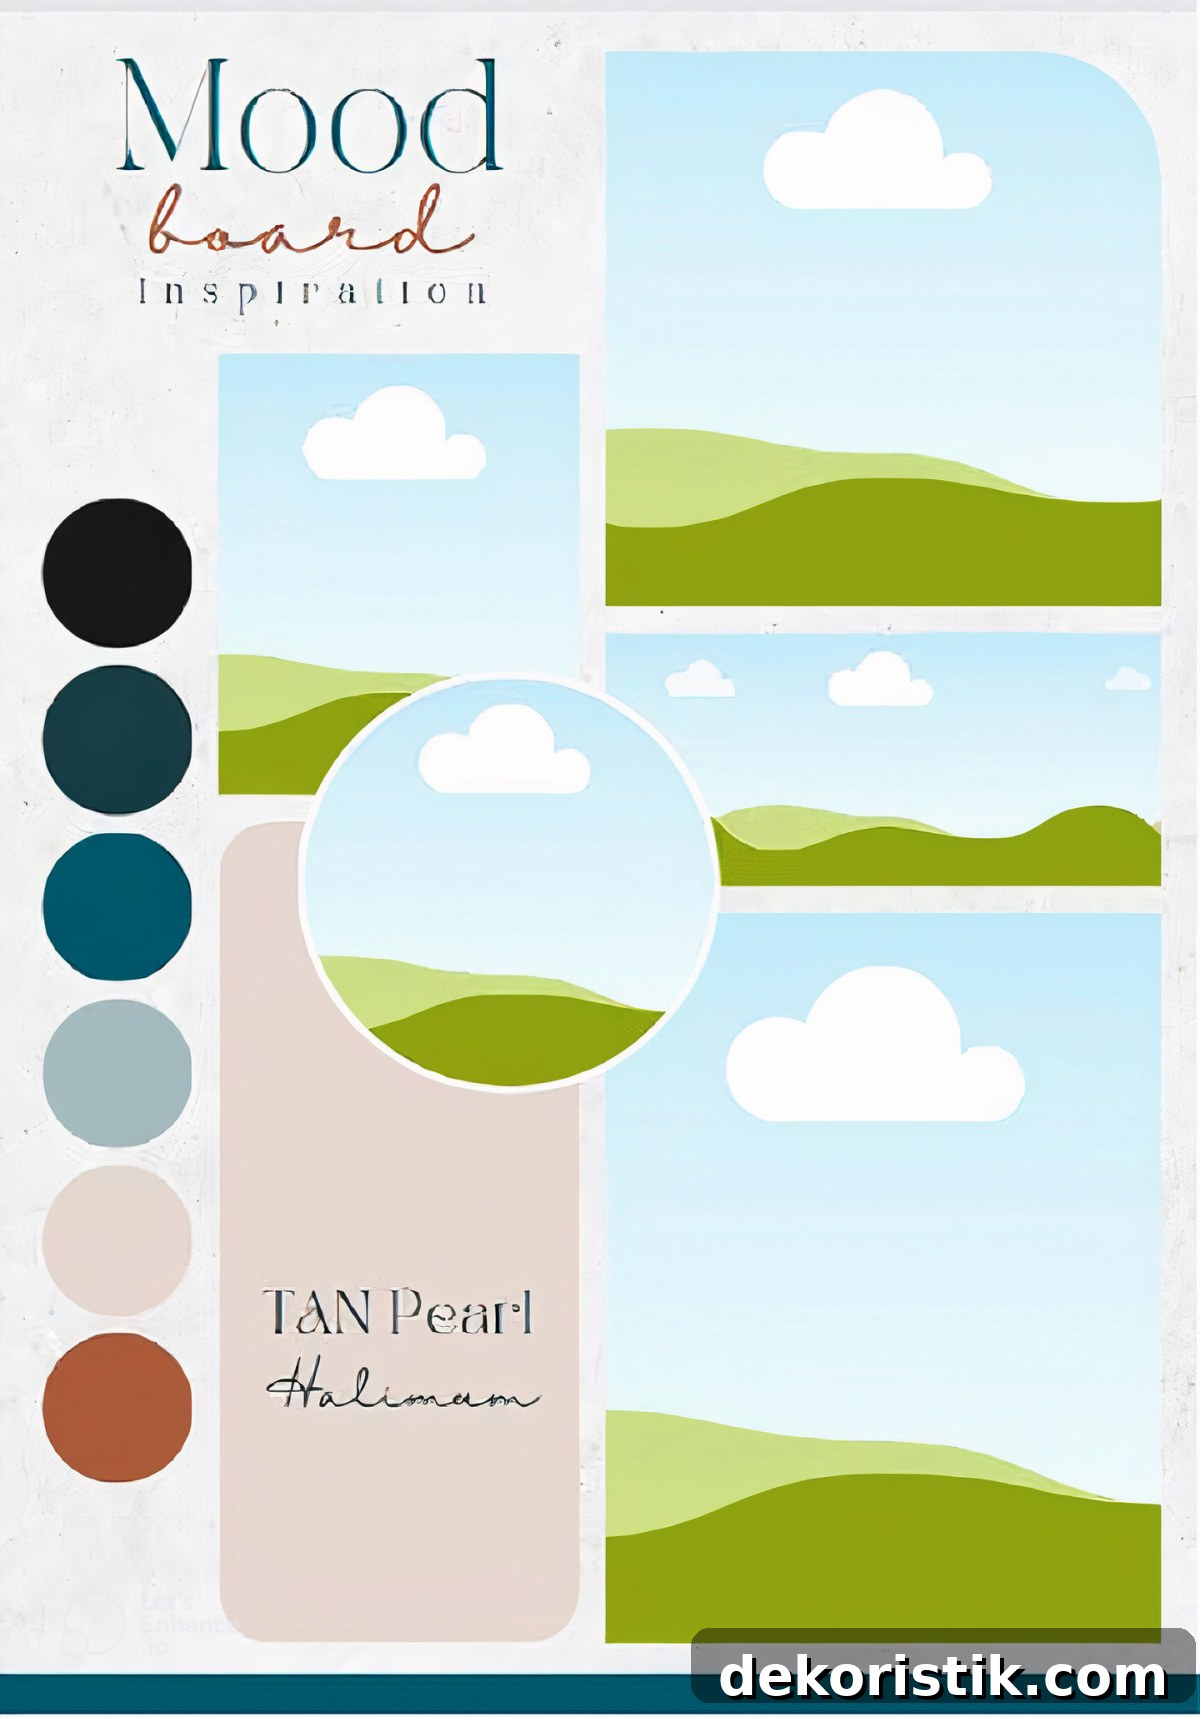
Step 6: Add Text
Label images or jot down notes directly on the board. Canva includes many font choices and color options—use text to clarify paint names, fabric sources, or measurements so the board is a practical reference.
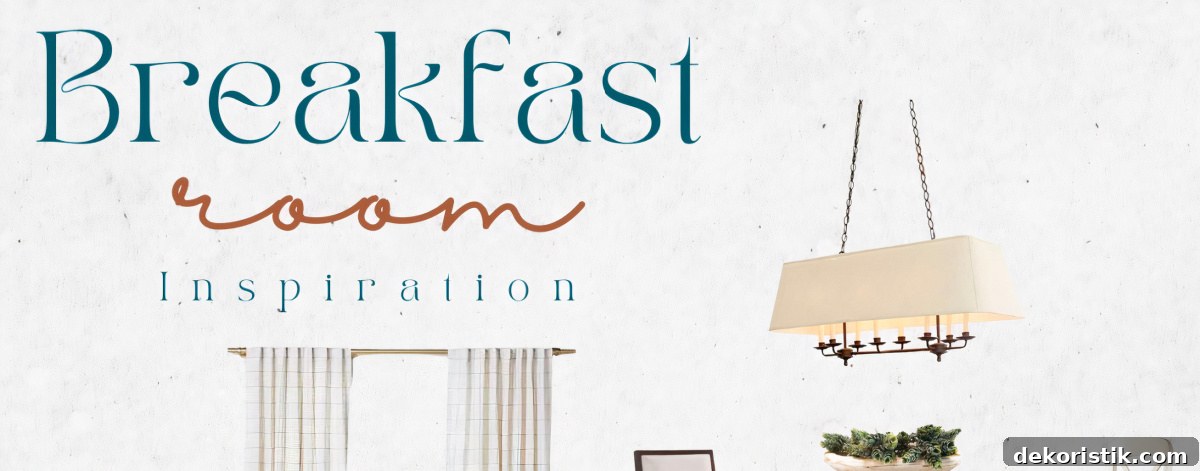
Step 7: Fine-Tune Your Design
Refine small details: adjust background color, add shapes or icons, and apply subtle filters to images for a cohesive look. These finishing touches make your mood board feel intentional and useful.
Step 8: Review Your Work
Step back and ensure the mood board represents your vision. A mood board is an inspirational roadmap—not a strict blueprint—so expect some variation between the board and the finished room.
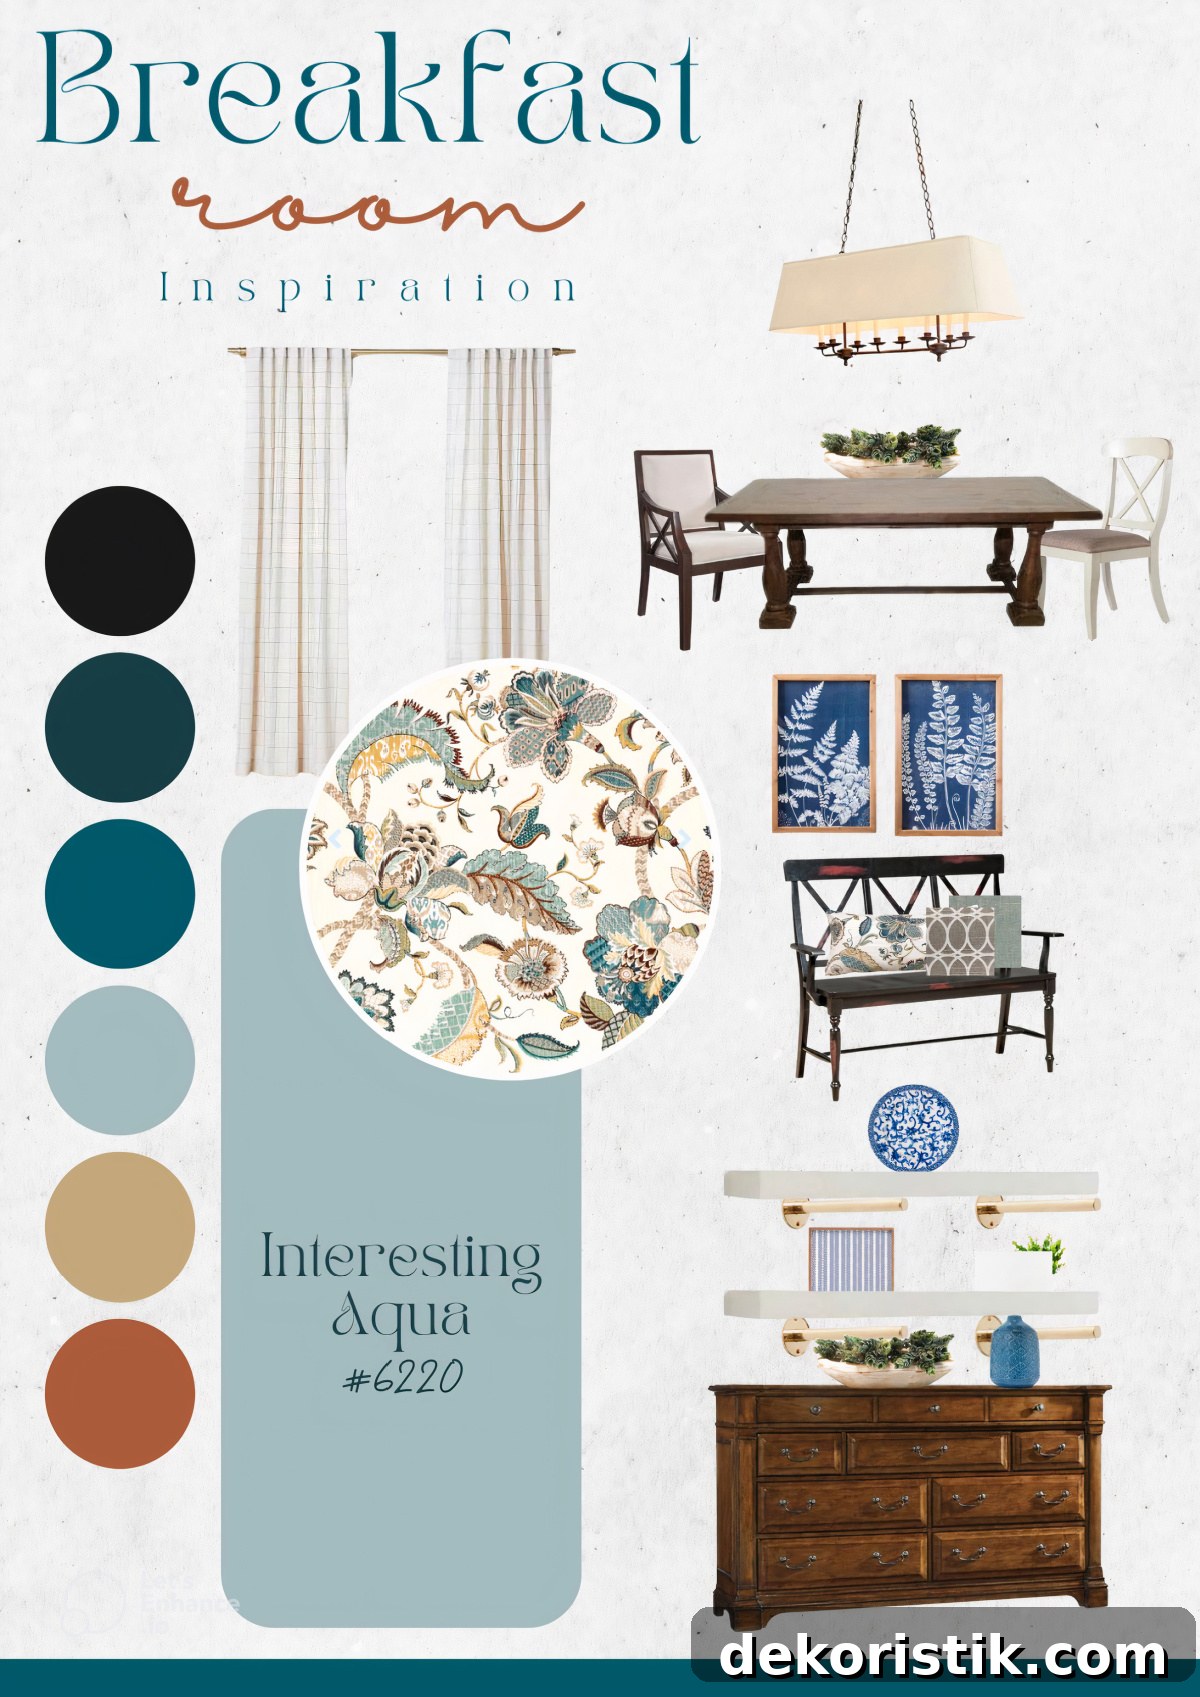
Include as many elements as you can—furniture, rug, accessories, textiles, and paint—so you can visualize how pieces interrelate. Even items that don’t make the final cut help clarify what you do want.
Step 9: Download or Share Your Mood Board
When you’re happy with the result, download the board as a JPEG, PNG, or PDF. I like to print mine and carry it while shopping. You can also share the design directly from Canva with friends, a contractor, or anyone helping on the project.
Step 10: Save Your Project
Canva auto-saves your work, so you can return later to refine or expand the board as new ideas come up. Treat the mood board as a living document that evolves with the project.
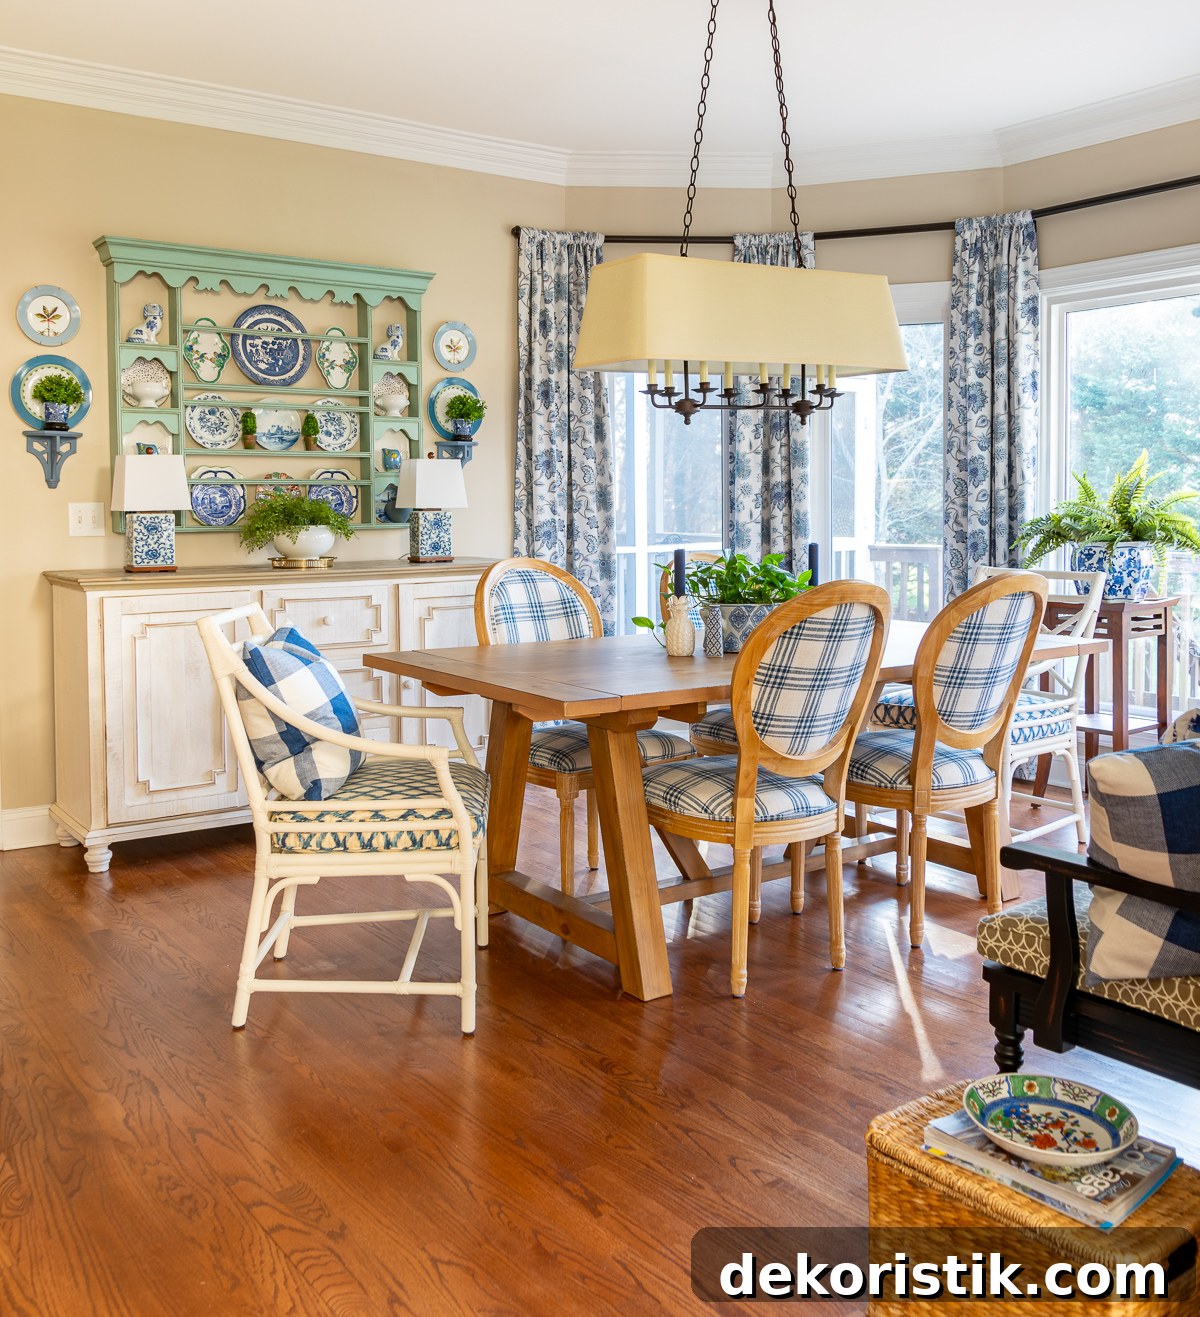
When I began the breakfast room, I knew the general vibe I wanted but not the exact look. Finding an inspiration fabric helped me build a color palette, take inventory of what I already owned, and determine which new pieces were needed. The mood board allowed me to see those decisions visually before I bought anything.
I hope you’ll try mood boards on your next decorating project. They are practical, creative tools that help you make decisions with confidence, keep momentum going, and stay excited about the space you’re creating.
Chapter 3 of the Simply Decorating series: Find Your Home Decor Style With a Quiz