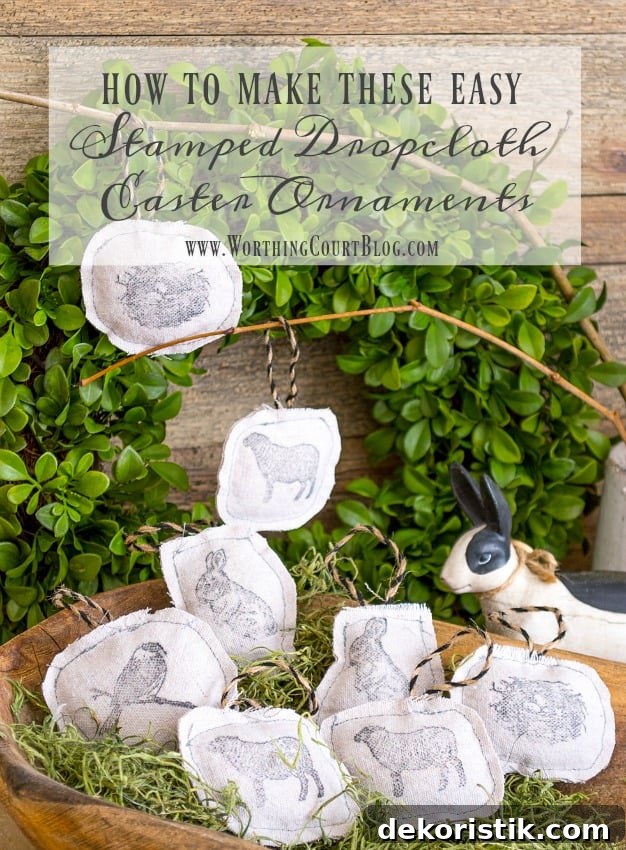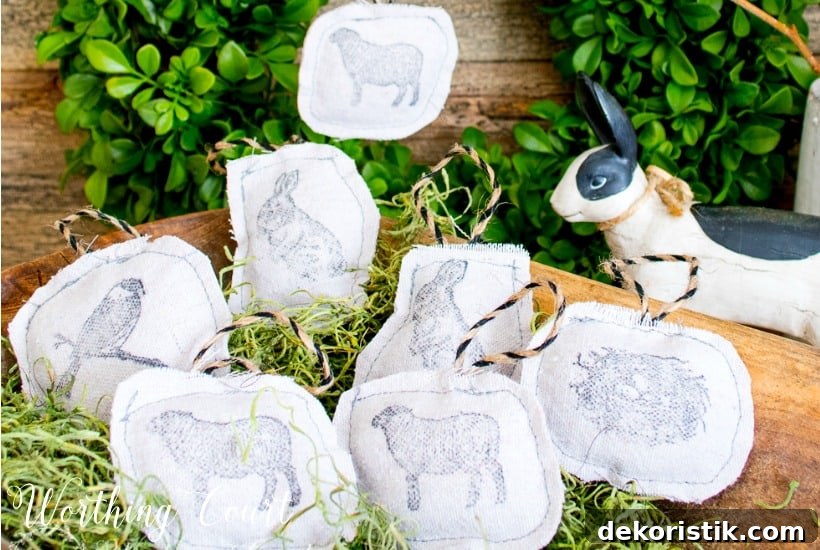
Step-by-step directions for making an easy, super-adorable Easter craft using plain fabric and stamps—no sewing required!
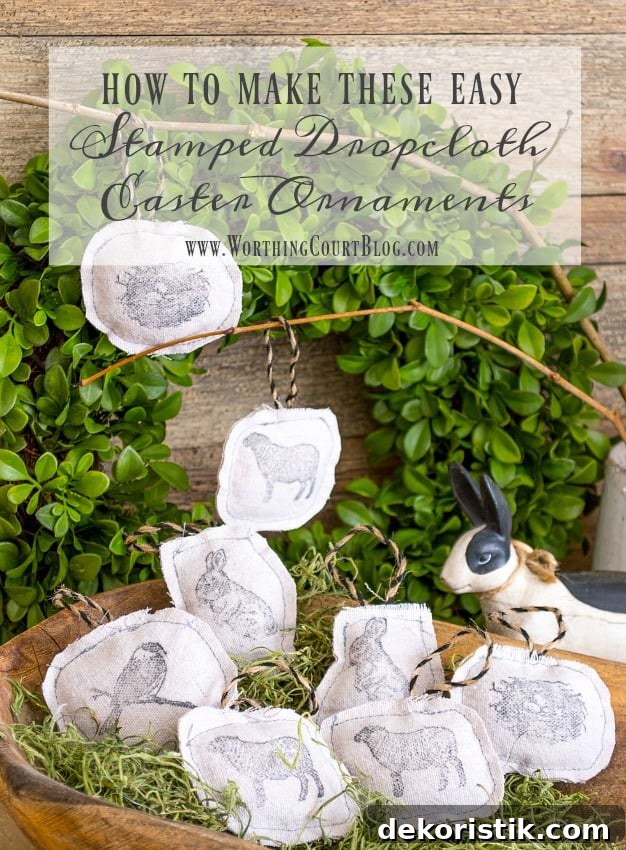
I readily admit I’m not naturally a prolific crafter. It’s not that I can’t do crafts—I just don’t always make the time for them. But sometimes a simple idea pops into my head that’s too cute to pass up. These stamped drop cloth Easter ornaments are one of those ideas: quick, inexpensive, and genuinely charming.
When I craft, I follow three simple rules: keep it simple, keep it fast, and keep it affordable. This project meets all three. Using plain canvas drop cloth, a few stamps, and basic supplies, you can make a handful of rustic, farmhouse-style ornaments in an afternoon. They’re forgiving and intentionally imperfect, which gives them a handmade, cozy look.
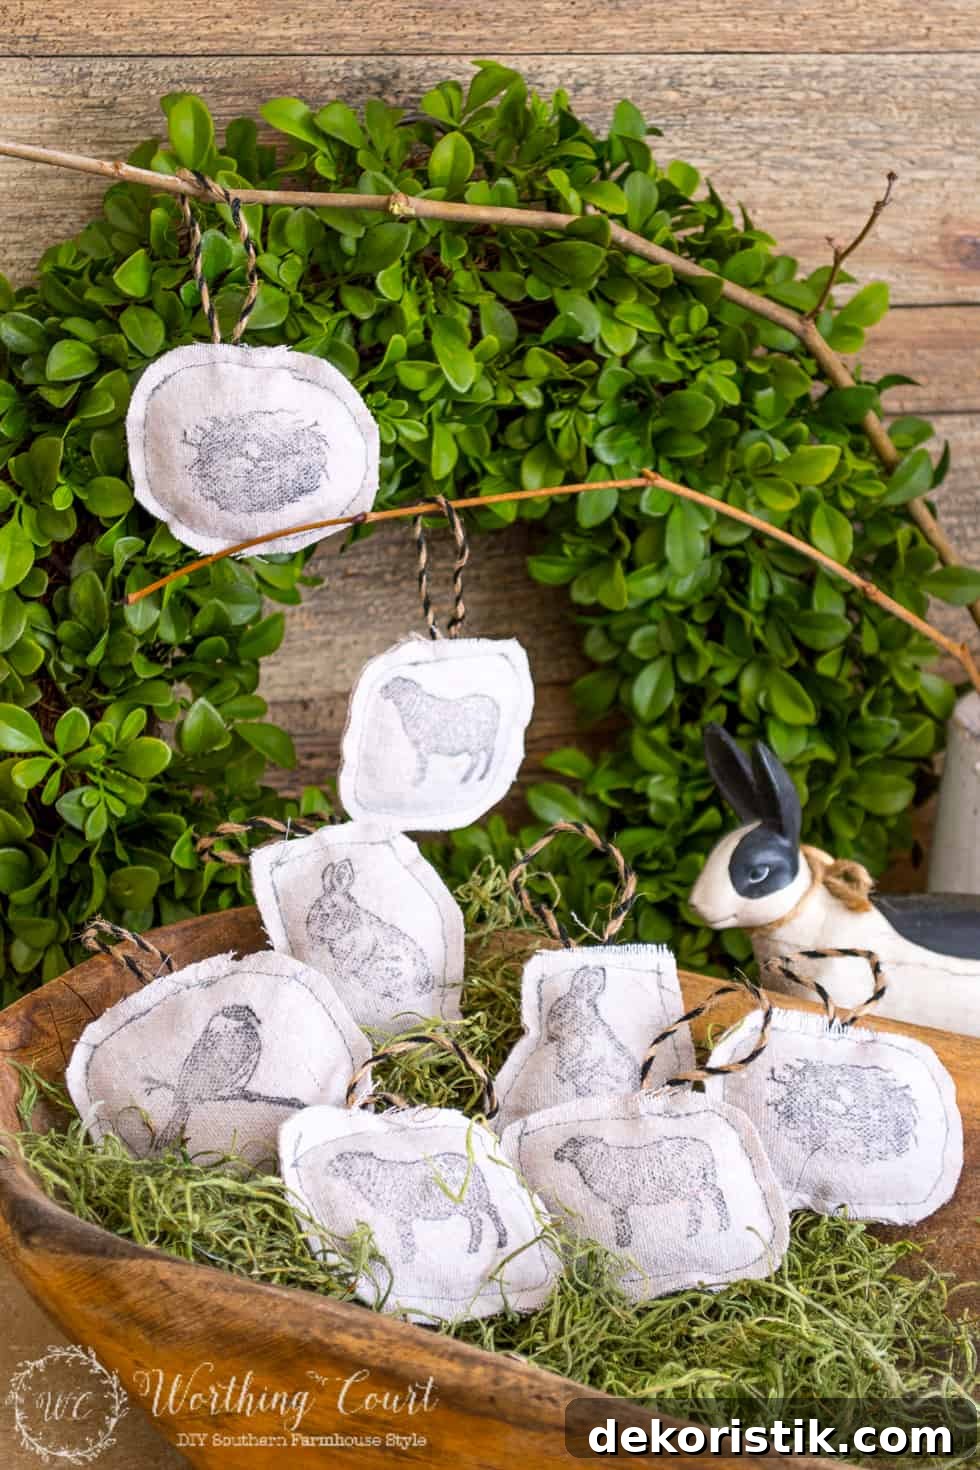
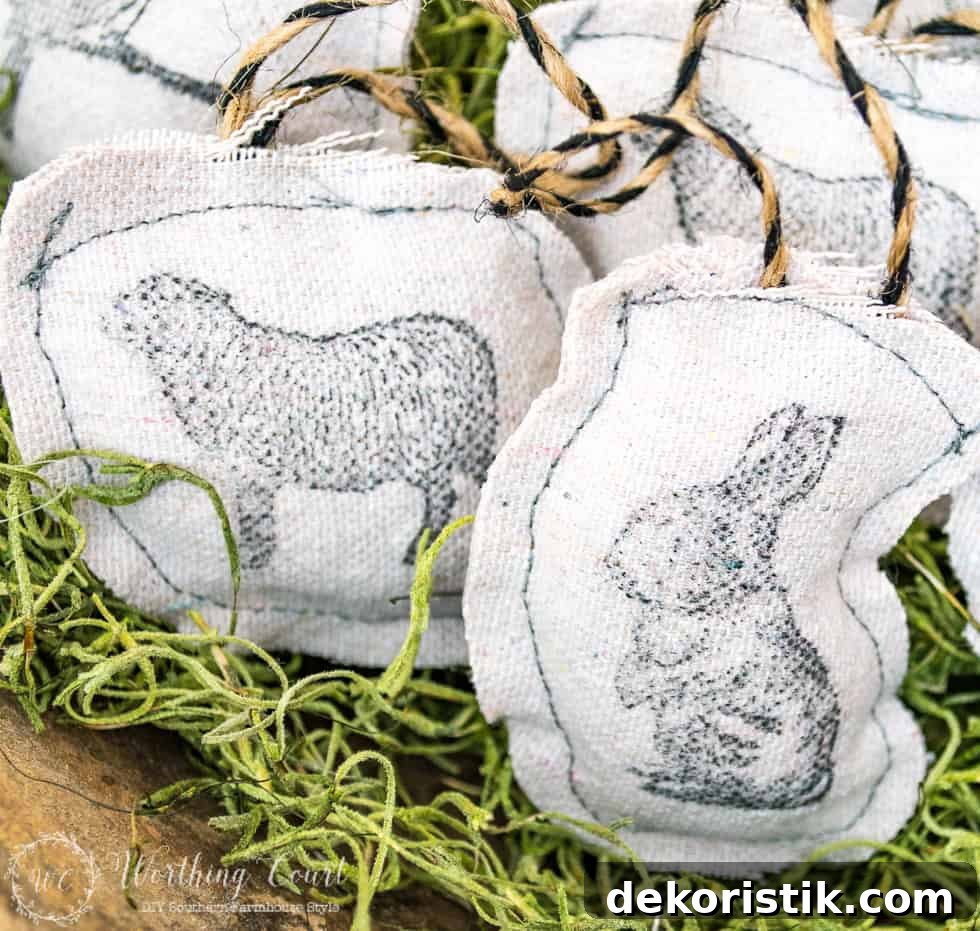
These ornaments look lovely clustered in a bowl, hung from an Easter tree, or used to accent a spring garland. Below I’ll outline the supplies, the step-by-step process, and a few tips to help you achieve the best results.
Supplies
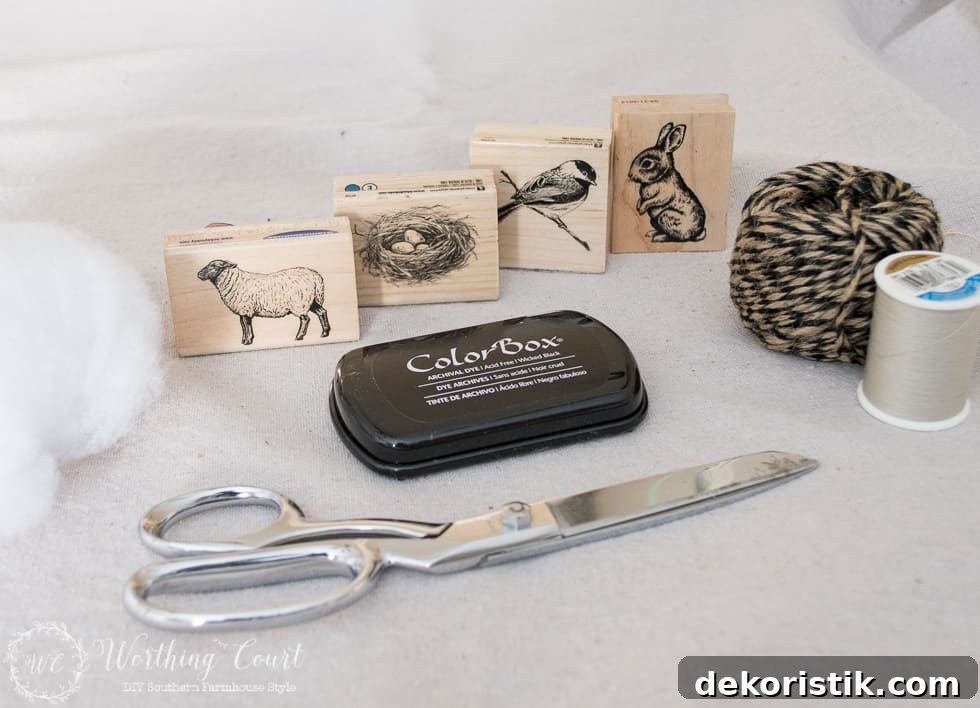
Note: You can substitute similar items based on what you have at home.
- Bunny rubber stamp (or any small Easter-themed stamps: chick, nest, sheep)
- Black ink stamp pad or another permanent fabric-safe ink
- Canvas drop cloth (plenty left over for other projects)
- Jute twine (bi-colored or natural)
- Pillow stuffing or cotton balls
- Scissors
- Gray sewing thread or coordinating thread for a stitched finish
- Fabric adhesive such as Fabri-Tac (optional, if you prefer not to sew)
- Sewing machine or hand needle (hand sewing works fine for a small batch)
The Process
Step 1 — Stamp the Fabric: Start by stamping your chosen images onto the drop cloth. For a double-sided ornament, stamp two matching images for each ornament. Leave some space around each stamped image so you can cut a border later. Imperfect spacing is fine—the rustic charm of this craft comes from its handmade look.
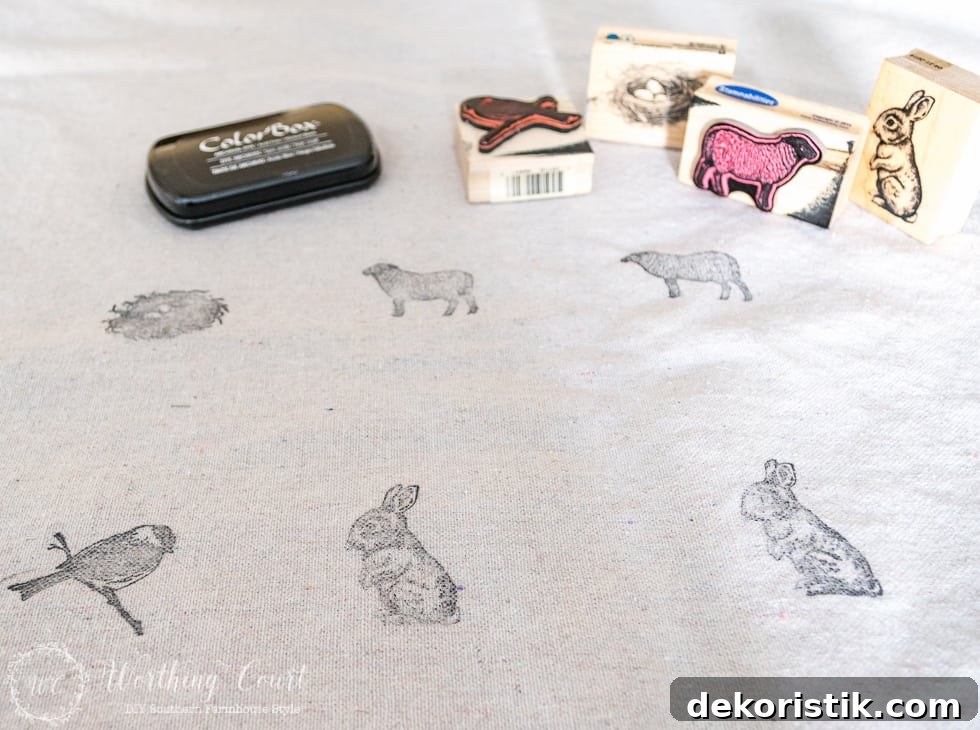
Step 2 — Cut the Shapes: Cut rough squares or rounded shapes around each stamped image. These do not need to be exact—rough edges add to the aesthetic.
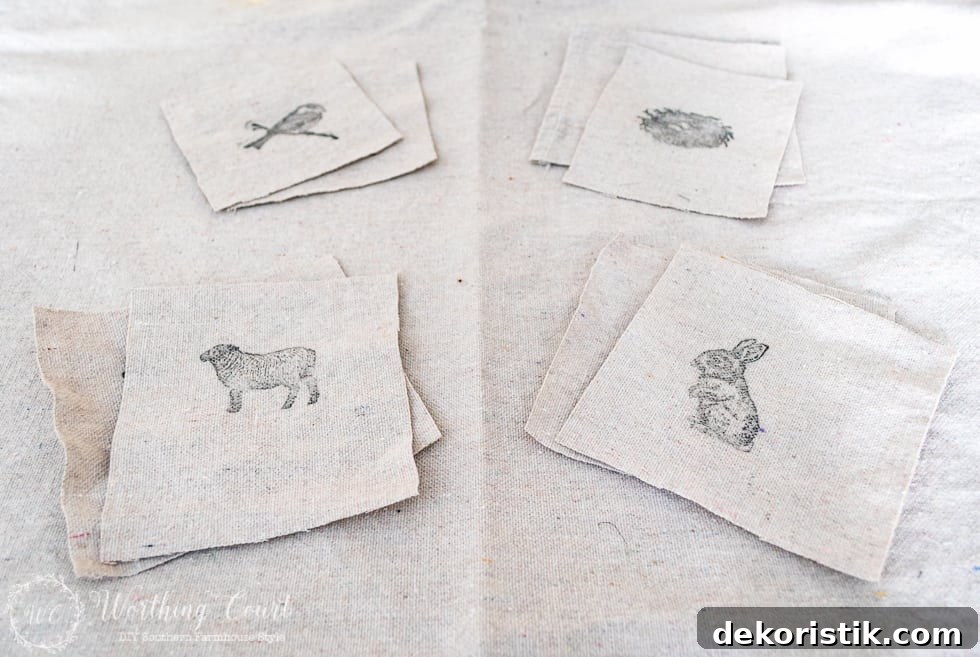
Step 3 — Sew or Glue the Edges: Place two cut pieces wrong sides together so the stamped sides face outward and line up the images as closely as possible. Sew around the image using a long stitch, leaving a 1–2 inch opening for stuffing. If you prefer not to sew, apply fabric adhesive around the edges, again leaving an opening. If you glue, allow adequate drying time before stuffing.
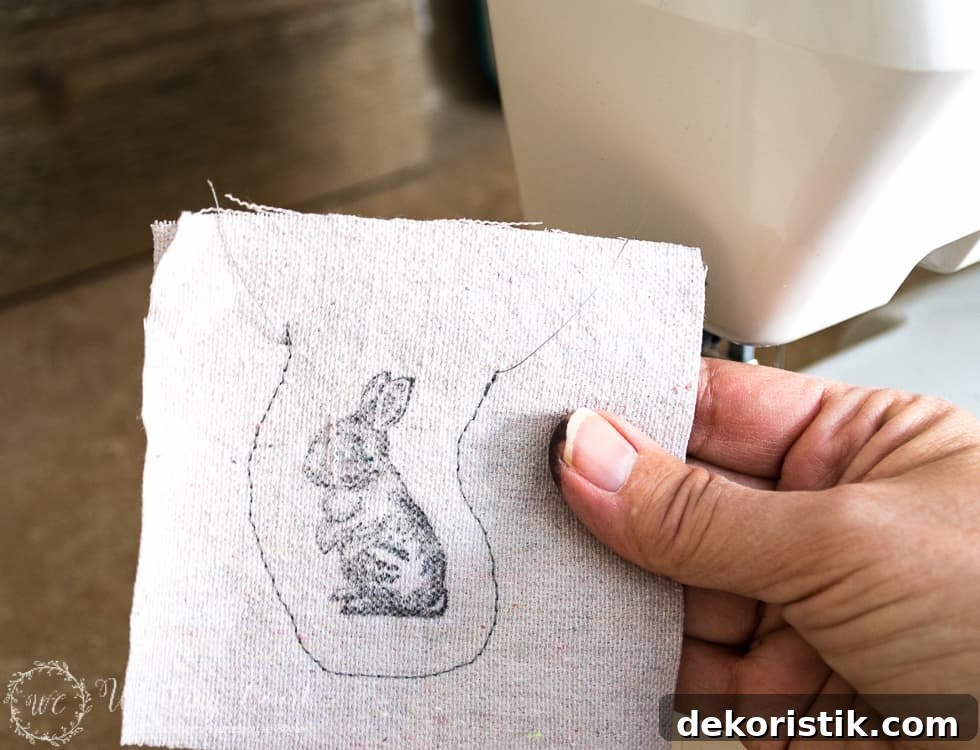
Step 4 — Stuff the Ornament: Use small amounts of pillow stuffing or cotton balls to fill the ornament to your desired firmness. Use your fingers or a small blunt tool to push stuffing into corners and around the image area. Avoid overfilling; a slightly squishy finish looks best.
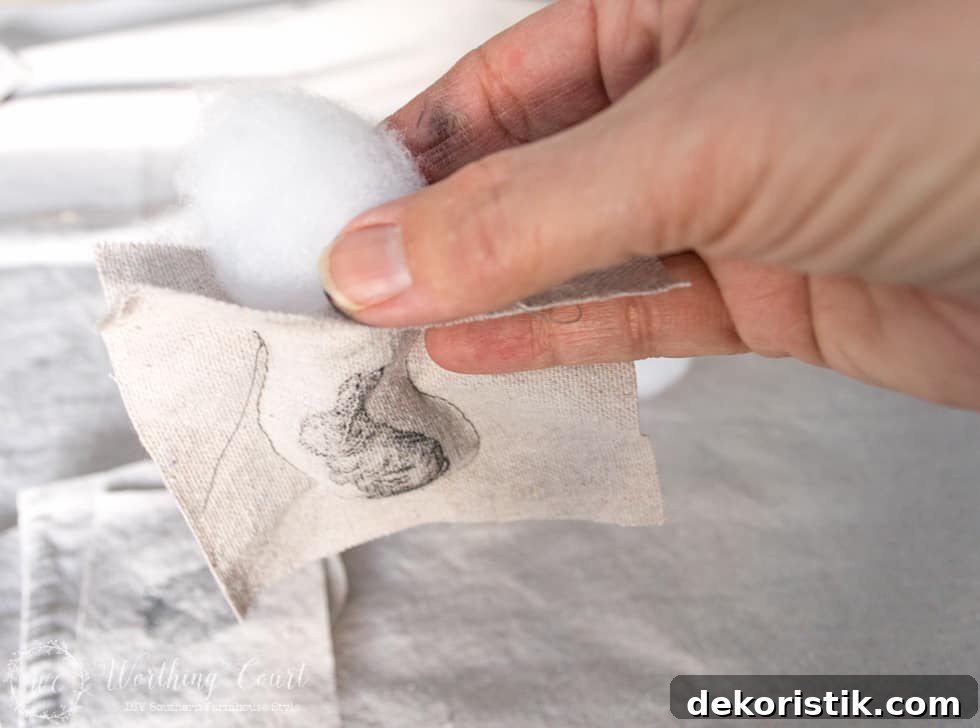
Step 5 — Trim Excess Fabric: After stuffing, trim the excess drop cloth around the sewn edge. Keep cuts rough and uneven if you want a frayed, farmhouse look—this adds texture and character.
Step 6 — Add a Hanging Loop: Cut a 6-inch piece of twine, fold it in half, and insert the folded end into the opening so the loop sits inside the ornament. Sew or glue the opening closed, securing the twine in place. If sewing, trim thread ends neatly. If gluing, use small clothespins or clips to hold the seam until it sets completely.
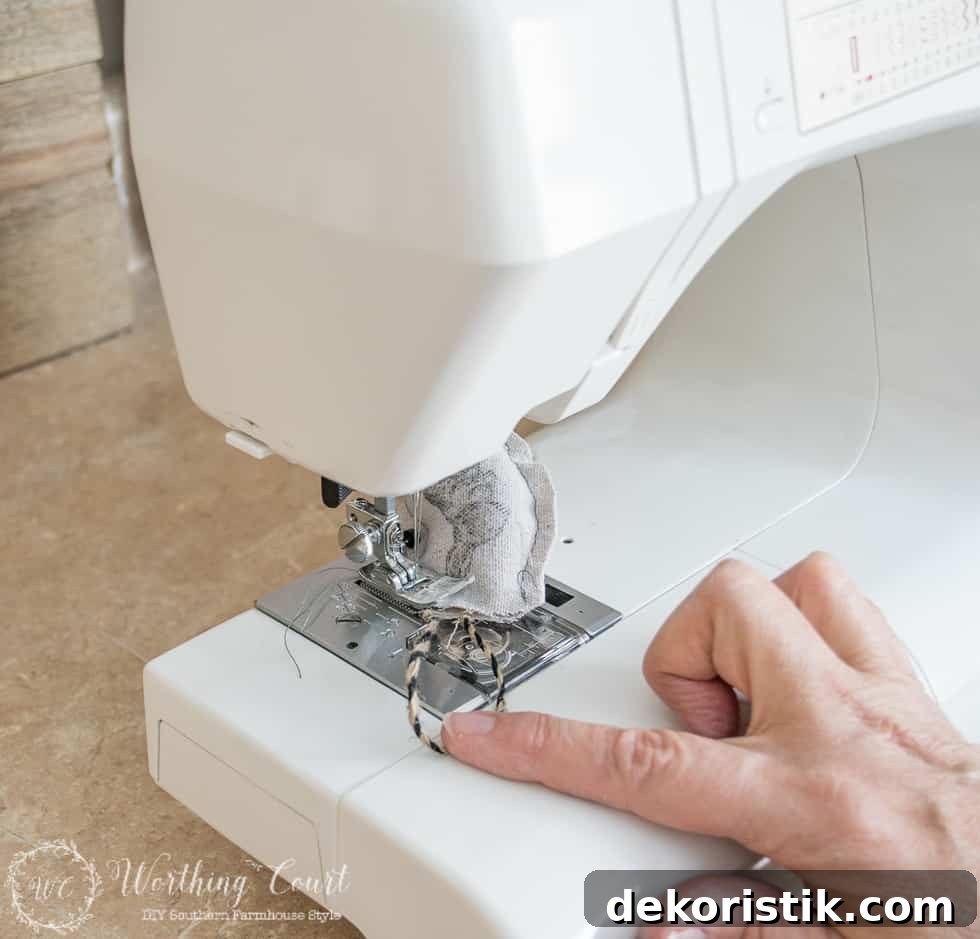
Optional finishing touches: add tiny fabric scrap bows, a dab of paint for color accents, or a number of tiny French knots with embroidery thread near the stamped image for extra detail. Keep embellishments minimal to maintain the simple, rustic style.
Display and Care
These ornaments look great hanging on a small decorative tree, clustered in a bowl or basket, or strung along a mantel garland. Because the ink and fabric are delicate, avoid exposing them to heavy moisture; spot-clean gently if needed. If you want a longer-lasting piece, consider using a fabric sealant on the stamped surface, testing on a scrap first.
Enjoy creating a set of charming, handmade Easter ornaments—perfect for gifting, decorating, or adding a cozy touch to your spring décor.