
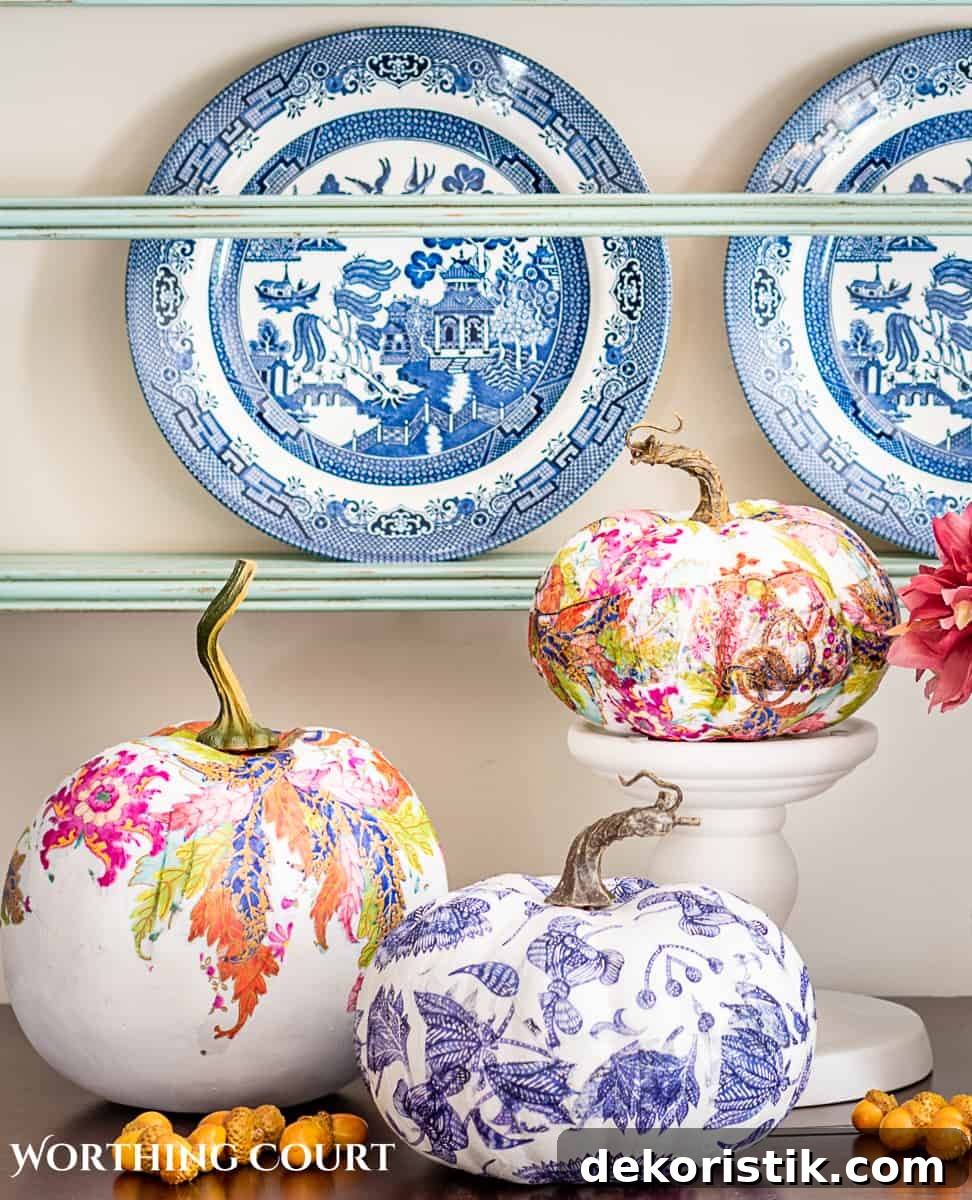
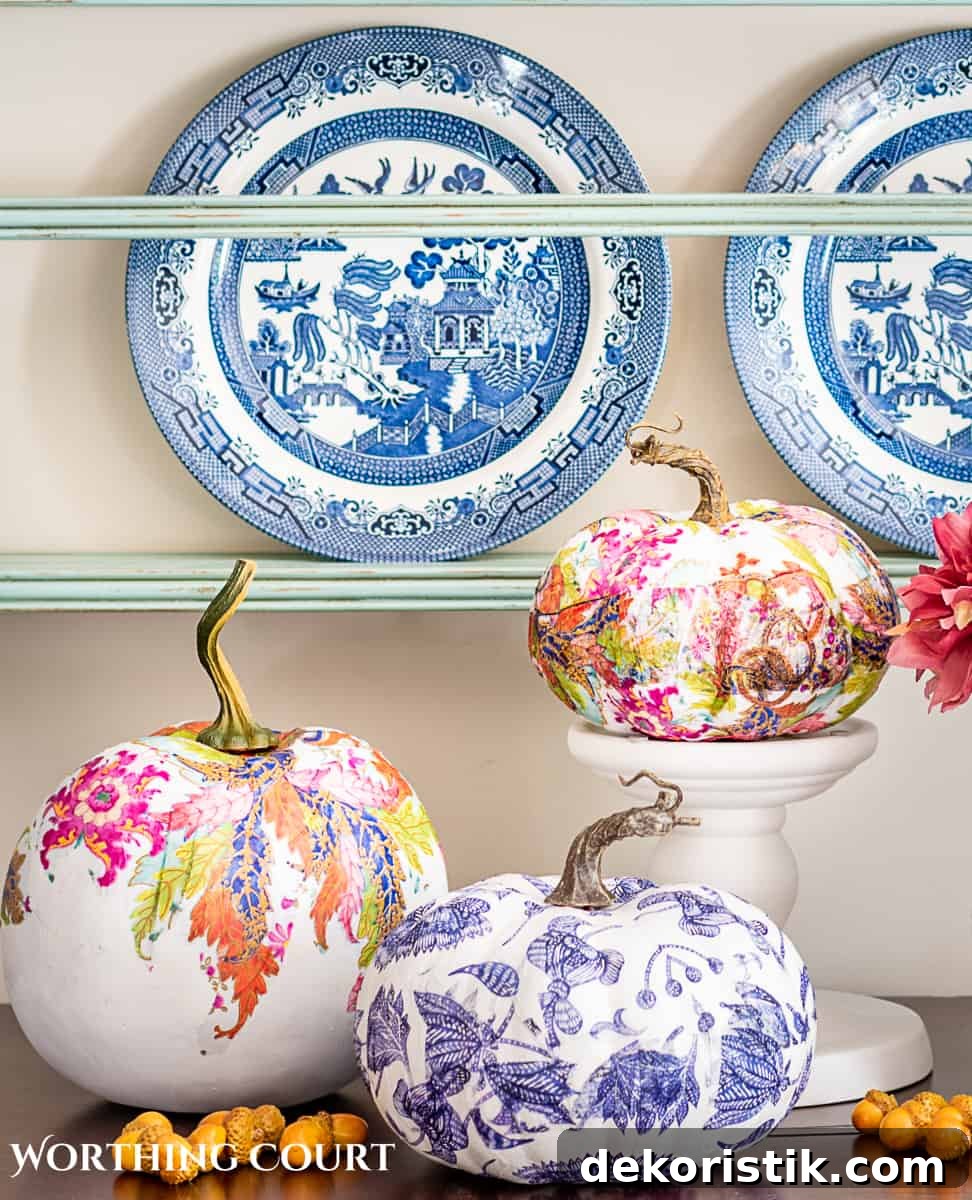
Inside: step-by-step directions and practical tips for making DIY chinoiserie pumpkins. Add this easy decoupage project to your fall craft lineup to create elegant seasonal accents for your home or handmade gifts for friends.
LOOK FOR THE FREE PRINTABLE PROJECT SHEET BELOW!
This post may contain affiliate links; I may earn a small commission at no extra cost to you if you choose to buy through a linked product. All opinions are my own.
I’ve always loved classic, timeless decor — the blue-and-white chinoiserie pieces, Jacobean prints, and chintz that feel familiar and comforting. If you’re craving a touch of that traditional style this fall, these DIY chinoiserie pumpkins are an easy way to introduce that look into your home.
This decoupage pumpkin project is highly customizable: choose any patterned paper napkins you love, and adapt the size and arrangement to suit your decor. Below you’ll find supplies, detailed steps, pro tips, and FAQs to help you get beautiful results.
Supplies for DIY Chinoiserie Pumpkins
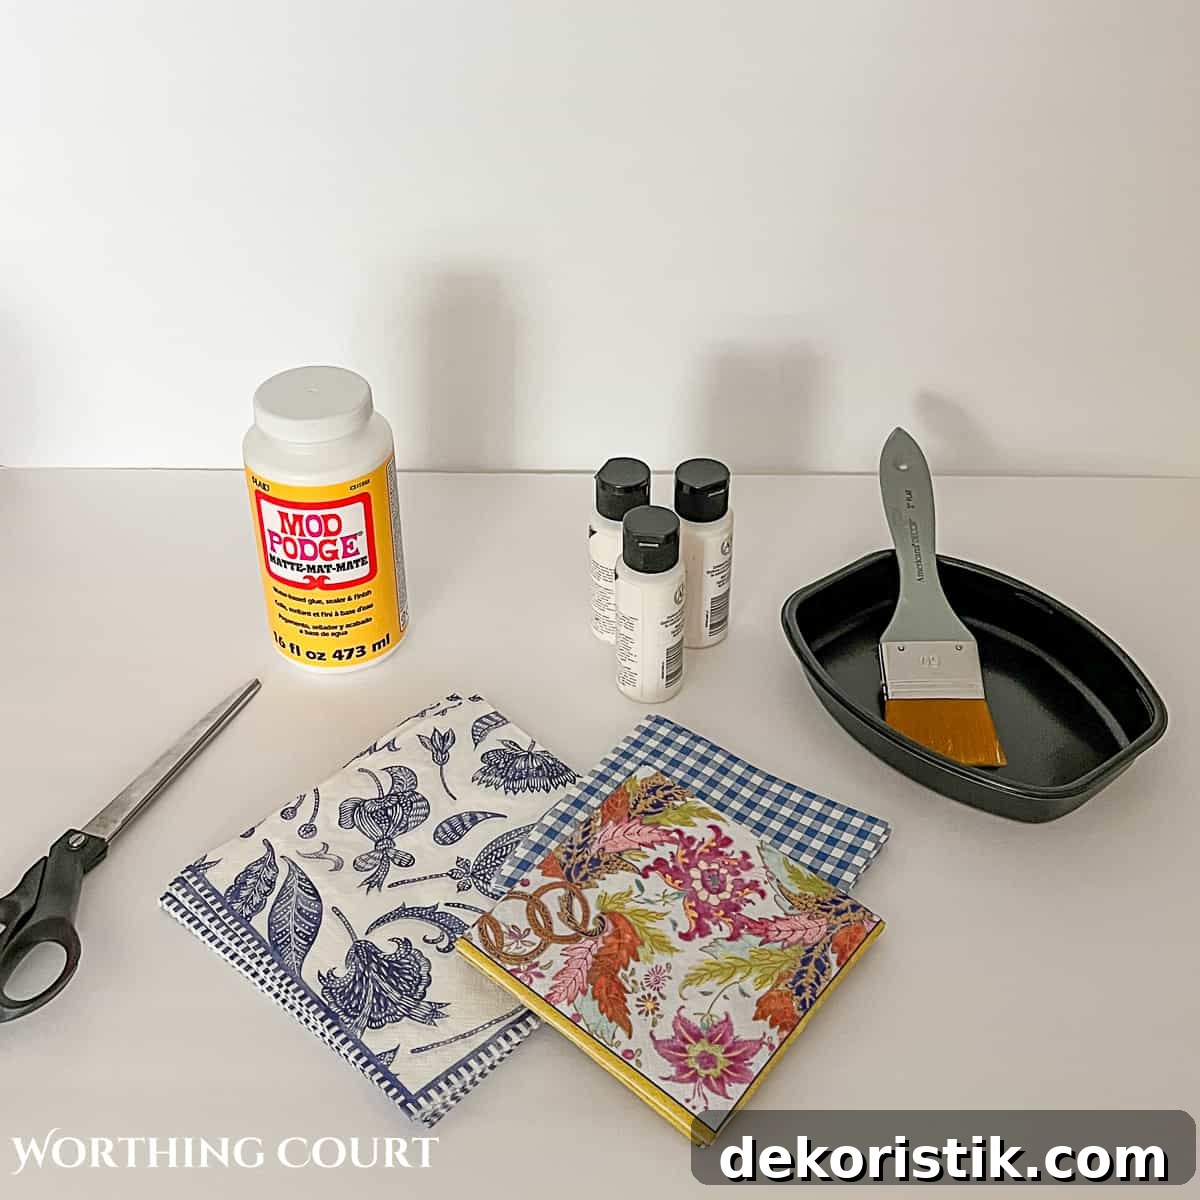
- Faux pumpkins (budget-friendly sets work well)
- Matte Mod Podge (or a matte decoupage medium)
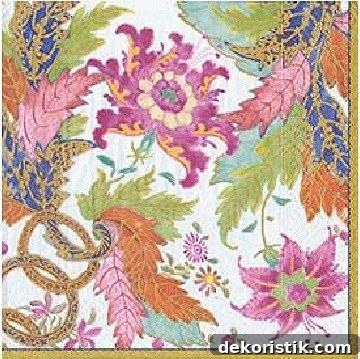
- Decorative paper napkins in your chosen patterns
- White craft paint or white spray paint (matte finish recommended)
- Paint brushes or foam brushes (inexpensive brushes are fine)
- Scissors
- Hot glue gun and glue sticks (optional for securing stems)
- Small containers for paint and Mod Podge
Tip: Avoid using cocktail-size napkins on pumpkins taller than about 4″ — dinner or guest towel sizes cover larger pumpkins more easily and reduce tearing.
STEP 1: Prep the Pumpkins
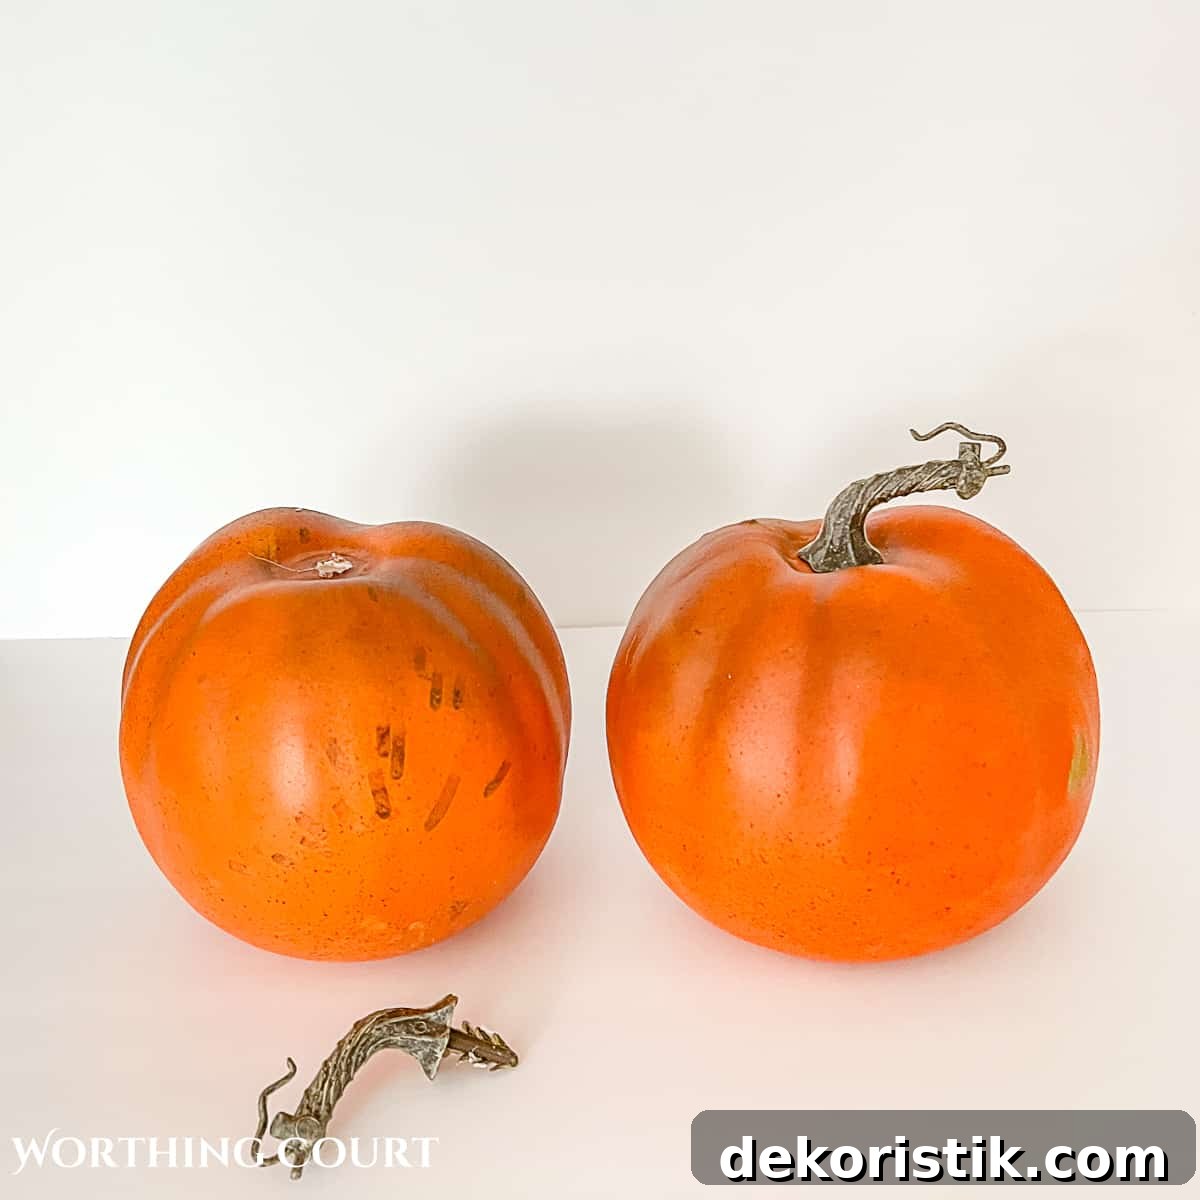
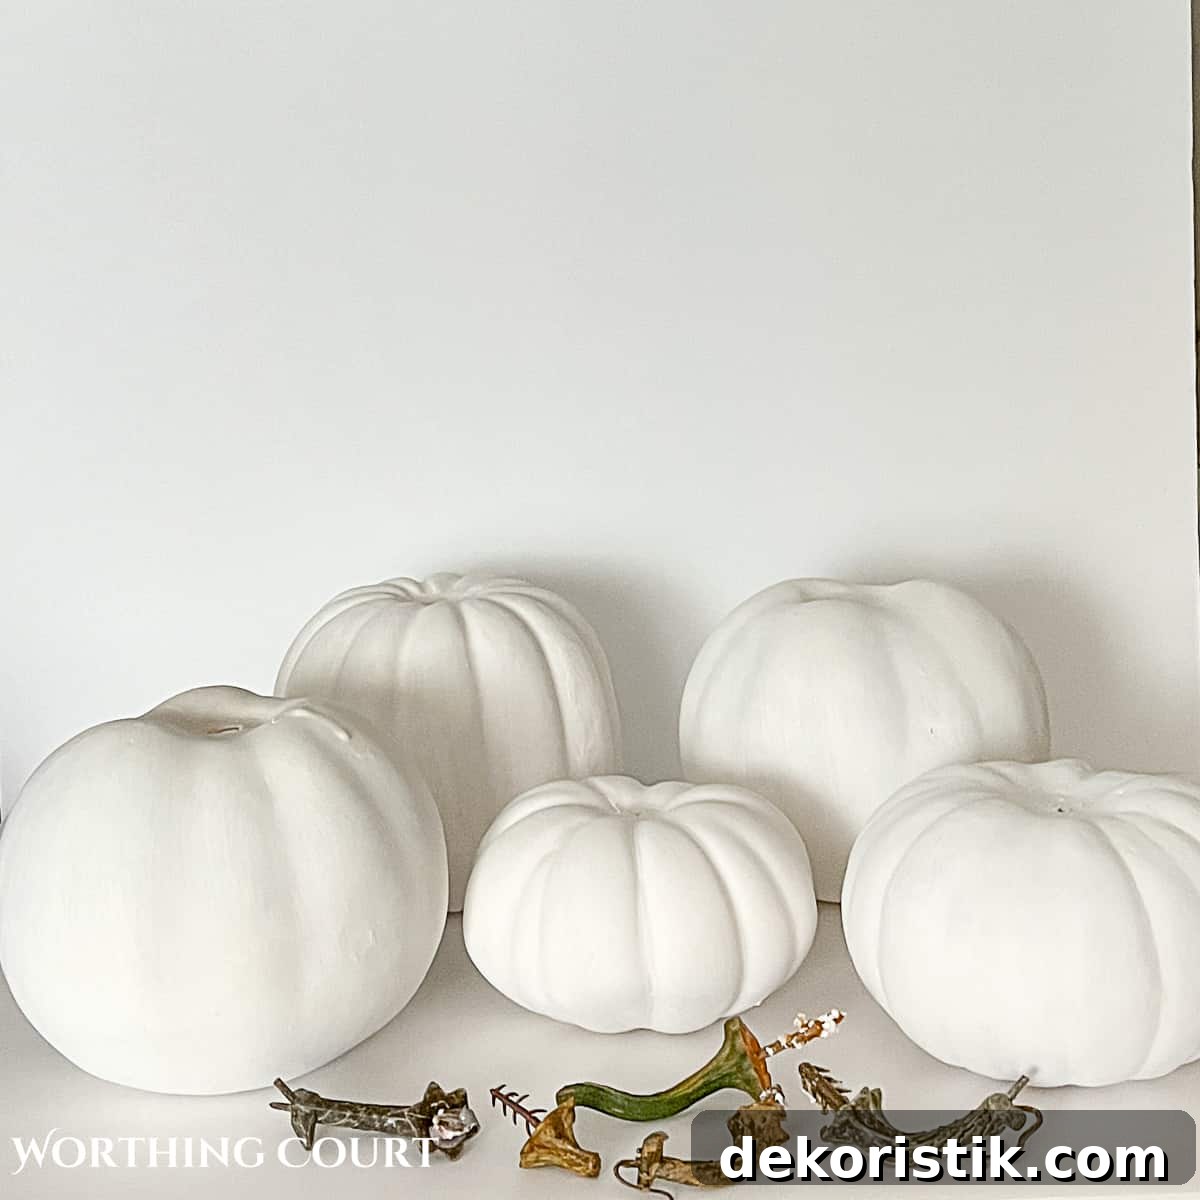
Remove the stems by gently twisting and pulling them out, then clear away any excess glue or debris from the stem hole. If your pumpkins are brightly colored, paint them with white matte paint and allow complete drying before decoupaging — two or three coats may be necessary to fully cover bold colors.
Tip: Choose pumpkins with shallow grooves to make it easier to apply the napkin without tearing.
STEP 2: Prep the Napkins
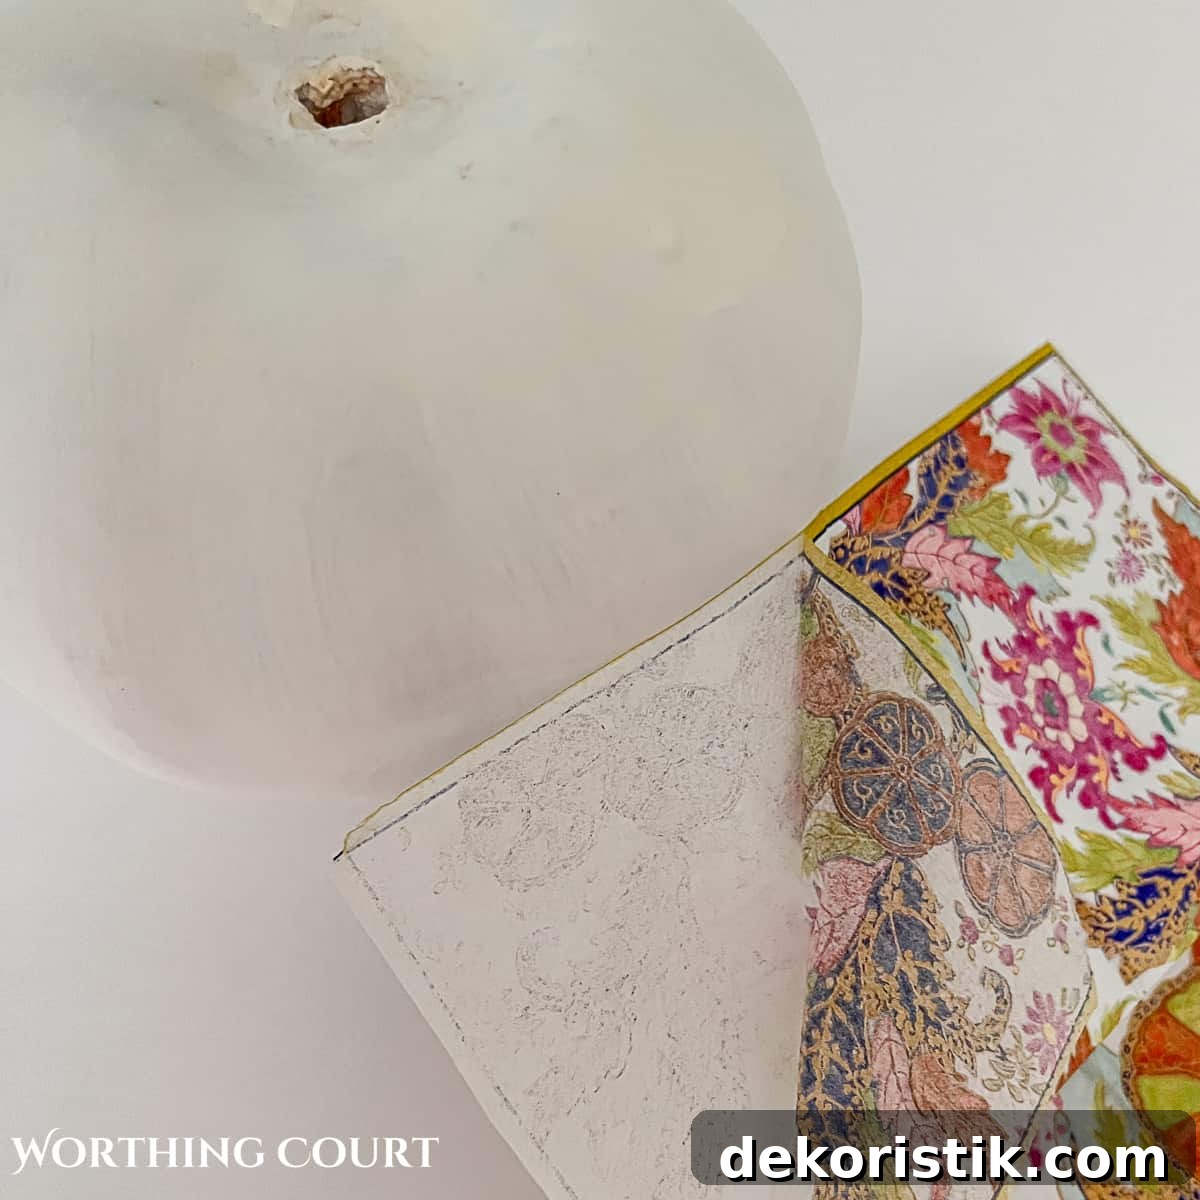
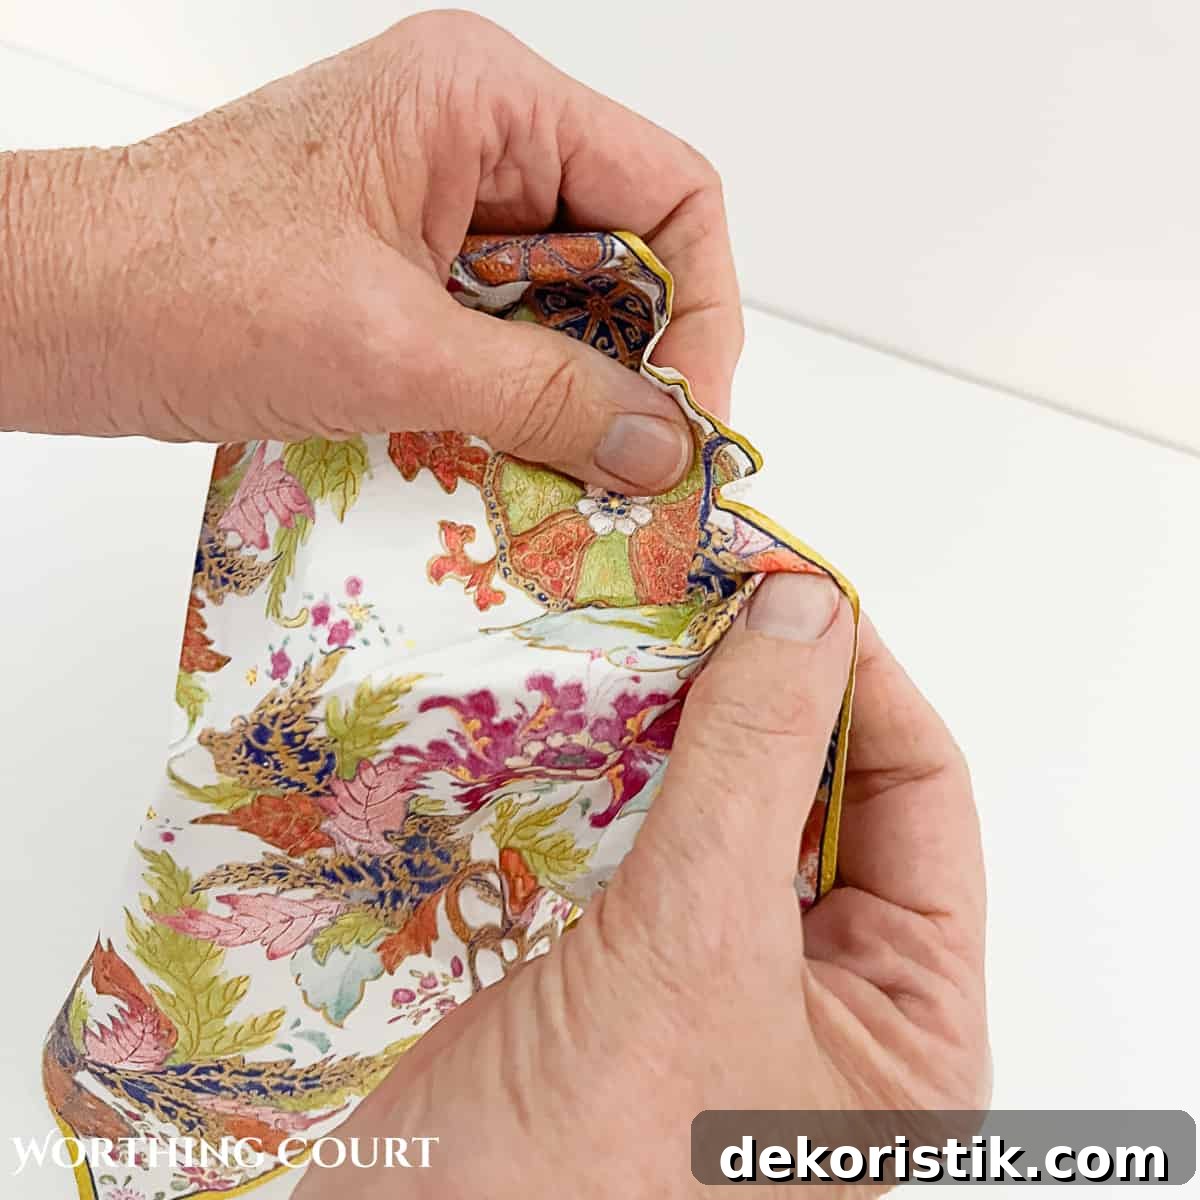
Most decorative paper napkins are multi-ply (often three-ply). For decoupage, separate the layers and use only a single thin ply — this behaves like tissue paper and adheres smoothly. To separate layers, hold one edge and gently rub the napkin between your hands until the layers start to come apart.
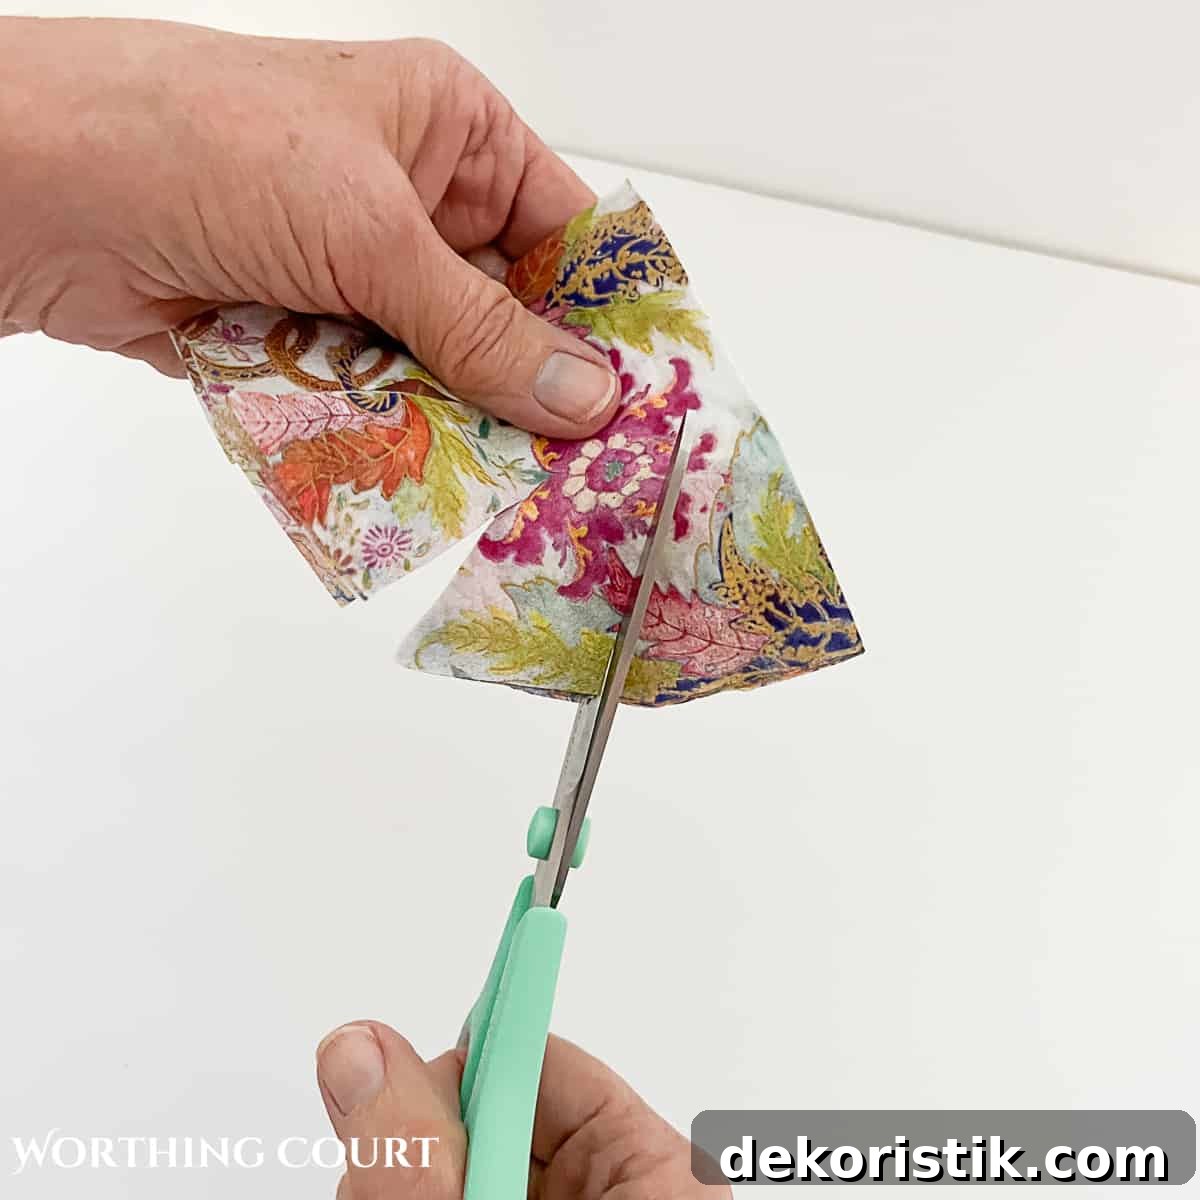
Fold the single ply into a square and cut a rounded arch shape. To make it easier to fit around the pumpkin’s curve, cut short radial slits from the rounded edge toward the center. These slits allow the napkin to overlap and lay flatter on the curved surface.
STEP 3: Decoupage the Napkin to the Pumpkin
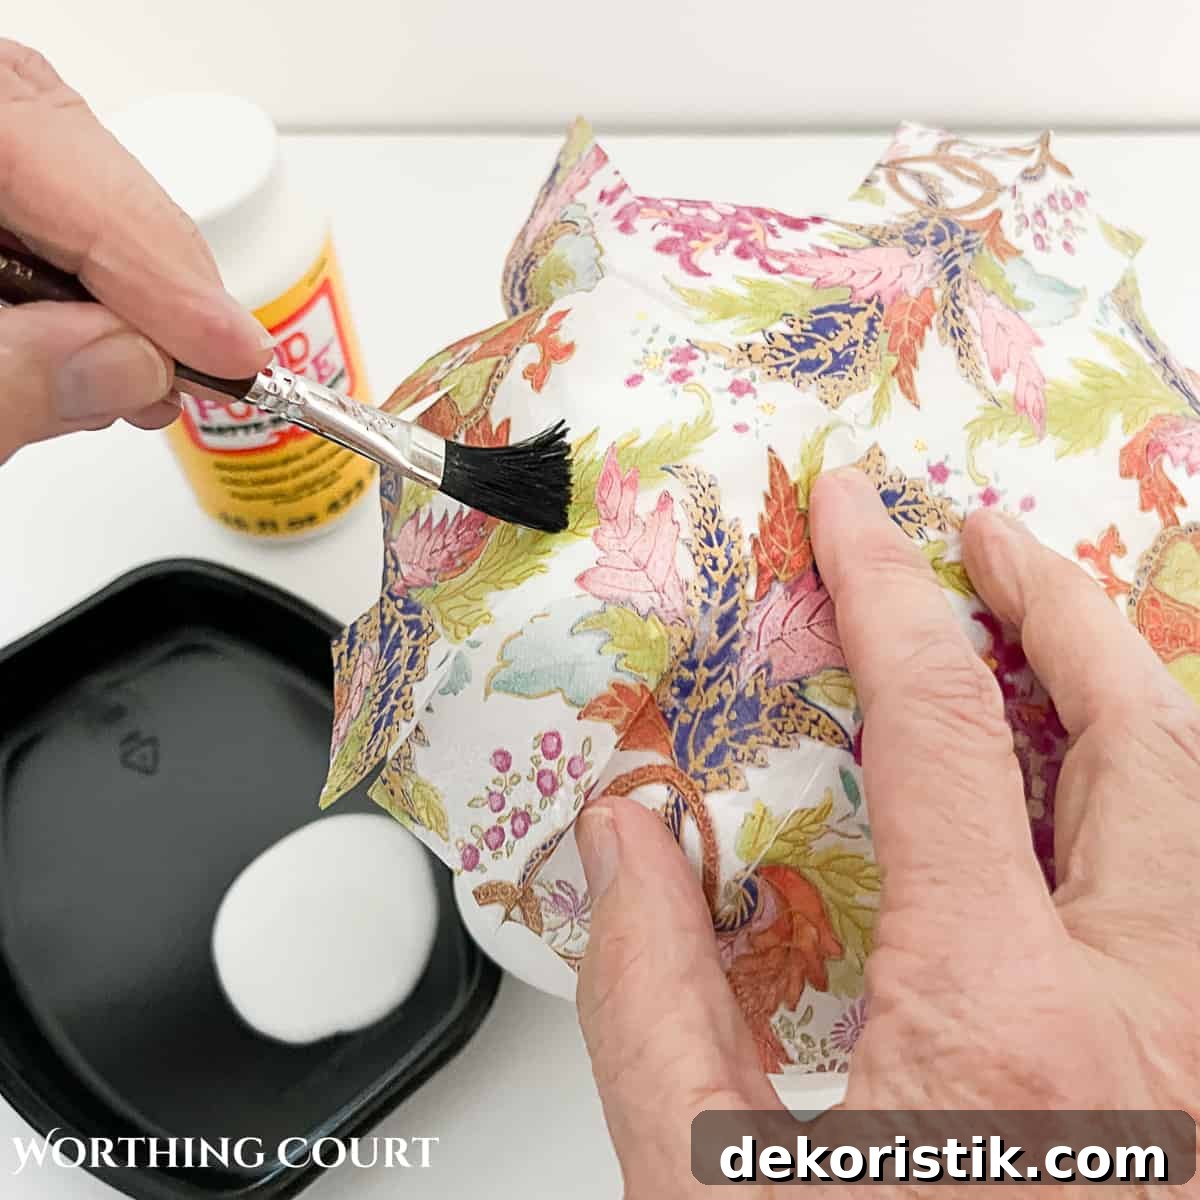
Working from the bottom up, position the napkin on the pumpkin and brush a thin, even layer of Mod Podge over the napkin. Because the napkin ply is so thin, applying the Mod Podge on top adheres through the paper just fine. Smooth gently with the brush, tamping out bubbles and wrinkles.
Pro tip: If you need to handle the wet surface, protect your fingers with a piece of wax paper or a plastic bag so the napkin doesn’t stick to your skin and tear. If tears or small gaps occur, patch with a tiny scrap from another napkin — the pattern usually hides the repair.
Allow the bottom half to dry, then repeat the process on the top half. While wet, poke a small hole where the stem will reinsert. Lay the pumpkin on wax paper while drying to prevent it from sticking to your work surface.
STEP 4: Replace the Stem
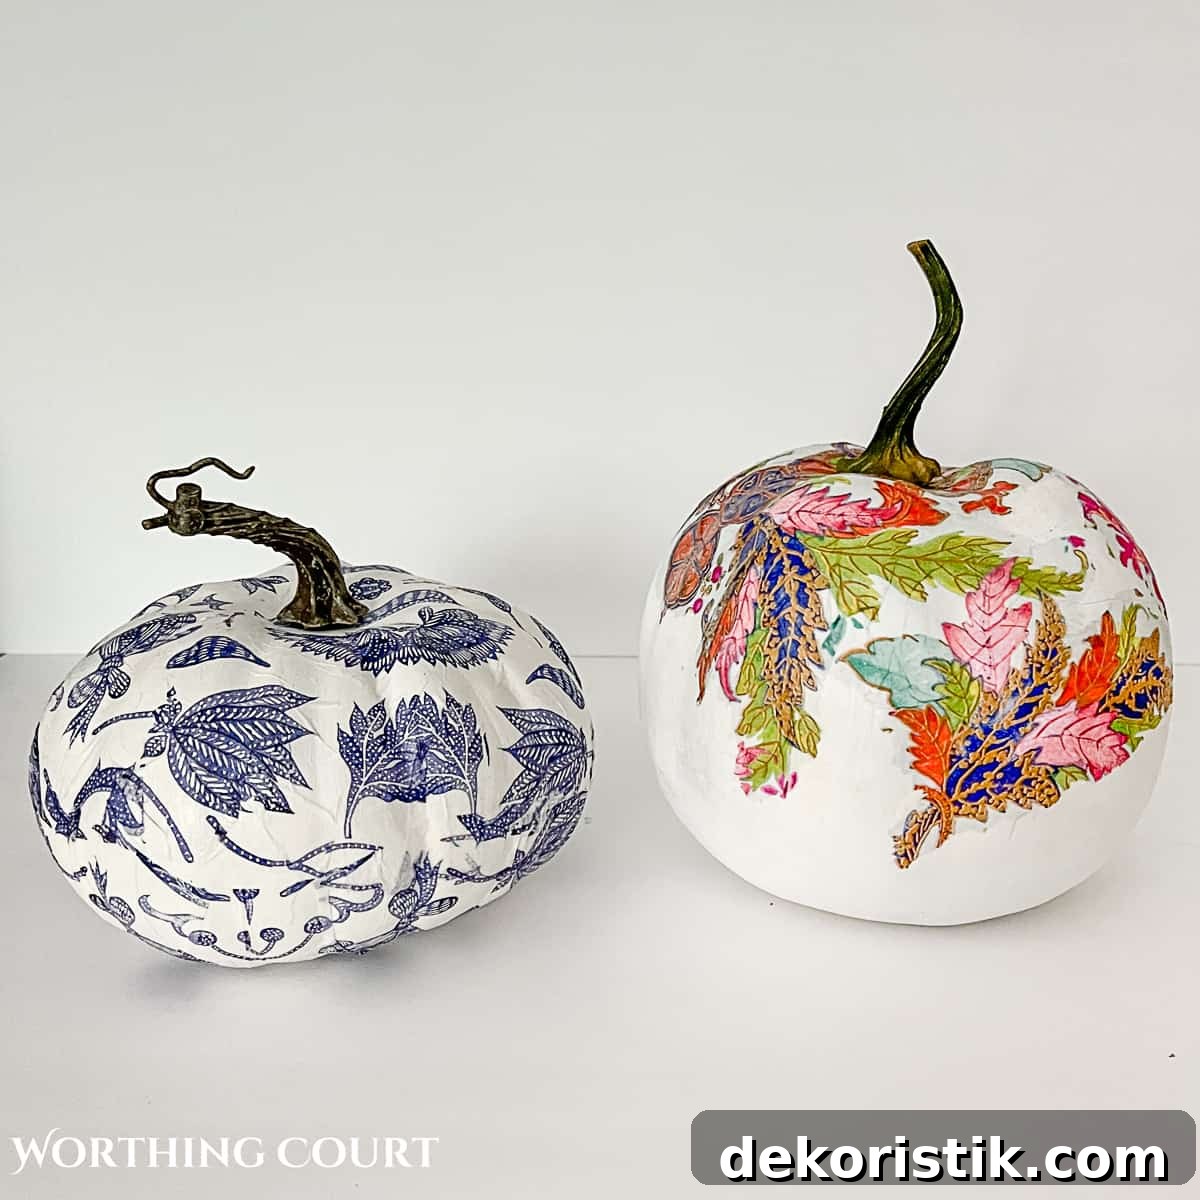
Once dry, push the stem back into the hole. If the stem is loose, secure it with a dab of hot glue inside the hole. Paint stems white for a coordinated look or gold for a touch of glam.
Variations and Styling Ideas
Instead of covering the entire pumpkin, tear around a motif in the napkin and adhere only that portion to create a draped, cascading effect. This technique makes the pattern look intentionally placed and more sophisticated.
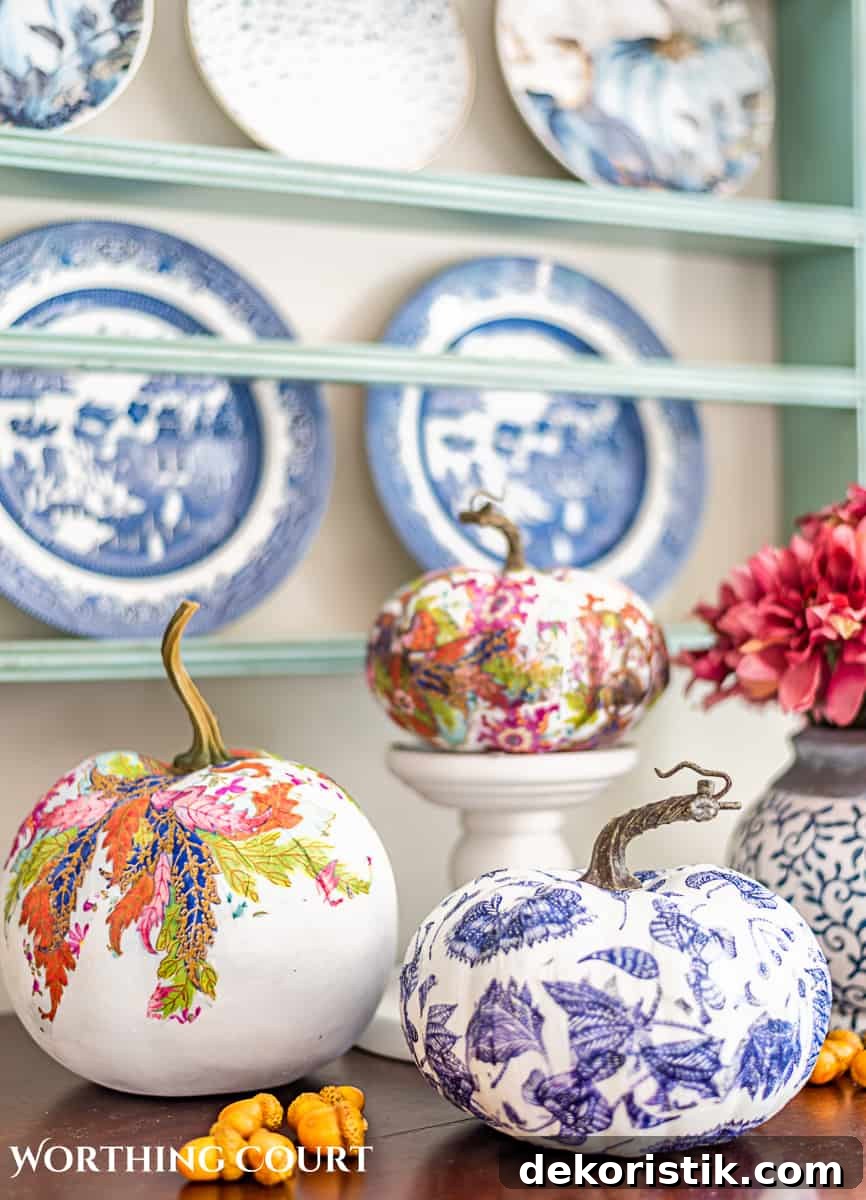
Display ideas:
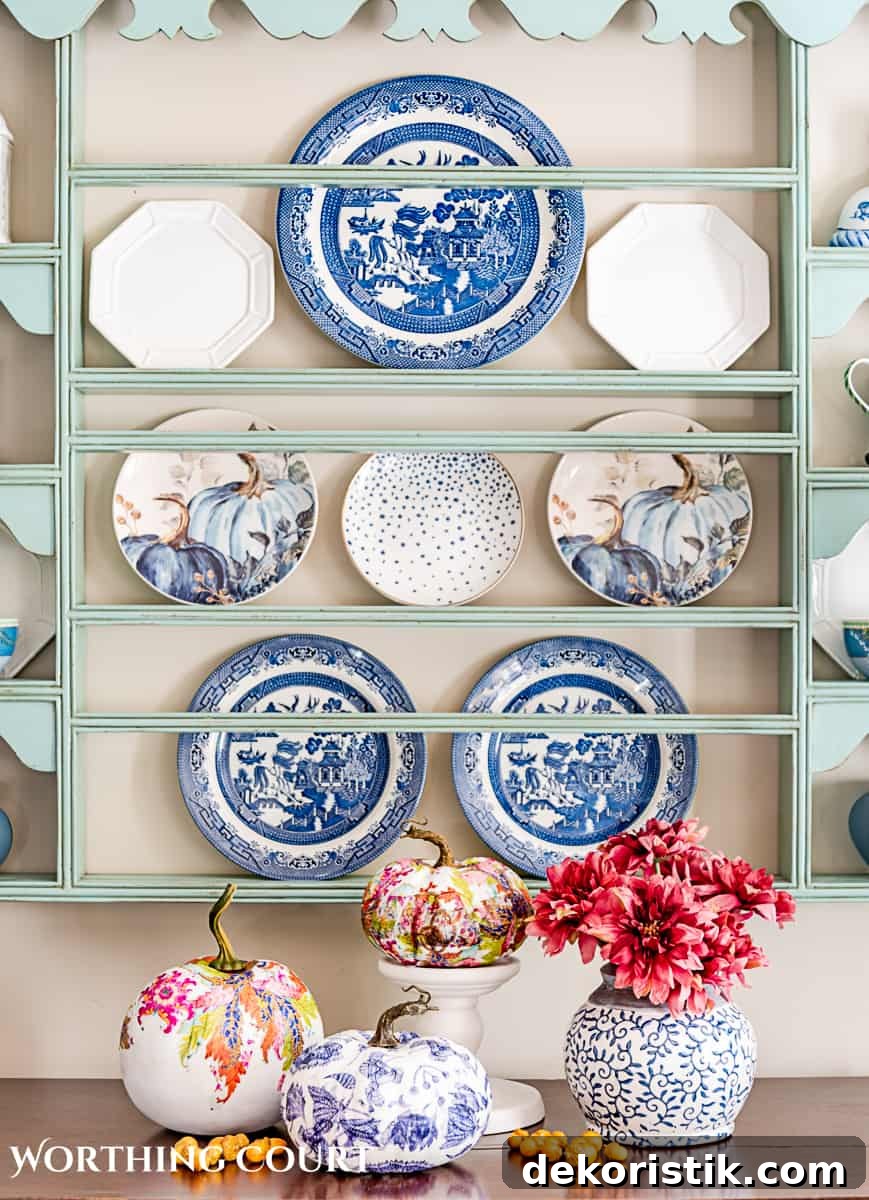
- Part of a seasonal centerpiece
- Grouped on a mantel or shelf vignette
- Tied with a small ribbon and placed at place settings as favors
- Mounted on a candlestick or clustered in a decorative bowl
- Given away as inexpensive, handcrafted gifts
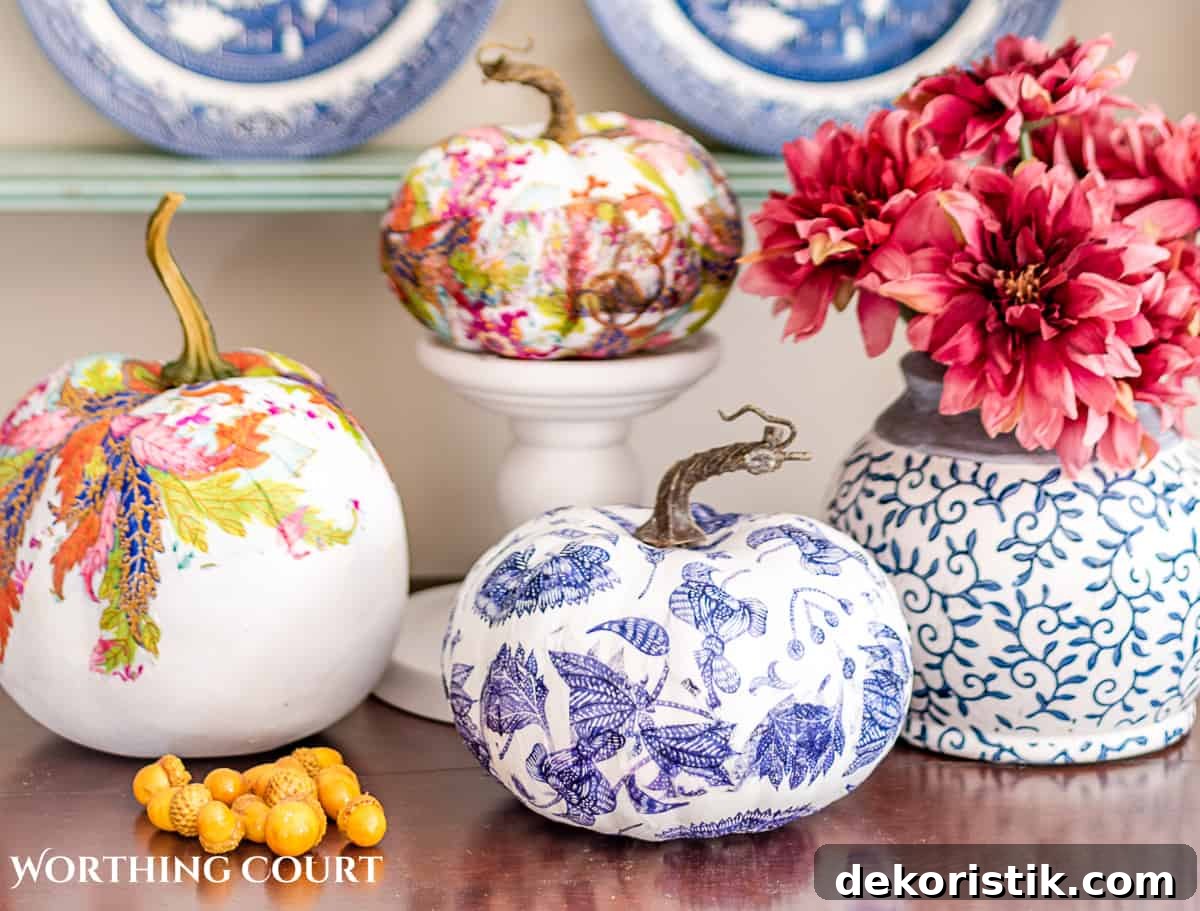
Quick Project Summary — DIY Chinoiserie Pumpkins
- Remove stems and paint pumpkins white (matte).
- Separate napkin layers to one ply, cut a rounded shape, and add slits for fitting.
- Brush Mod Podge over the napkin positioned on the pumpkin, smooth, and dry.
- Repeat for the other half, poke a hole for the stem, replace stem, and secure with glue if needed.
FAQ’s
1. Can you Mod Podge a real pumpkin?
Yes. You can decoupage a real pumpkin, but it will only last one season. Clean and disinfect the pumpkin before painting to help extend its life.
2. Can I use vinyl cut with a cutting machine instead of napkins?
Yes — vinyl or adhesive designs are a great alternative and don’t require Mod Podge.
3. Can I use tissue paper instead of napkins?
Yes. Use single-ply tissue paper; because tissue is slightly thicker than single-ply napkin, apply a thin coat of Mod Podge to the pumpkin first, position the tissue, then brush another thin coat over the top.
4. How do I store decoupaged pumpkins?
Store them in a climate-controlled area. High heat in attics or garages can reactivate the adhesive and make the surface tacky.
5. What if I make a mistake?
If the Mod Podge is still wet, gently remove the napkin and start over. Once fully dry, removing the napkin is very difficult and may damage the pumpkin surface.
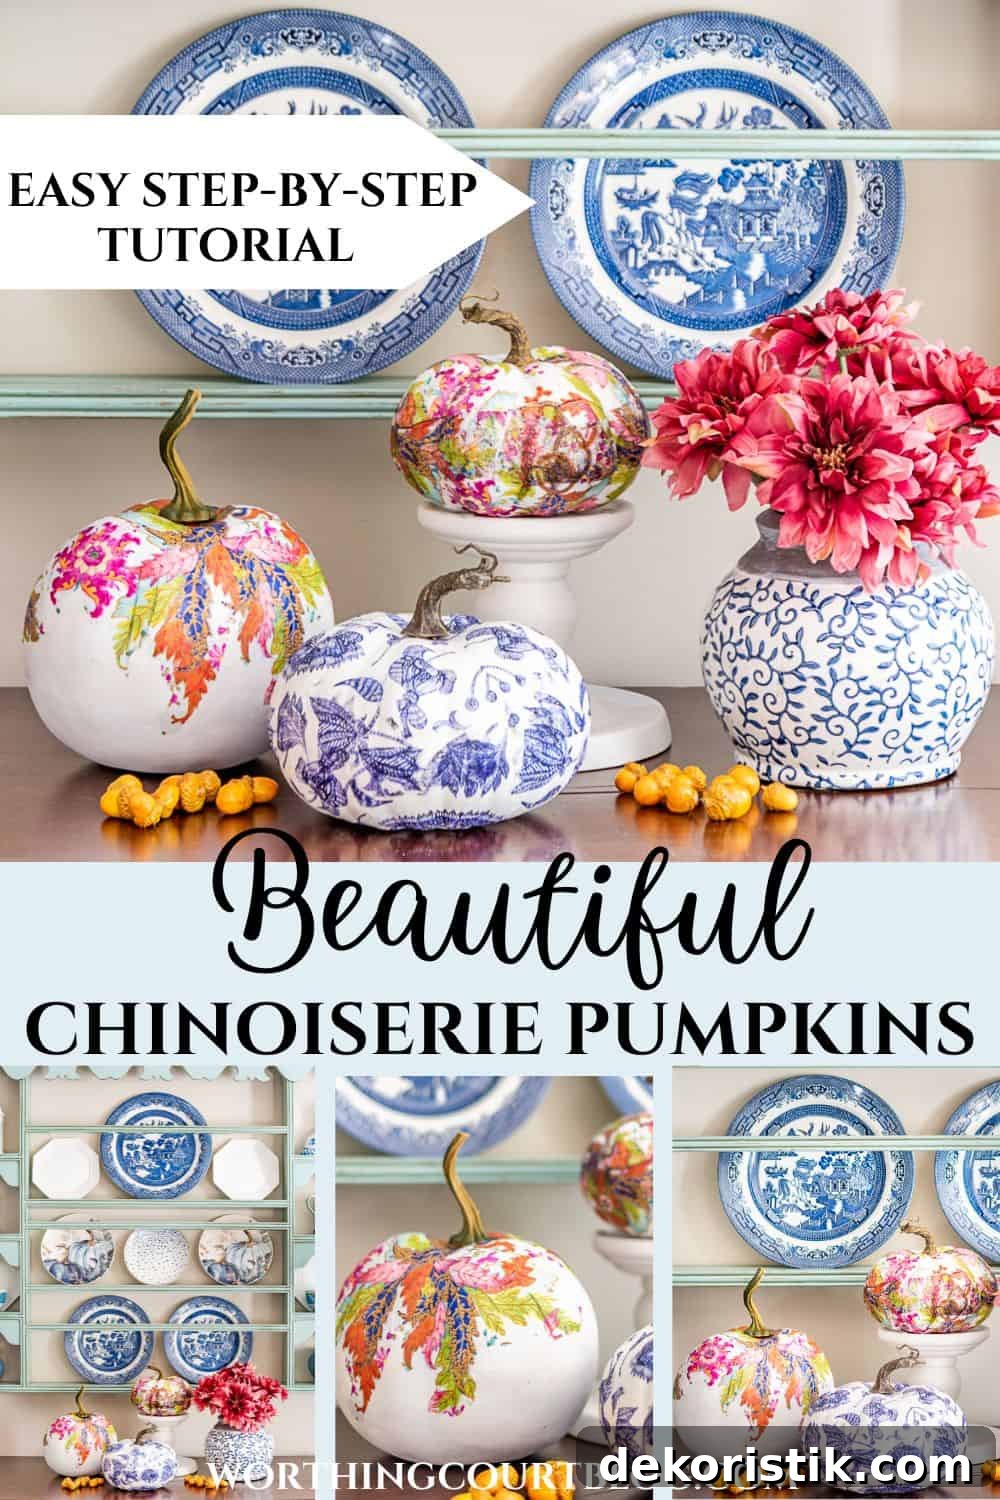
Enjoy this simple, budget-friendly craft that brings a refined, vintage feel to your fall decor. Make a few in different sizes and patterns for the best visual impact — these chinoiserie pumpkins look lovely grouped together.