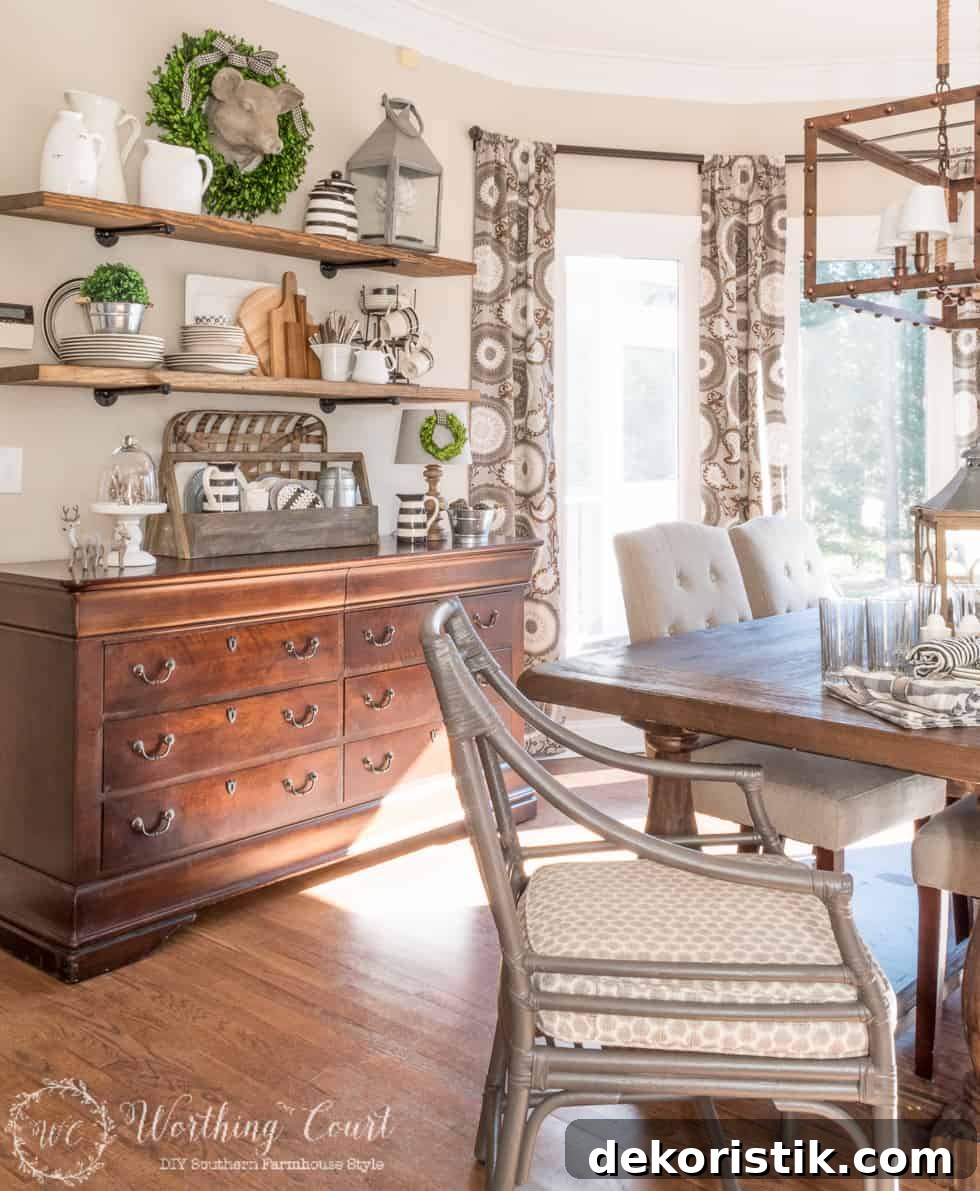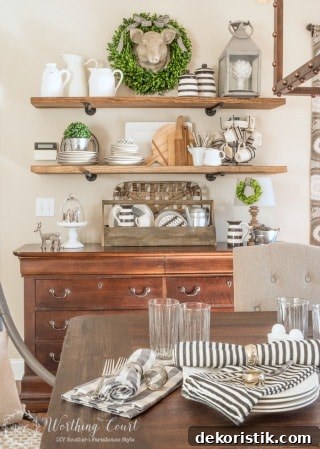
Did you see the rustic farmhouse breakfast area makeover reveal yesterday? If you missed it, here’s a closer look at the simple, affordable DIY projects I used to transform the space—ideas you can adapt for your own home.
Chair Makeovers
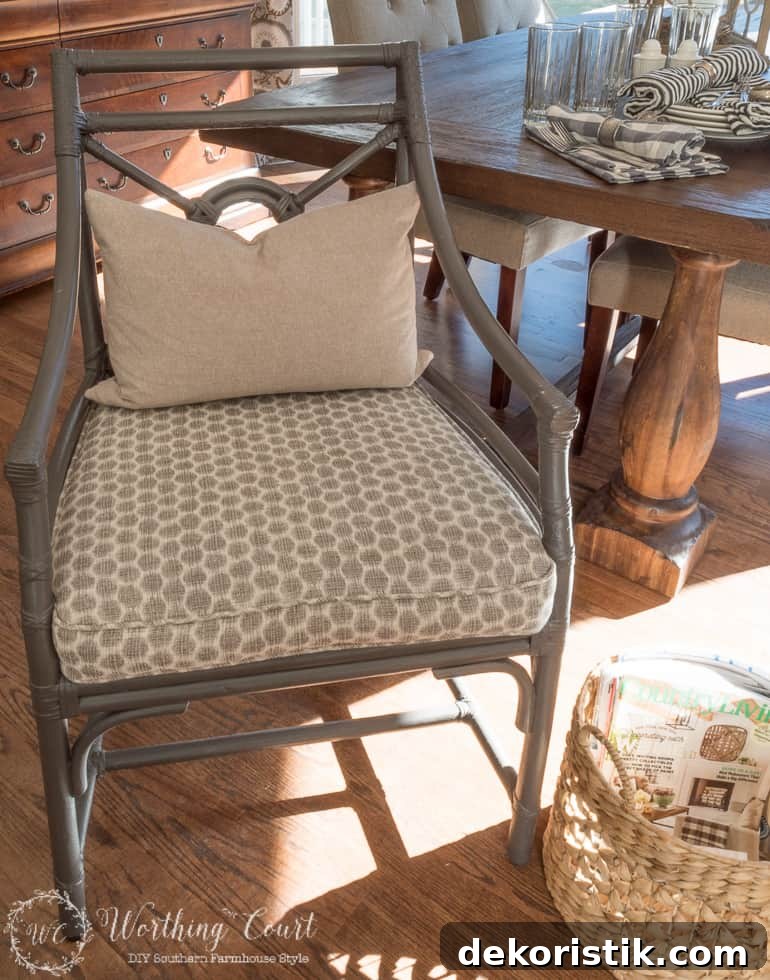
The easiest update was transforming two rattan end chairs. I’d purchased these chairs because I loved them and figured they’d find a place someday. After sitting in storage for a while, the chairs finally got a refresh: I sanded away the chipped paint, sprayed two coats of Rust-Oleum Anodized Bronze, and replaced the cushions. The new cushions were made by my upholsterer for only $35 each plus fabric. The Anodized Bronze has a warm gray tone with brown undertones that suits the rustic farmhouse look perfectly.
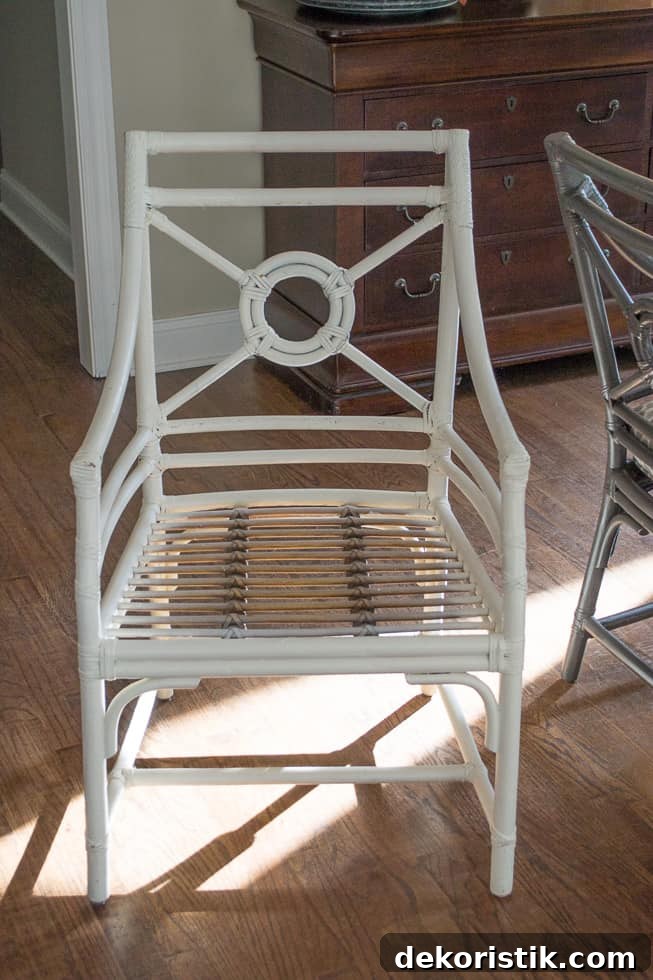
The before photo hides the chipped paint and the old pale green cushion. After the paint and new cushions, the chairs look refreshed and coordinate well with the rest of the breakfast area.
DIY Rustic Shelves
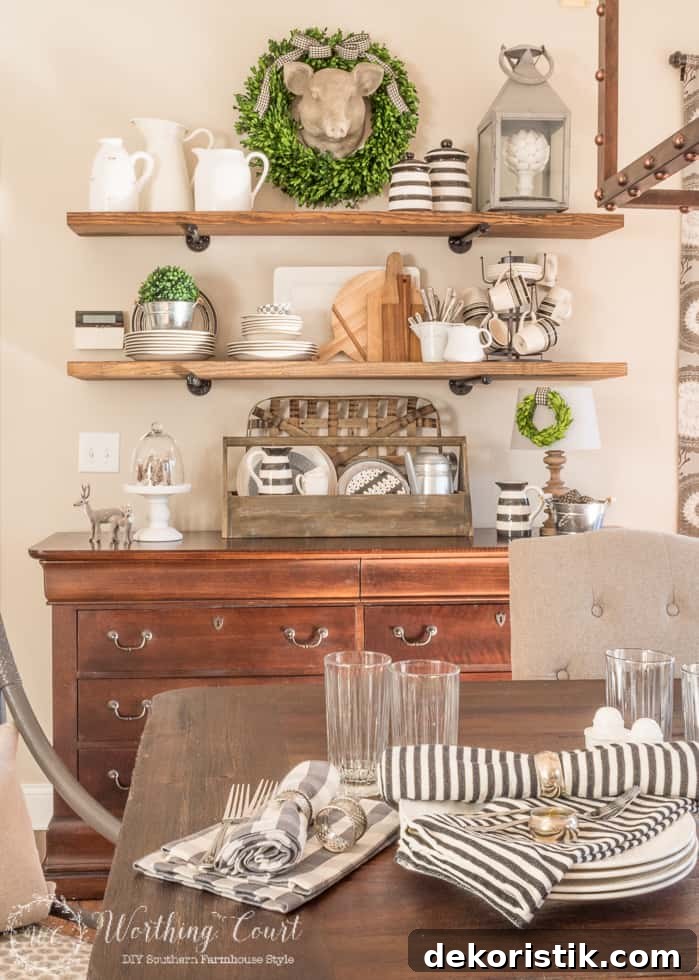
Open shelving gives this breakfast area a warm, functional farmhouse feel. These rustic industrial shelves are simple to build and budget-friendly. I measured trays and platters I planned to display to determine spacing—leaving room for taller items helps the shelves stay useful as well as decorative. I originally considered three shelves, but with 9′ ceilings the top shelf would have been too high to use, so I installed two: 18″ from the top of the sideboard to the bottom of the first shelf, and 15.5″ between the shelves.
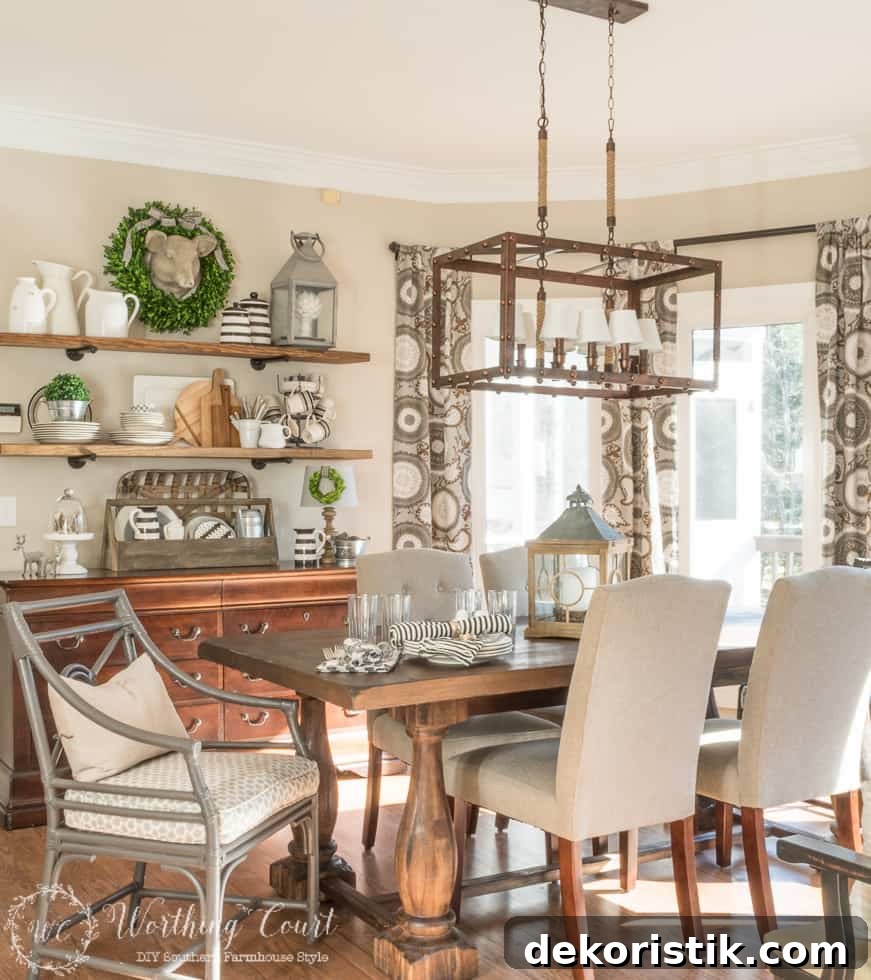
Each shelf is 5′ long. The supplies and materials I used:
- 2 lengths of 5′ pine boards, 2″ thick x 12″ wide (thick boards give a substantial look and eliminate the need for a center brace)
- #80 or #100 grit sandpaper and a palm sander
- Minwax Dark Walnut stain
- 4 galvanized 3/4″ floor flanges
- 4 lengths of 3/4″ threaded pipe (12″ long for these shelves; adjust length to your shelf depth)
- 4 galvanized 3/4″ cap fittings
- Screws and drywall anchors
- Level or laser level
- Black spray paint and touch-up paint
Step 1 – The bracket hardware is assembled from galvanized plumbing parts found in the plumbing aisle of a home improvement store. These parts are greasy—wash them thoroughly in warm, soapy water, rinse, and let dry completely before painting.
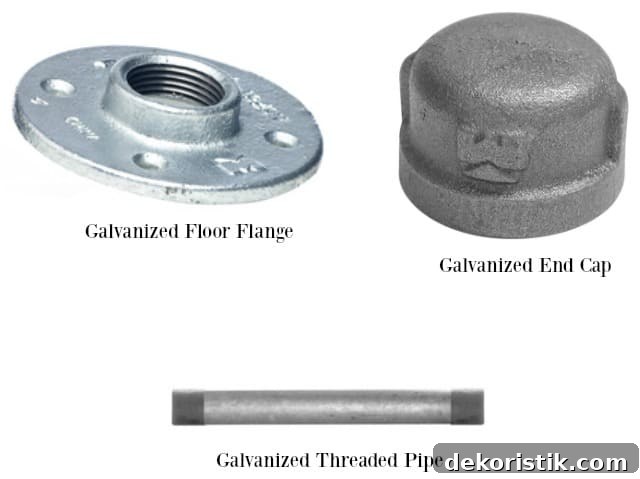
Step 2 – Assemble the bracket pieces, spray them with black paint, and allow them to dry. Attach the flanges to the wall, using the pre-drilled holes to line up as many screws with studs as possible; use drywall anchors for the remaining holes. Make sure the brackets are level. Touch up the screw heads with black paint for a finished look.
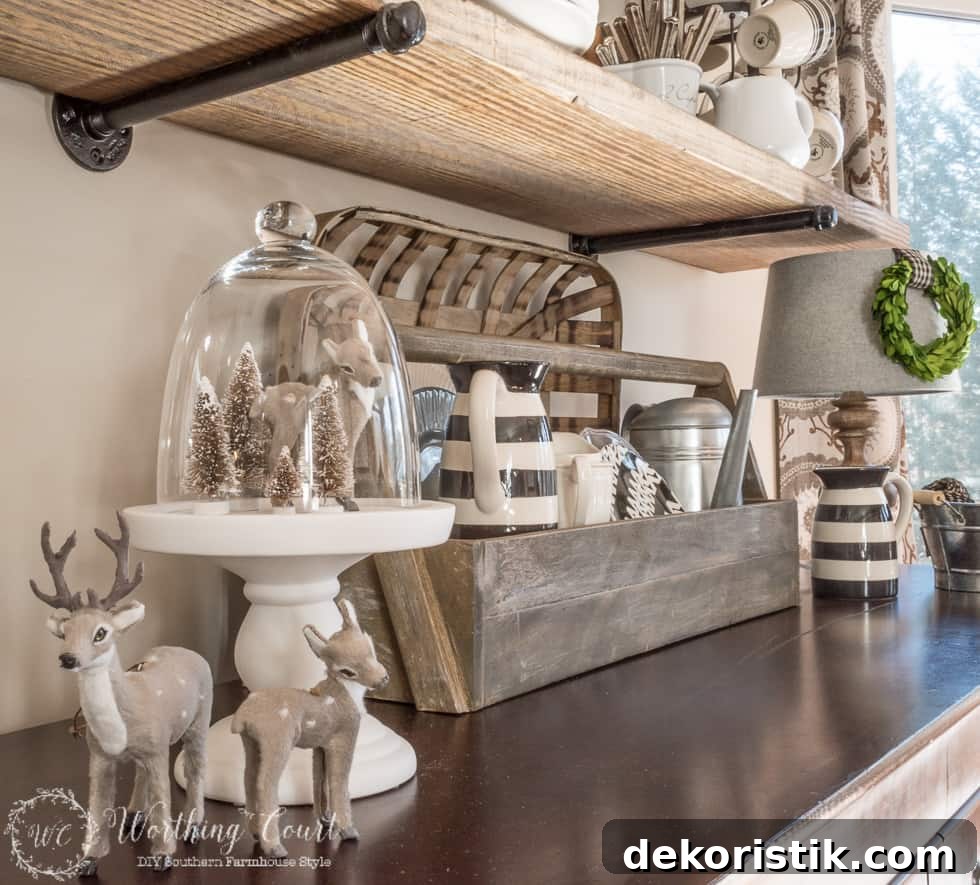
Step 3 – Sand the boards on both sides, wipe away dust with a damp cloth, then apply stain. I used two coats of Minwax Dark Walnut, allowing each coat to dry between applications. Polyurethane is optional; I skipped it for speed, but I recommend applying poly if you expect to set wet items on the shelves.
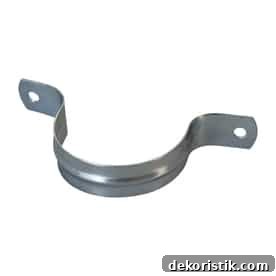
Step 4 – Set the stained boards on the brackets and style them. The boards are heavy enough to stay in place, but if extra security is needed, paint a U-shaped pipe strap black and attach it under the shelf over the pipe to hold the board in place.
DIY Large Art
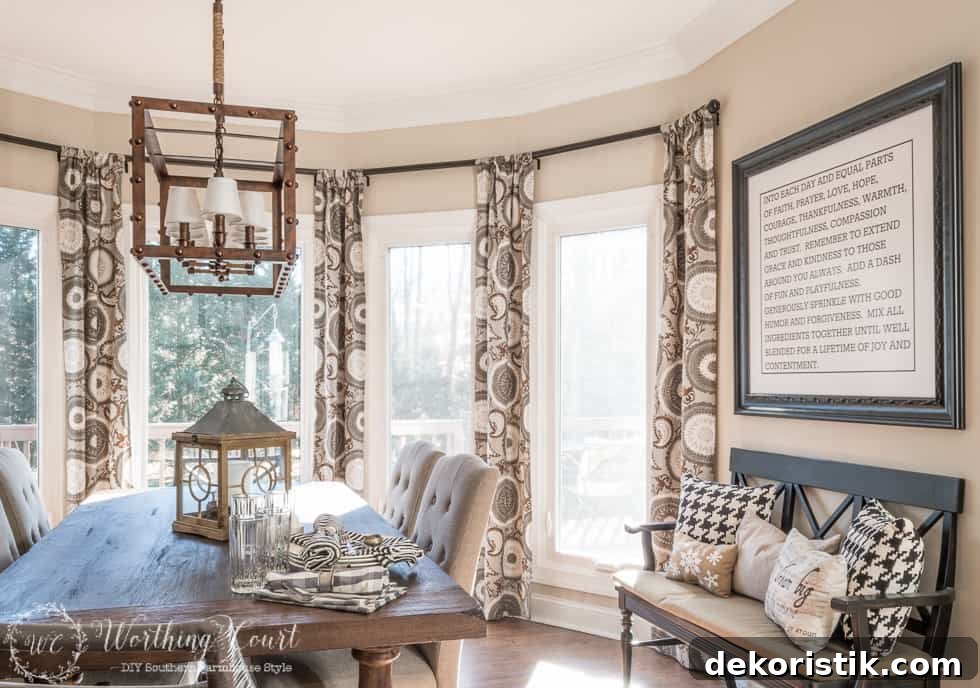
The oversized art above the bench is a strong focal point and was inexpensive to create. I covered the process in a previous post, including a downloadable printable for the artwork. The large-scale piece helps define the breakfast nook and balances the open shelves and bench seating.
Draperies and DIY Cheater Bay Window Hardware
Bay window drapery hardware can be pricey, so I made a budget-friendly alternative for decorative, non-functional draperies. Because these panels are for looks only and are unlined and lightweight, they don’t need heavy-duty adjustable connectors. For functional, frequently used curtains, invest in proper bay window hardware and adjustable connectors.
My DIY drapery rod uses 2″ PVC pipe, cut to length and spray-painted Rust-Oleum Oil Rubbed Bronze. At the angled corners I simply butted pipe ends together (since the fabric covers the joints). To mount the rods, I spray-painted L-shaped angle brackets to match and screwed them to the wall, using drywall anchors where needed. The rods rest on the brackets with a screw threaded up through the PVC to secure them. I placed a bracket on each side of every angled corner and touched up screw heads with matching paint. The finials are standard drapery finials attached with hot glue.
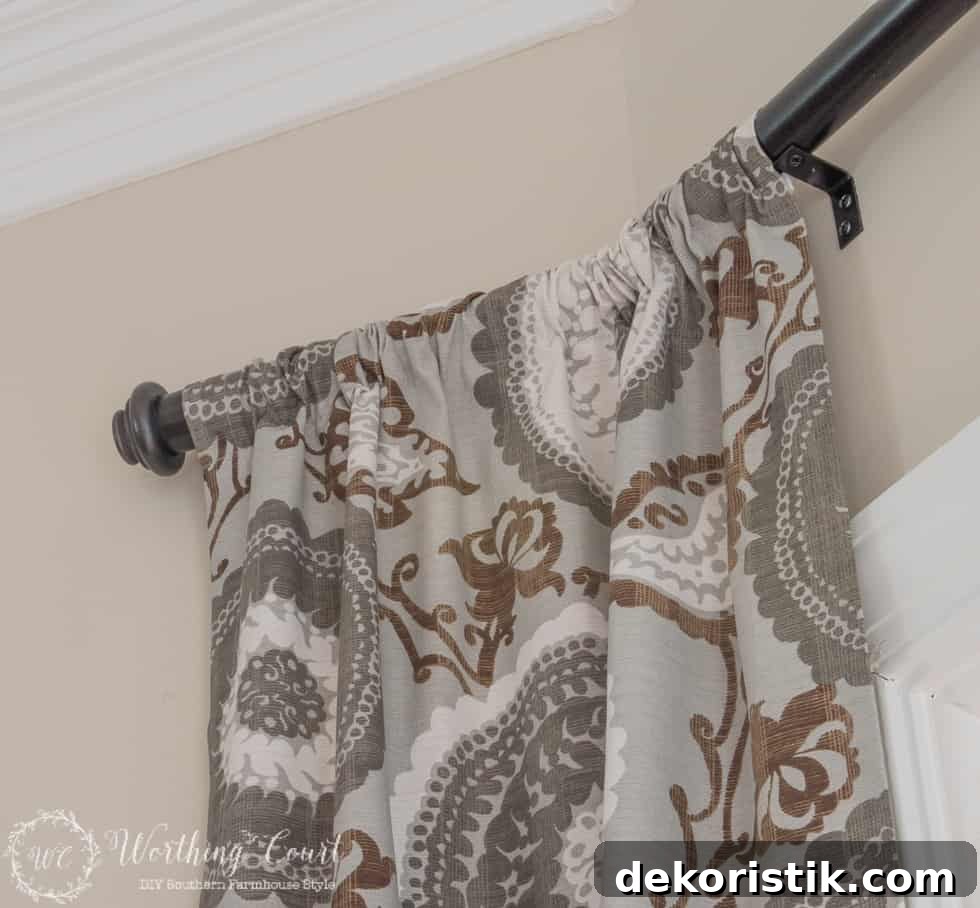
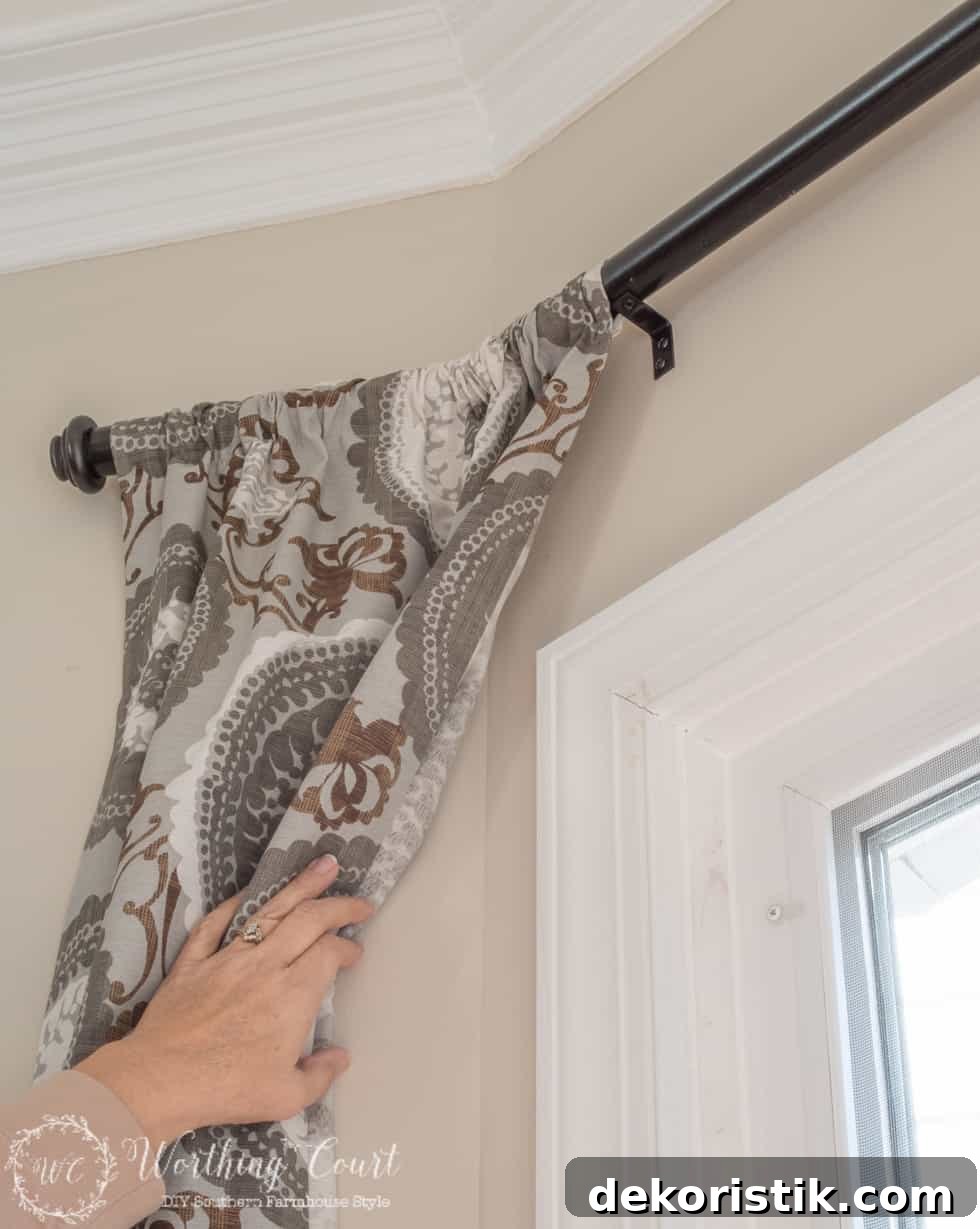
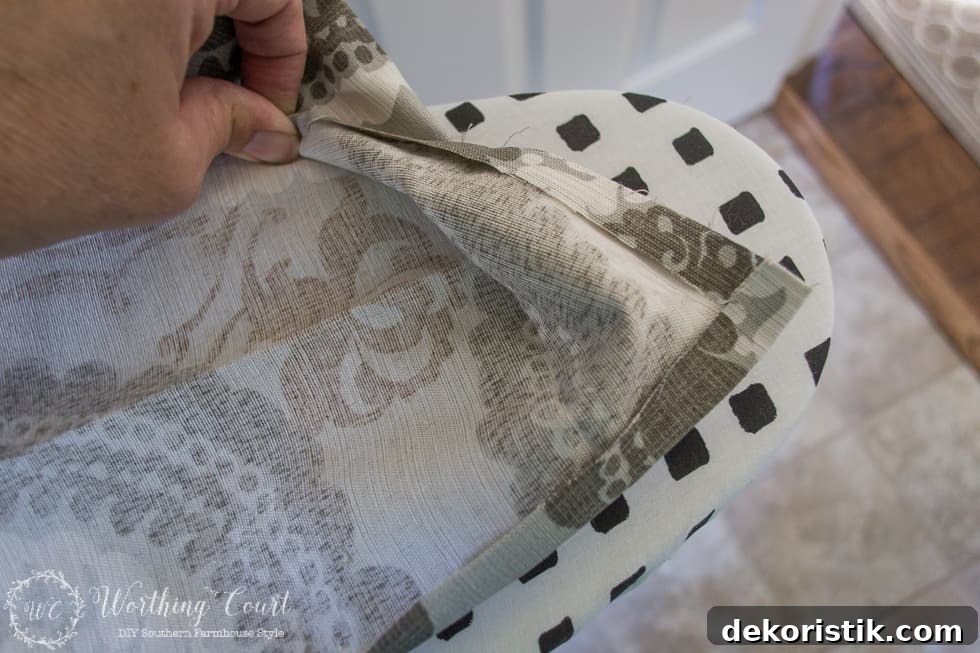
To keep the panels from covering too much of the glass, I split each 54″ wide panel in half and finished the cut edges with a double-folded hem secured using iron-on seam tape. I used the same method to remake the rod pocket and bottom hem, producing slimmer panels that frame the windows without obscuring them.
Every room takes time to pull together, but a few budget DIYs—chair makeovers, custom rustic shelves, large-scale art, and creative drapery hardware—can dramatically change the look of a space. If you have questions about any of these projects or need clarification on materials or measurements, feel free to ask and I’ll help where I can.