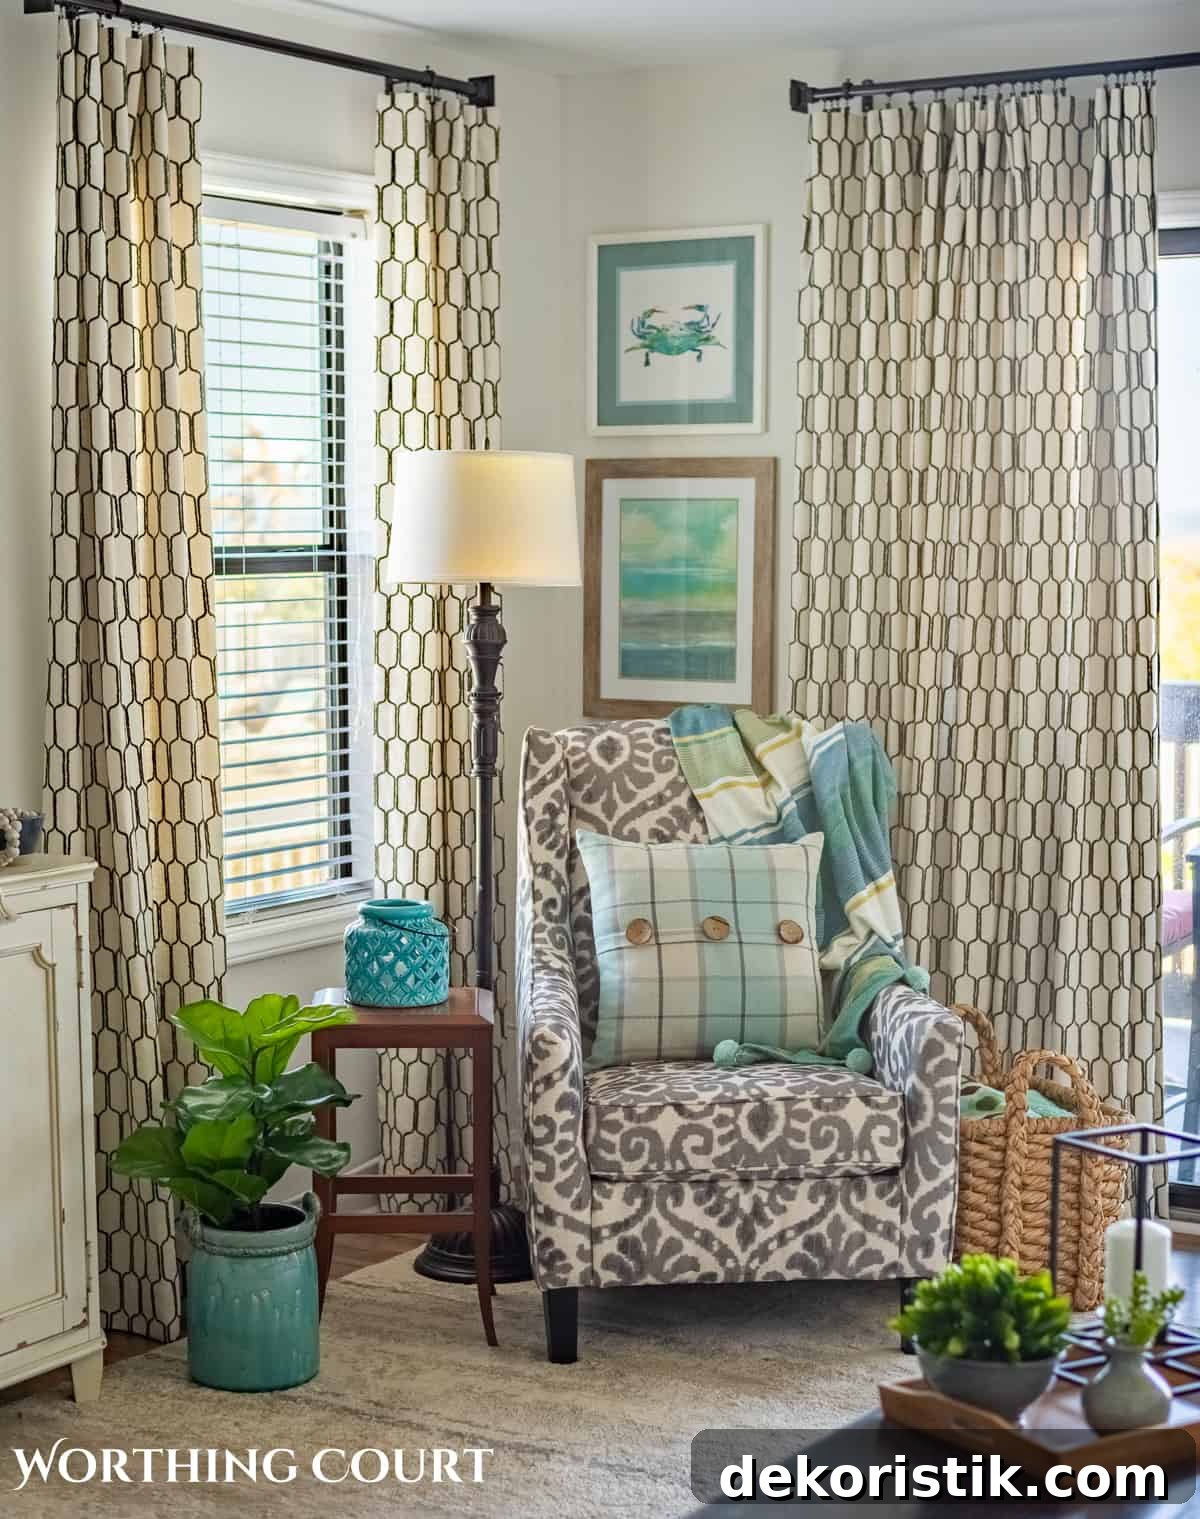
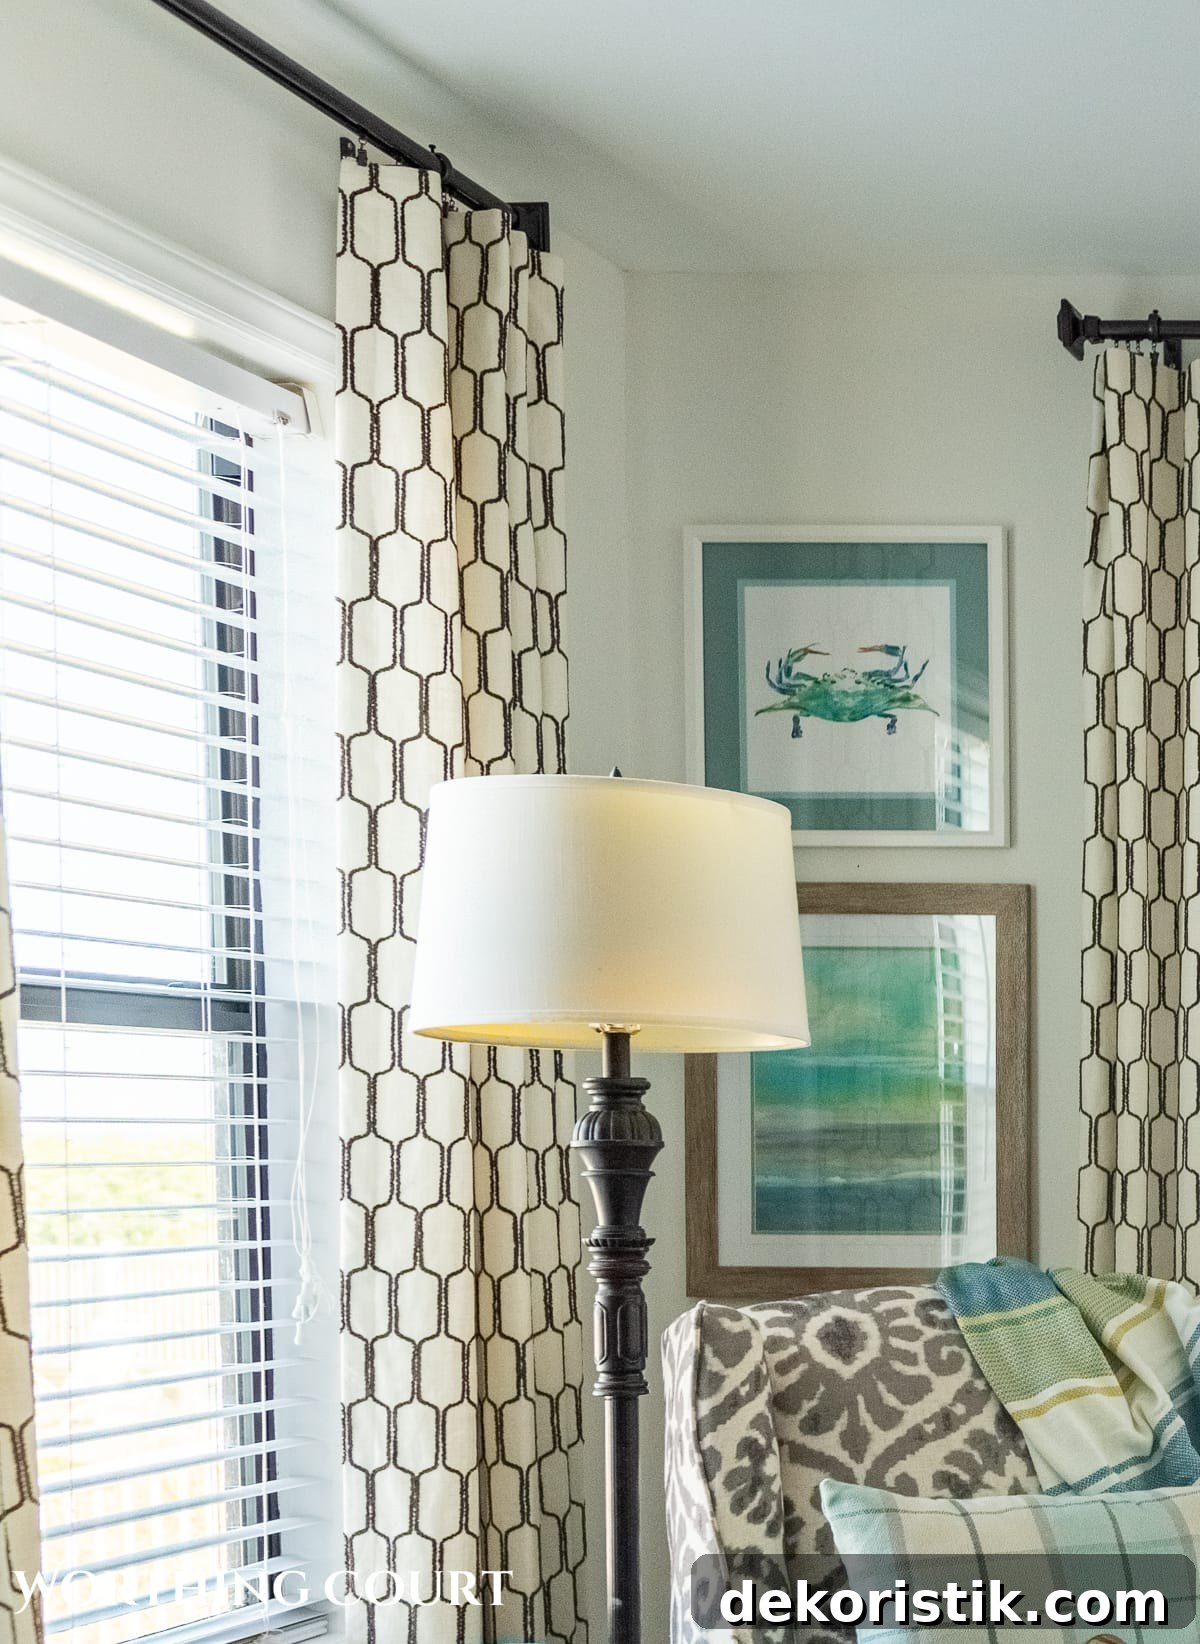
A clear, step-by-step tutorial for making lined curtain panels. This is an ideal project for a beginner sewer with basic sewing skills who wants custom, professional-looking draperies on a budget.
If you can sew a straight line, you can make your own curtains—and you can save a lot of money doing it.
This post and photos may contain Amazon or other affiliate links. As an Amazon Associate I earn from qualifying purchases. If you purchase something through any link, I may receive a small commission, at no extra charge to you. All opinions are my own. See my full disclosure HERE.
A quick note about my experience so you can feel confident following this method: I owned and ran a custom window treatment workroom for several years. I no longer operate the business full-time, but I still make my own draperies using the exact process shown here.
Why mention that? Two reasons:
- To let you know these directions are practical and tested in a professional setting.
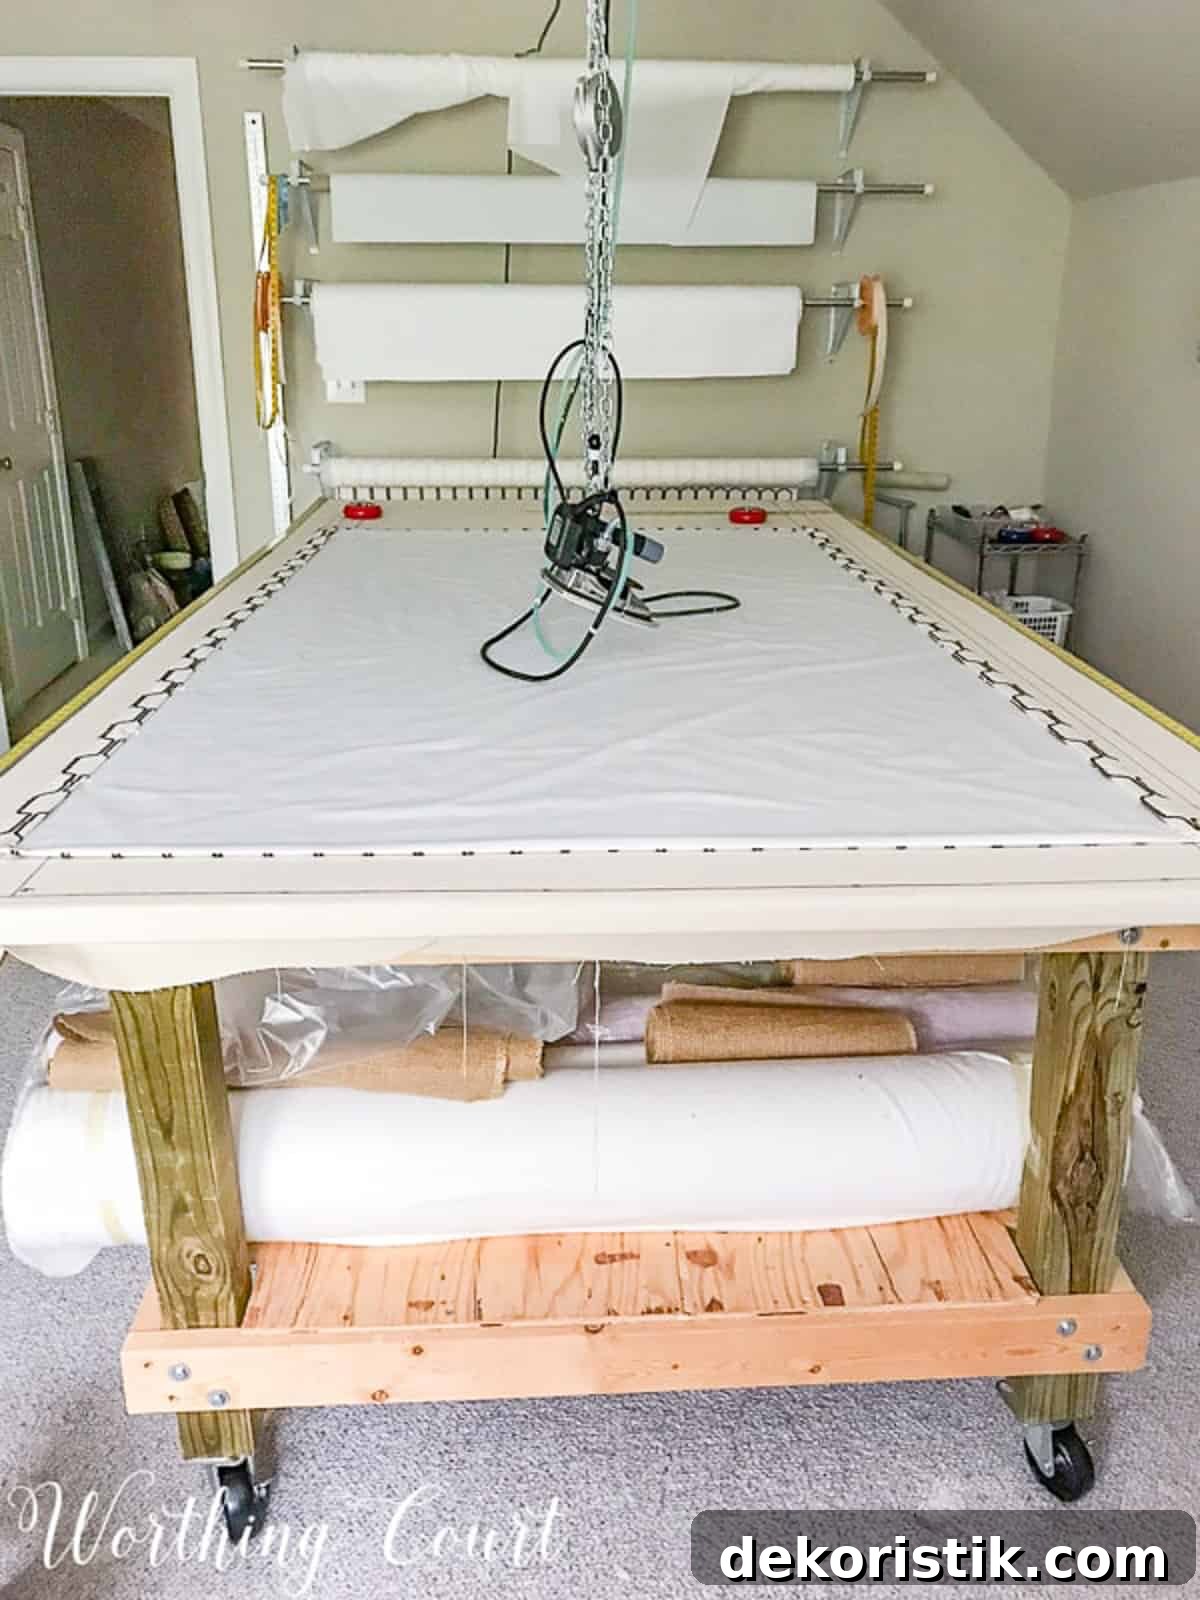
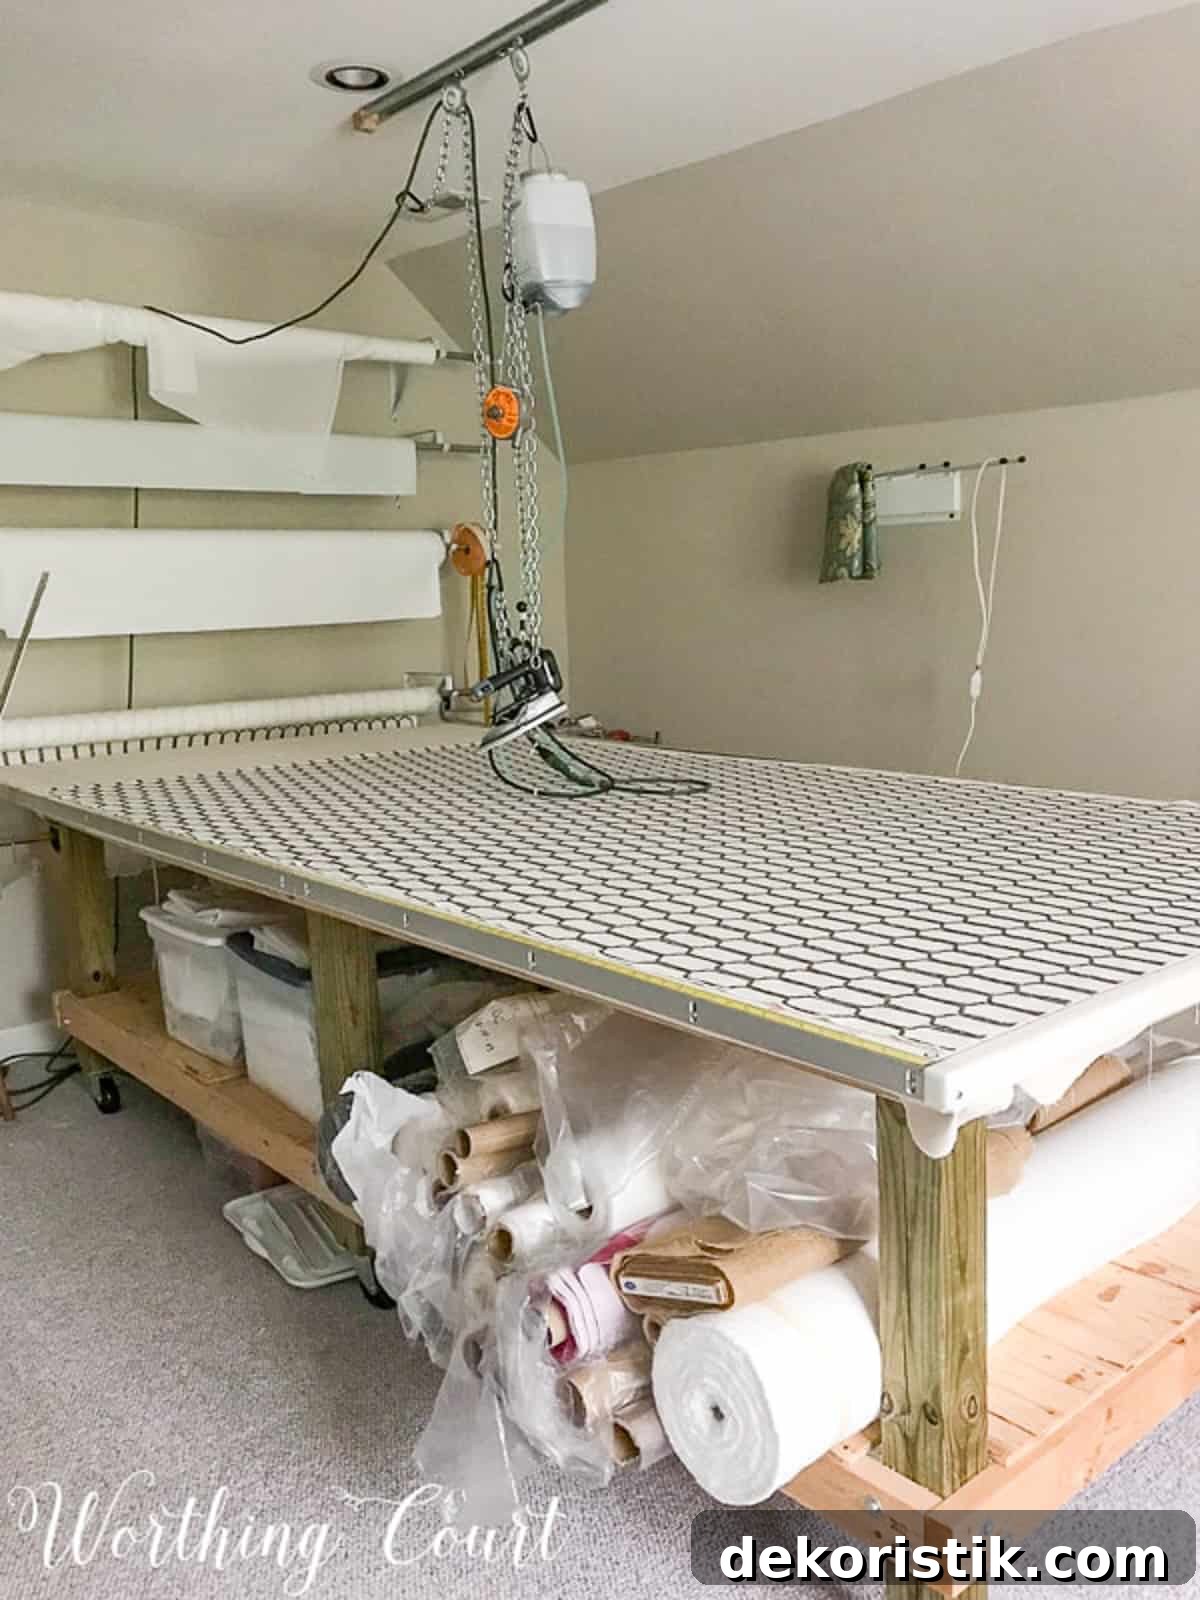
- To reassure you that while the photos show a large 5′ x 10′ worktable and specialized tools, you don’t need professional equipment to achieve professional results—just a flat surface, an iron, and a sewing machine.
This tutorial shows how to make flat (unpleated) lined curtains from start to finish. The process differs slightly for pleated or rod-pocket styles, but the core steps here apply to most lined drapery projects.
Let’s get started!
I’ve listed my favorite sewing tools and gadgets near the end of this post.
A few things to know before you begin
- Most drapery fabric is 54″ wide—wider than many quilting or apparel fabrics—so yardage and layout are different than typical sewing projects.
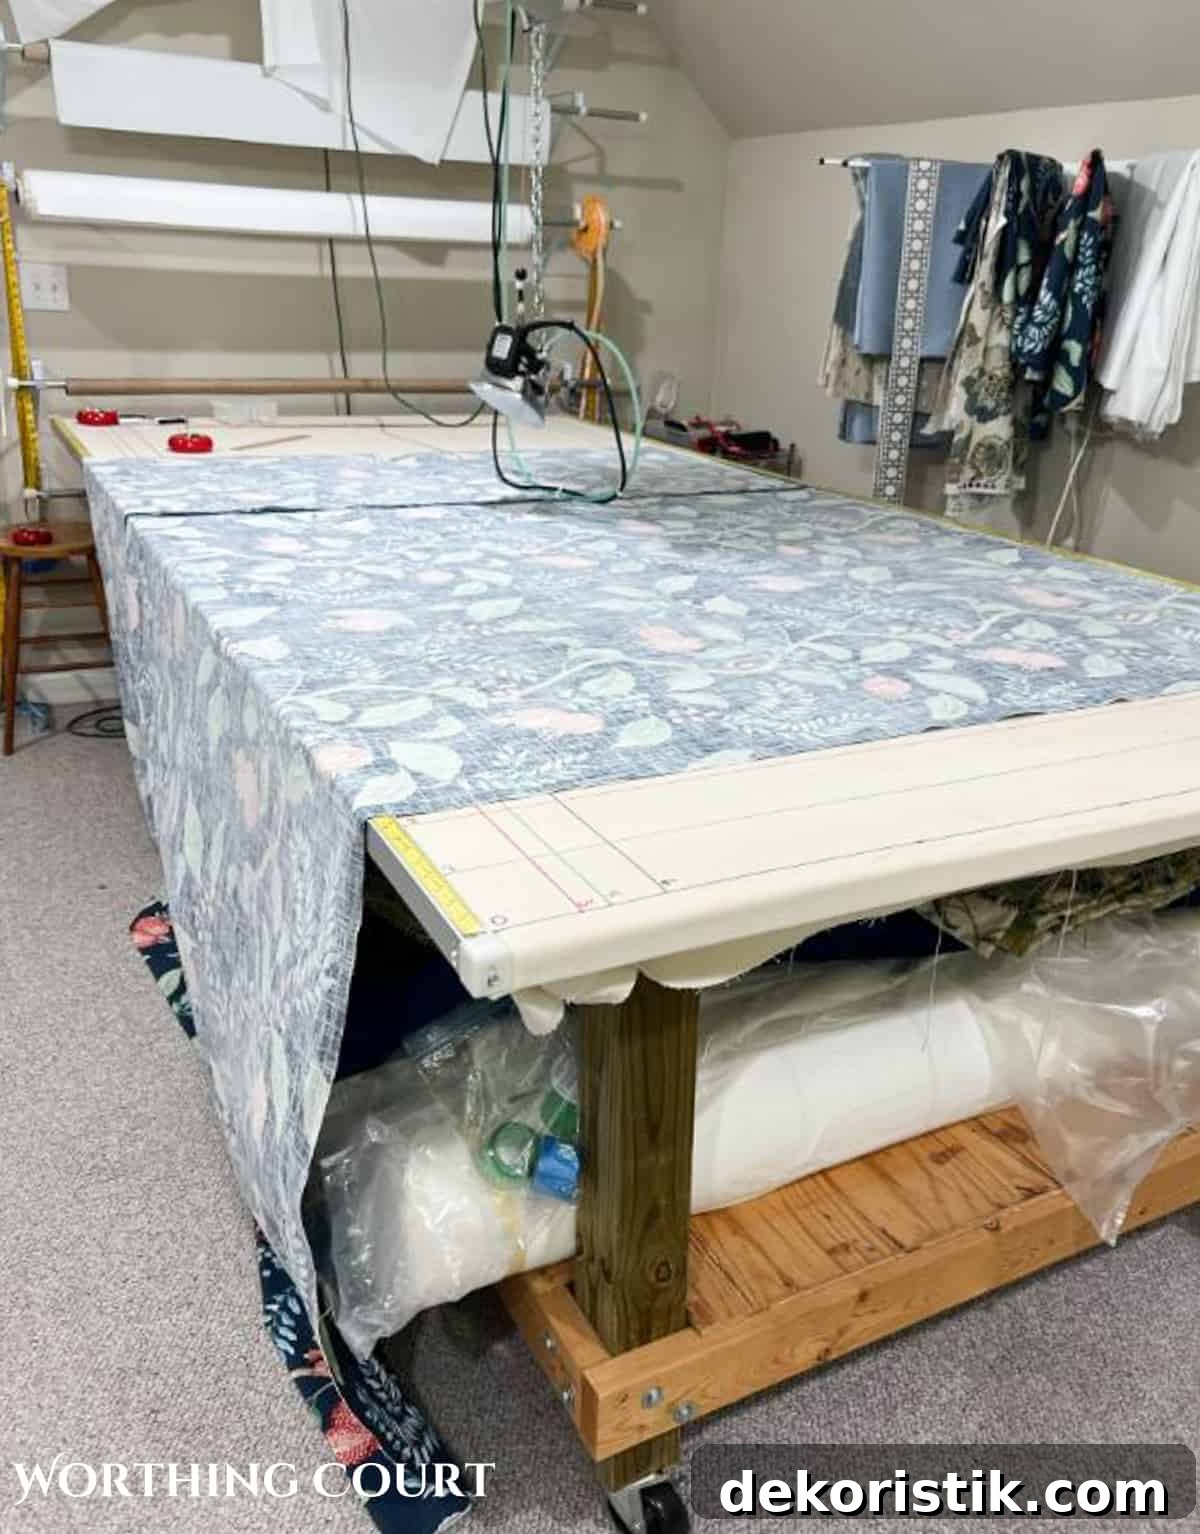
- Work on a large, flat surface. If you don’t have a big table, spread fabric on the floor, use two folding tables, or lay plywood on sawhorses covered with a protective cloth.
- A regular household iron is sufficient; you don’t need commercial pressing equipment.
- Flat panels, when hung open, look similar to pleated draperies but use much less fabric—about one-third the amount needed to fully pleat a window covering.
STEP 1: CALCULATE YARDAGE NEEDED FOR EACH PANEL
These calculations determine yardage for one curtain panel cut from a single fabric width. If a window is wider than the fabric width, you will join multiple widths together.
Decide the finished length and width of each panel first. For example, if you want the finished length to be 97″, use that as your base measurement.
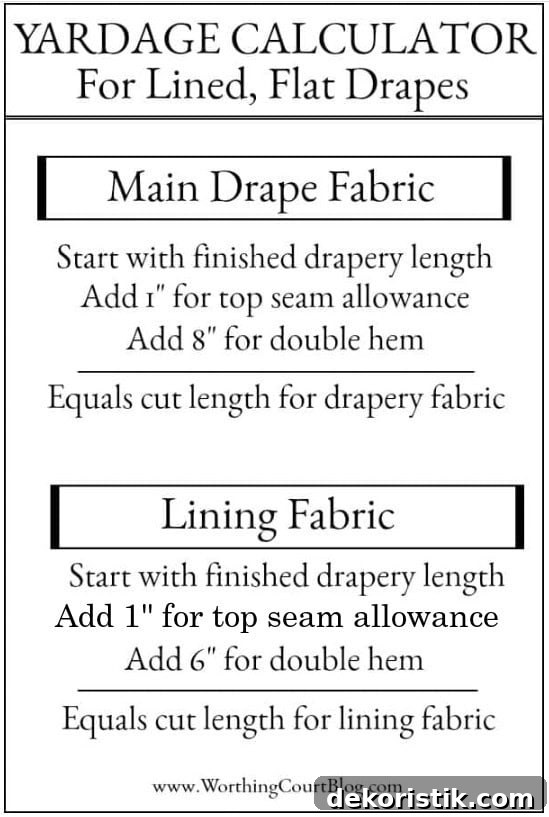
Use the following simple formulas to determine fabric and lining yardage per panel.
Main fabric: Finished length + 1″ top seam allowance + 8″ bottom hem (double 4″ hem) = length to cut per panel. Multiply by the number of panels to get total yardage.
Lining fabric: Finished length + 1″ top seam allowance + 6″ bottom hem (double 3″ hem) = length to cut per lining panel. Multiply by the number of panels to get total lining yardage.
TIP: Remember to allow for rod height and the drop added by rings when calculating finished length.
STEP 2: SPREAD, MARK AND CUT THE FABRIC
Unroll and smooth your fabric on a flat surface. Make sure the grain is square to your cutting surface and iron out wrinkles (check care instructions before using steam).
If the fabric has a pattern, lay the main fabric right side up so you can align the design and ensure it runs straight across the width. Remove any selvage edges before marking final measurements, since the selvage is woven more tightly and can skew the cut.
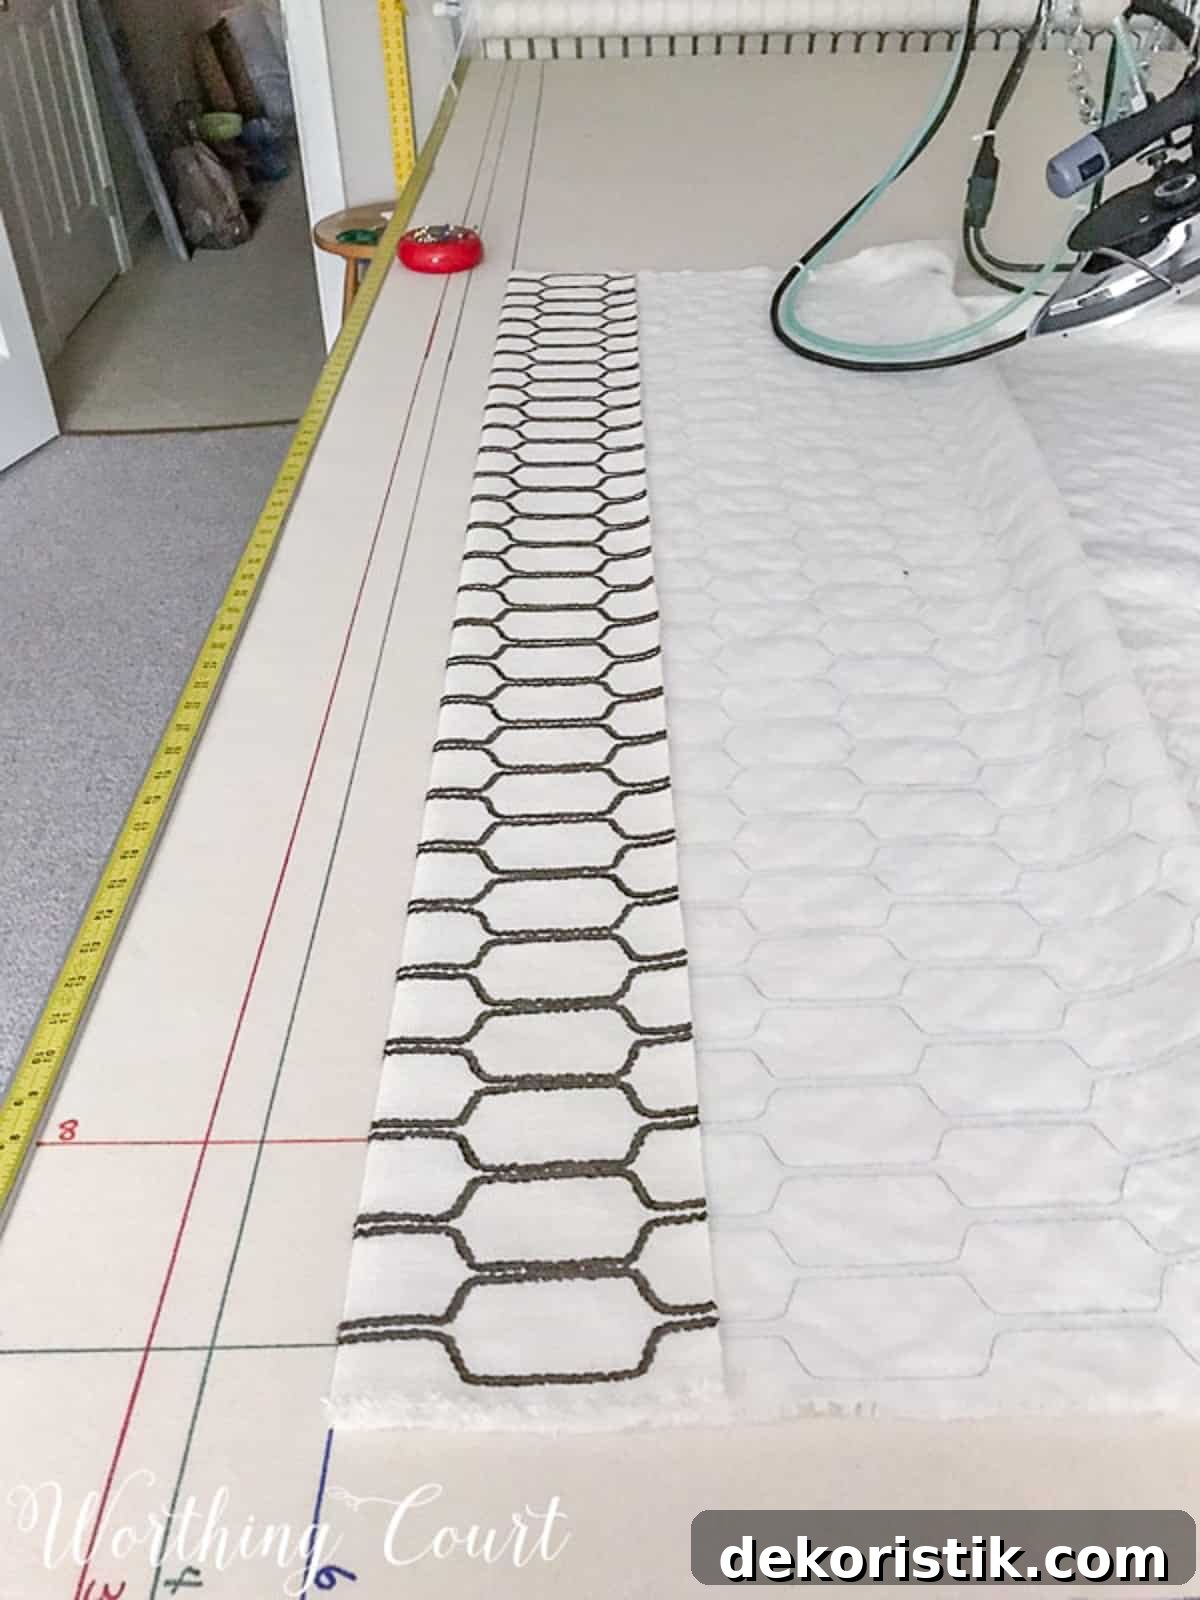
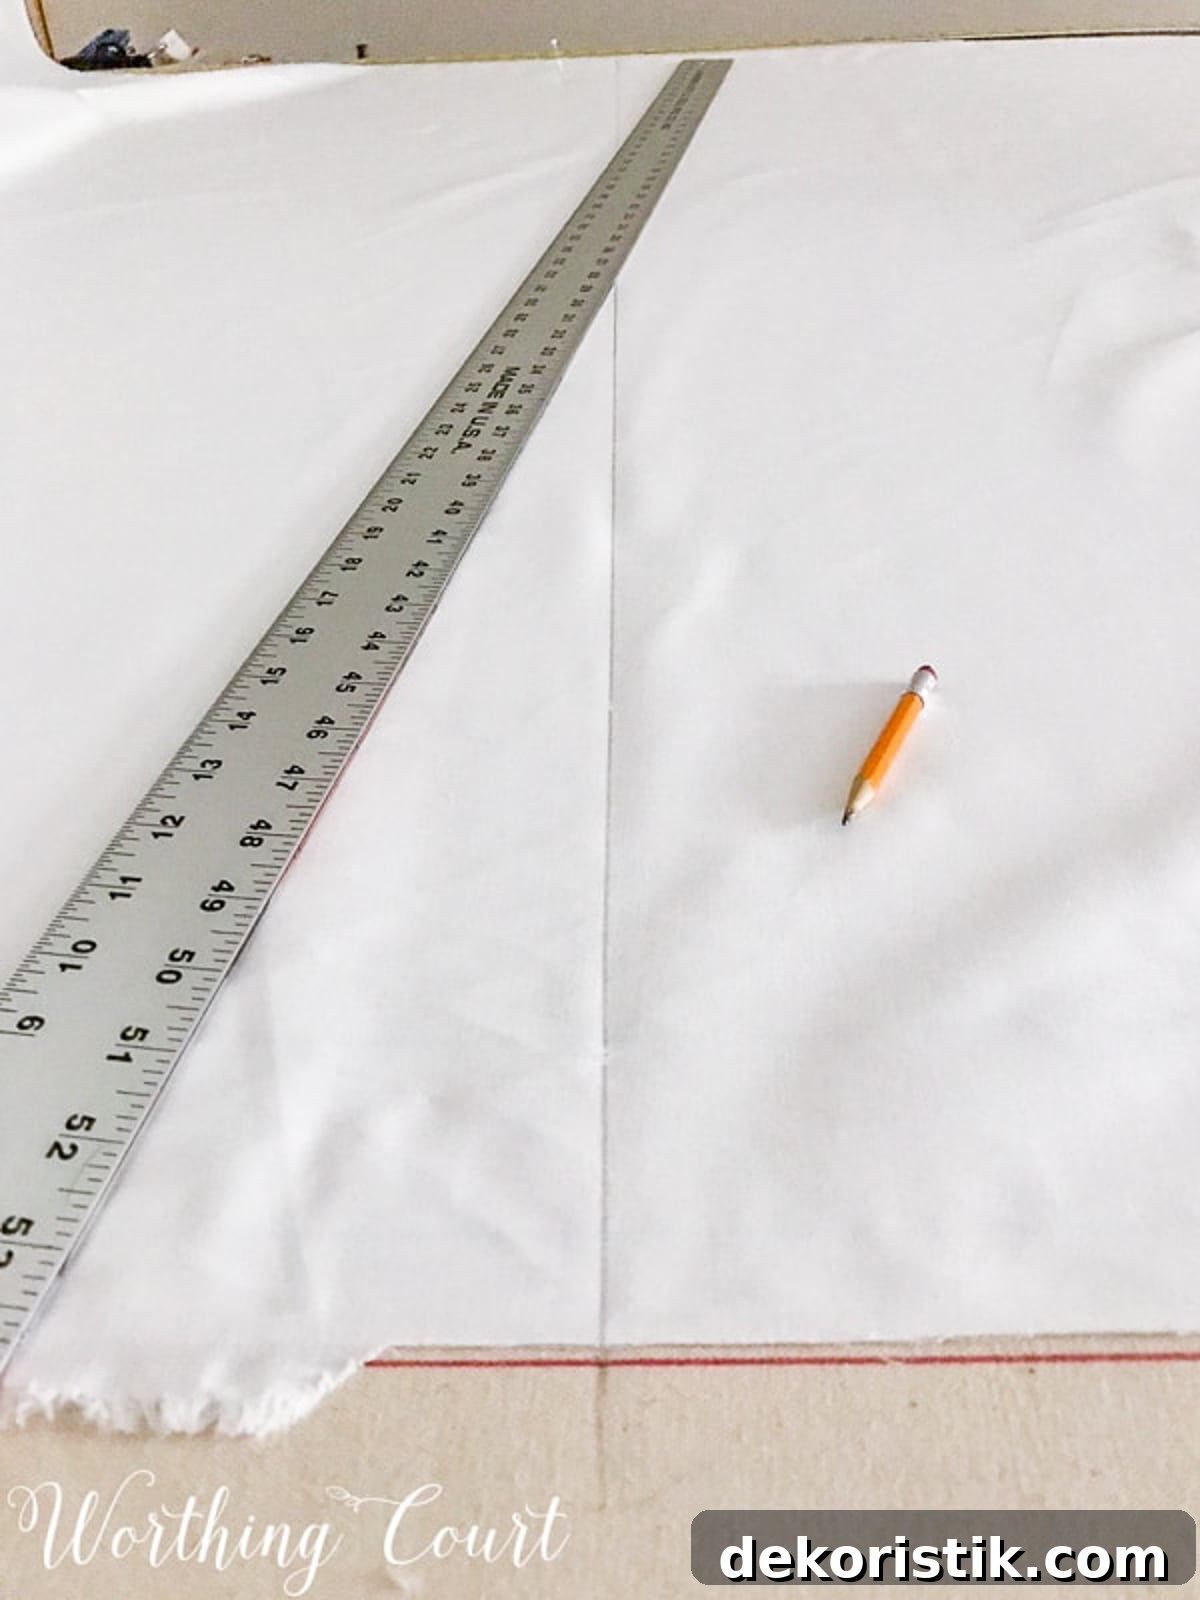
TIP: Smooth fabric across the surface using a yardstick or long ruler to minimize walking around your table while straightening the material.
STEP 3: HEM THE MAIN FABRIC PANEL
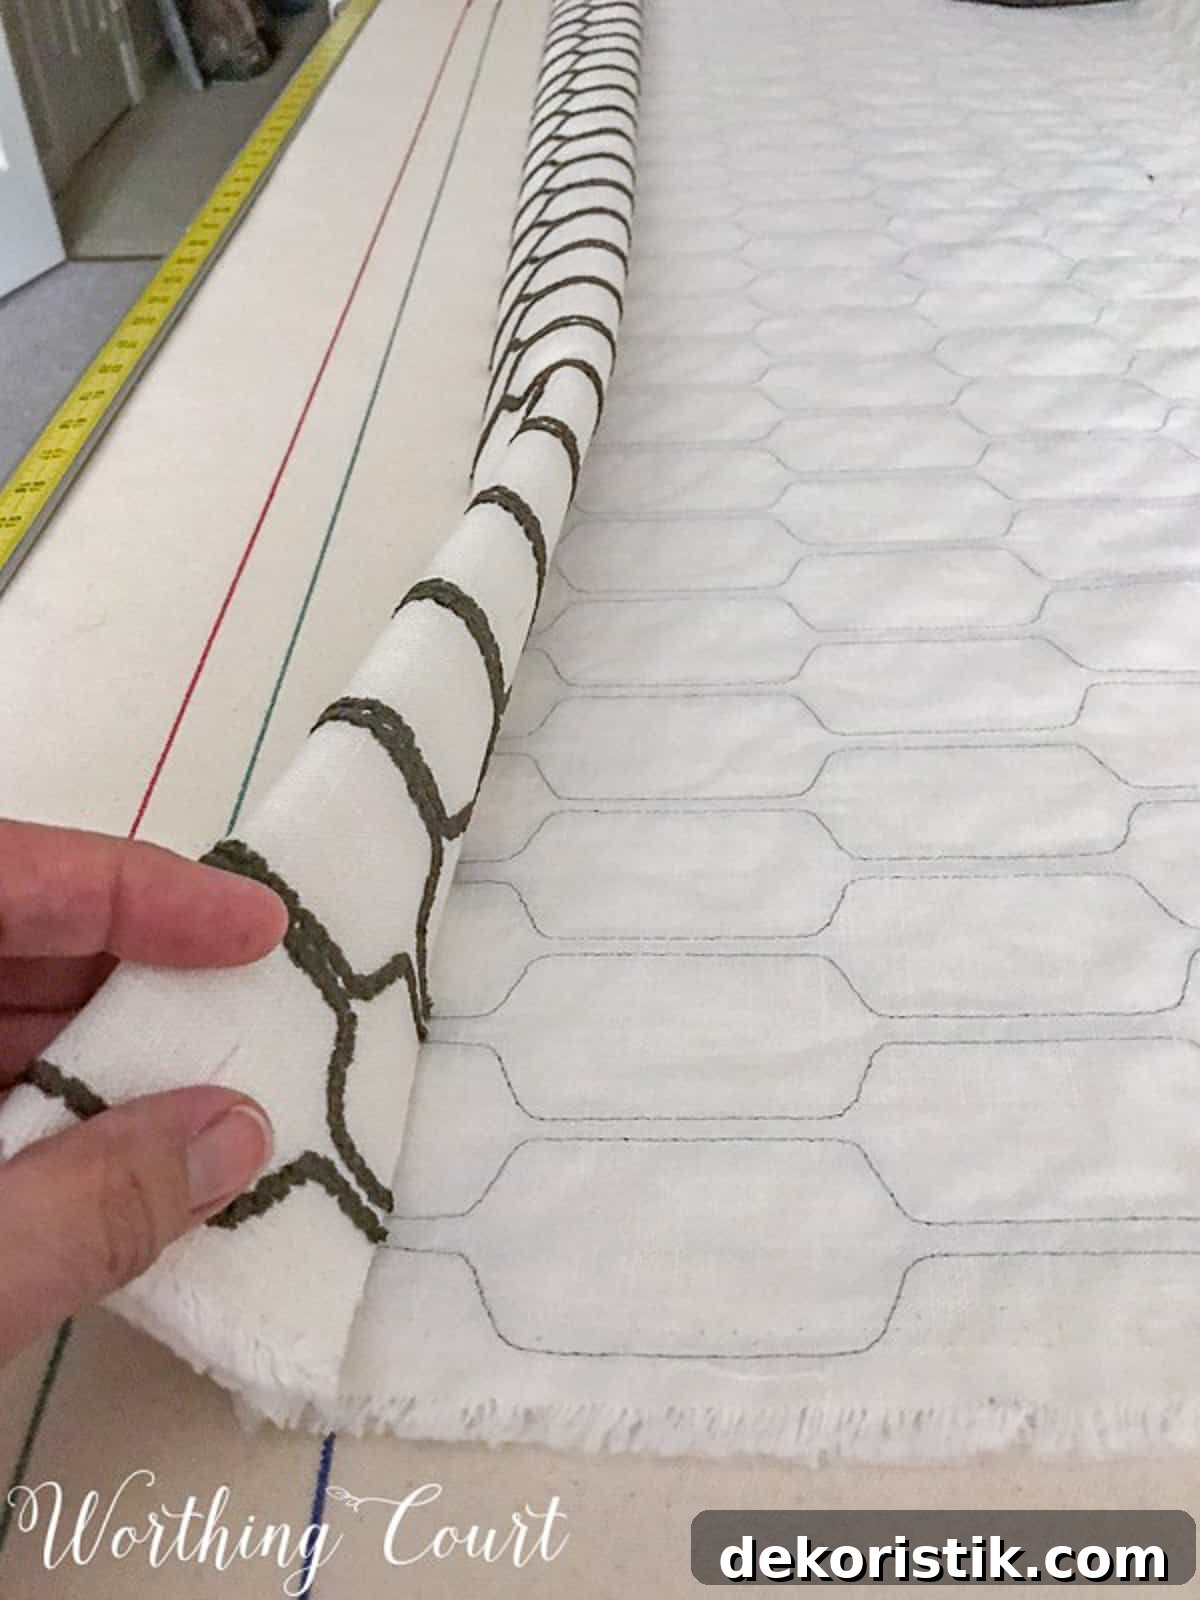
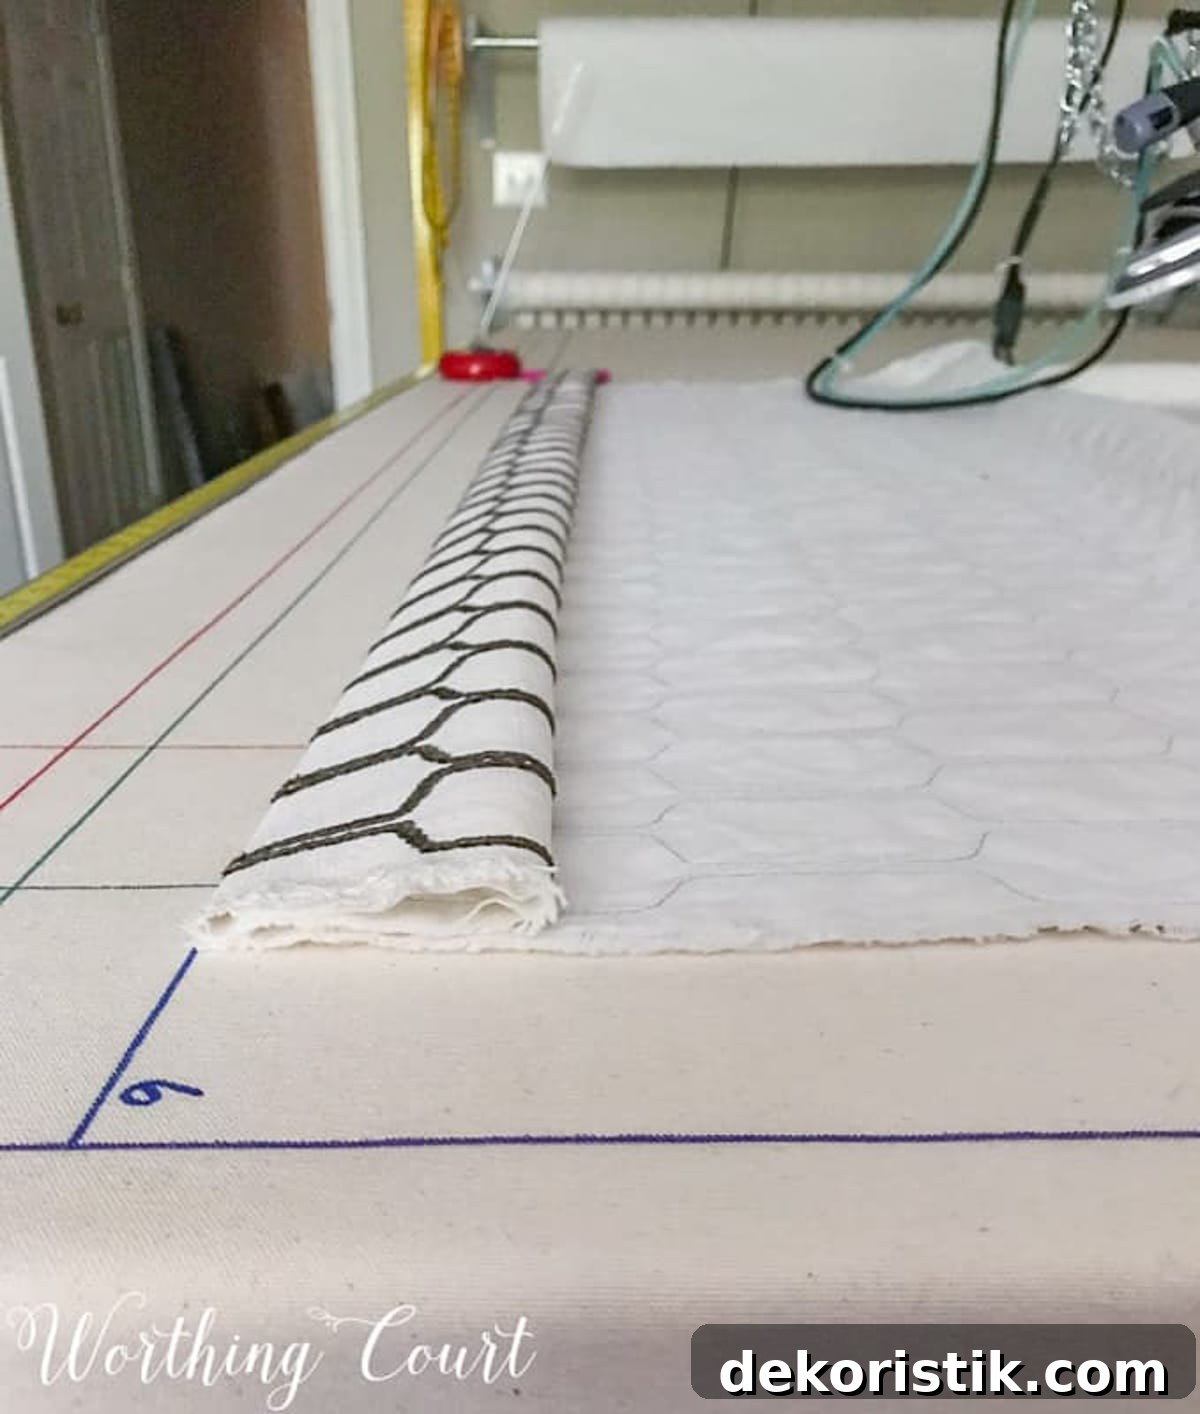
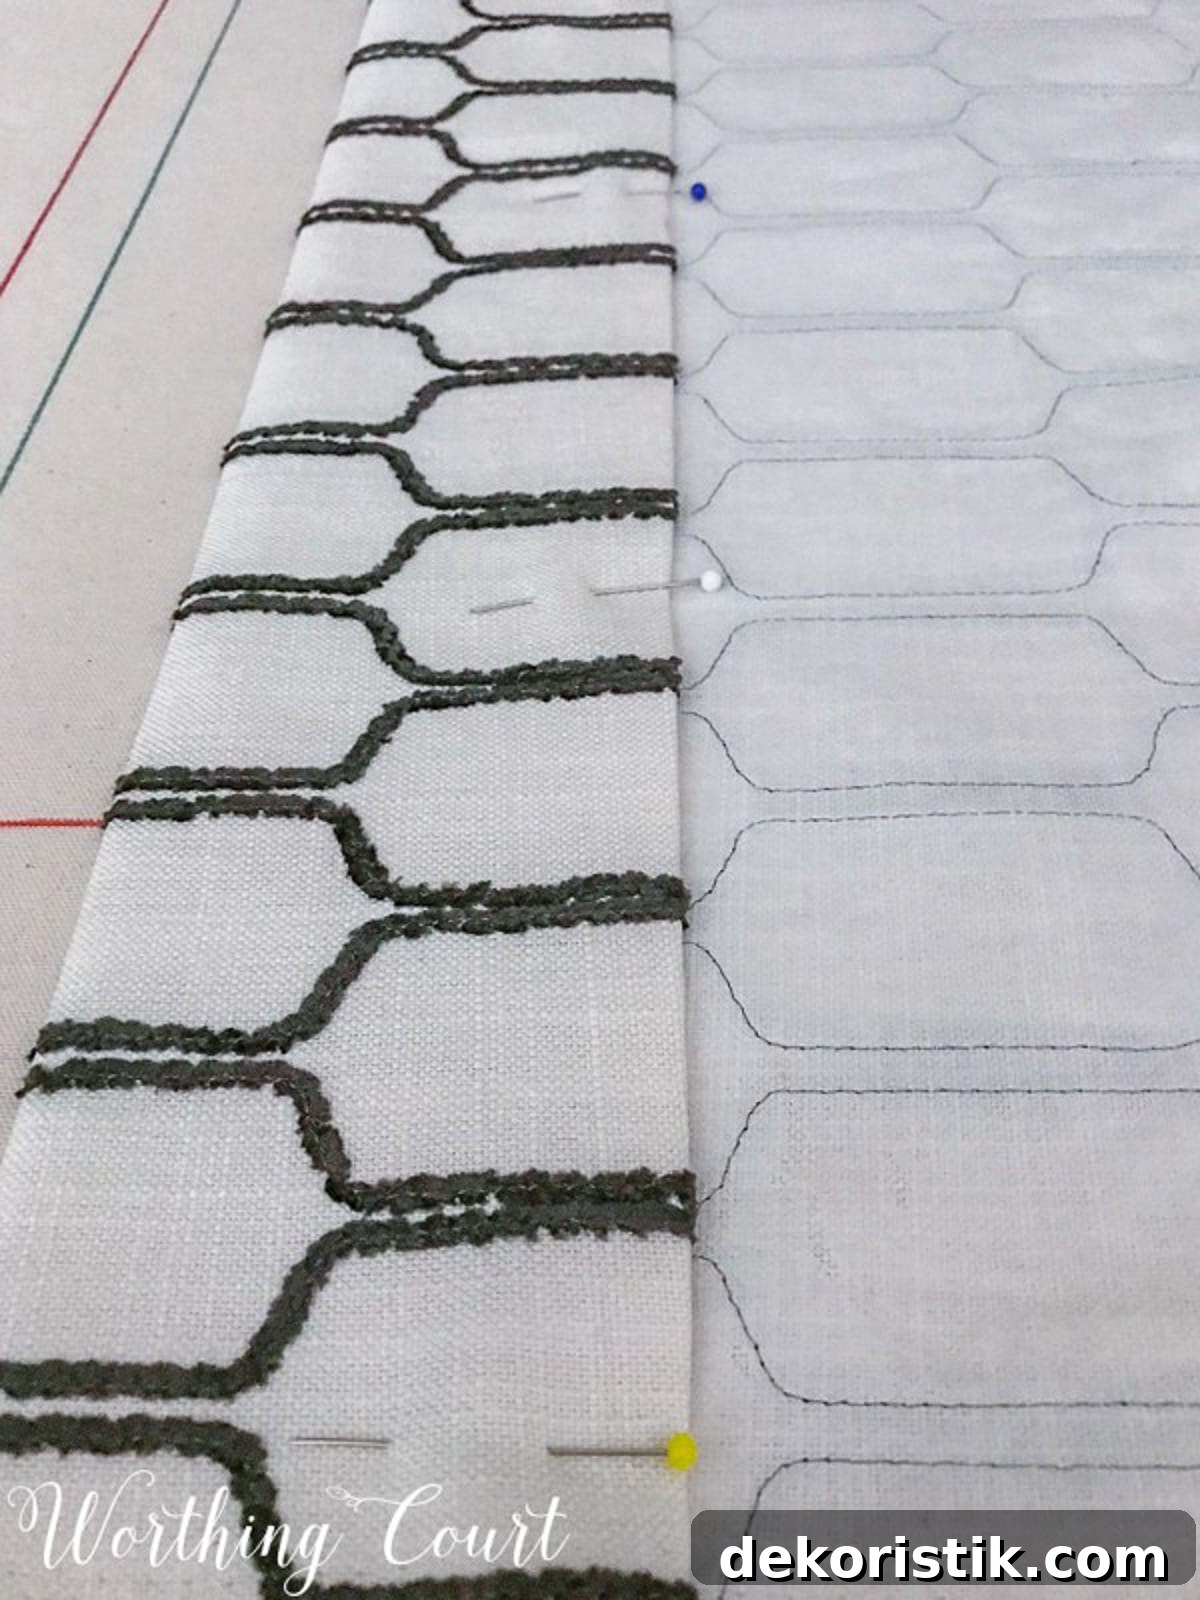
Place the main fabric right side down. To create a professional double 4″ hem, fold the bottom edge up 8″, then fold half of that under to form a 4″ double hem. Press and pin the fold in place.
Check which direction the pattern runs so the bottom of the panel displays the design correctly. For an invisible finish from the front, use a blind hem stitch by hand or with a blind hem presser foot; otherwise a regular straight stitch works fine.
STEP 4: PREPARE, CUT & HEM THE LINING
I prefer a white cotton sateen lining around 4.5 oz, but polyester or poly/cotton blends work as well. Remove any selvage, square the fabric, press out wrinkles, and cut to the lining length calculated earlier (the lining is typically 1″ shorter than the main panel).
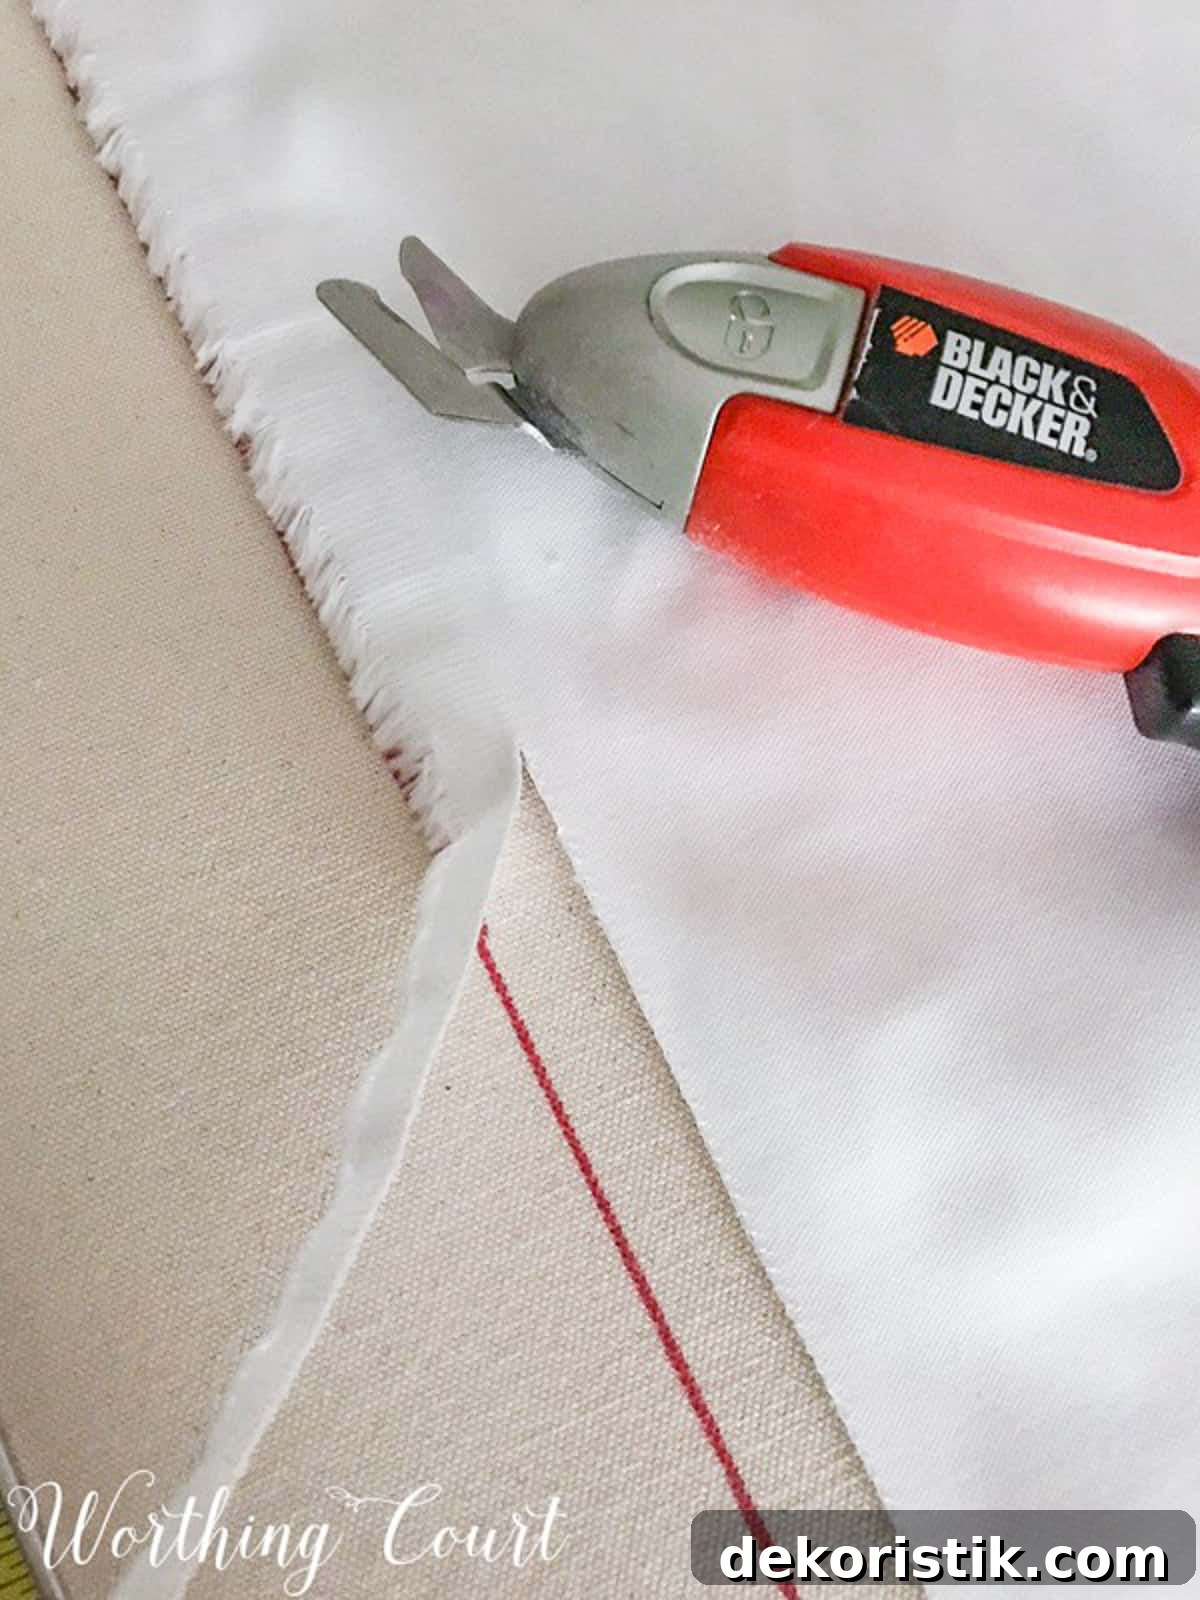
For the lining hem, make a double 3″ hem: fold the raw edge up 6″ and then fold in half. Press and stitch with a straight stitch.
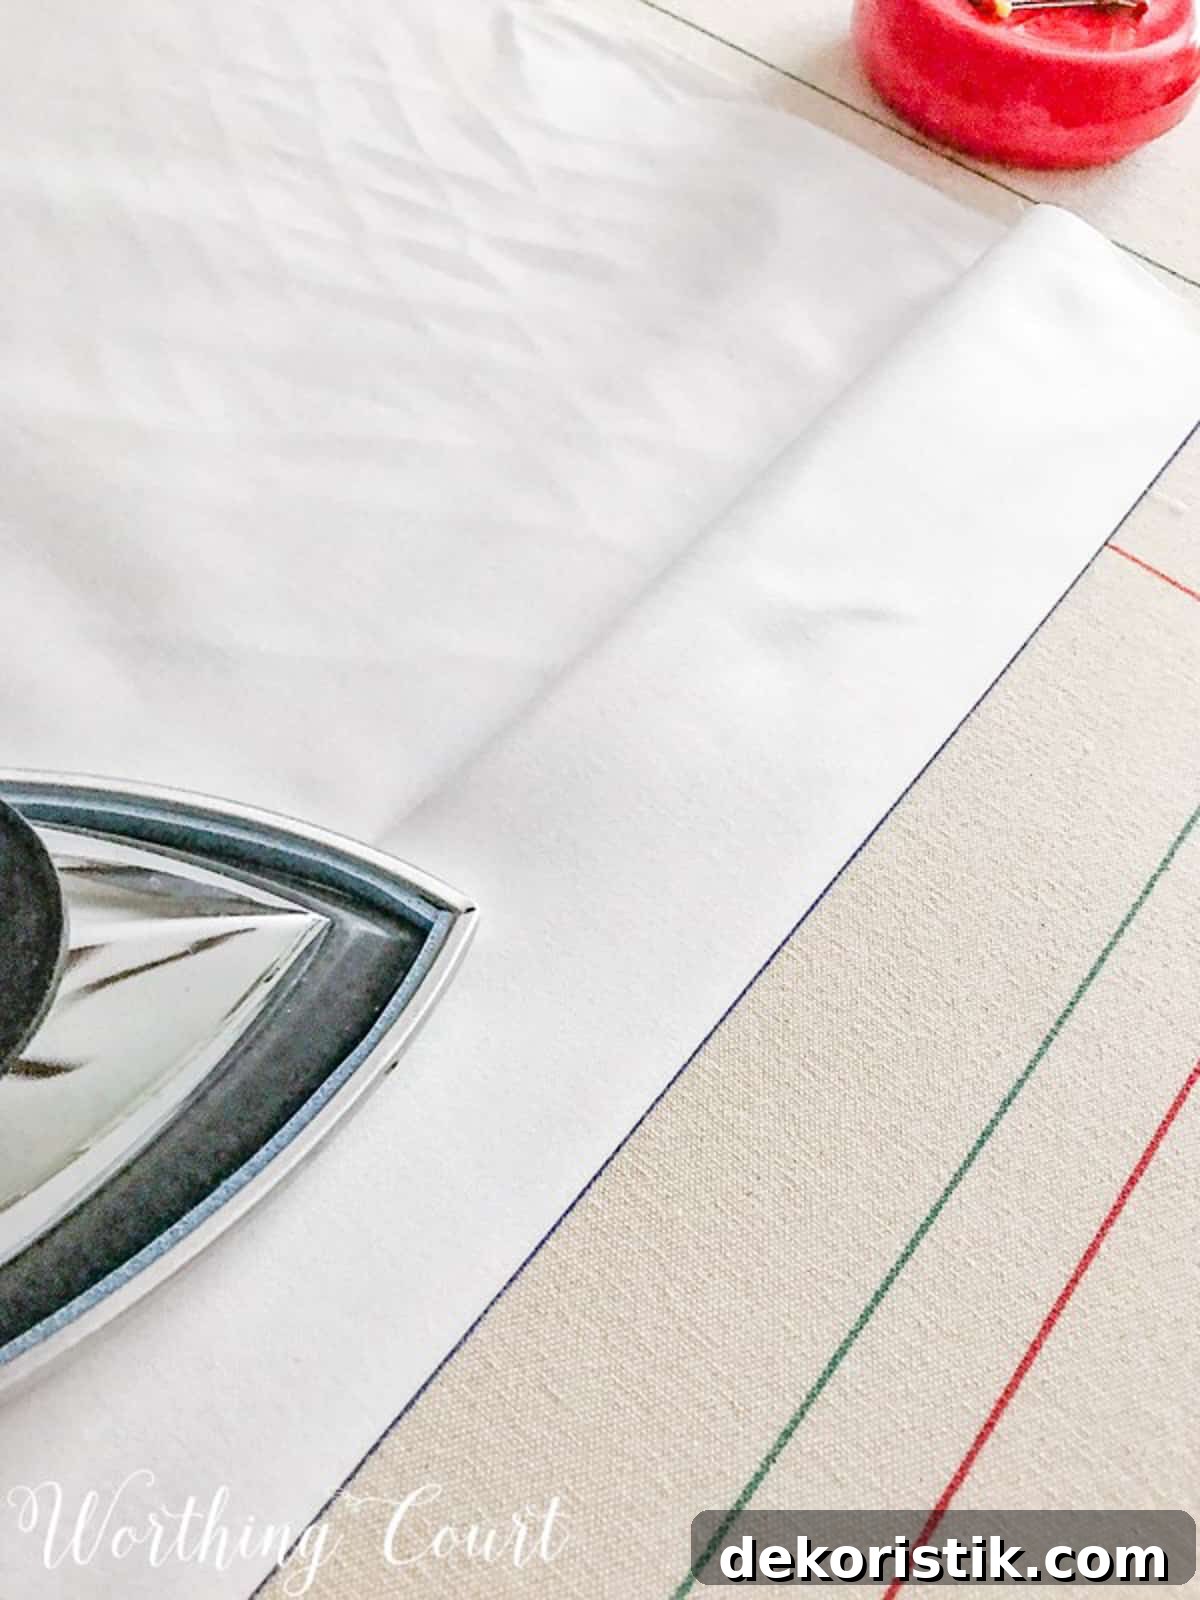
TIP: The right side of lining fabric is usually the shinier face—keep that in mind when matching layers.
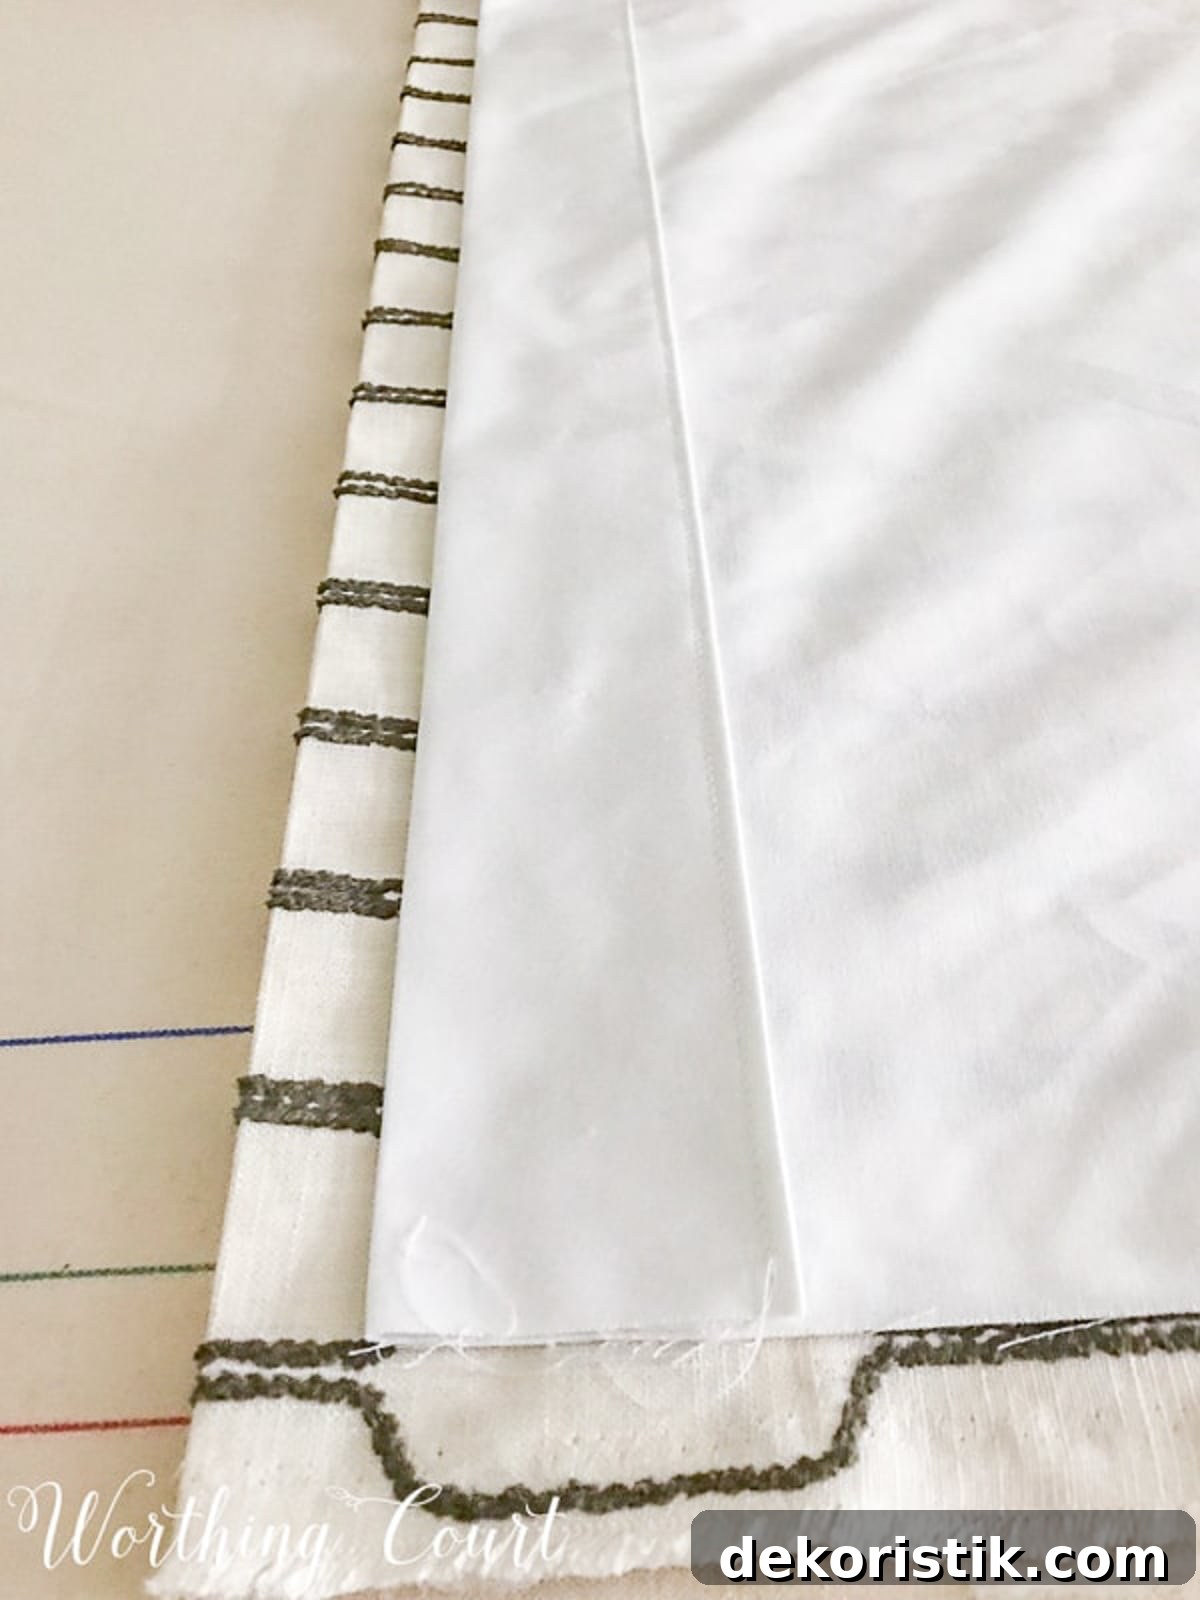
If you choose blackout lining, follow the same measuring and cutting steps but note a few differences: blackout fabric may not have a selvage; use clips instead of pins to avoid holes; sew with a non-stick needle to reduce visible holes; use mercerized cotton or texturized polyester thread since these swell and reduce needle holes; and use a longer stitch length because blackout lining is thicker.
STEP 5: JOIN THE FRONT PANEL TO THE LINING
Lay the main fabric and lining right sides together, aligning the top edges. Center the lining if it’s slightly narrower than the main fabric. Pin the top edge and stitch with a 1″ seam allowance.
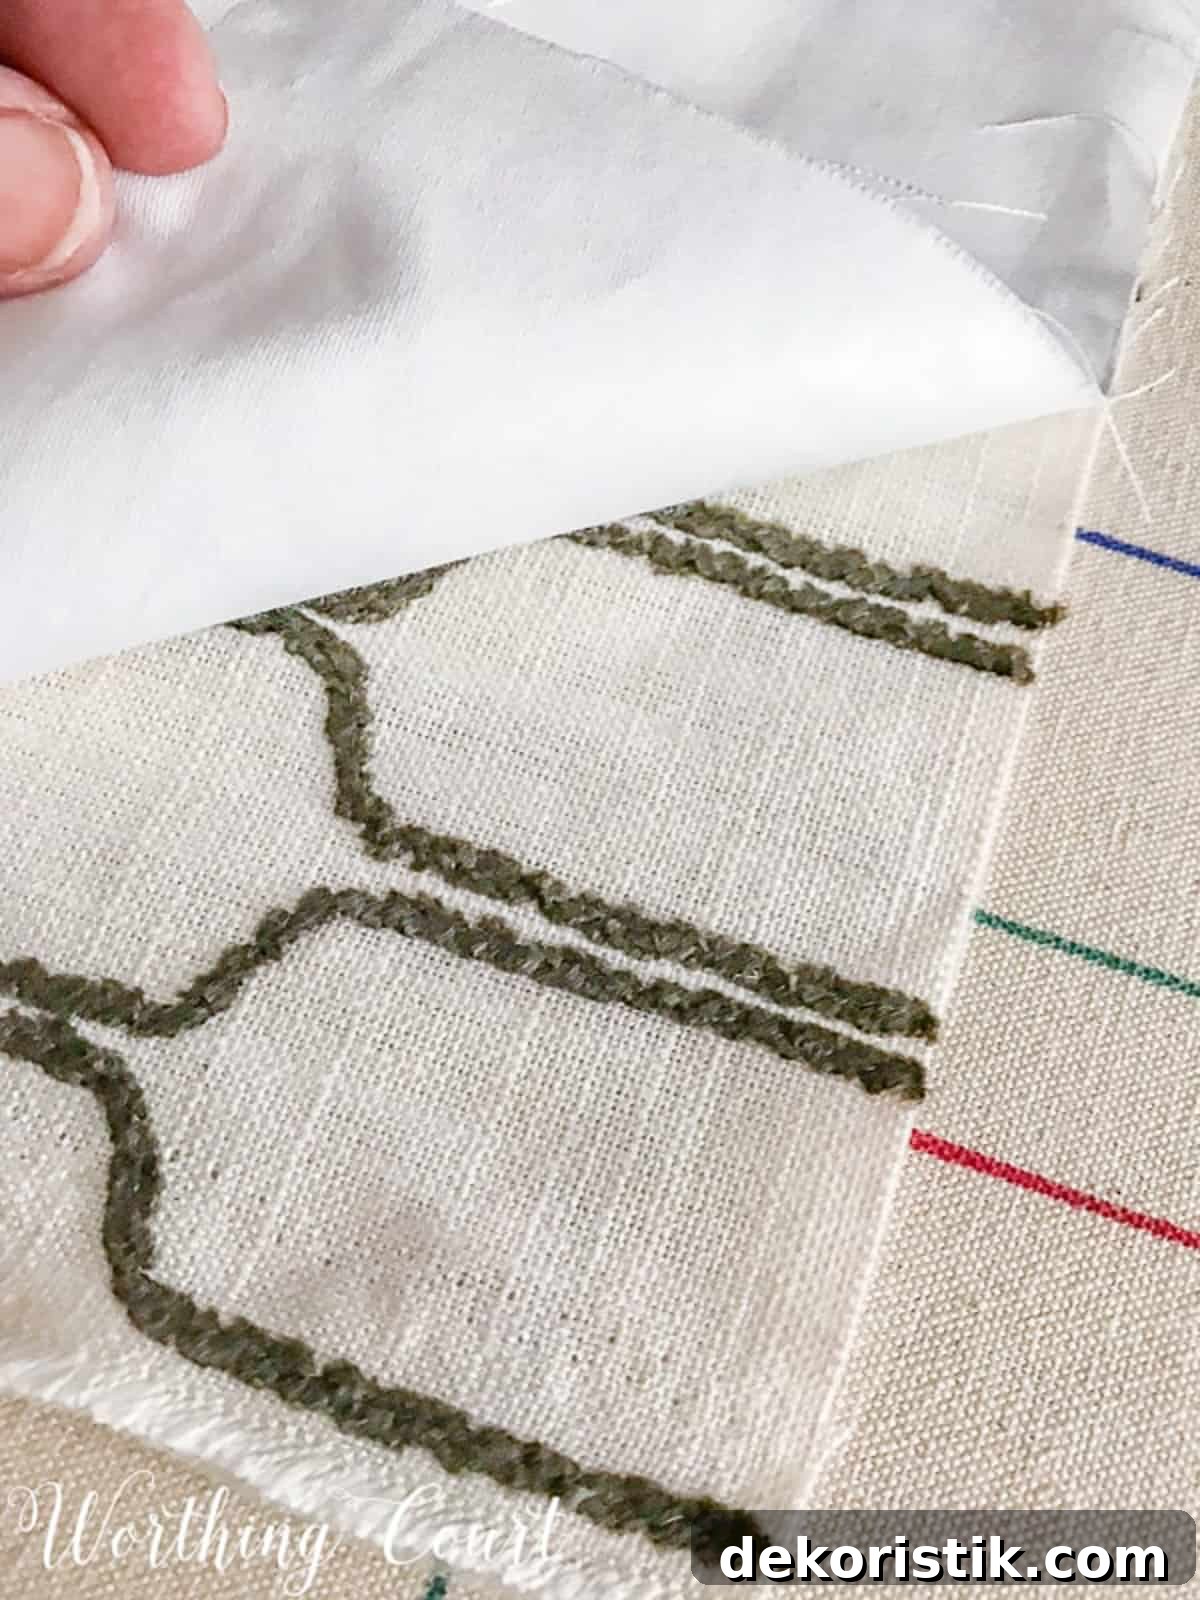
TIP: The lining is often narrower than the face fabric—centering it keeps side hems symmetrical and neat.
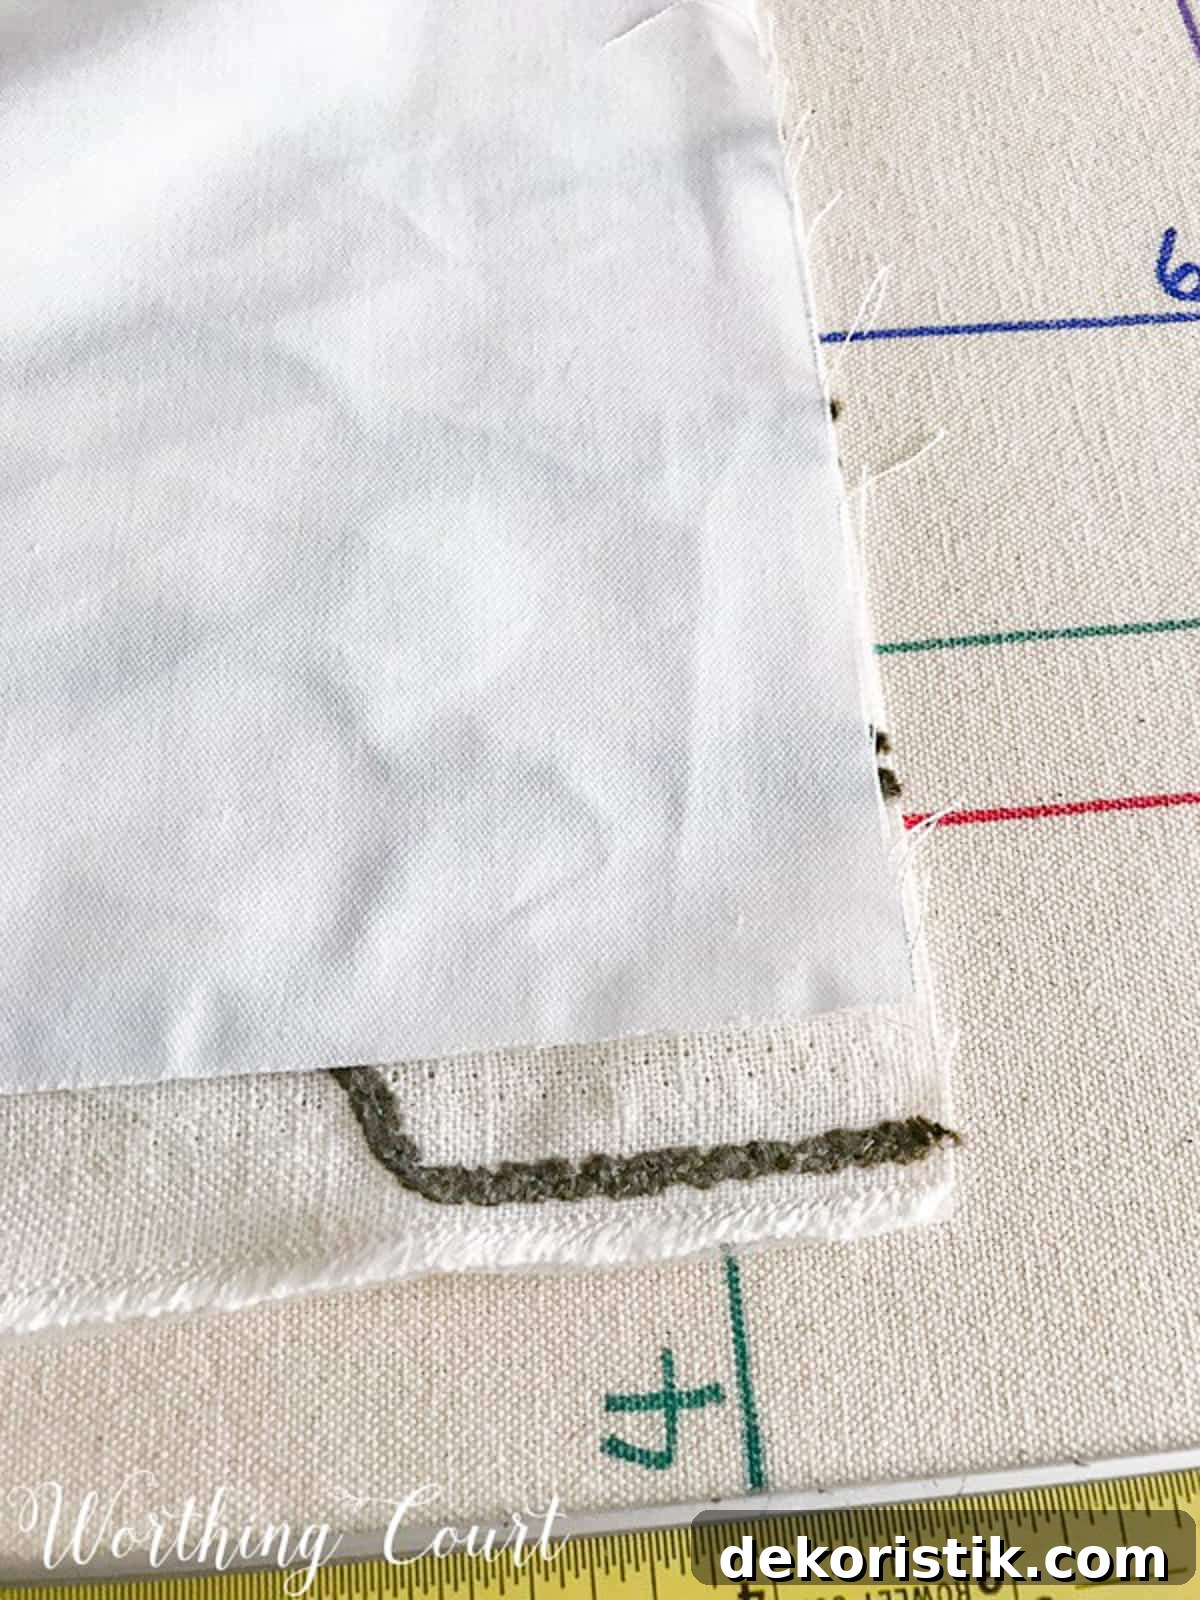
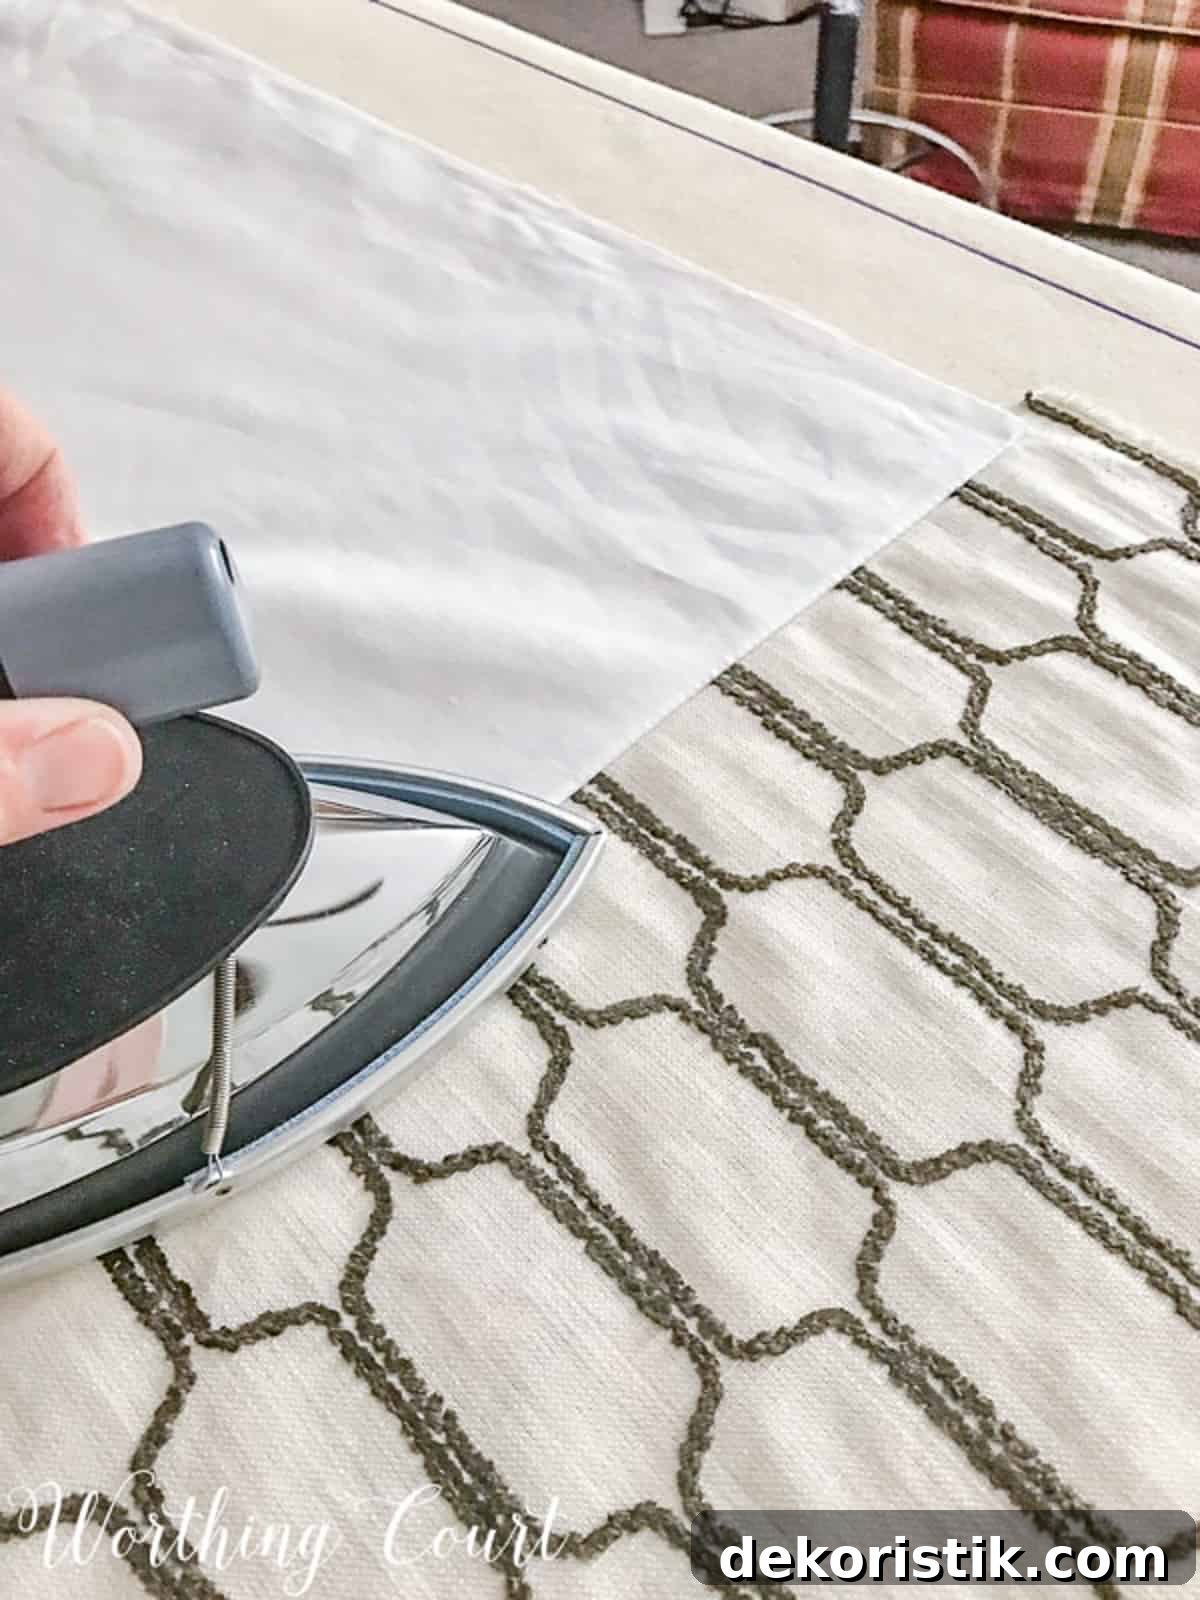
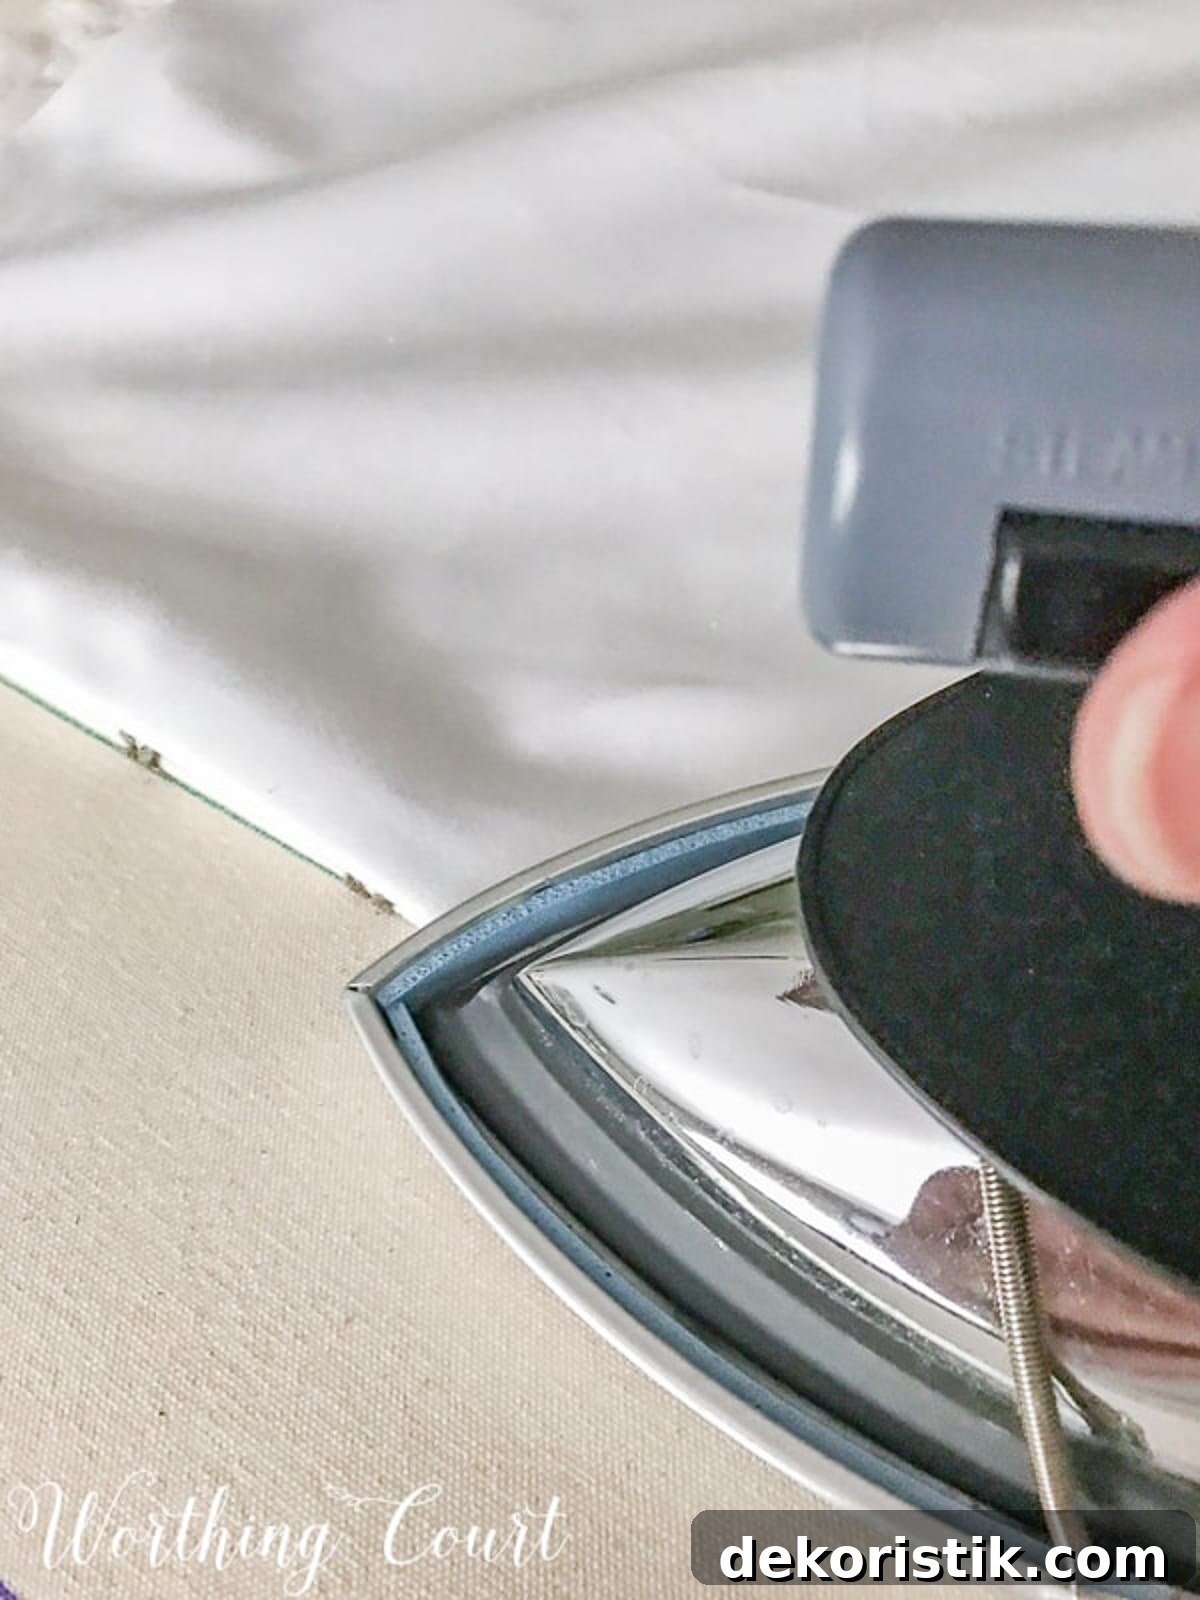
Open the joined top seam and press it open for a crisp edge. Then flip so the wrong sides of both fabrics face each other and press the seam closed—this creates a clean top finish.
STEP 6: HEM THE LONG SIDES
With the face fabric right side down and the lining right side up, smooth both layers so they lie flat. The lining hem should sit about 1″ above the bottom edge of the main fabric if measurements were correct.
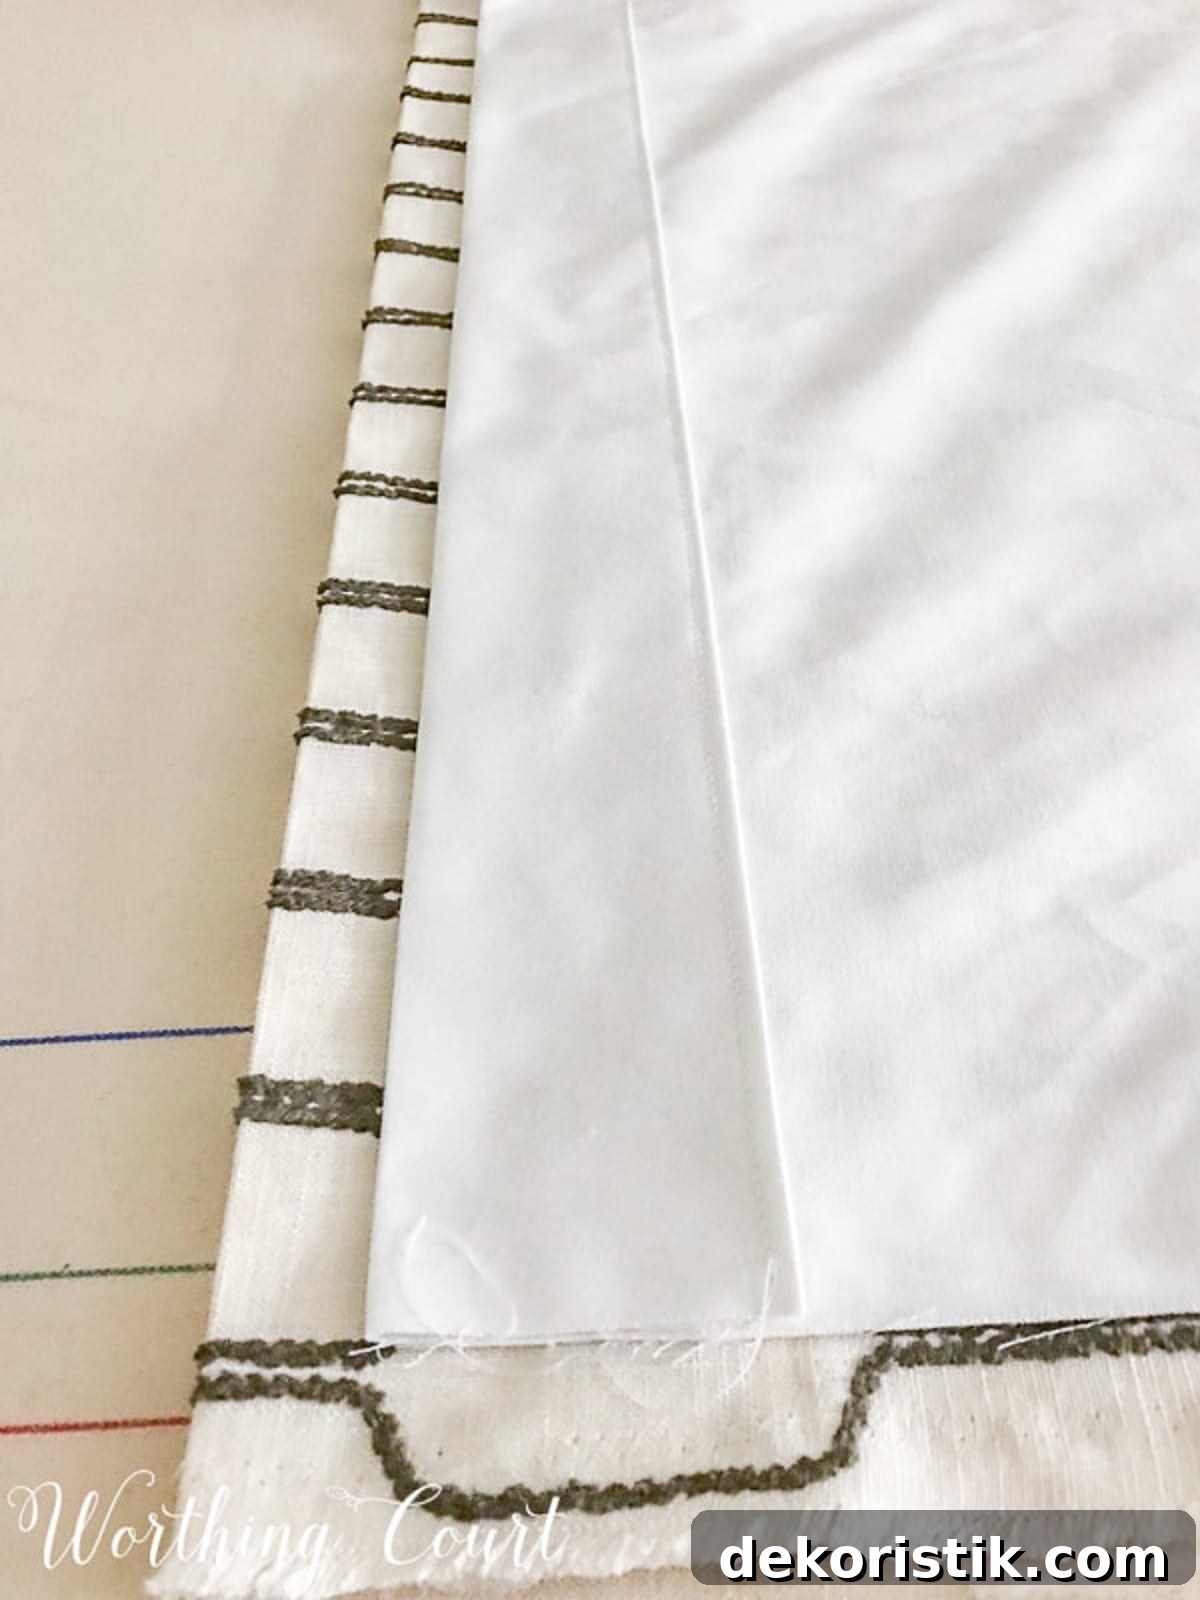
For side hems, fold each side in 3″ (for a finished double 1½” hem). Press, fold the 3″ in half, press and pin or clip from top to bottom. If you prefer, add a small drapery weight into the bottom fold of each side hem so the panels hang smoothly and resist billowing in drafts.
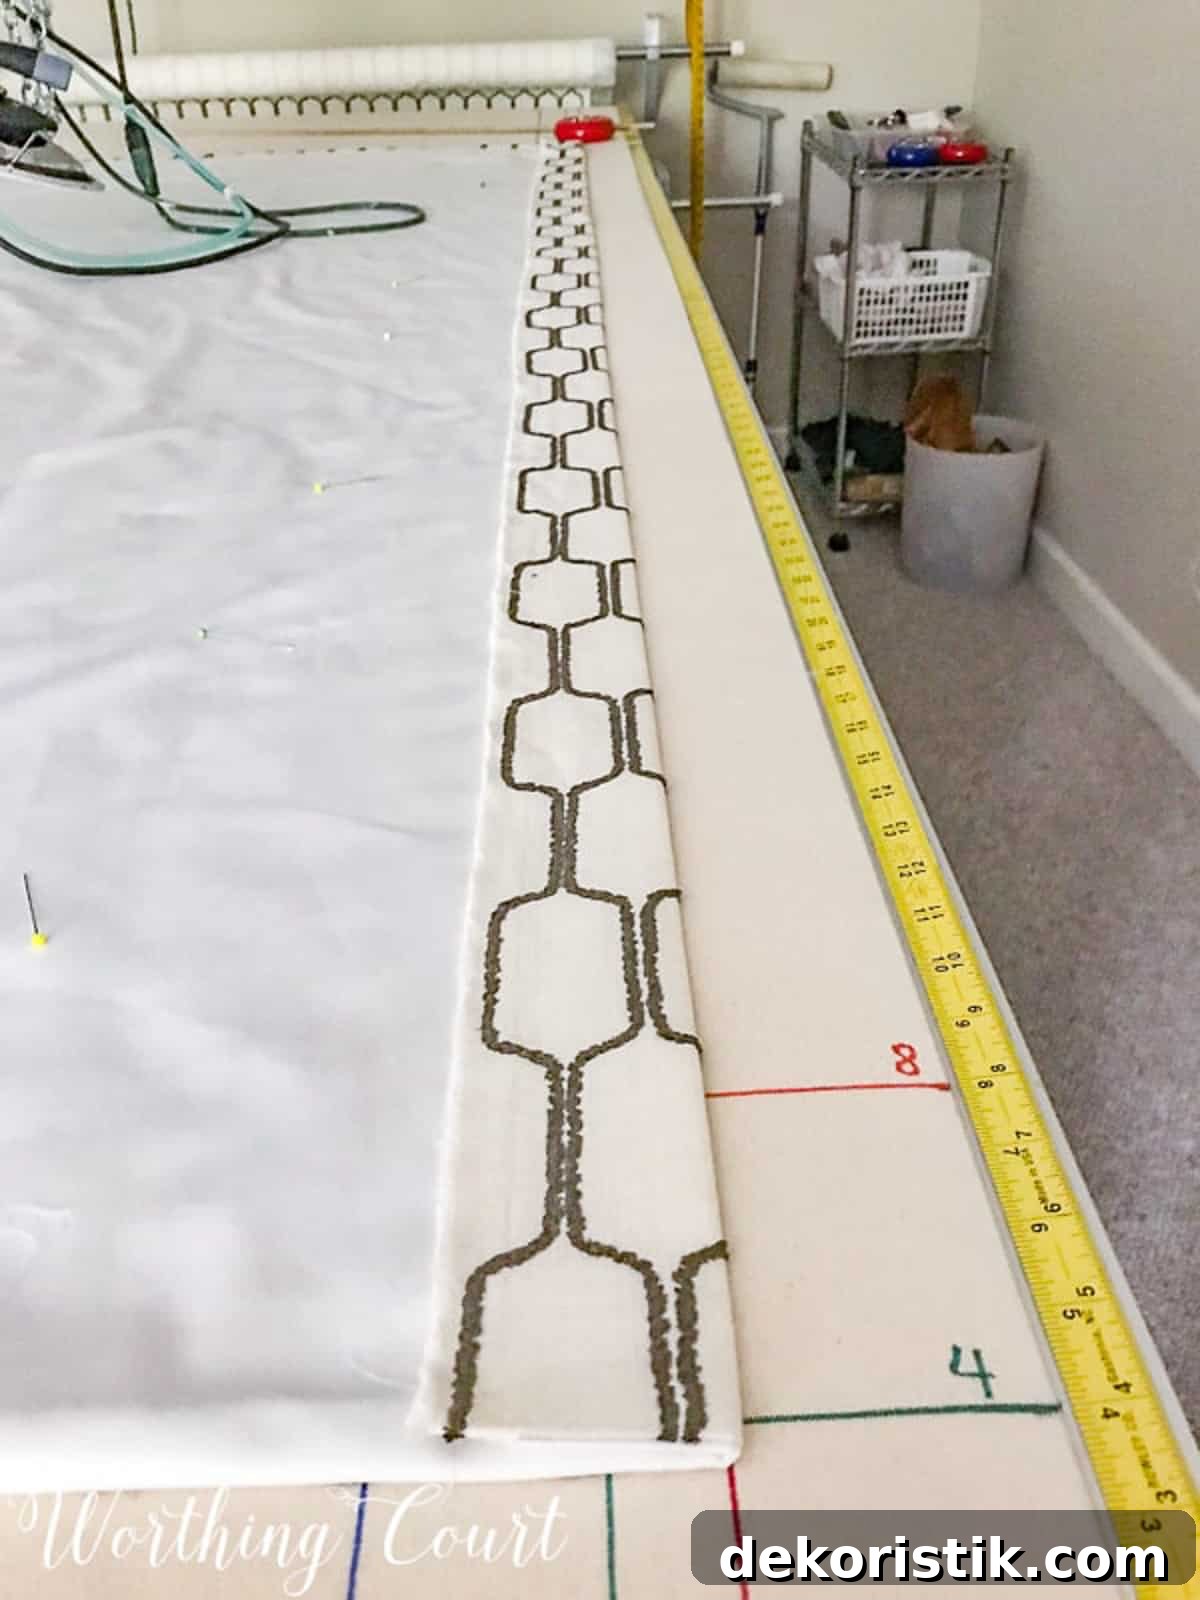
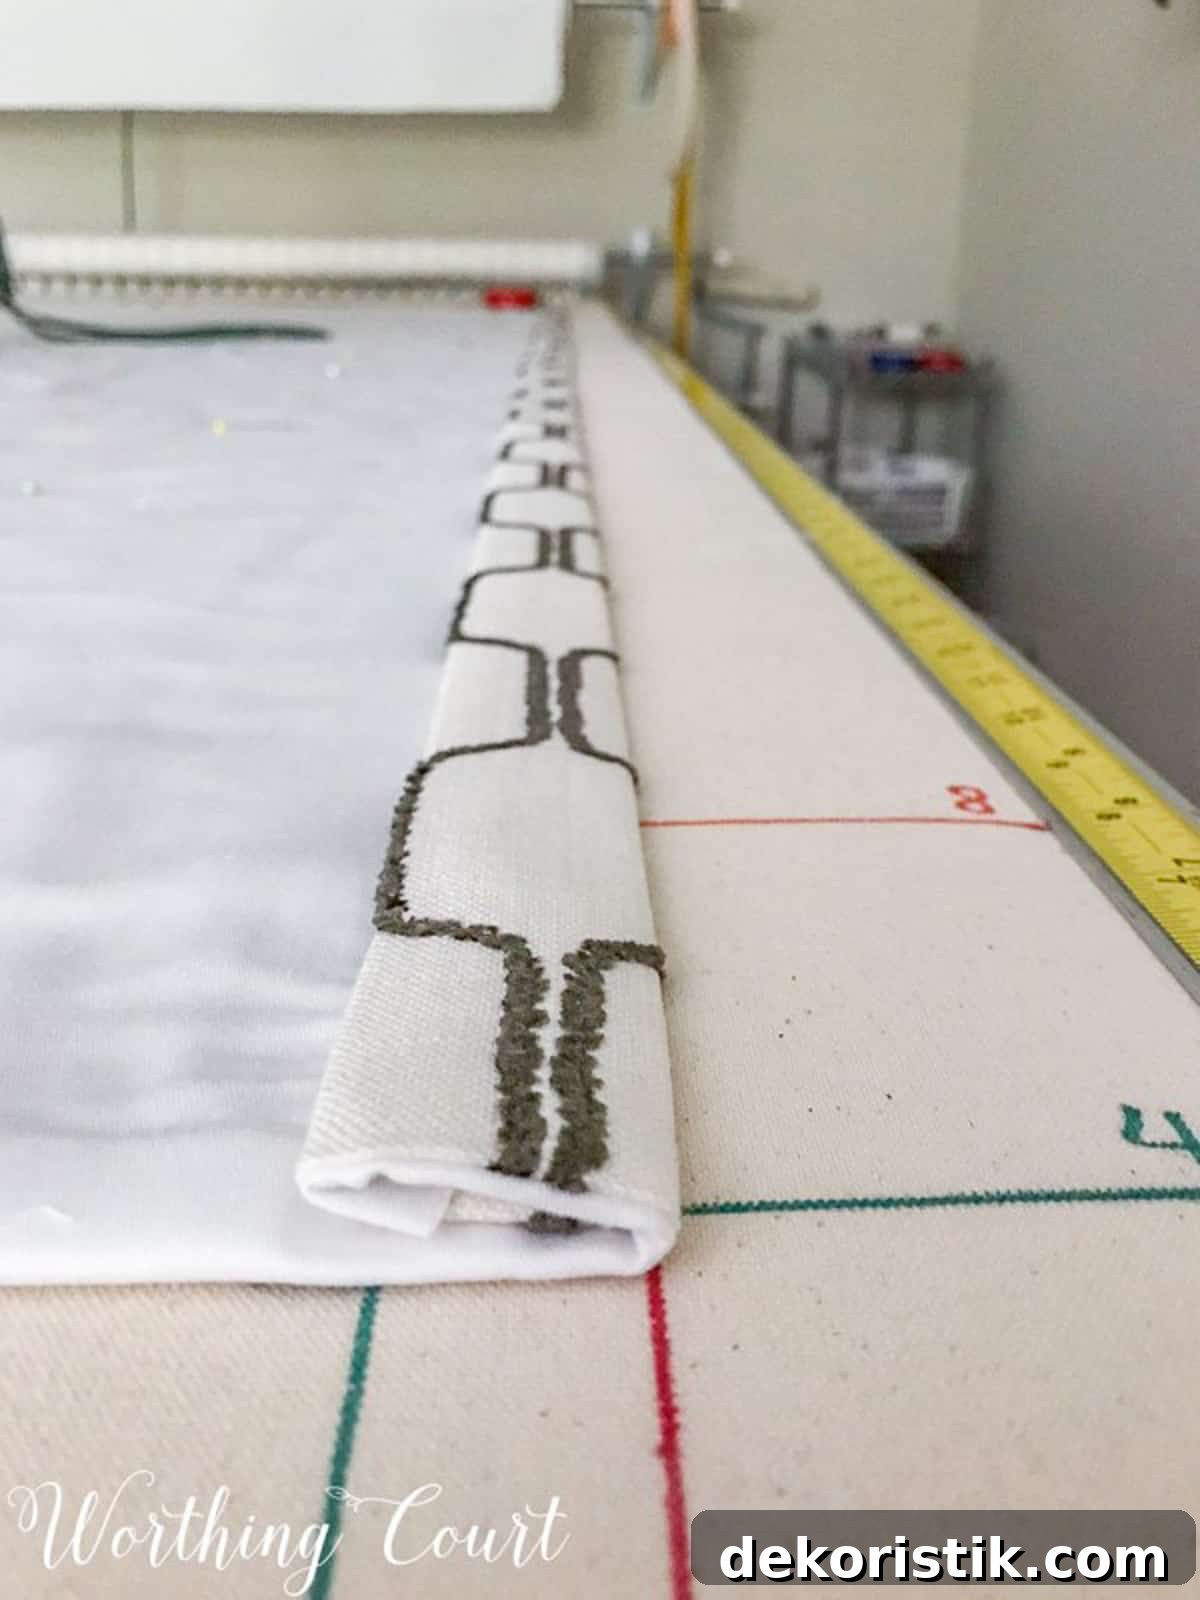
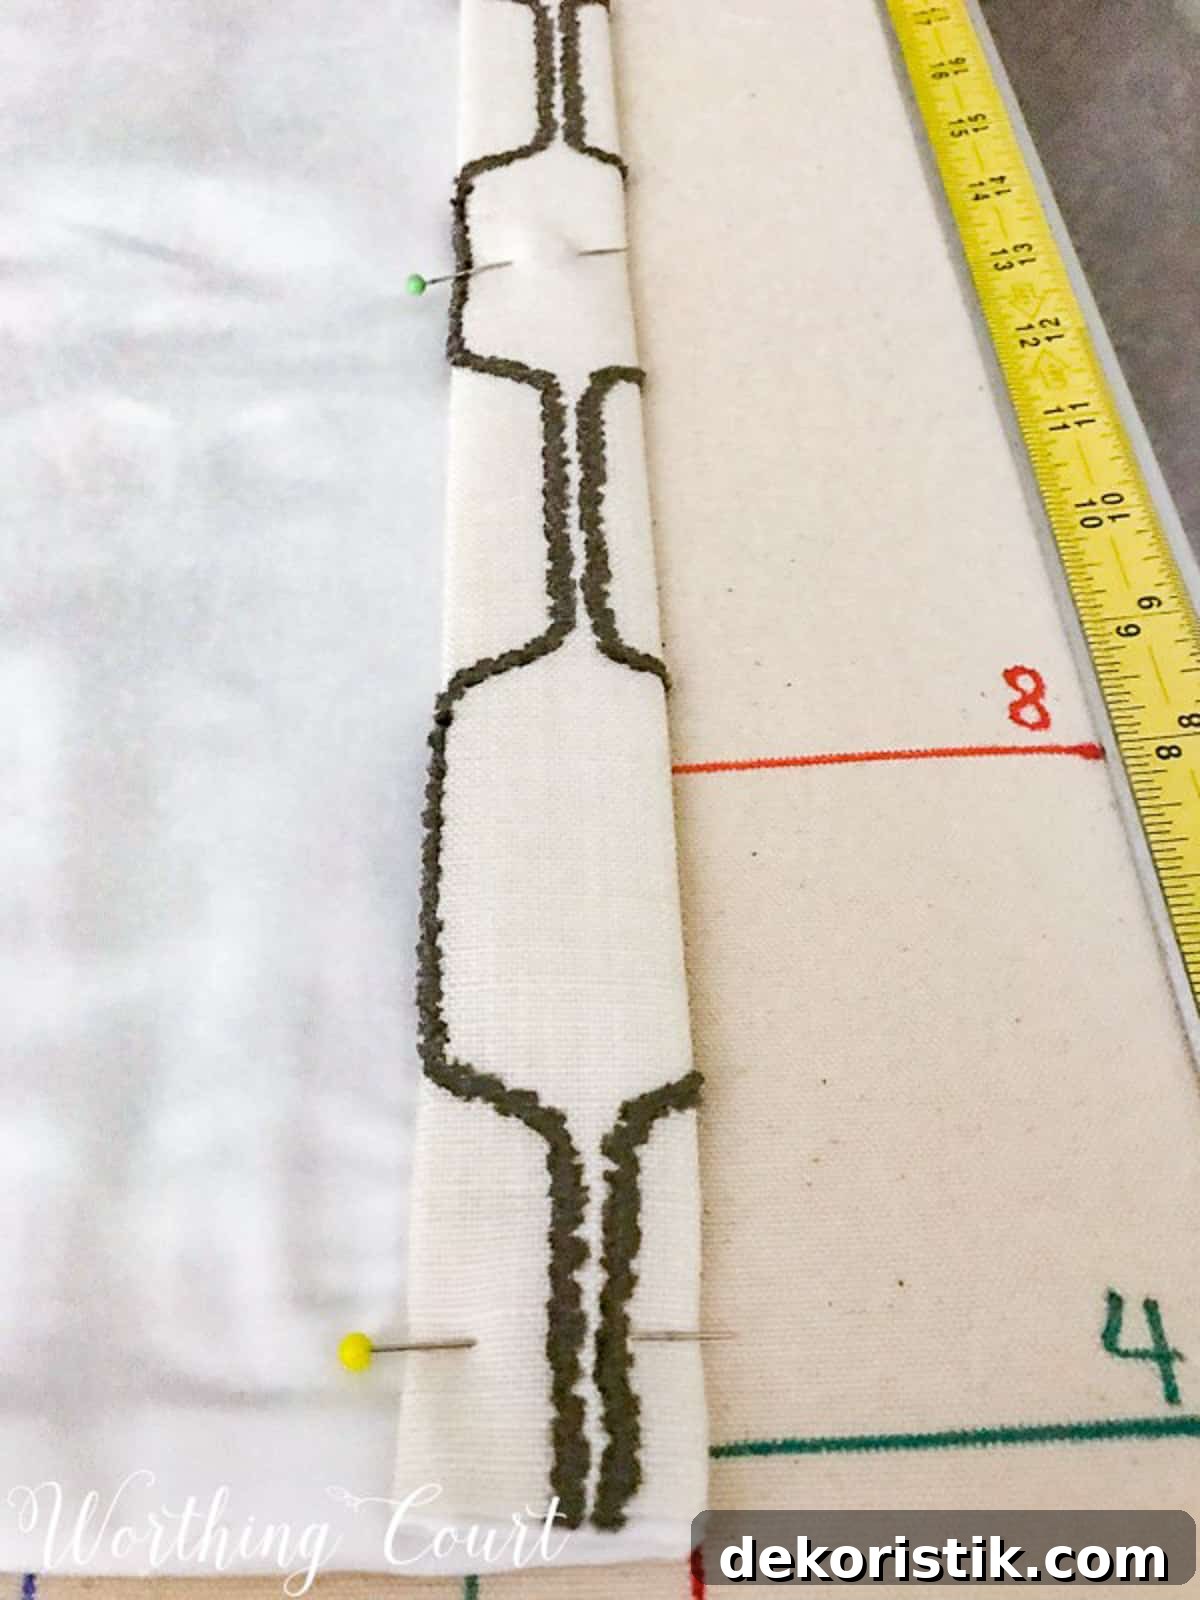
TIP: Shift side hem folds slightly if needed to keep a patterned fabric aligned from top to bottom—the front appearance matters more than exact back measurements.
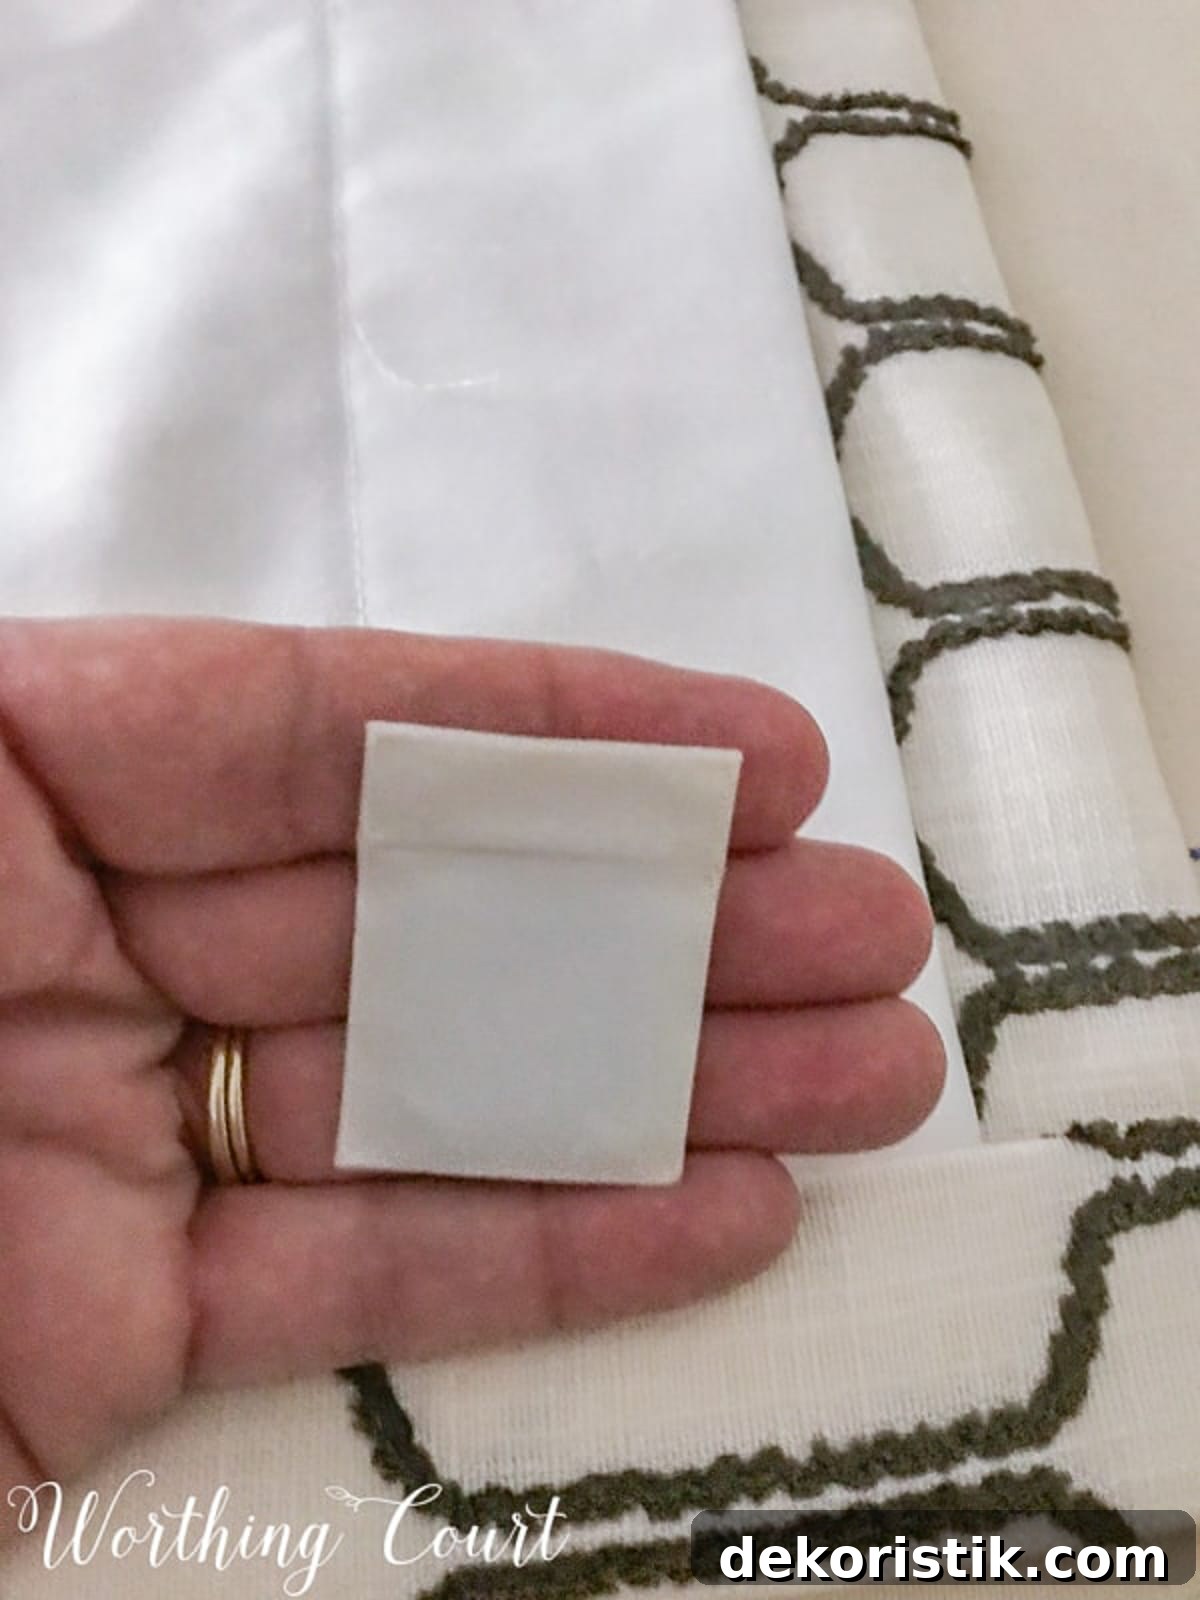
Stitch the side hems using a blind hem technique or hand slip stitch if you want the front to look seamless. If you used clips for blackout lining, leave those in place rather than pins while sewing.
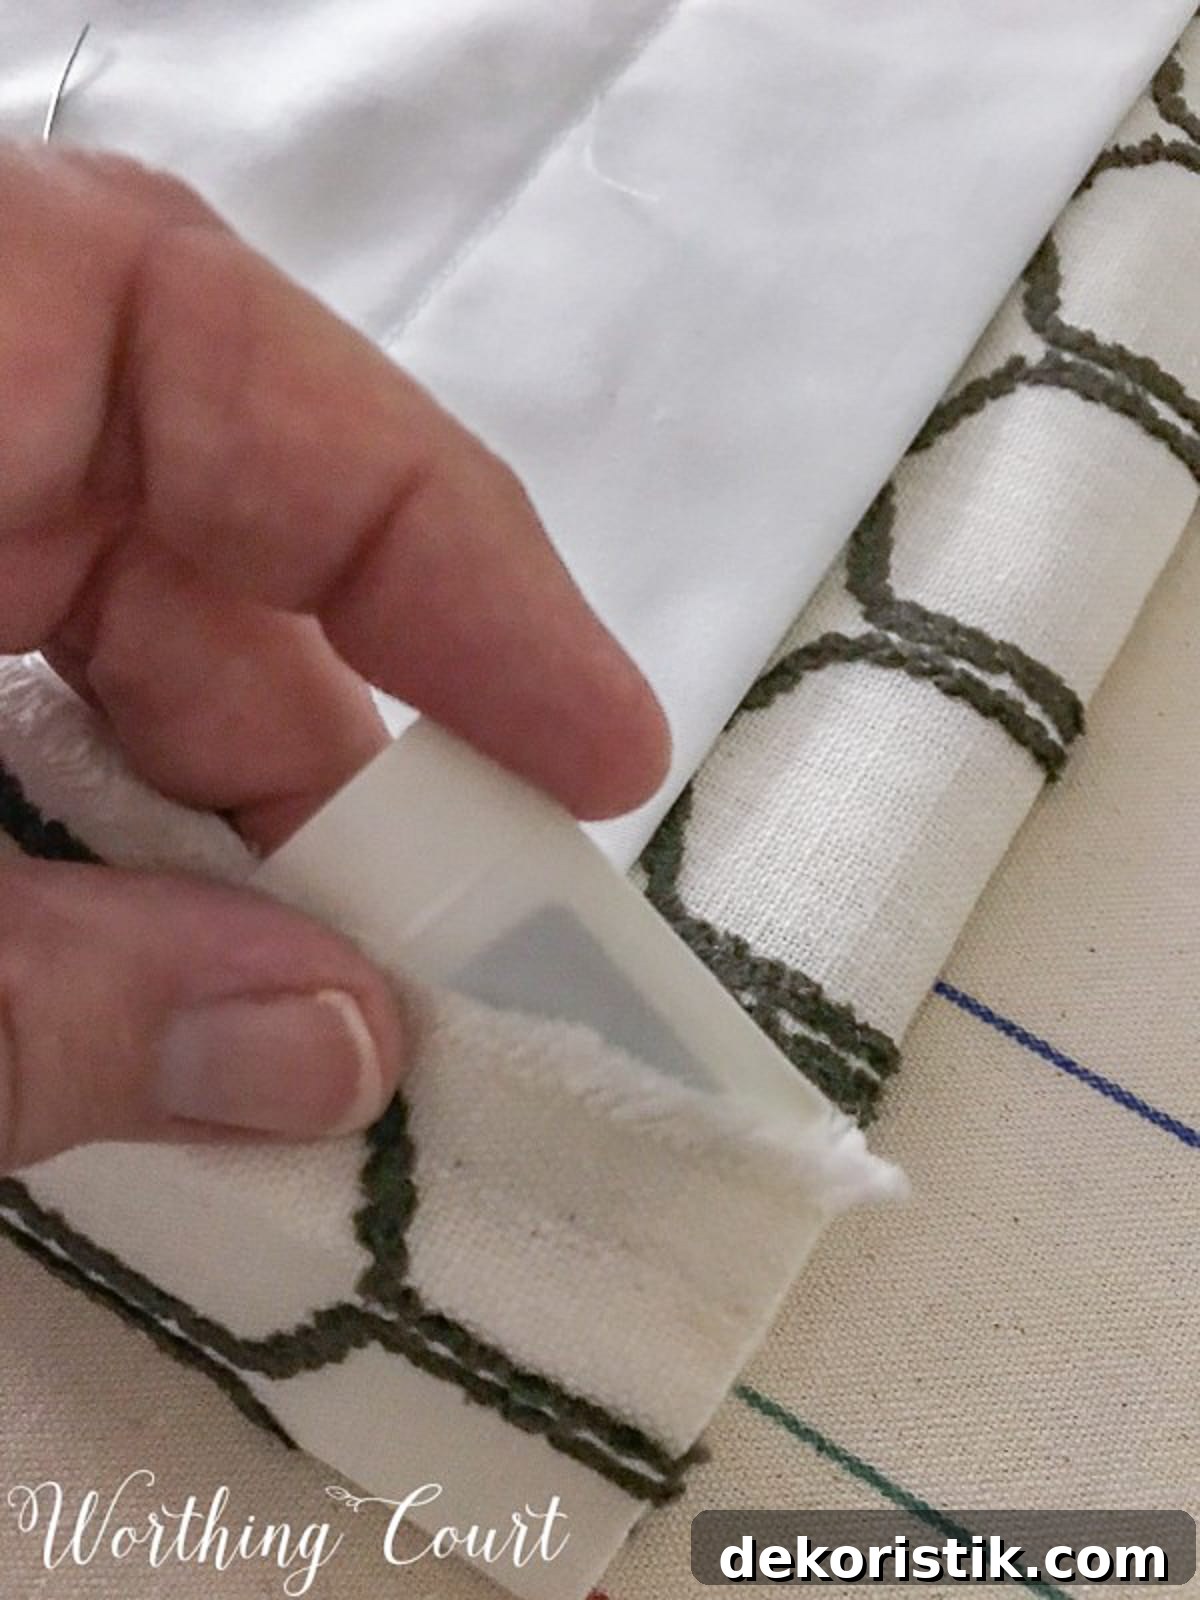
Once the side hems are sewn, press the entire panel and check the finish. You’ve completed a lined drapery panel assembled to professional standards.
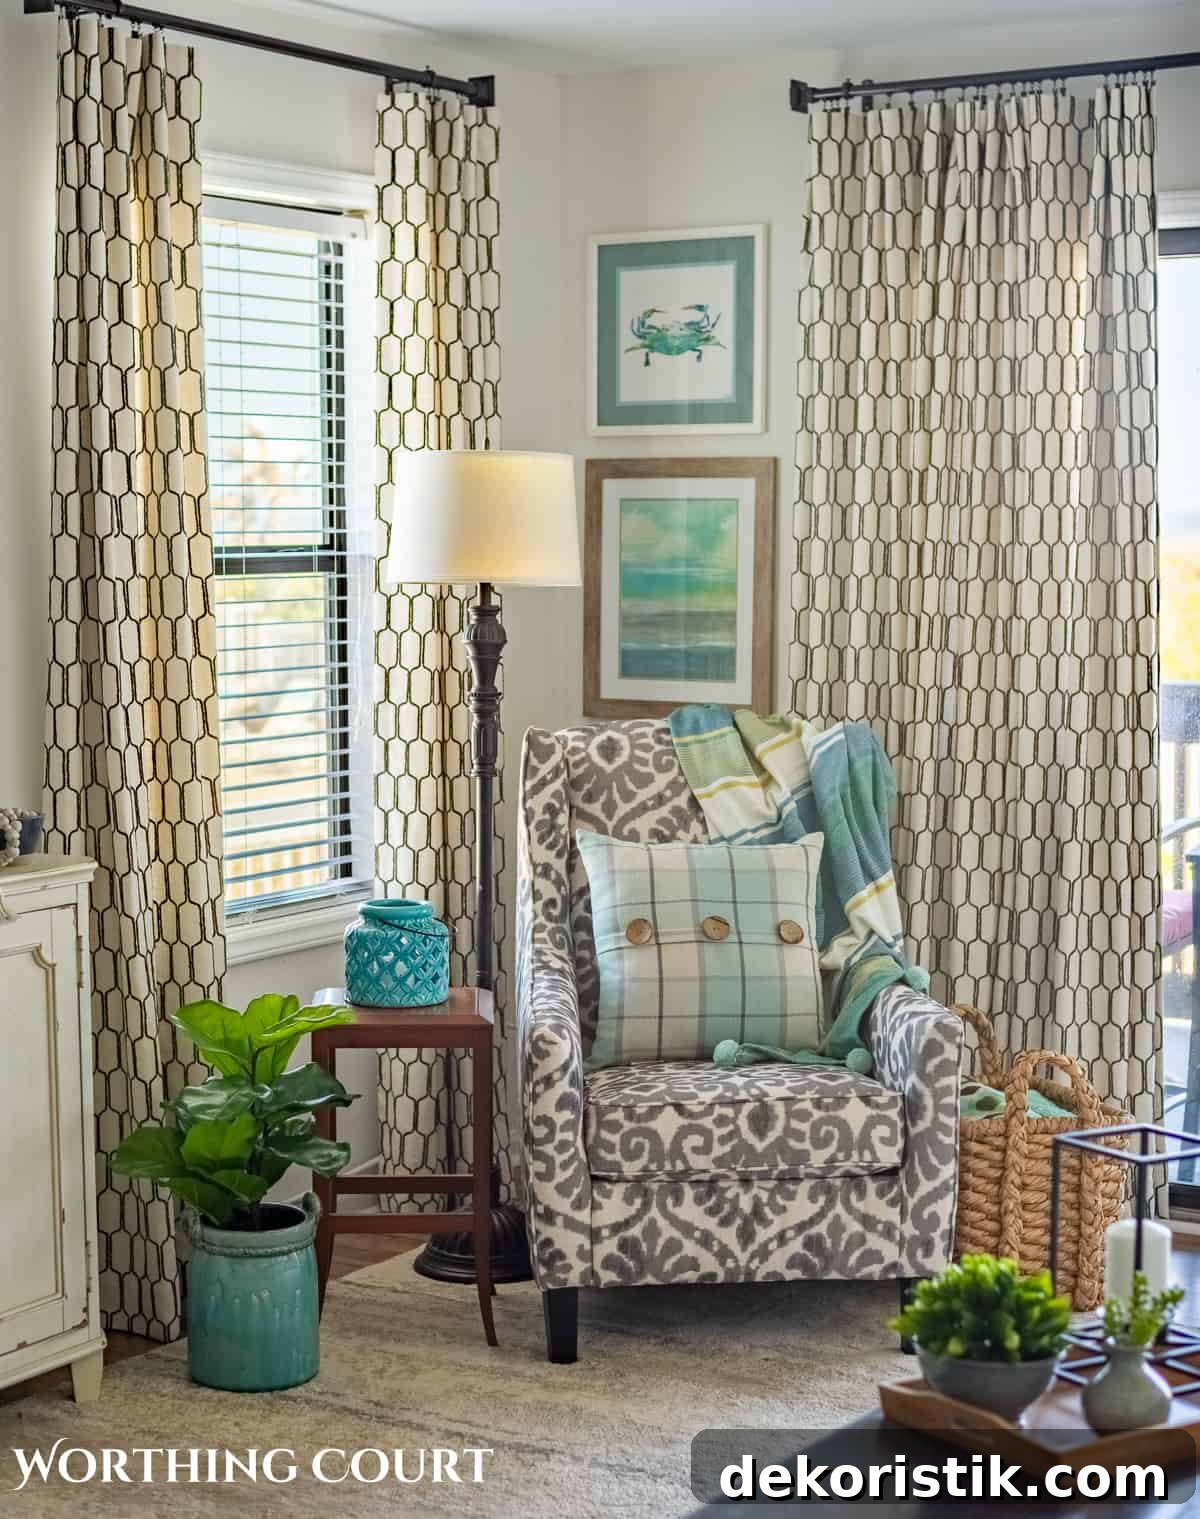
Hang flat panels on a rod with sew-on or clip-on drapery rings for a tailored look that mimics pleated draperies while using far less fabric.
MY FAVORITE SEWING GADGETS
Below are some handy tools that make drapery sewing easier: a quality iron with a large soleplate, a long pressing ham or board for hems, a yardstick or rolling ruler for smoothing fabric, a blind hem foot or hand-sewing needle for invisible hems, Wonder Clips for thick or blackout fabrics, and small drapery weights for the bottom corners. These simple tools help you achieve a clean, professional finish without a dedicated workroom.