


Can you tell how hazy it is? It was a very hot day—about 105 degrees when I took this picture.
When we first toured the place, it had been neglected for years: cracked paint over old wallpaper, rusty kitchen appliances, mildew behind the wallpaper, and very dirty, stained carpet. Despite all of that, the location was unbeatable — right on the sand.
Entering the condo brings you straight into a hallway that opens to the living room and kitchen. This is what greeted us on our first visit.
It was unpleasant, to say the least.
That little black blur on the couch is Diva Dog.
Step into the living room. Diva Dog and our slightly more serious guard dog happily posed for the photo.
The sofa converts to a bed. Instead of the thin standard sleeper mattress, we had a 6-inch mattress installed, so it’s almost as comfortable as our own bed.
The cozy chair creates a perfect nook for reading, watching TV, or just taking in the beach view.
Here’s what this area looked like before the renovation.
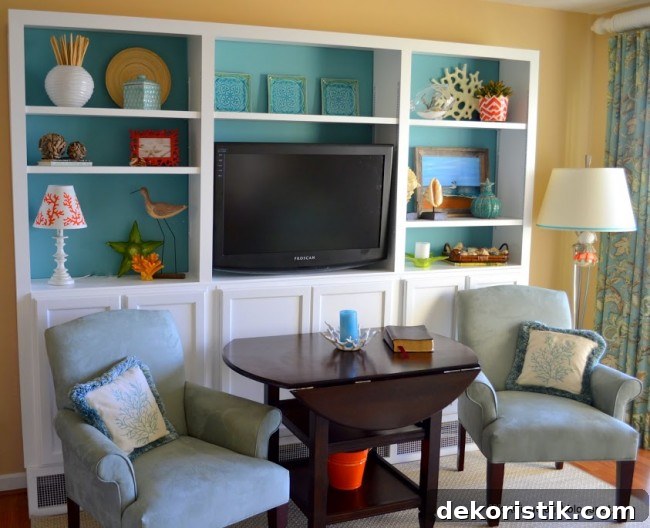
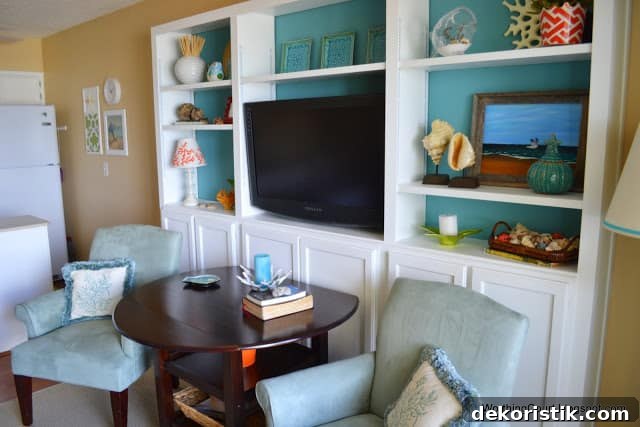
Turn around and you’ll see the opposite wall in the living room now:
And here’s how that wall looked before.
I refused to sit on the old couch during the first visit — it was nearly as bad as the carpet. The previous owners told us the furniture came with the condo; we politely declined.
Major renovations we completed throughout the condo:
- Removed all wallpaper, treated and repaired areas affected by mildew or mold, then sanded and painted the walls
- Replaced carpet and padding with laminate wood flooring
- Installed a new air conditioning unit
- Replaced sliding glass doors
- Added and upgraded ceiling fans
- Replaced the water heater
- Upgraded corroded doorknobs to brushed nickel hardware
- Added additional electrical circuits to the breaker box
Now turn toward the kitchen.
Update: The bookcases we added change the look of this kitchen wall as well.
I love the backsplash—iridescent glass tiles mixed with travertine marble give the kitchen a beachy, polished look.
That little fish canister holds dog treats—Diva Dog and our other pup are well aware of it.
I found a small rug at IKEA that fits the compact kitchen perfectly.
Here’s the kitchen before we started renovating—complete with quirky stencils and places to hang keys.
Kitchen improvements we made:
- Replaced refrigerator and stove
- Added a microwave above the stove
- Upgraded laminate counters to SileStone
- Painted cabinets and replaced cabinet hinges
- Installed a new sink and faucet
- Added the glass-and-travertine backsplash
Now back to the hallway.
At the foot of each bunk we installed small shelves we already owned and added baskets for storage. The clip-on fans are perfect for warm nights.
And in case you forgot the original condition, here’s the view up the hallway before the renovation.
To end on a sweeter note, here’s a favorite photo of my granddaughter enjoying the deck.
 This is my sweet Miss M on the deck a few years ago — one of my favorite pictures of her.