I’m delighted to share that my budget master bedroom makeover is finally finished. This long-term project took months, but the result is a bright, comfortable retreat we truly enjoy.
The first change was paint. The room started out a deep milk-chocolate brown that felt cozy by day but like a cave after dark. Painting it a lighter, custom-mixed shade from Sherwin-Williams instantly transformed the space, making it feel more open and restful.
The new color sits between two standard swatches and was adjusted slightly by the paint professional to get the undertone just right—perfect for a calming master bedroom palette.
Next on the list were draperies. I scored brown-and-cream buffalo check fabric at a local outlet for just $3 a yard and bought more than I needed. I turned that fabric into two pairs of skirted, rod-pocket panels—one pair framing the bed and another for the seating area—with navy-blue banding for contrast.
The panels create a tailored, cozy feel and also help tie the room’s color story together.
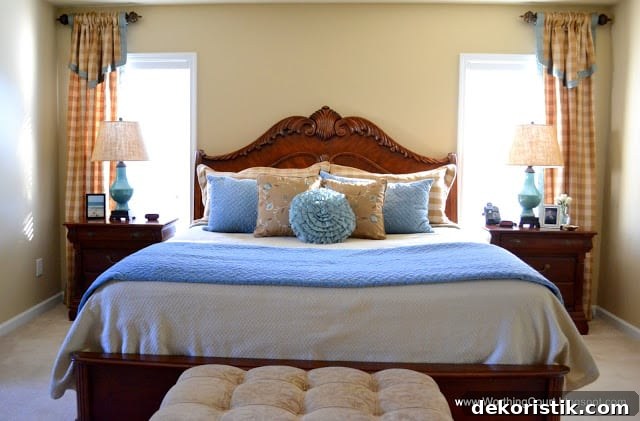
For the bed, I chose an affordable coverlet from a big-box store rather than embarking on a fully DIY, lined bedspread. Considering fabric and lining costs plus the time involved, the store purchase offered the best budget balance.
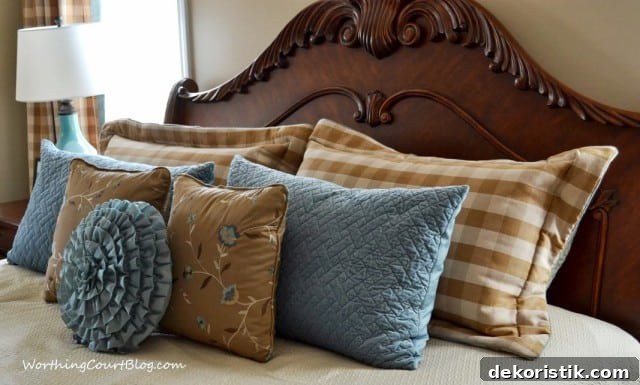
Pillows make a big impact, so I sewed multiple pillow shams and throw cushions to coordinate with the drapery banding. I did buy one ruffled accent pillow that saved a lot of work and suited the style perfectly. For those interested, I do have a step-by-step pillow sham tutorial on my blog.
A large blank wall beside the bed needed art, but I kept costs low by creating my own gallery. Inexpensive frames, a calendar, some pretty wrapping paper and poster board became a cohesive, budget-friendly arrangement that fills the space without feeling cheap.


Our master sits above the garage, giving it an unusually large footprint for a bedroom. While generous square footage is often desirable, an oversized bedroom can be challenging to furnish in a way that still feels intimate. The wide-angle photos show the scale and layout clearly—yes, we still have the ceiling fan, a practical must in our climate.
Placement of larger furniture was one of the trickiest parts. A dresser looked lost on the long wall opposite the bed, so both the dresser and chest of drawers ended up in the sitting area. It isn’t a true sitting room for lounging—mostly it’s a practical spot for dressing—so I kept the layout simple and functional.
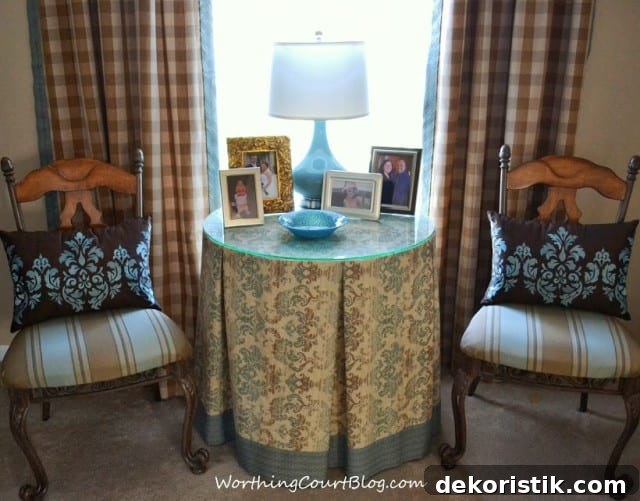
The sitting area features two chairs with newly recovered seats and a small decorator table with a box-pleated skirt I made to echo the drapery banding. Simple decor—like the vivid blue of faux hydrangeas—adds an energetic pop of color without overwhelming the restful palette.
I also enjoy incorporating family heirlooms into the room. A silver anniversary tray that belonged to my parents now serves as a decorative accent, while a mirrored tray on the dresser organizes jewelry. Small blue mercury-glass bowls, intended for candles, are repurposed to hold watches and rings.
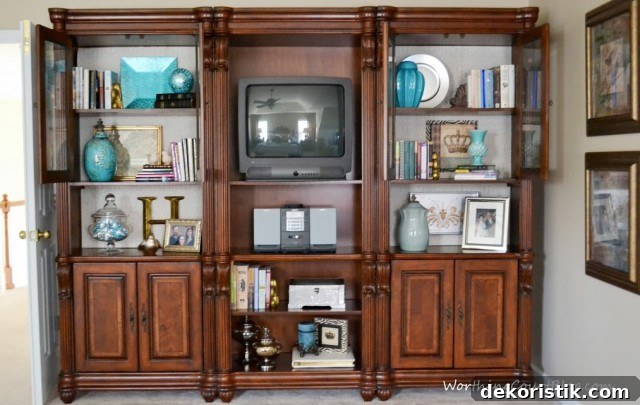
To balance the room visually, I refreshed a triple bookcase across from the bed. It required minor repairs and a quick makeover to update the finish and display a mix of books, framed photos and decor pieces. Opening the glass-front doors reduces glare and makes the contents more visible.
Overall, this budget-friendly makeover relied on a few strategic updates—lighter paint, custom draperies, handmade pillows, DIY artwork and refreshed furniture—to transform a cavernous bedroom into a warm, functional retreat. The result is a layered, personal space that feels both polished and lived-in.