
I’m sharing my step-by-step directions for transforming an old cherry bookcase into a farmhouse-fab showpiece

Affiliate links were used in the original post.
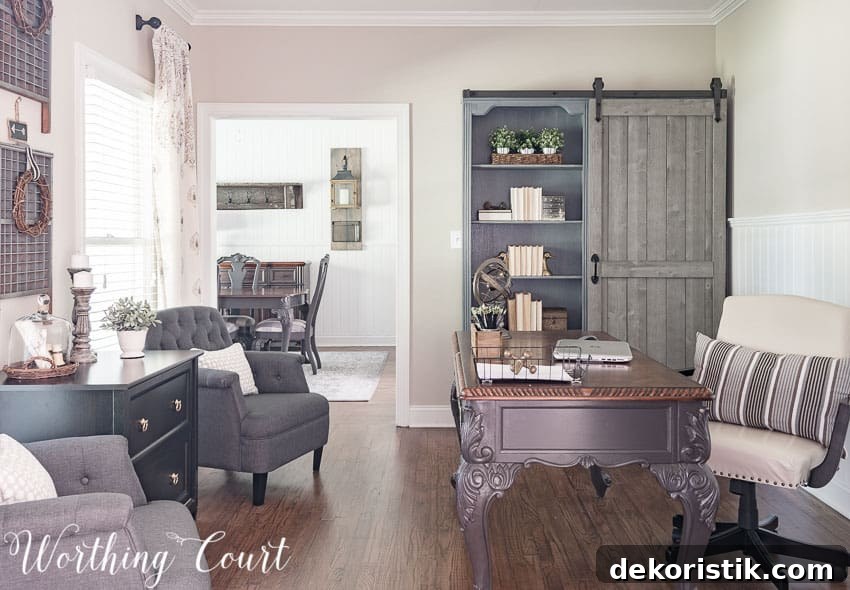
I rarely use an exclamation point in a blog title, but I’m absolutely delighted with how the bookcase makeover turned out for our home office. A few weeks back I was nervous about the project and unsure how the final result would look. Now that the work is done, I find myself pausing to admire it every time I walk by.
Notice the dining room is stripped of fall decor? Christmas has arrived in the house already—I’ll share the holiday dining room soon.
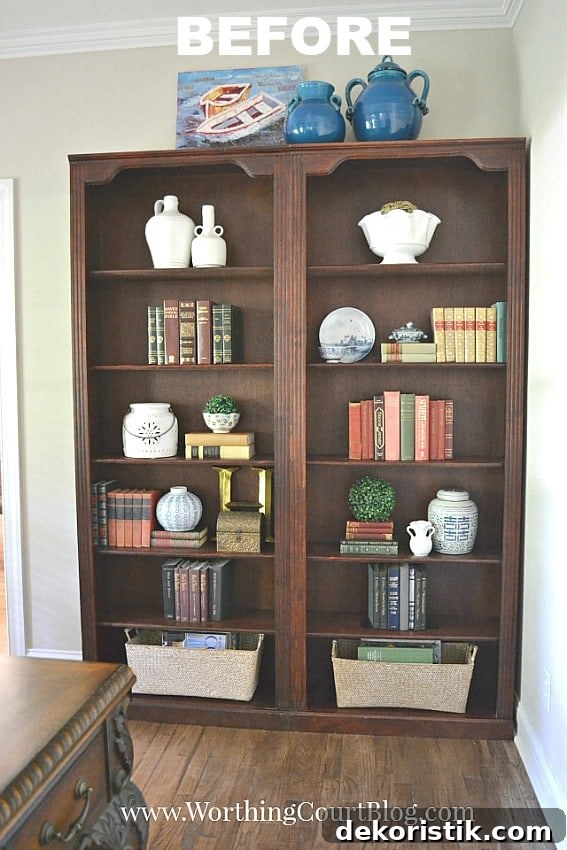
To appreciate the transformation, look at the original condition: inexpensive bookcases with a fake, waxy cherry stain. Their best feature was practical—the open shelves are solid wood, so they handle heavy books without sagging.
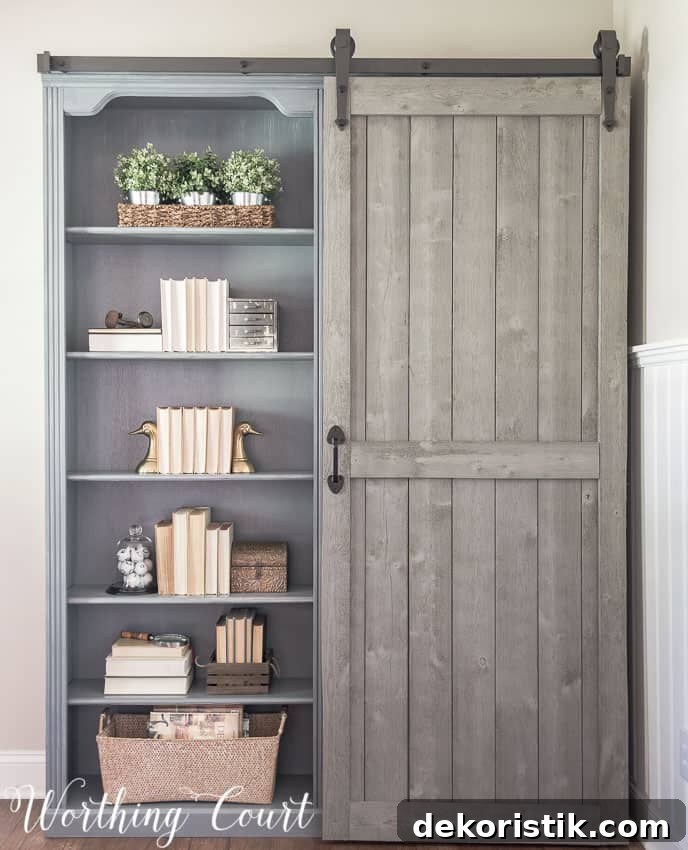
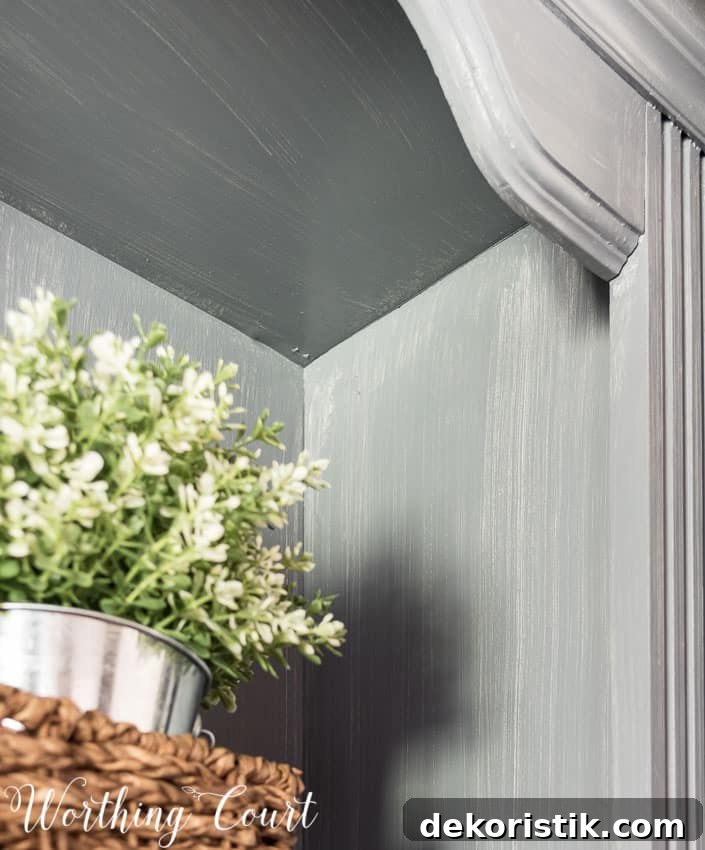
Here’s the bookcase after a couple coats of gray primer to neutralize the reddish cherry tone, followed by a brushed-on gray stain. I applied the stain with a simple chip brush and let it dry without wiping away any excess to achieve a weathered look. Primer used: Kilz 2 Latex Primer in Gray. Stain used: Rustoleum Ultimate Wood Stain in Weathered Gray.
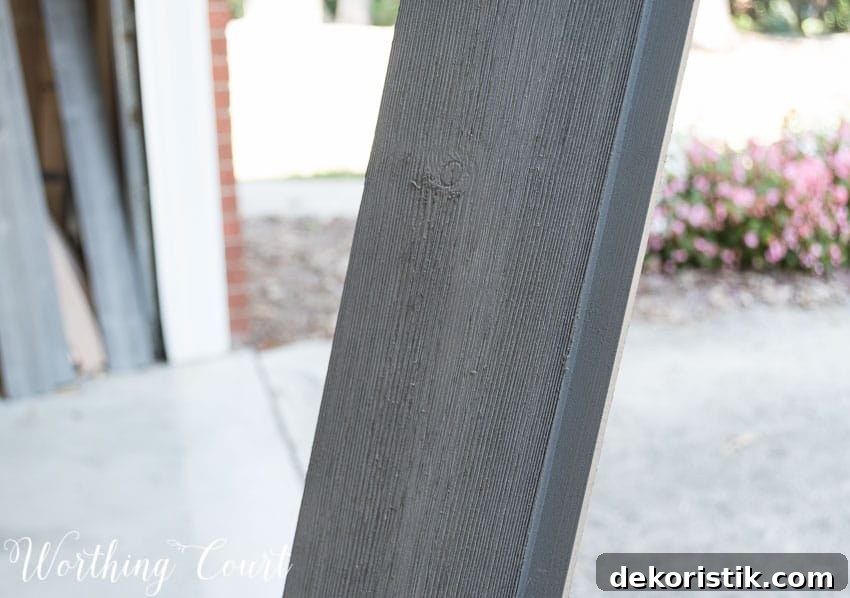
The close-up shows the textured, aged appearance that comes from brushing stain over painted wood and allowing it to cure untouched. That technique gives depth and a true-weathered finish that complements farmhouse style.
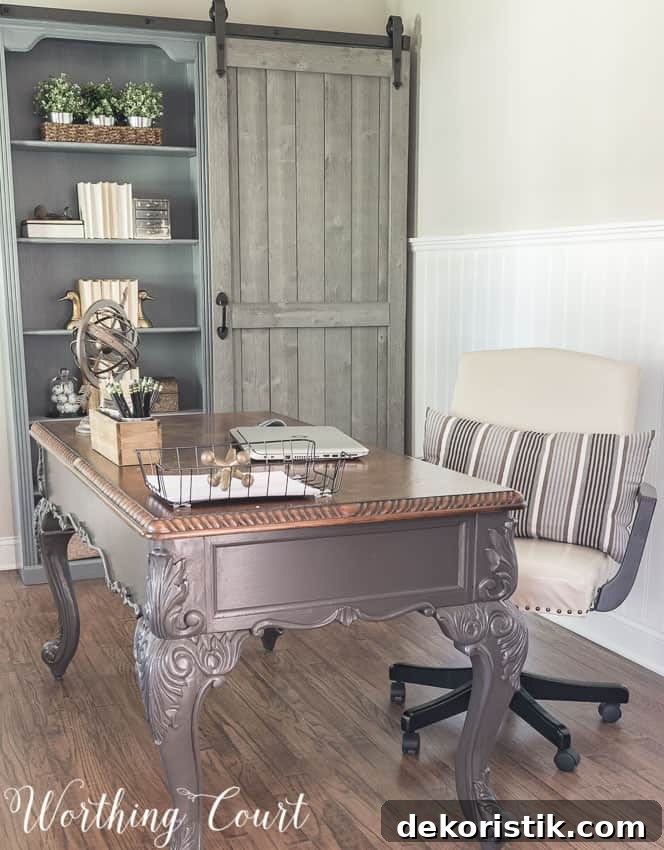
The barn door’s gray doesn’t exactly match the bookcase finish, but that contrast actually makes the sliding door feel more authentic and layered—like something that’s evolved over time.
Half of the bookcase is covered by the sliding barn door because I needed hidden storage more than additional display space. Behind the door are boxes filled with home office supplies; keeping them out of sight keeps the room tidy and uncluttered. We only open that side when we need access to something stored inside.
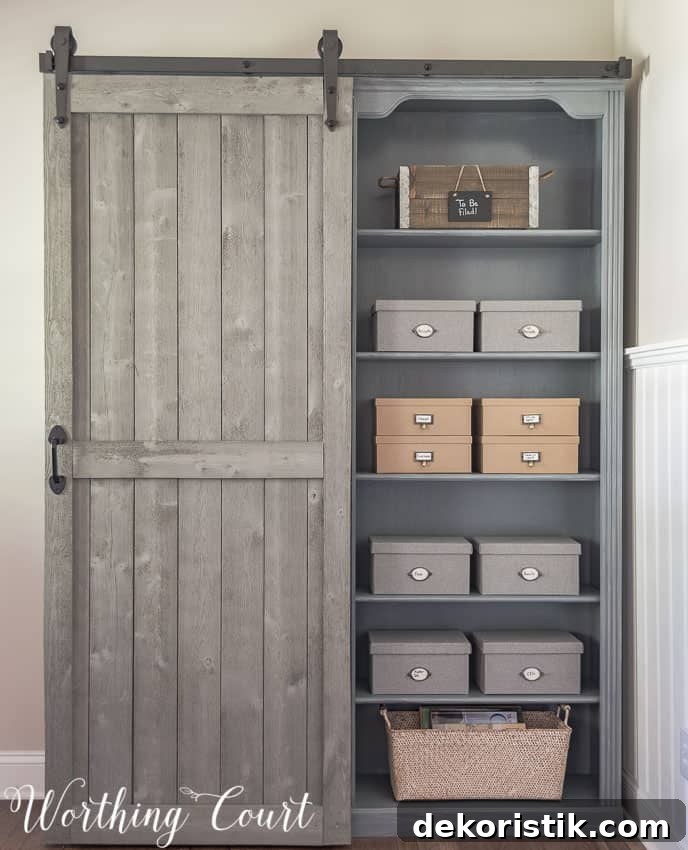
I was intimidated by the idea of installing sliding door hardware, but it turned out to be straightforward. After comparing options, we purchased a quality kit from our local home improvement store. The smallest available rail was slightly longer than needed, so my husband trimmed the bar with a Dremel and concealed the cut end with a black marker—it’s seamless now.
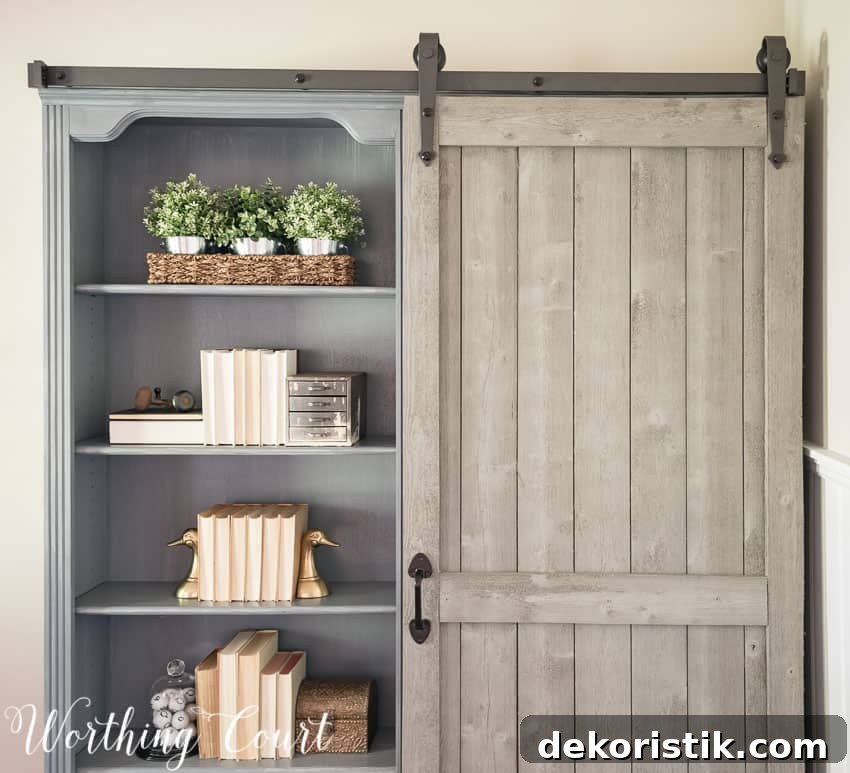
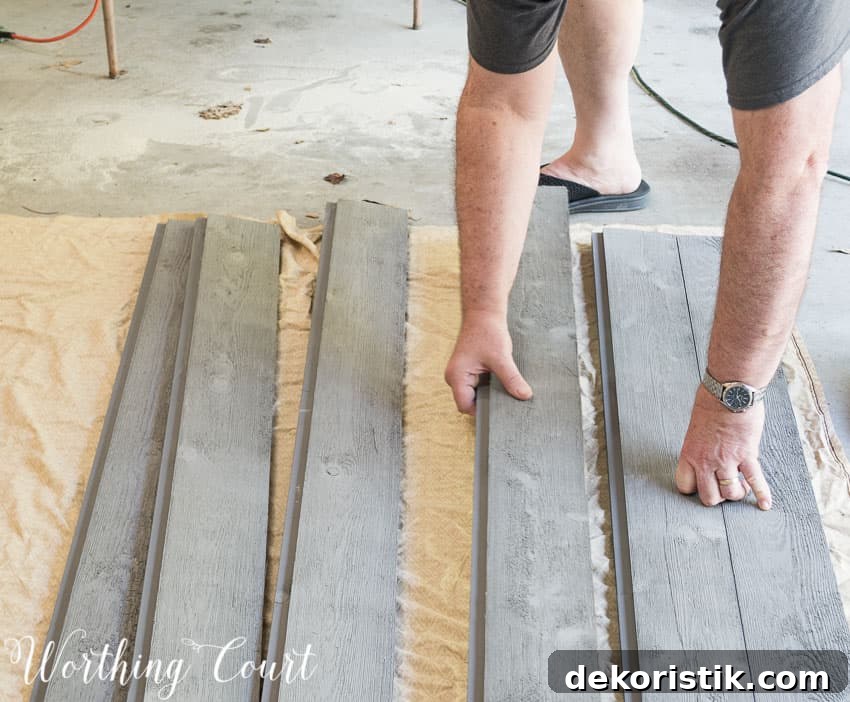
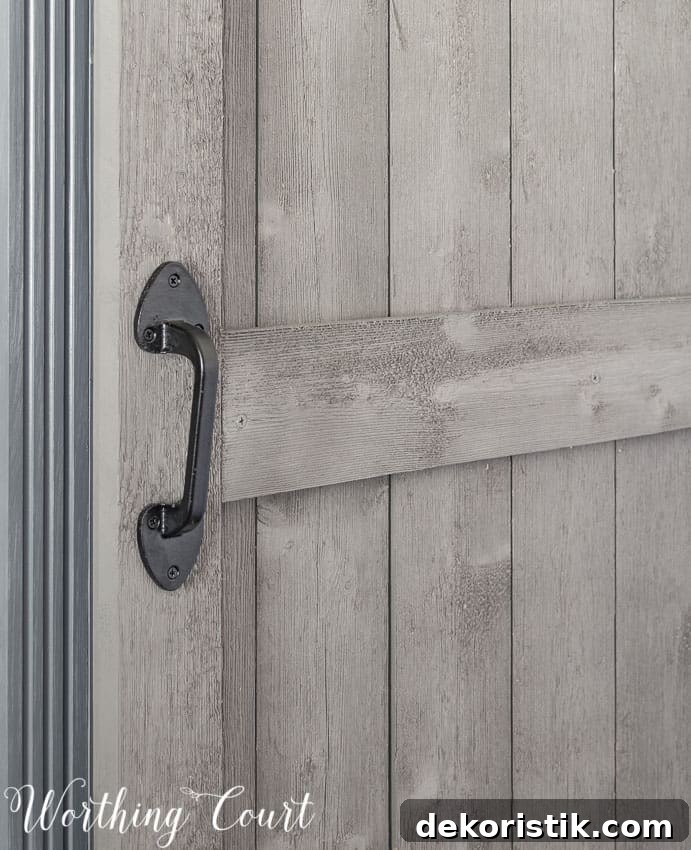
We built the barn door from pre-painted rustic lumber sold at the home improvement store. Each board was eight feet long and had rabbited edges—one facing front, the other back. Those rabbited edges made assembly quick and clean.
I couldn’t find the exact lumber listing online, but our store had it in stock when we built the door.
With the rabbited edges, putting the door together was a breeze. We first determined the door width we wanted, laid the boards on the garage floor, and applied wood glue along each rabbited seam. No nails or screws were used at this stage; we let the glue cure completely for maximum strength.
After the glue dried, the door was cut to length and additional boards were trimmed to frame the top, sides, and provide a central brace. Those framing pieces were secured with both wood glue and screws for a durable build.
Fortunately, each lumber piece had a paint formula label on the back. I had a small touch-up container mixed at the store in the same color and used it to hide any minor blemishes after assembly. A wrought iron gate handle finished the door and reinforced the farmhouse vibe.
Only one project remains in this office refresh: adding artwork to the wall behind the desk chair. Once that’s done, the makeover will feel complete. If you want inspiration for your own bookcase makeover, follow along with similar projects on the home blog.
Need bookcase makeover inspiration? Save it for later.