
Over the past few months I’ve shared many photos of our family room, but I haven’t given a complete tour or shown the full before-and-after transformation. Today I’m starting with the “before” shots so you can see how much the space changed. If you’d rather skip straight to the reveal, scroll down to the after photos.
Before
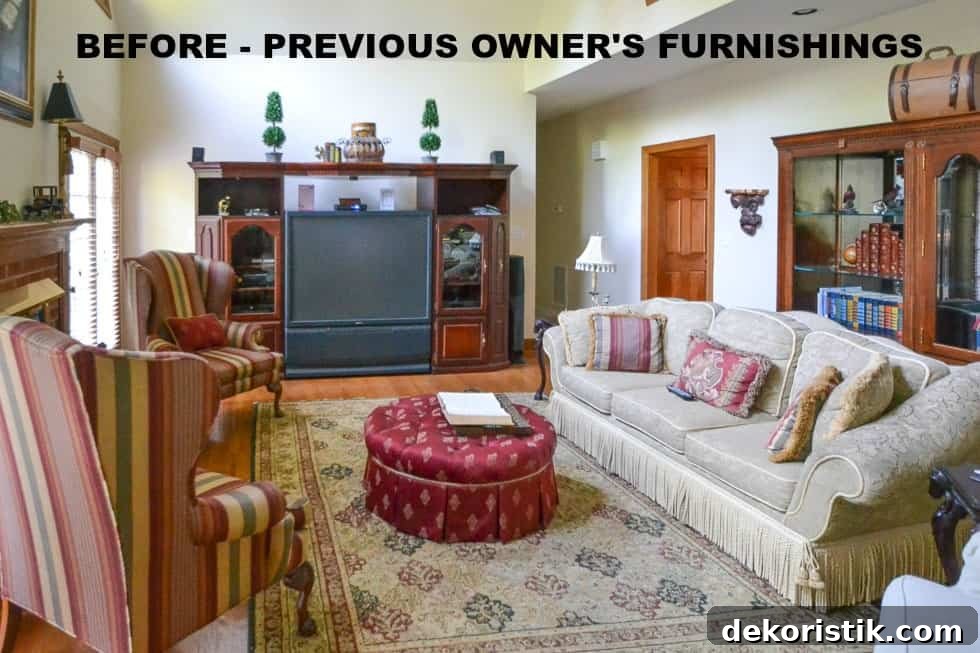
We began a whole-house remodel in July 2015, and this is what the family room looked like when we first walked through the house. It was a large, traditional room filled with heavy cherry furniture and an oversized bookcase behind the sofa that consumed much of the floor area. The hardwoods were the familiar orangey tone, and all of the trim was stained brown. Twenty years ago I probably would have loved a lot of this, but the style no longer suited us.
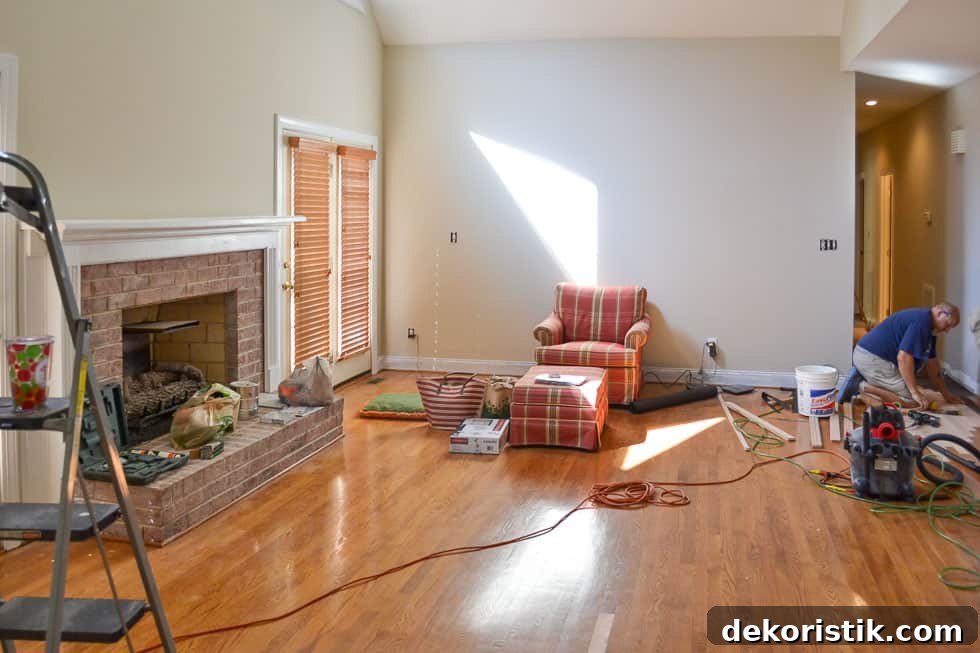
Here’s the same area after we closed on the house but two months before moving in. At that point we had already painted the walls and trim. You can see our crew feathering new hardwood into the existing floor where pink carpet in the hallway used to meet the family room. (Yes, the previous carpet was pink.) I even brought one chair to sit in each day while the crew worked.
We also feathered hardwood into the other side of the room where it met the kitchen, which previously had linoleum. The only other structural change in this room was enlarging the opening between the kitchen and family room—wider and taller by a couple of feet. It added a few thousand dollars to the budget, but that extra investment was definitely worth it.
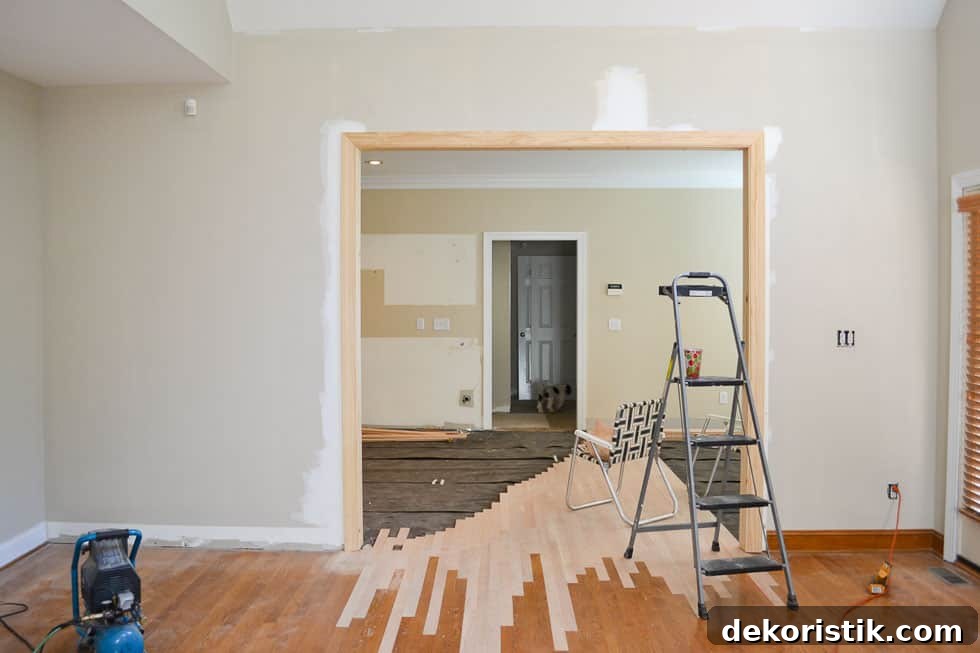
This shot shows the room as seen from the foyer; you can tell the opening into the kitchen used to be much smaller.
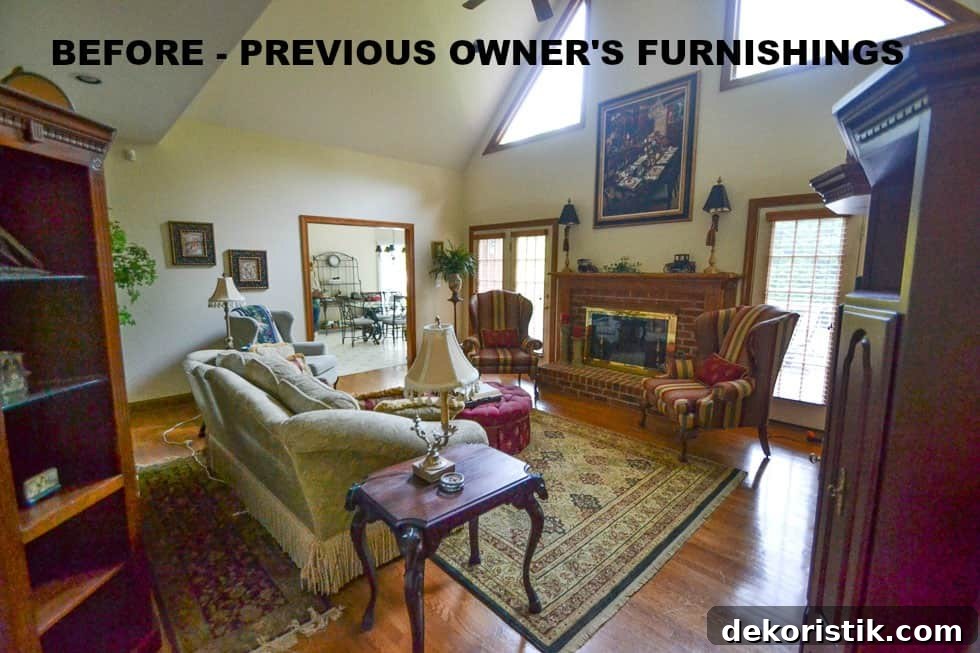
Looking back at these before photos really highlights how far the room has come. The transformation is dramatic and seeing the contrast helps remind me of the impact the renovation had.
After
Here’s how the room looks today. We needed an unusually sized area rug and wanted something durable because we have two dogs, so I had a custom indoor-outdoor rug made. I chose a material with a bit of nap so it feels soft and plush underfoot. The cost of the custom rug was comparable to what a ready-made rug of that size would have cost.
Originally there was a verdigris-green ceiling fan—which feels very 90s. Since ceiling fans are often necessary here, I decided to remove it and install a large round chandelier that better suits the refreshed style of the room.
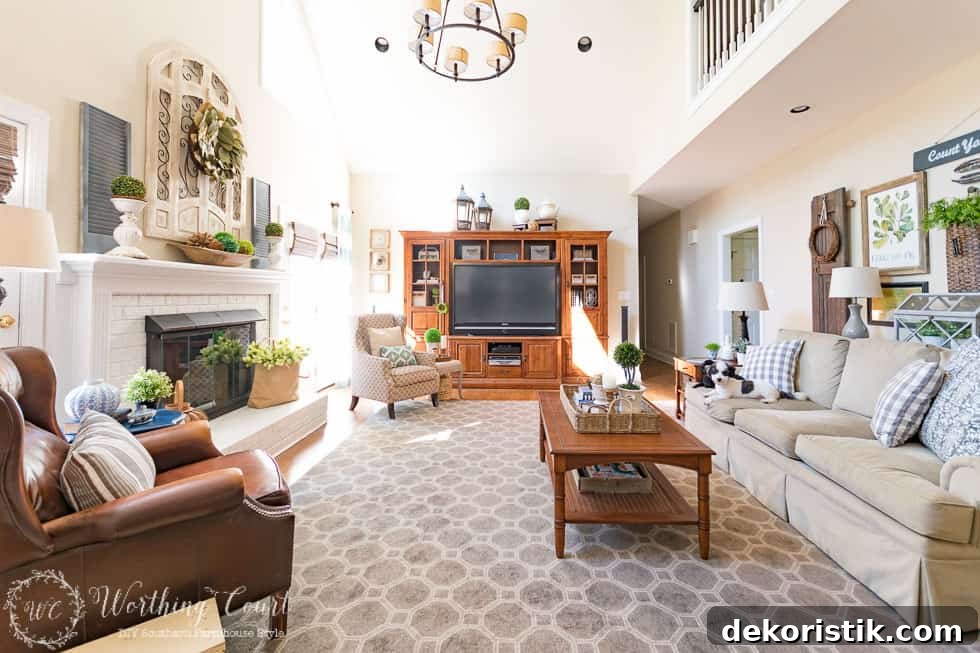
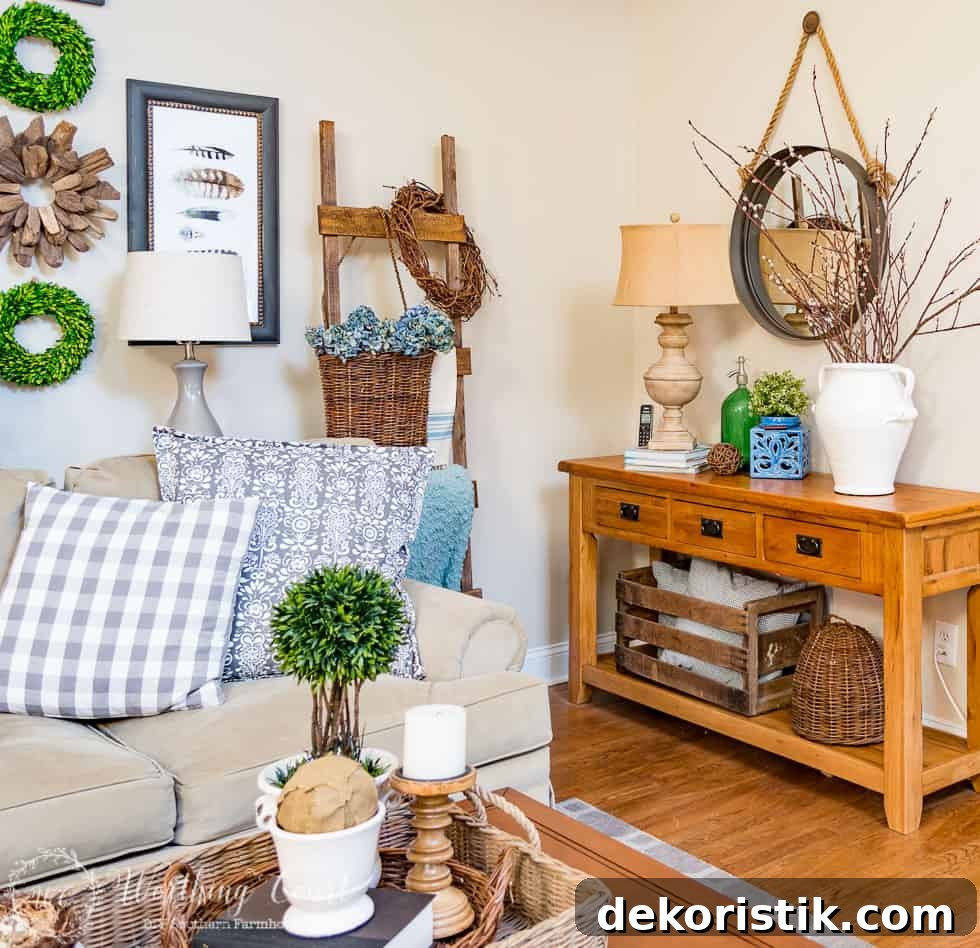
The sofa wall has a slight overhang from the upstairs hallway. At first the sofa sat flush against the wall, but it felt too tight. I built a 12″ deep rustic sofa table to sit behind the couch, which pulls it into the room and provides space for lamps that brighten this side in the evening. The table was simple to build and added both function and visual balance.
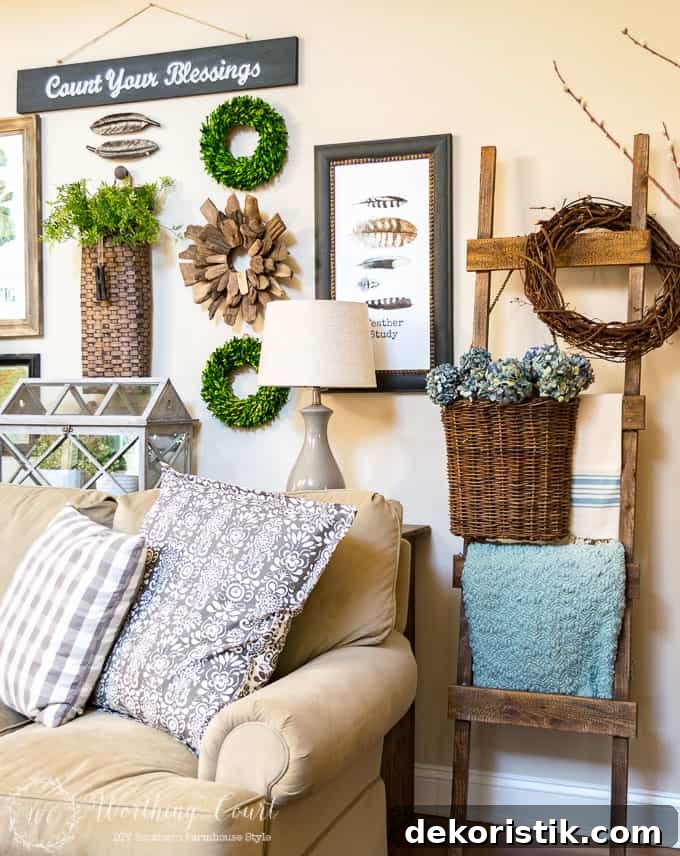
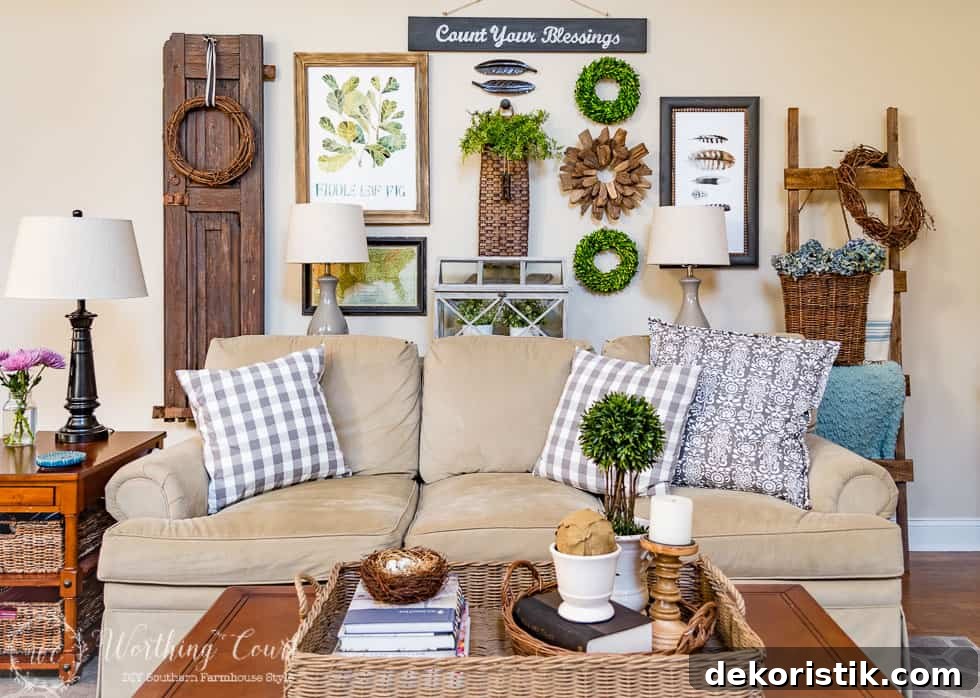
From the front, the sofa table is barely noticeable, which lets the gallery wall above the sofa remain the focal point. The current gallery arrangement is the second version; the first was too small in scale. I expanded the composition with an old shutter on the left and a DIY rustic ladder on the right. I enjoy updating the display seasonally to keep the room feeling fresh.
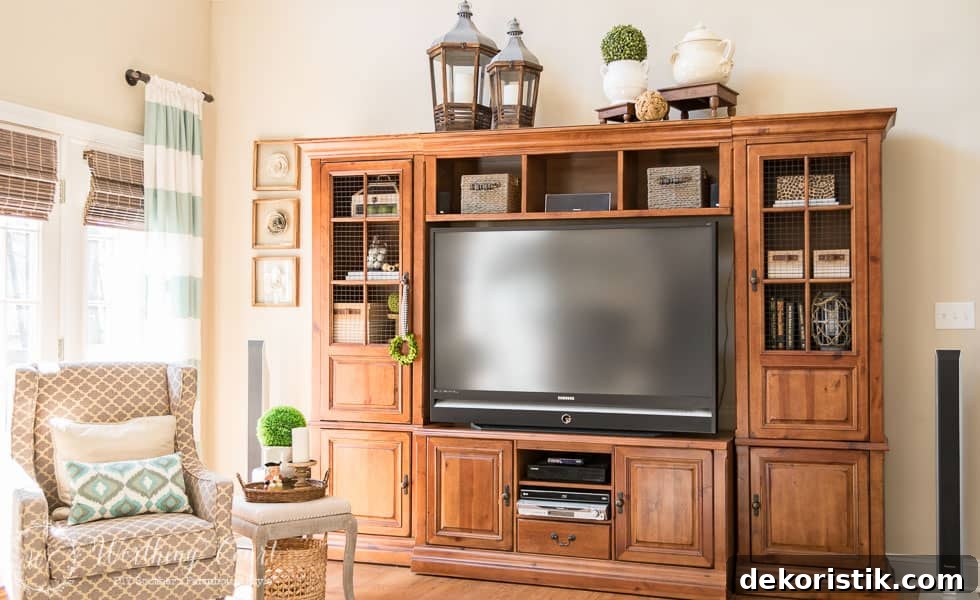
The entertainment center traveled with us from our previous home. At first I resisted keeping such a large television, but it turned out to be a great choice for family movie nights. To make the unit feel more farmhouse, I replaced the glass cabinet doors with wire, painted parts of the unit, added handles to baskets above the TV, and changed the styling to match the room’s new aesthetic.
Viewed from the foyer, the room now feels open, bright, and welcoming.
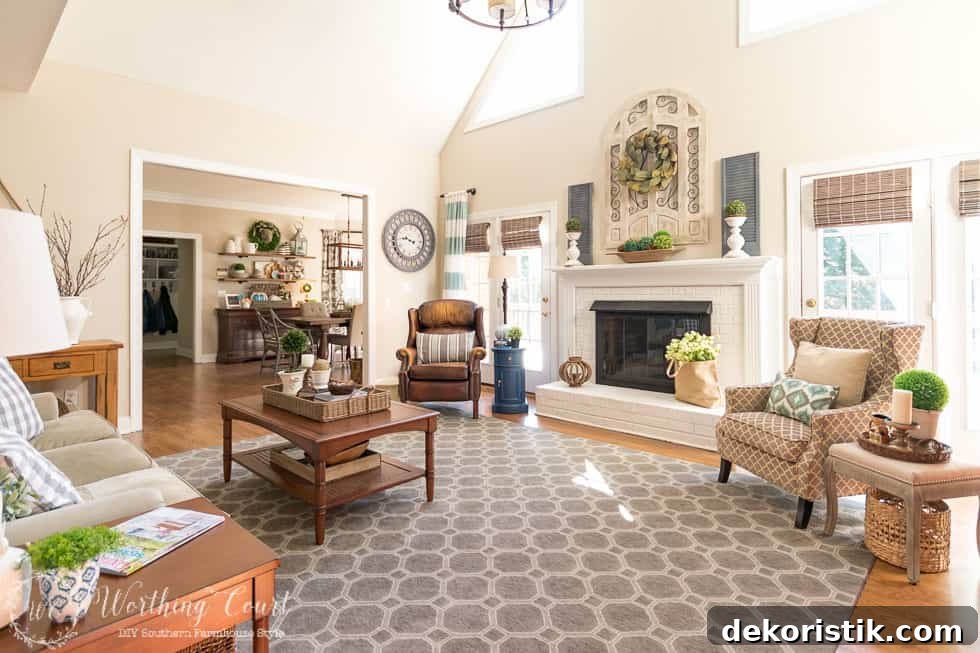
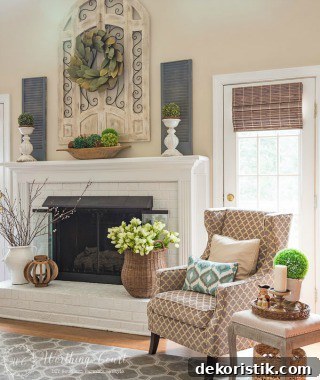
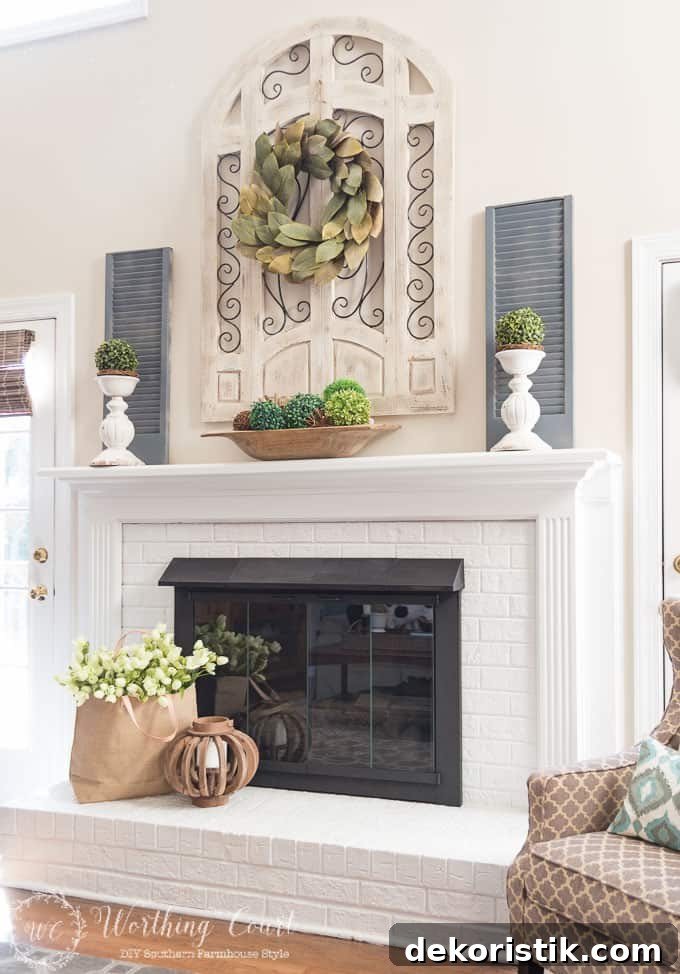
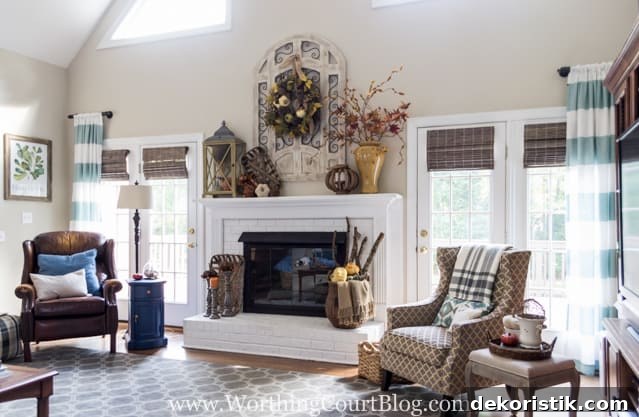
The fireplace side of the room changed the most visually. Painting the fireplace brick and all surrounding trim white instantly brightened the entire space. We also painted the inside of the fireplace with high-temperature black paint for a clean, finished look. Above the mantel I hung an arched wood-and-metal piece that frames the wall nicely and creates a backdrop for seasonal decorations. I adjusted its finish with cream and gray paint to better suit the room’s palette.
We removed dark wood blinds from the French doors on either side of the fireplace because they made the room feel closed-in. Privacy isn’t an issue for these doors, so I installed slatted roman shades that can be closed when needed. To soften and add color, I used drapery panels—one panel hung to the side of each door—creating a framed look for the entire wall. I made budget-friendly drapery hardware to keep costs down.
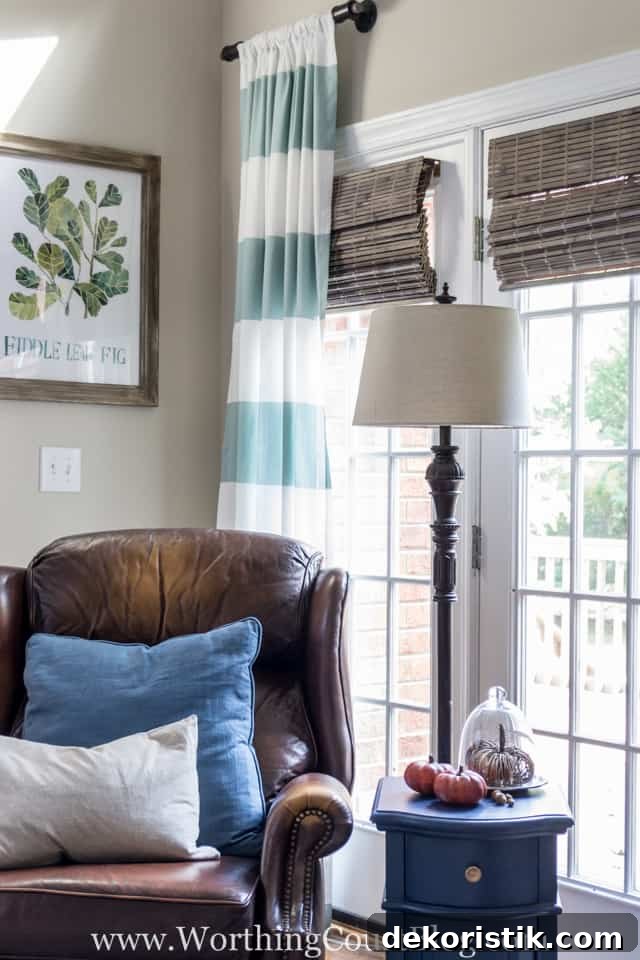
This shot taken during a fall styling session shows the full wall with both sets of French doors and the softer, more layered look we achieved.
There are a few small updates I still plan to make, such as painting the console table at one end of the sofa that still carries a warm gold-orange finish similar to the old floors. For now, my dining room makeover is taking most of my creative energy, so some projects will wait.
Thanks for stopping by to tour our family room. I always enjoy sharing before-and-after makeovers and hope this transformation inspires your own living space updates.
Paint and finish details:
Walls – Sherwin Williams Accessible Beige, flat finish
All trim, fireplace surround and painted brick – Sherwin Williams Extra White, gloss finish
Floors – Minwax Special Walnut