
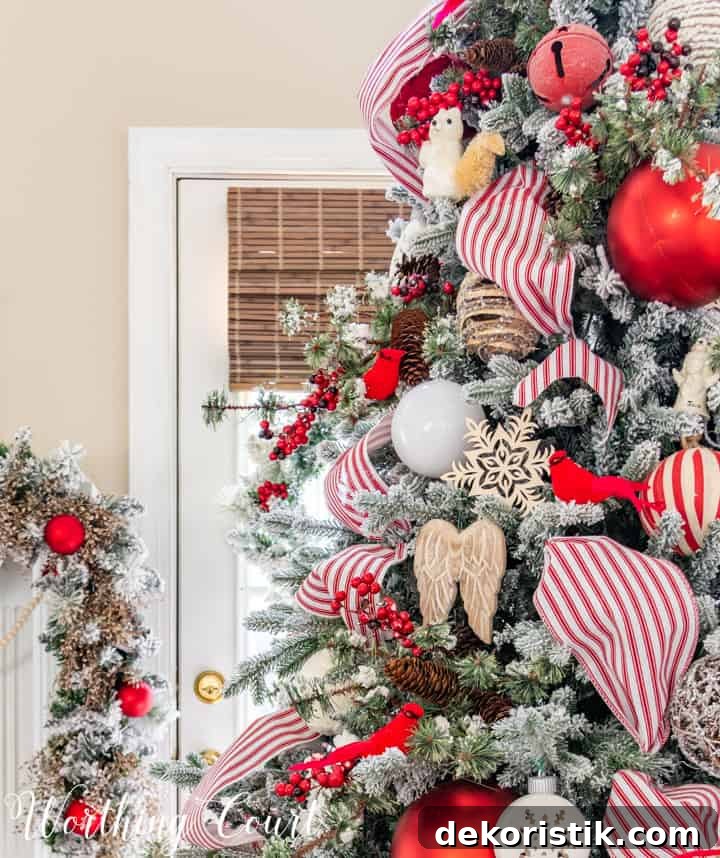
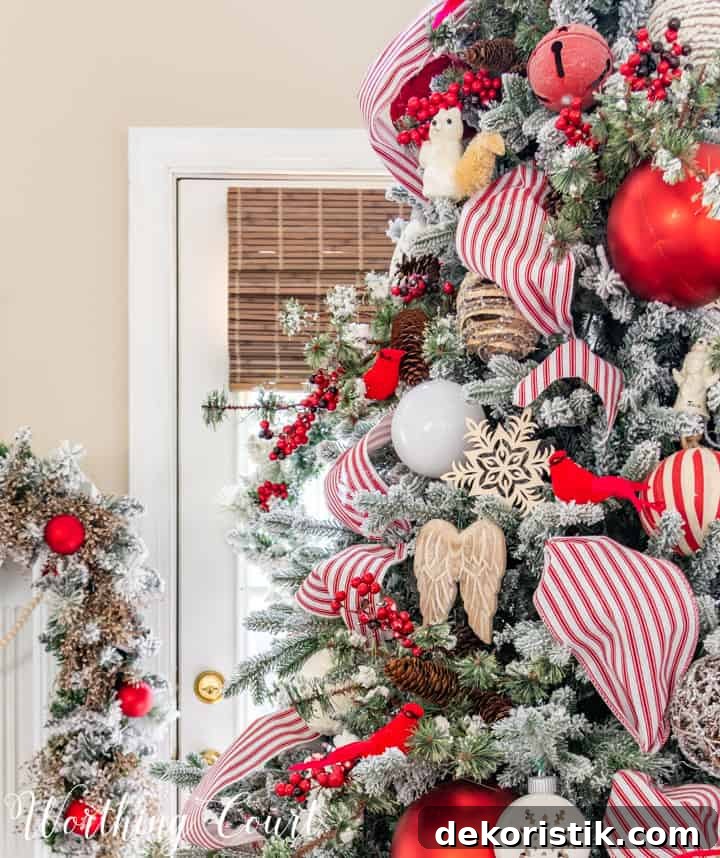
In this post I’ll show you how to choose, set up, and fluff an artificial Christmas tree—flocked or unflocked. You may have an “aha” moment when you see the simple, effective method I use for fluffing.
If you’re like most of us, the Christmas tree is the centerpiece of your seasonal decor. Taking the time to choose the right tree and prepare it properly will make decorating easier and more satisfying, and it will help your finished tree look full and professional.
This post and photos may contain Amazon or other affiliate links. As an Amazon Associate I earn from qualifying purchases. If you purchase something through any link, I may receive a small commission, at no extra charge to you. All opinions are my own. See my full disclosure HERE.
We invest time and care in ornaments, ribbon, and lights, but a disappointing base tree can undermine all that effort. Start with the right tree and a good setup routine so the final result looks lush and balanced.
After you’ve selected the proper tree for your space and fluffed it correctly, you’re ready to decorate! Click on THIS LINK to see my post: How To Professionally Decorate A Christmas Tree – Designer’s Step-By-Step Directions.

CONSIDER THIS BEFORE YOU BUY
There are several important factors to consider before purchasing an artificial tree. Taking a little time to plan your purchase will pay off in a tree that fits your room, holds your ornaments, and looks the way you want.
Below are key considerations to weigh before you choose a tree. They are not ranked in any particular order, but each one can affect your satisfaction with the finished display.
- Placement: Decide which corner or area of the room will hold the tree. Consider traffic flow and sightlines so the tree can be appreciated from the main seating areas.
- Ceiling height: Measure from floor to ceiling and allow clearance for a tree topper. Also consider whether you use a tree skirt or an elevated stand.
- Available width: Trees vary from narrow “slim” profiles to wide, full silhouettes. Know how much floor space you have so the tree doesn’t overwhelm the room.
- Light color: Warm white lights give a classic glow; cool white or multicolor lights create a different mood. Think about how the tree lighting will coordinate with your other holiday lights.
- Fullness and branch tips: A tree with more tips looks fuller and often needs less fluffing. If you prefer a dense look, choose a model with a high tip count.
- Moving the tree: If you anticipate moving the tree often, consider weight and ease of assembly. Some trees break down into sections that are easier to handle.
- Shape: Trees come in traditional conical shapes or more natural, irregular silhouettes. Pick a shape that complements your room and decorating style.
- Pre-lit or unlit: Pre-lit trees save time, but make sure the lights are evenly distributed and accessible should a bulb need replacement.
- Number of lights: For pre-lit options, check the light count and spacing. More lights usually mean a brighter, more evenly lit tree.
- Assembly difficulty: Read reviews or product descriptions about how the tree assembles. Some models have hinged branches for quicker setup.
- Budget: Set a realistic budget. Higher-priced trees often use denser branch material and more realistic foliage, but there are good value options too.
If you’re shopping this season, research models that fit your requirements—size, light style, fullness, and price—so you won’t be disappointed when the tree arrives.
THE EASIEST WAY TO FLUFF A TREE
Once your tree is in place, take a methodical approach to fluffing. Fluffing means separating and shaping the tips and limbs so the tree looks full and natural. My preferred method reduces the common problem of scratched hands and forearms: you won’t need heavy gloves or long sleeves if you use this approach.
Please excuse the photo quality—I pulled these from video screenshots, but the steps are clear and easy to follow.
STEP 1:
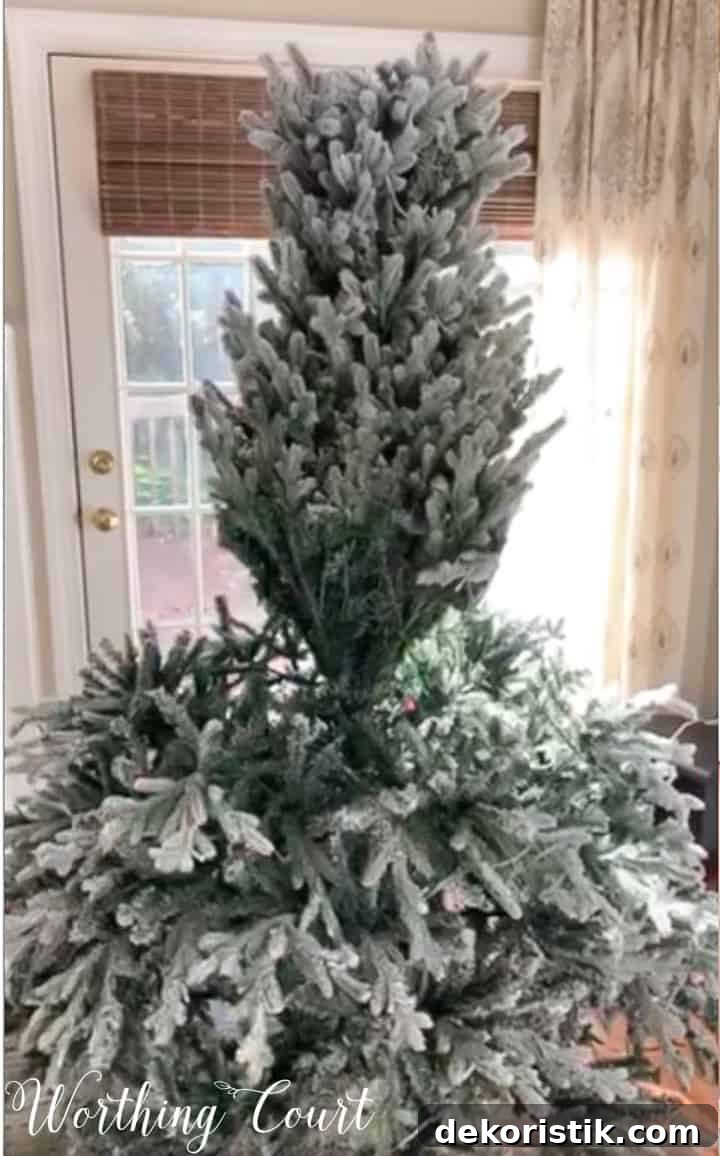
Set the lowest section of the tree into the stand, secure it, and gently lower the first layer of hinged branches. Leave the branches on the remaining sections in their upright, folded position for now. Working one section at a time keeps the process manageable and prevents damage.
STEP 2:
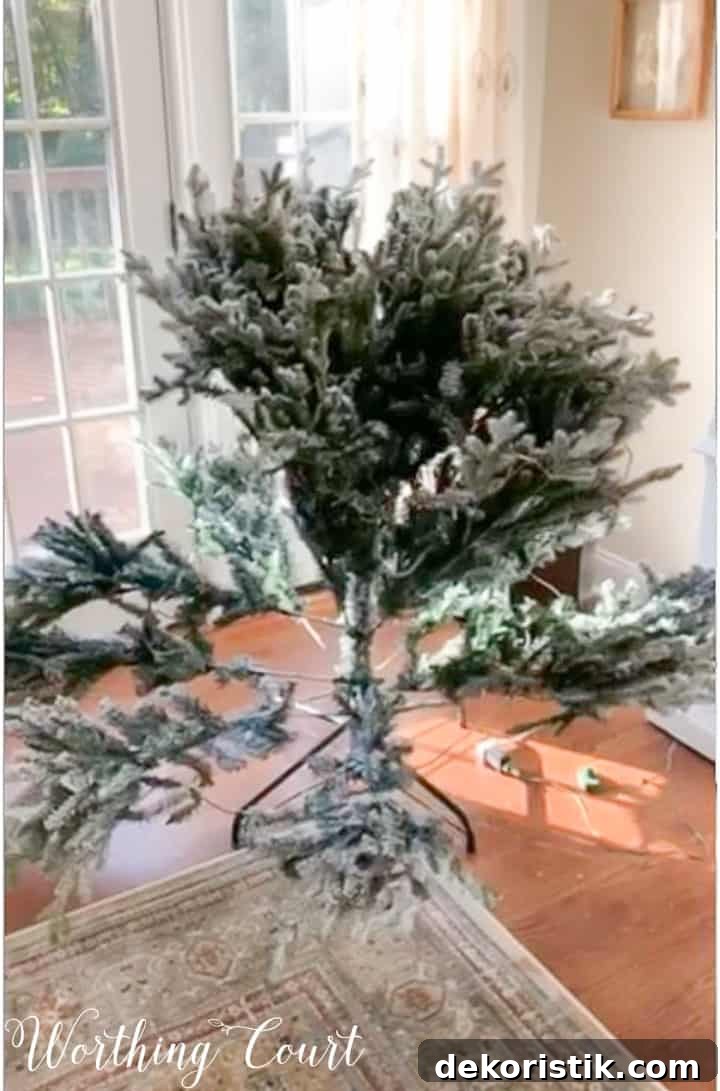
Starting at the trunk, work outward to the tip of each limb and gently pull apart all the small branchlets. Avoid rushing—carefully separate the needles and shape each spray so it sits naturally. Position some sprays downward, some straight out, and some slightly upward to create depth and realistic layering.
STEP 3:
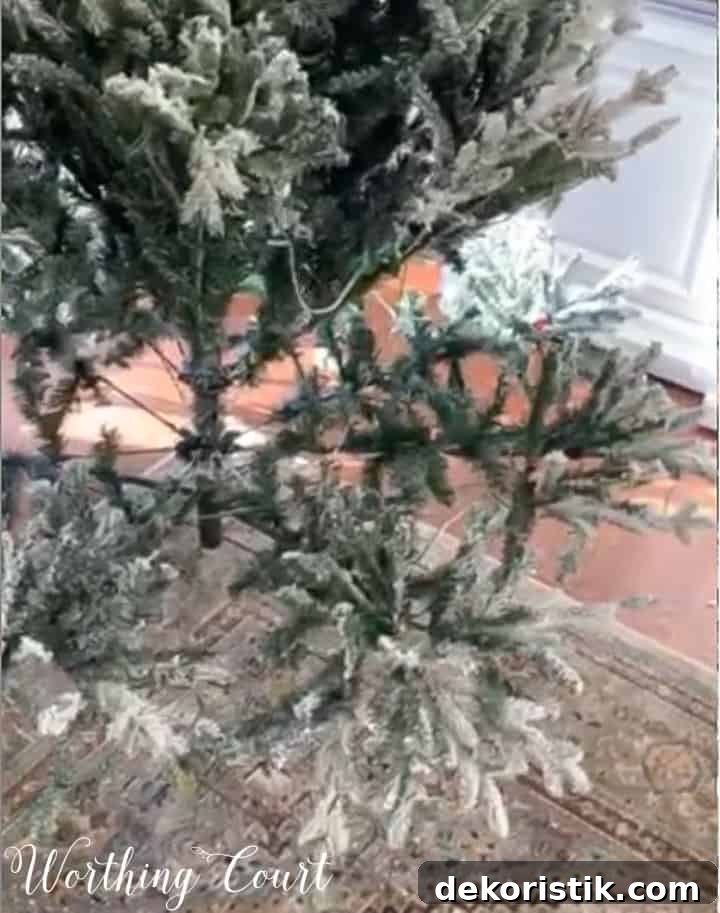
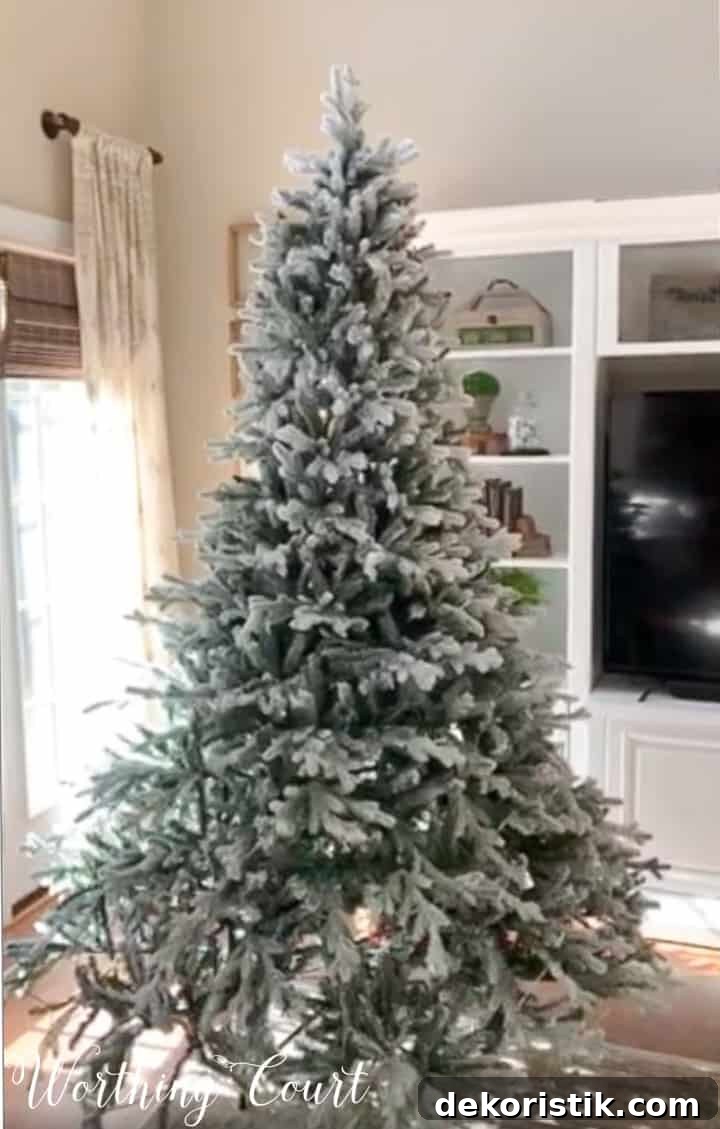
Lower the next section of branches and repeat the process, continuing one section at a time until you reach the top. This staged approach makes it easier to shape the tree consistently and prevents snagging or flattening branches from working on the entire tree at once.
STEP 4:
For the topmost section, I find it easiest to fluff it while holding it in my lap. Shape the tip and small sprays until they look right, then lift and secure the top onto the tree. This keeps the top neat and allows you to refine the silhouette before adding the topper.
Extra tips:
- Step back occasionally while fluffing to check the overall shape and symmetry.
- If your tree is pre-lit, plug it in every so often to ensure lights remain reachable and evenly distributed.
- For flocked trees, handle lightly to avoid shedding; shaping rather than aggressively separating tips preserves the flocking.
- Once the tree is fluffed, consider wrapping the trunk area with a protective mat or tree collar if pets or children are present.
- When the season ends, store each section loosely wrapped in breathable covers to protect the branches and maintain shape for next year.
Now that your tree is properly fluffed and shaped, you’re ready to decorate. For step-by-step guidance on styling, layering ribbon, and placing ornaments like a pro, see How To Professionally Decorate A Christmas Tree – Designer’s Step-By-Step Directions.
Happy decorating—and enjoy a beautiful, full tree this holiday season!