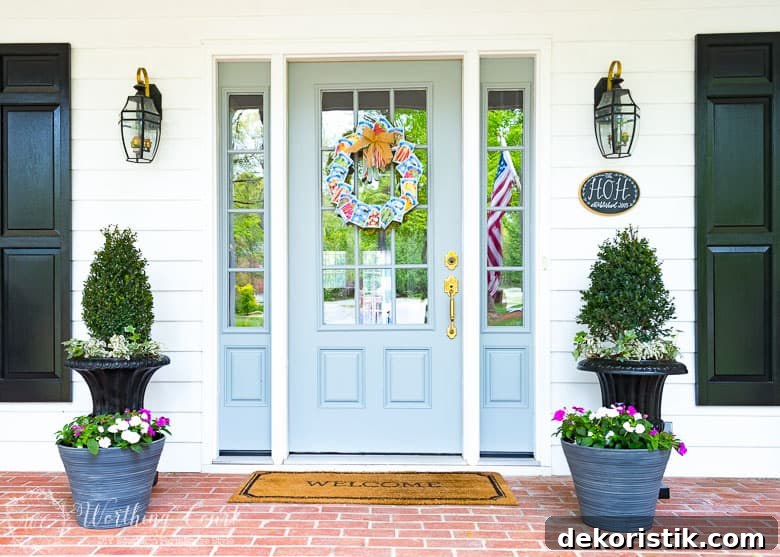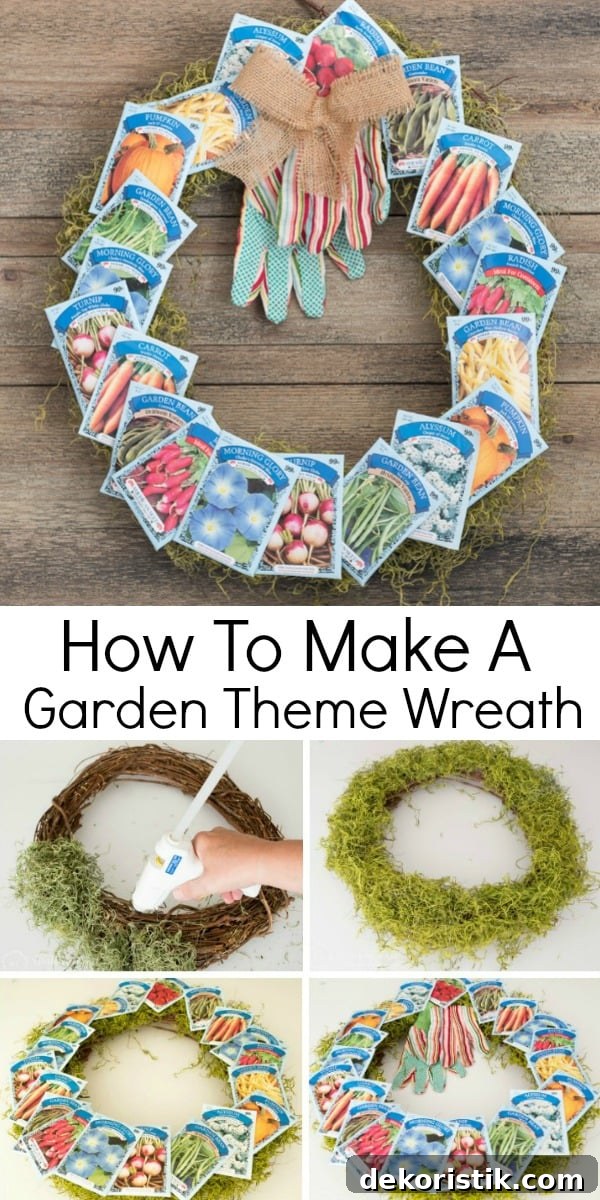
Step-by-step directions for making a gardening-themed front door wreath using supplies from the dollar store
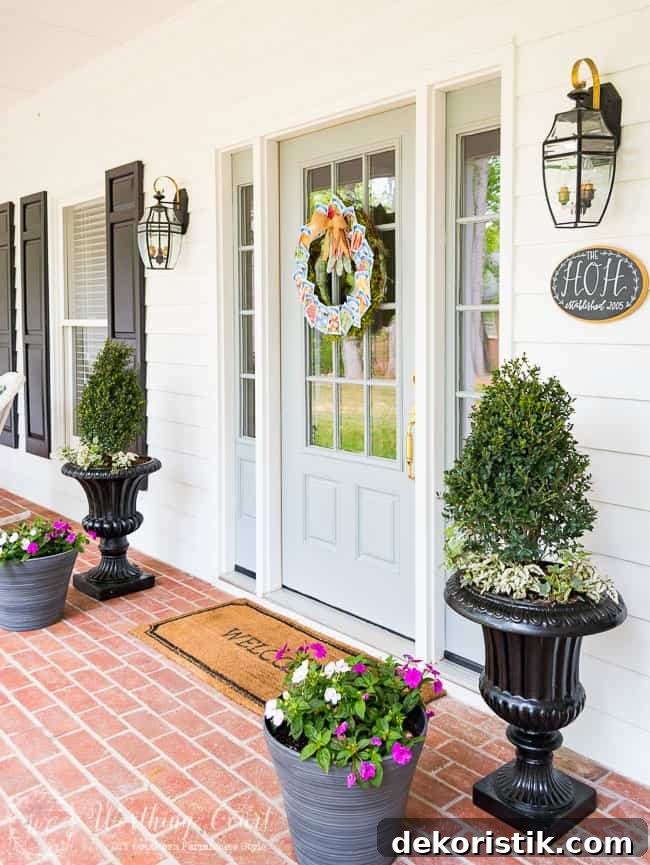
I enjoy changing my front door wreath with the seasons, and I almost always make my own rather than buy a ready-made piece. For spring and summer, a gardening-themed wreath built from seed packets is a cheerful, inexpensive choice that celebrates planting season and the promise of homegrown vegetables and flowers.
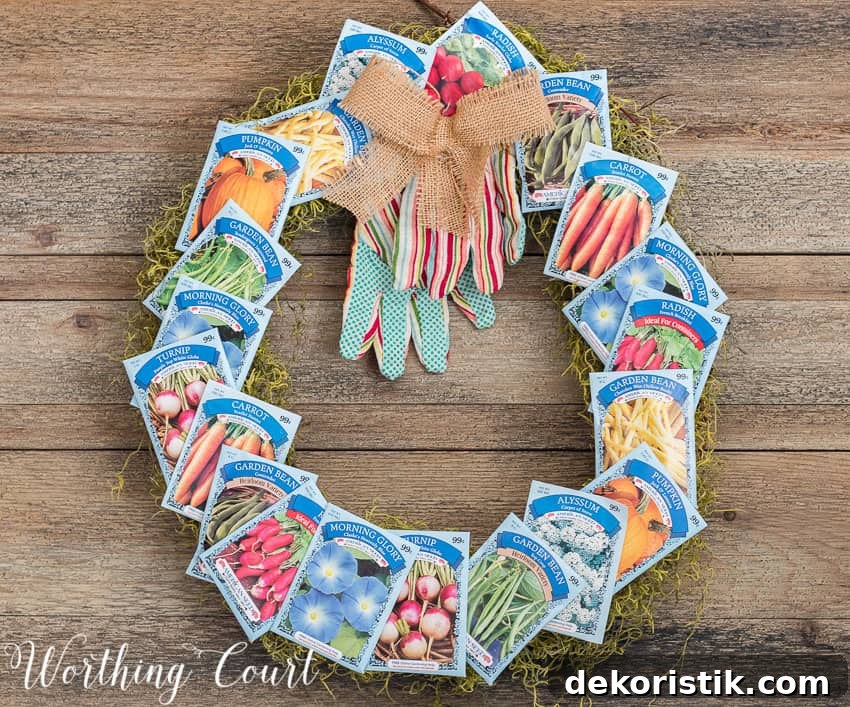
Making a wreath like this is fast, affordable and satisfying. Mine took about fifteen minutes to put together, and it makes a bright, welcoming statement on the front door. It also makes a thoughtful gift for housewarmings, birthdays or Mother’s Day.
(Affiliate links were used in the original post; see the full disclosure on the source site.)
Supplies
18″ Grapevine Wreath
Green Spanish Moss
20 flower and/or vegetable seed packets — I picked mine up at the dollar store
1 pair of gardening gloves — inexpensive works well for a decorative touch
Burlap fabric cut into 1″ strips or 1″ burlap ribbon
Hot glue gun and glue sticks
Overview
This project layers texture and color: a grapevine wreath base, a soft bed of Spanish moss, a collage of seed packets, a pair of gloves as a focal accent, and a simple burlap bow. The materials are low-cost and easy to source, and the design is flexible — adjust colors, seed varieties and the placement of elements to match your porch or entryway.
Step 1: Add the Spanish moss
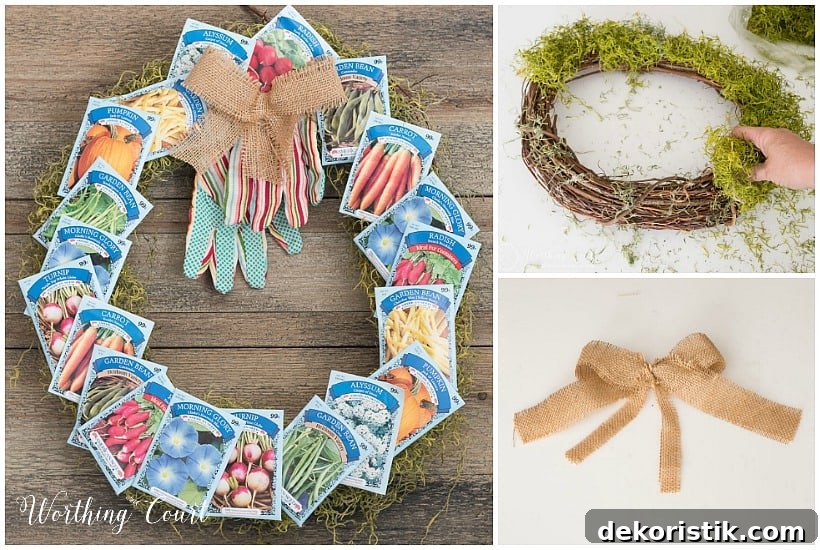
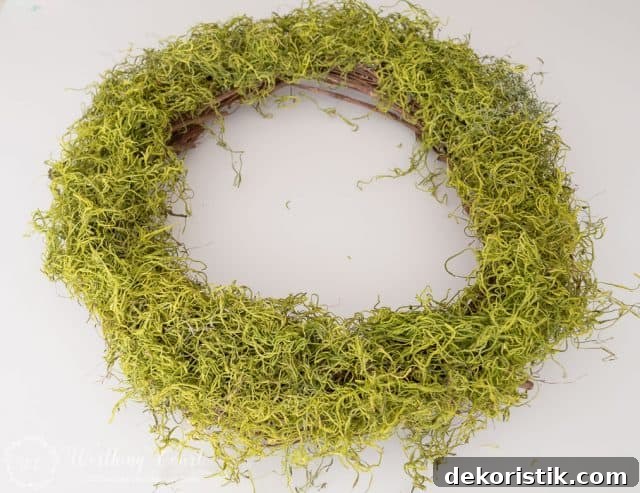
Work around the grapevine wreath and attach green Spanish moss with the hot glue gun. Place small globs of glue in random spots, press the moss into each spot, and continue until the wreath has a full, natural look. Be cautious with hot glue and avoid pressing your fingers into fresh glue.
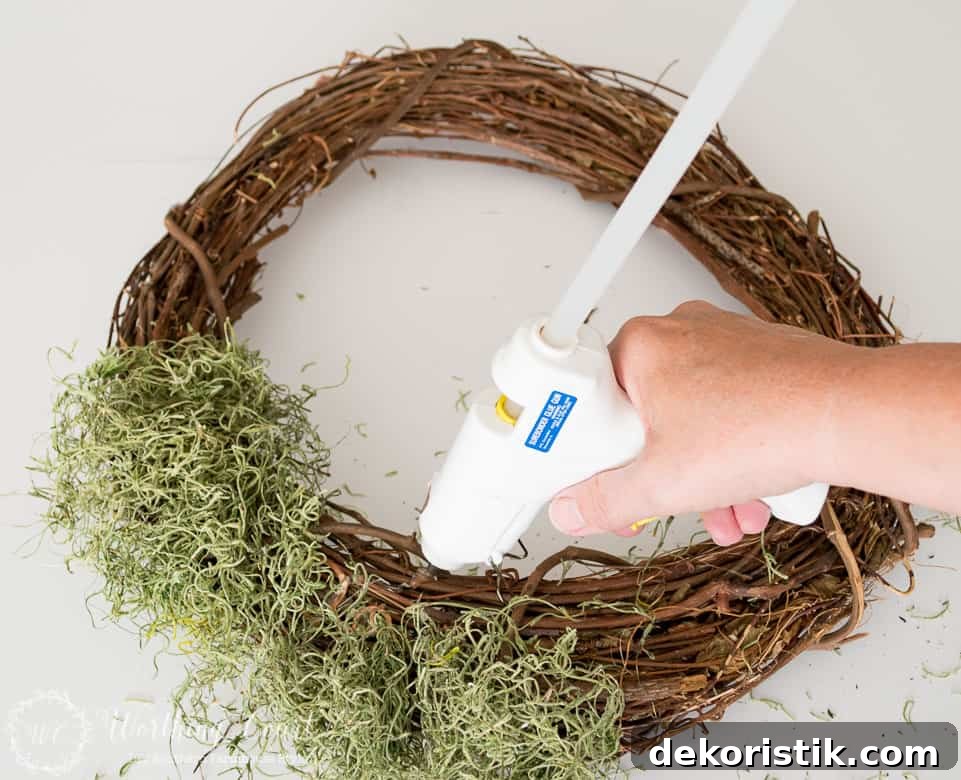
After covering the wreath, step back and fill any sparse areas. Tiny bits of loose moss are normal and can be tucked in or left for a slightly rustic finish.
Step 2: Arrange and attach seed packets
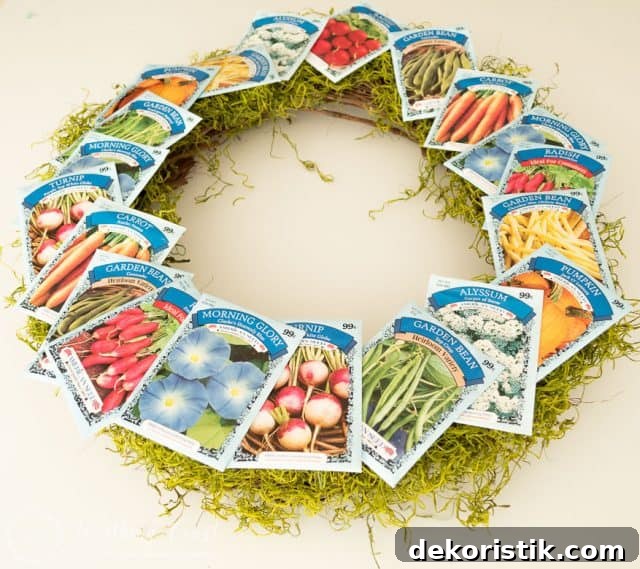
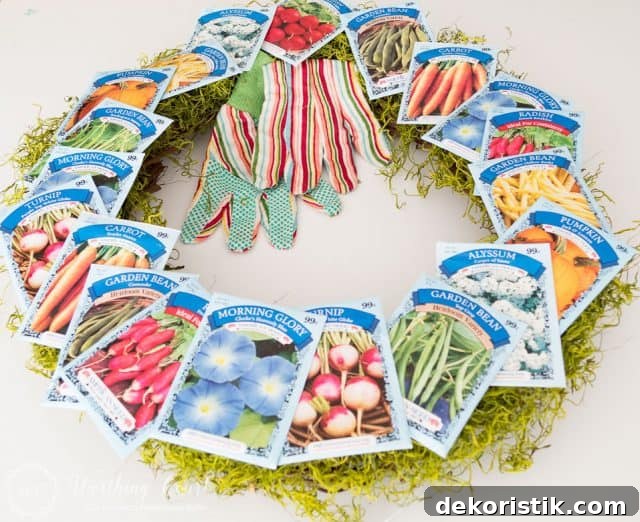
Begin attaching seed packets with hot glue, pressing each packet onto the moss bed. Vary the angles and overlap packets slightly for visual interest. Spread duplicate packets throughout the wreath so the colors and images balance evenly around the circle.
Step 3: Add the gloves
Position the gardening gloves as a focal accent. I attached one glove folded and the other turned to show the palm side for contrast. Glue the gloves to each other first if you prefer them to stay as a pair, then glue the pair to the wreath where they complement the seed packet arrangement. Placing the gloves after the seed packets helps you judge the best location visually.
Step 4: Make and attach a burlap bow
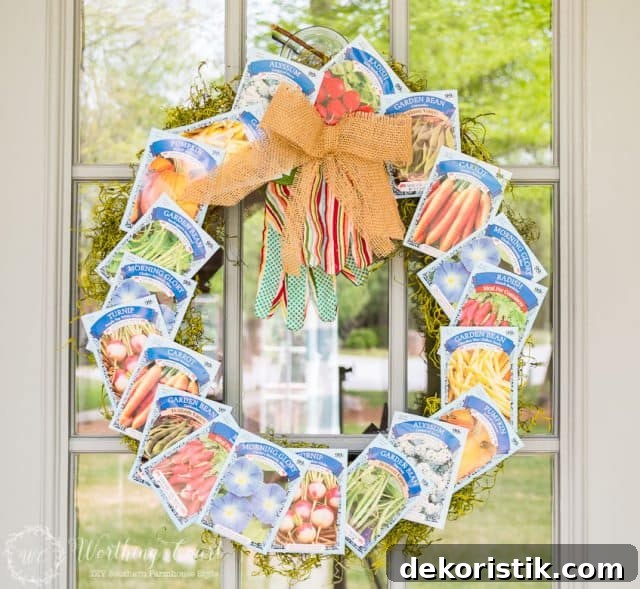
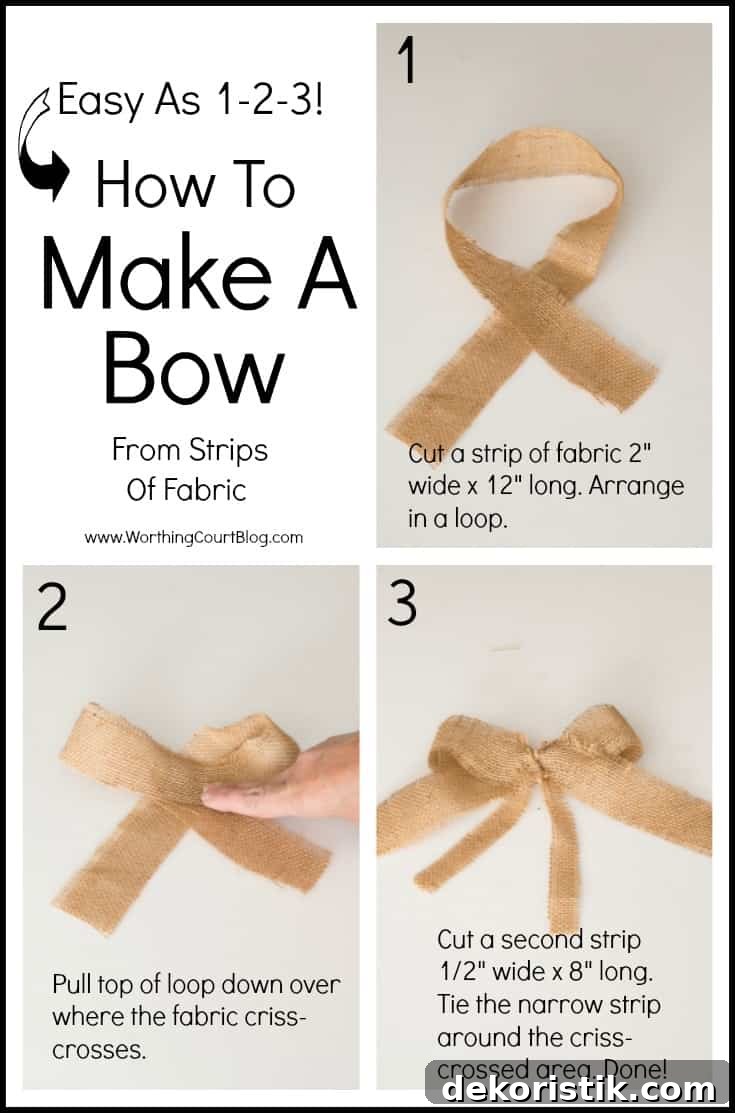
Create a simple burlap bow from strips of fabric or a ready-made 1″ burlap ribbon. A quick method is to loop several strips into figure-eight shapes, layer them, secure the center with a small wrap of burlap or twine, then fluff the loops to create volume. Glue the finished bow near the top of the glove cluster to anchor the arrangement and add a rustic, finished touch.
Finishing touches and display
Once everything is securely glued, give the wreath a final inspection. Tuck any loose edges of moss or ribbon and trim stray threads. Hang the wreath on your front door or entry wall using a wreath hanger or an outdoor-rated hook. The seed packet artwork and the gardening gloves instantly convey a warm, seasonal welcome.
Whether you plan to actually plant the seeds or simply enjoy the look of them, this wreath celebrates the season and sparks conversations with guests. It’s a simple craft that yields big curb appeal and can be customized year after year.