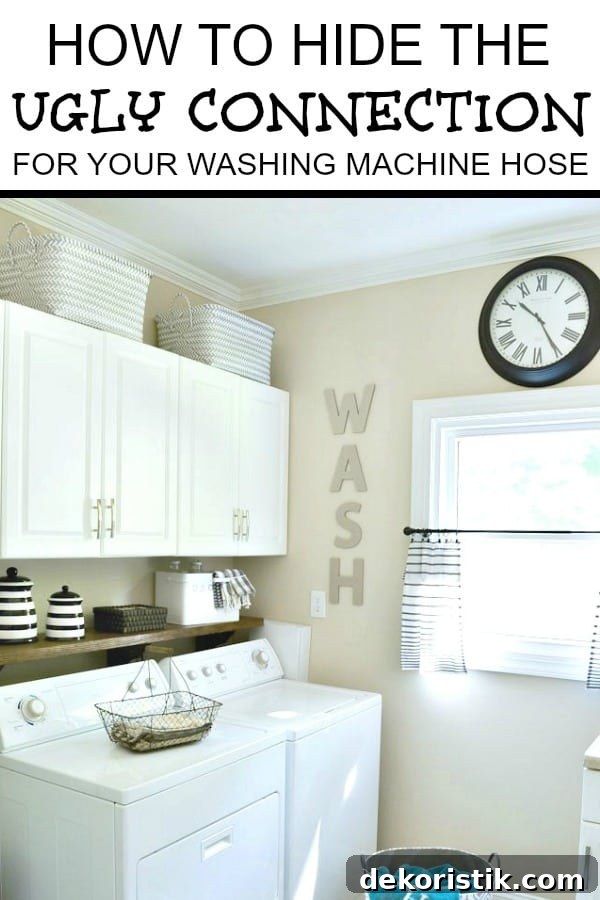
A simple, creative solution to hide the unattractive recessed box in the wall where your washing machine hookups live. This easy DIY keeps full access to the water valves and drain while making your laundry room look tidy and finished.
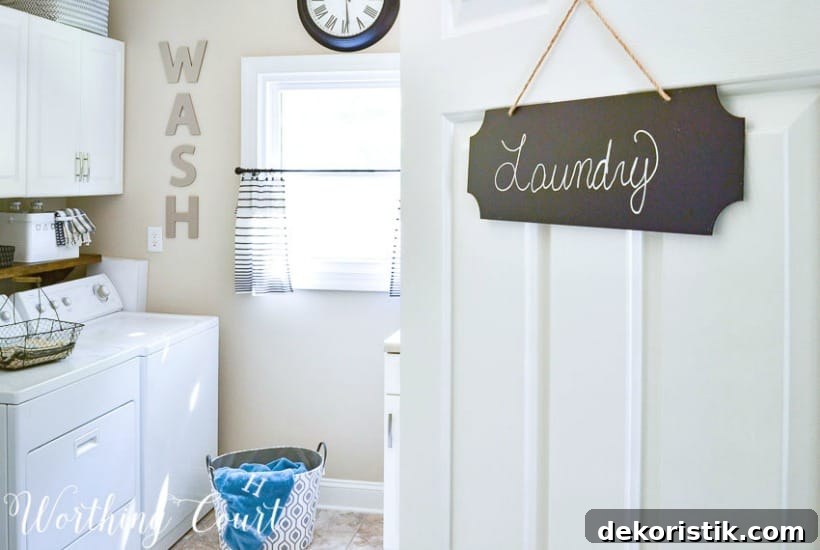
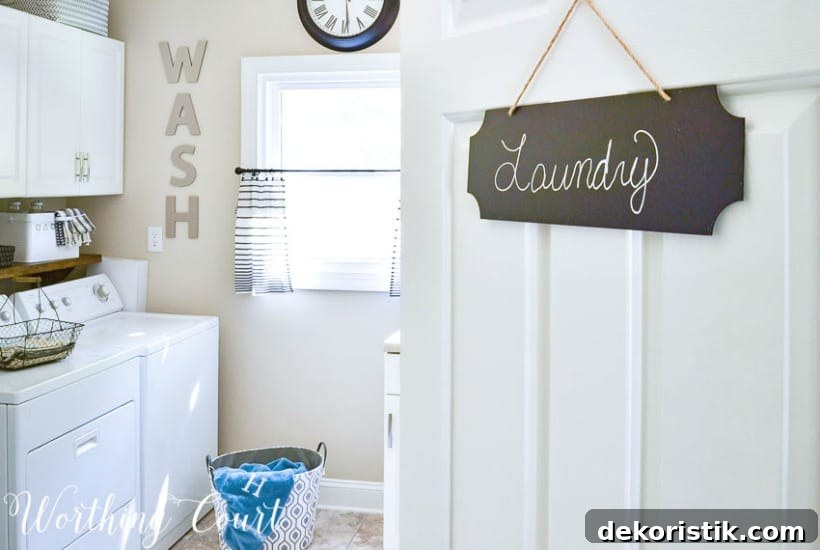
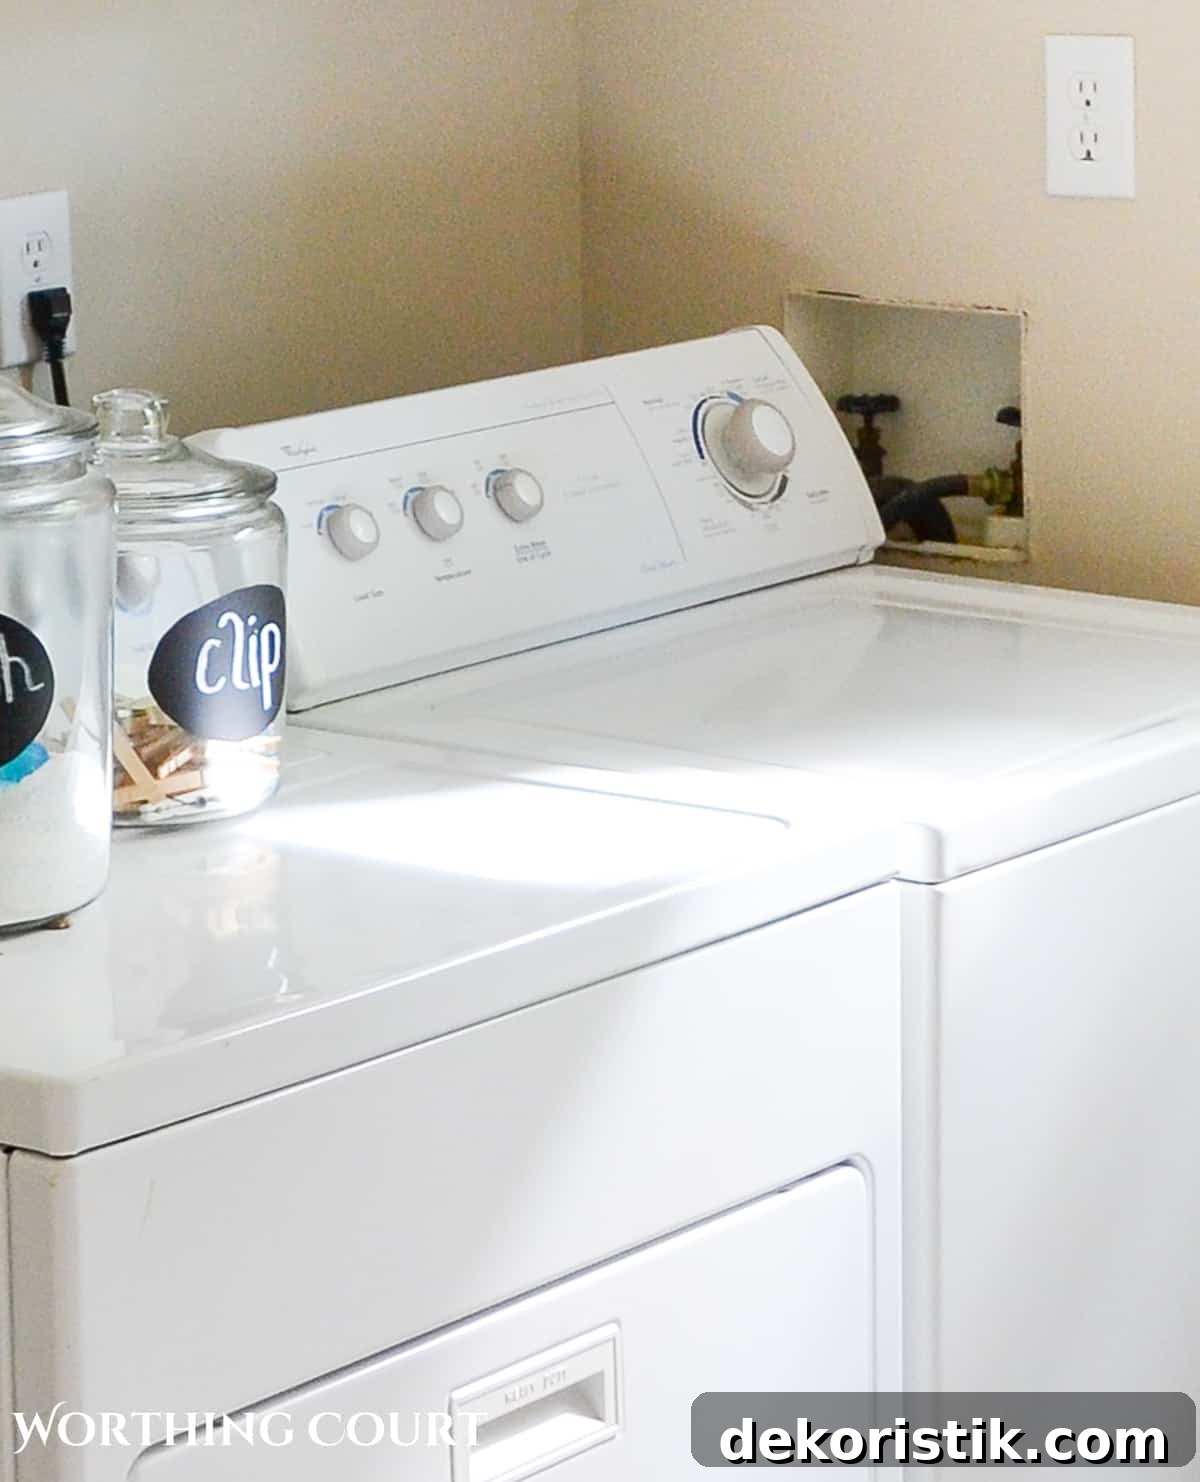
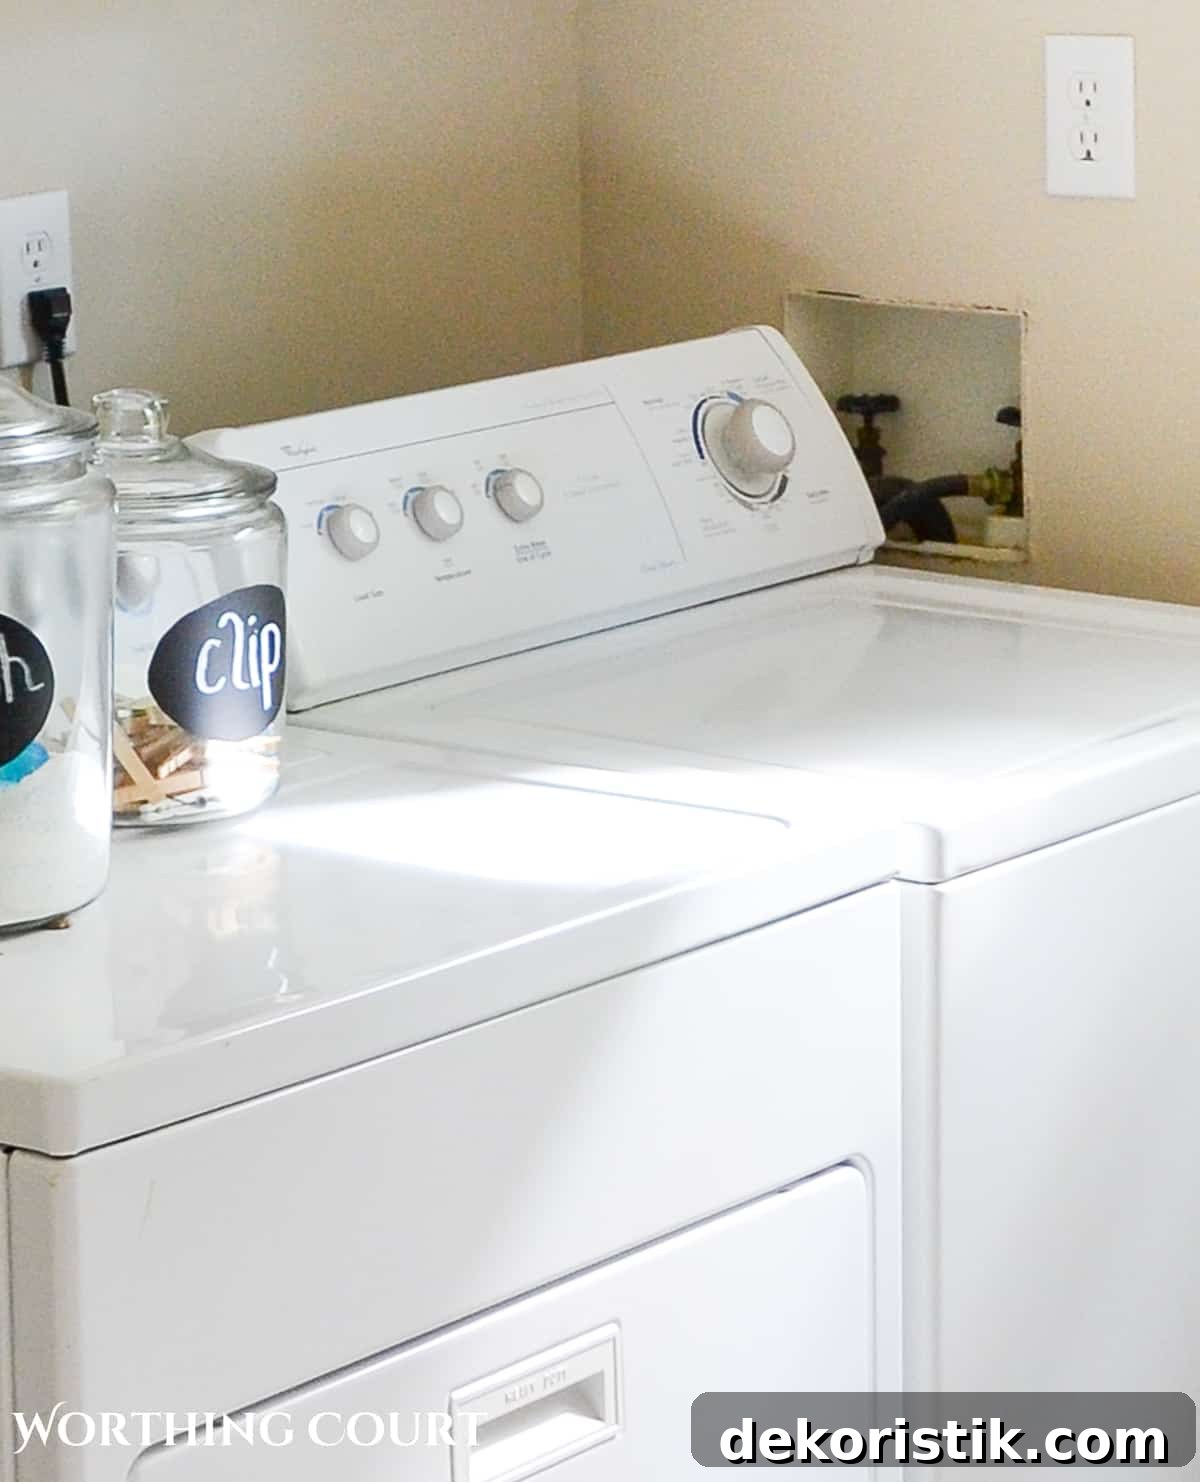
This is my laundry room during the renovation. Aside from the unfinished finishes, one thing really bothered me: the ugly rectangular cutout in the wall that exposes the washer hoses and drain. When your washer sits in an open space rather than a closed closet, that recessed hookup box becomes the first thing you notice every time you enter the room.
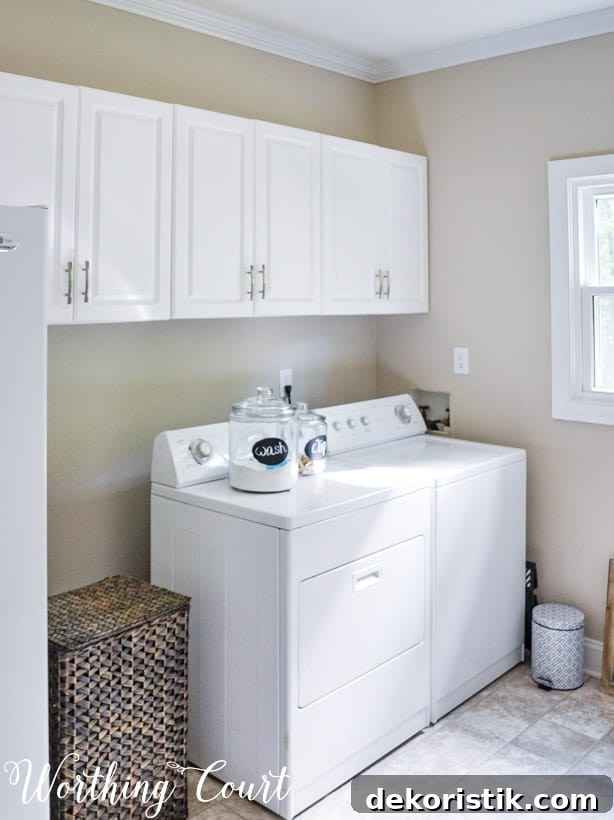
Laundry plumbing is like an electrical cord: necessary but not attractive. Most homes with a washing machine have a similar wall opening where the hot and cold water lines connect and where the drain runs. This DIY builds a removable cover box that hides the opening while allowing easy access when you need to turn the water off or service hookups.
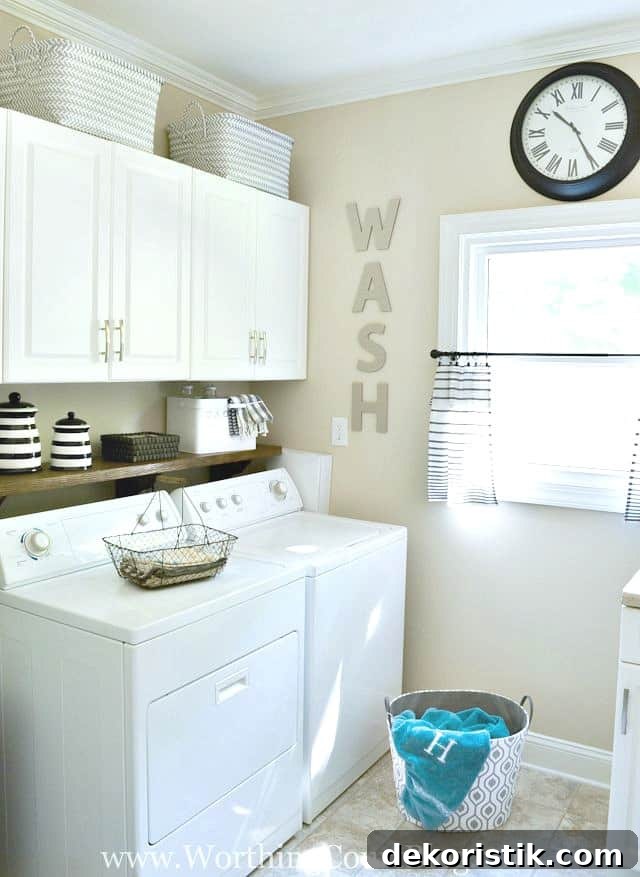
Below I explain the simple steps to build the cover. The finished result blends with the cabinets and appliances and makes the entire laundry area feel cohesive.
STEP 1: Measure the Opening
Carefully measure the height and width of the recessed box. Note the depth as well so the cover will sit flush and clear the valves and hoses. Accurate measurements ensure the frame and cover fit cleanly over the opening without blocking access.
Gather these supplies:
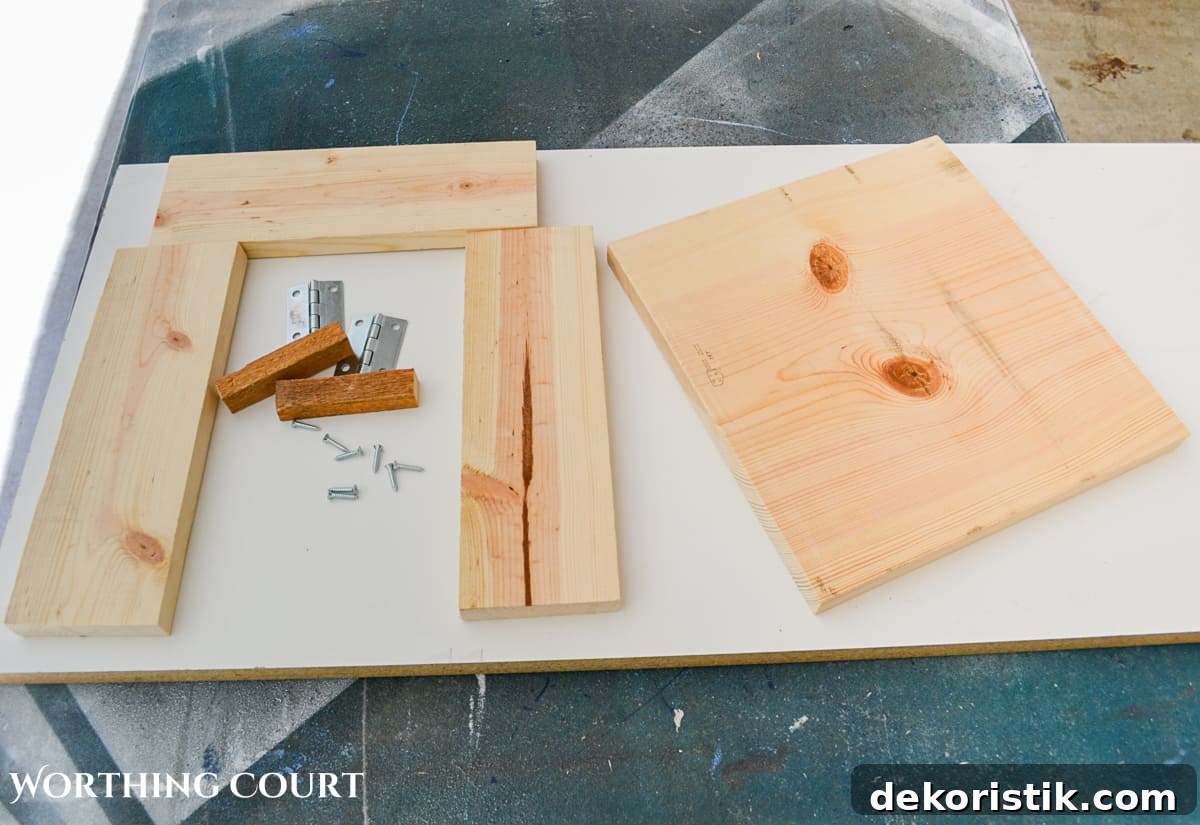
- 1 — 1″ x 4″ board long enough to span the sides and top of the frame
- 1 — Solid board sized to cover the front opening (this will be the removable front panel)
- 2 — Small square wood blocks to brace the inside corners
- 2 — L-brackets and screws for wall mounting
- 2 — Hinges with screws
- Wood glue and wood screws for assembly
- Clamps to hold glued joints while drying
- Spray paint or finish in a color that matches your laundry room
STEP 2: Cut Your Pieces
Based on your measurements, make these cuts:
- Cut two 1×4 pieces to the finished height of the frame (these become the vertical sides).
- Cut one 1×4 for the top of the frame; it must span the full opening plus the combined thickness of the two side pieces so it will sit over their top edges.
- Cut two small square blocks to stabilize the corners from the inside.
- Cut one front panel board sized to fully cover the assembled frame.
STEP 3: Assemble the Frame
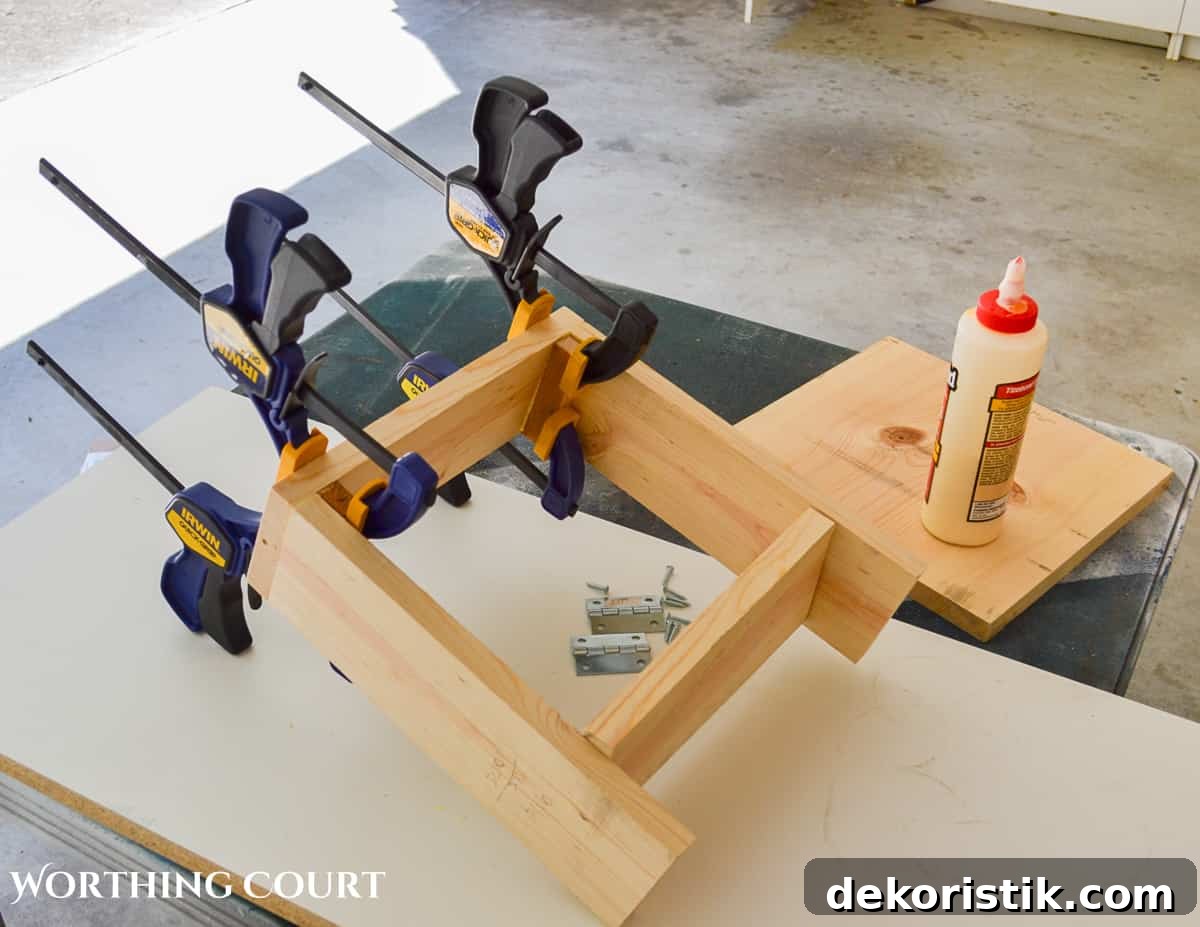
Dry-fit everything first to make sure the pieces align. Apply wood glue at each joint, position the small stabilizer blocks in the inside corners, and clamp the assembly. Reinforce the glued joints with wood screws once the glue sets.
One board may be used temporarily between the side pieces to keep spacing while the glue dries; remove any temporary braces after the glue has cured.
STEP 4: Attach the Front Panel
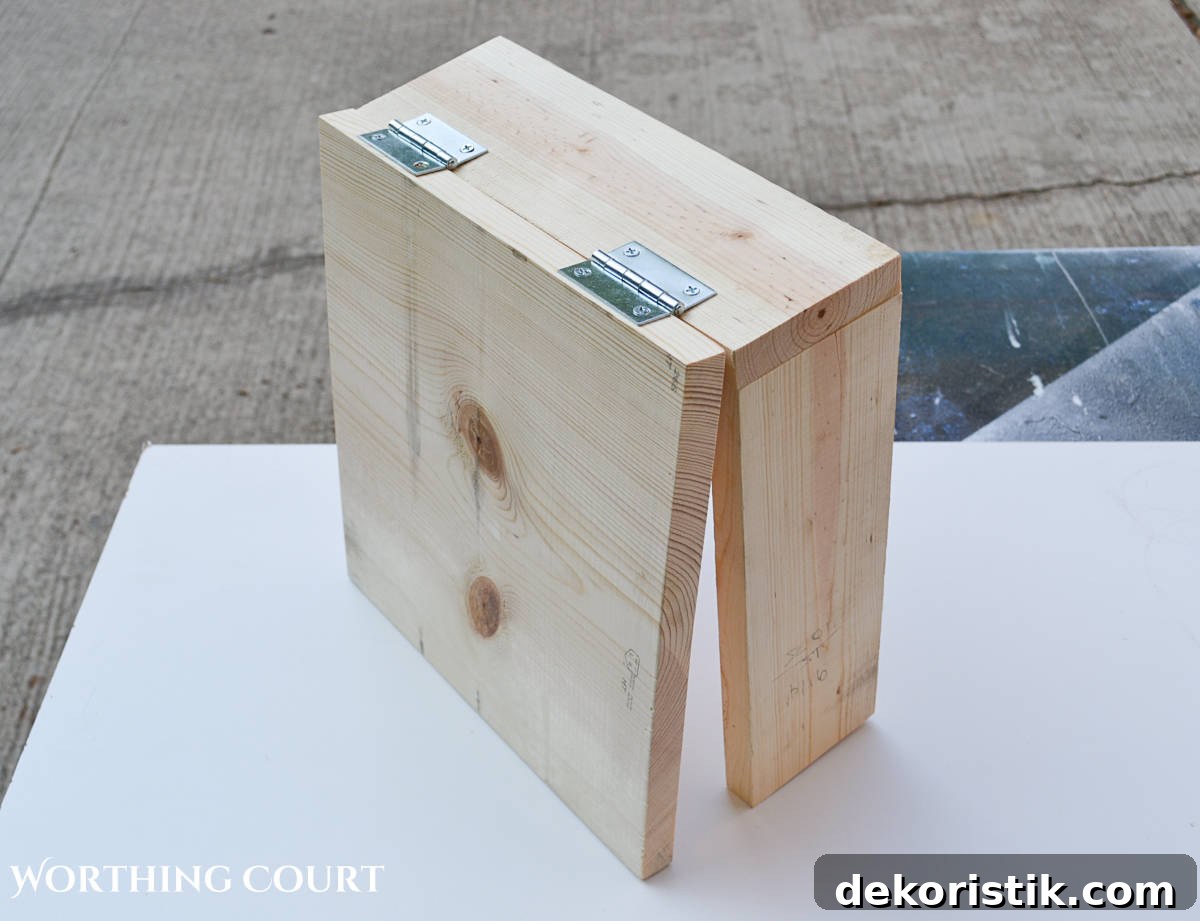
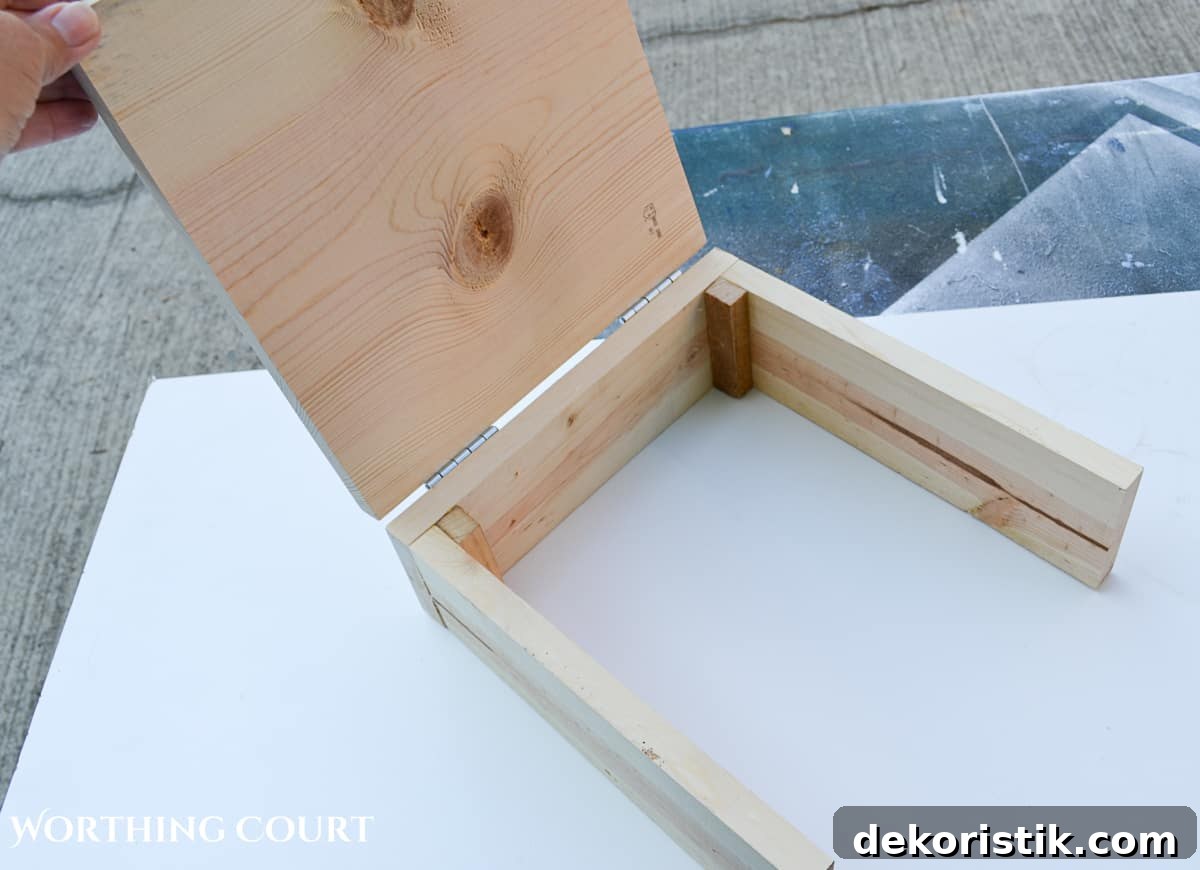
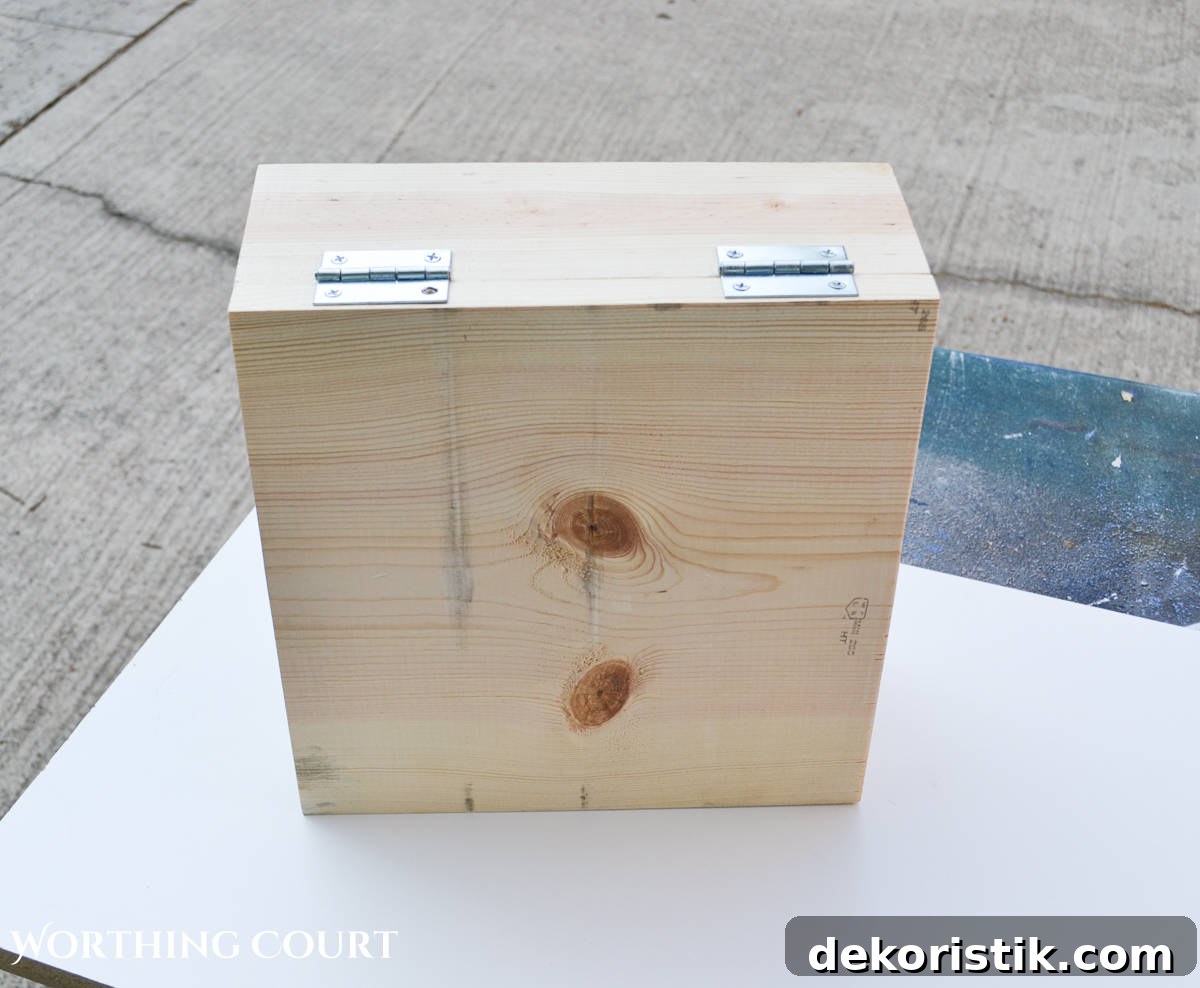
When the frame is solid and dry, mount the front panel to the top edge with hinges so it opens downward or upward depending on your preference. Test the swing to ensure the panel clears the hoses and opens easily for access.
STEP 5: Paint or Finish
Spray the inside and outside of the completed box with your chosen finish. A semi-gloss or satin paint will be easy to clean and will match typical laundry room cabinetry and trim.
STEP 6: Mount the Box
Mount L-brackets to the wall above the opening. If you can’t fasten into studs, use rated wall anchors to secure the brackets. Set the frame onto the brackets and, while holding it level, fasten the front edge of the frame to the brackets. You may need a helper to hold the box steady while you attach screws.
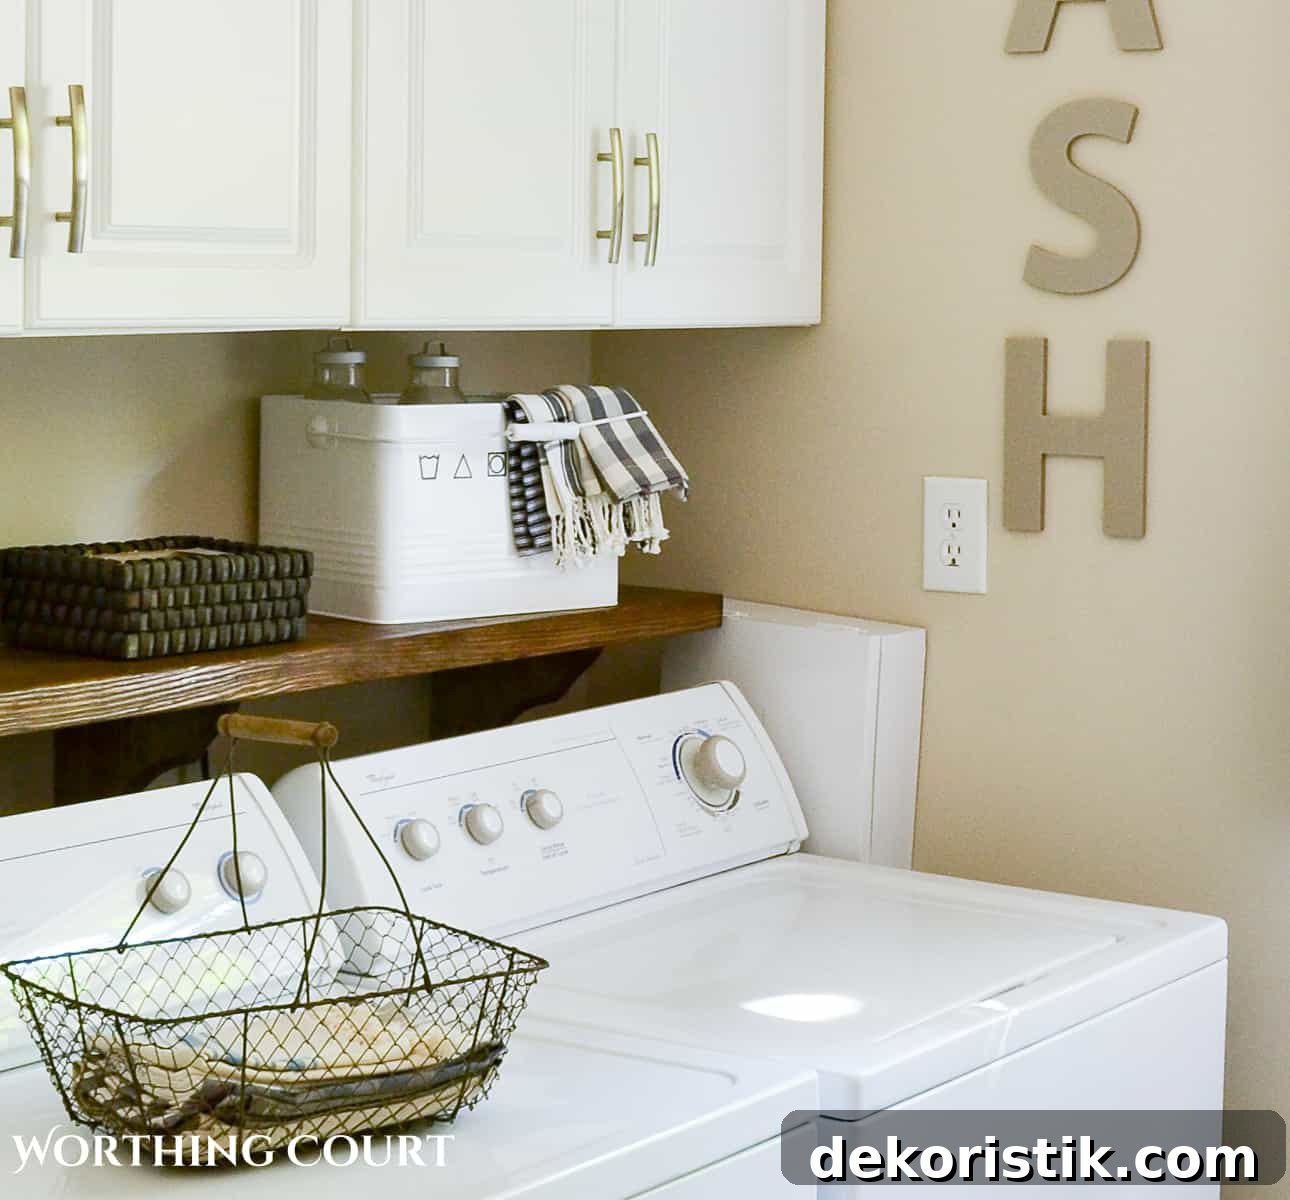
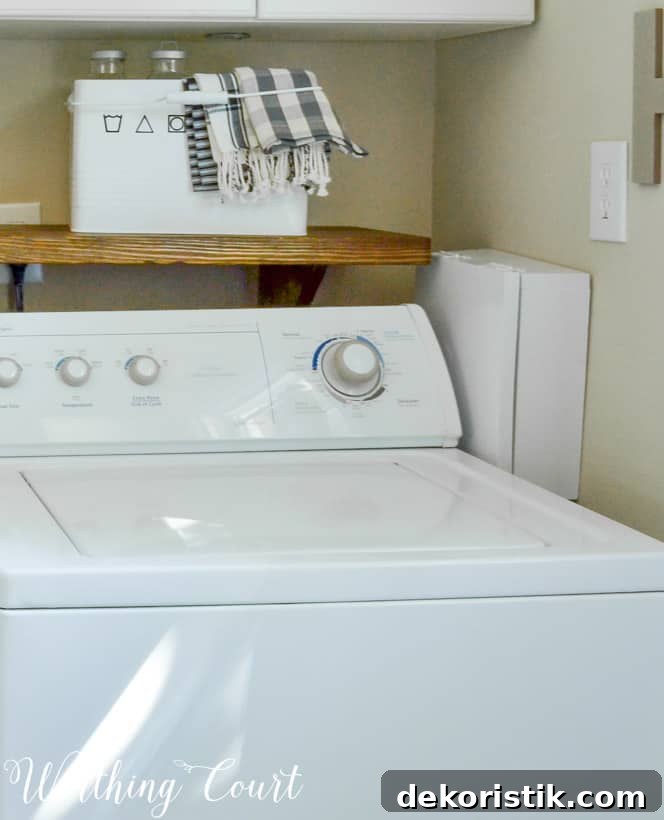
Voila — the unsightly hookup hole is gone from view, but the valves and drain remain easily accessible whenever you need them.
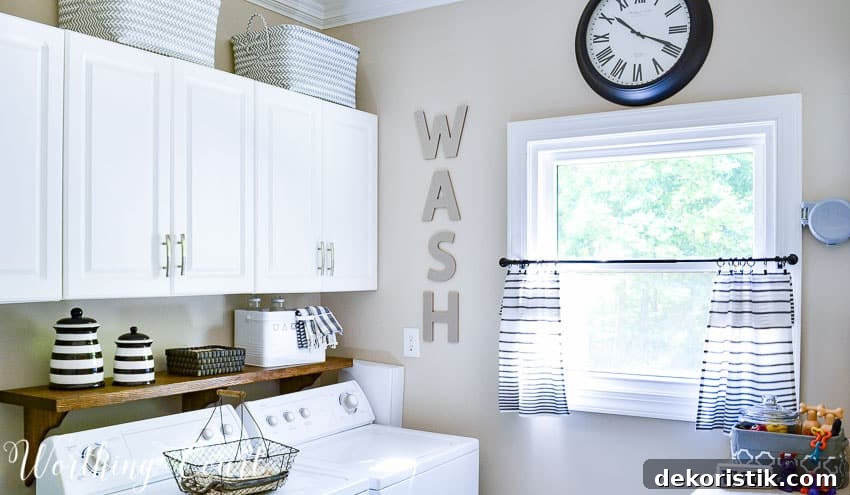
Side note: In my laundry room the hookup box sits to the side of the washer instead of behind it, so I need to pull the machine forward to open the cover from the front. When planning your cover, consider how the machine sits and how you will access the valves for emergencies.
Frequently Asked Questions
What if my laundry area is very tight and won’t fit a box?
If space is limited, a simple fabric curtain hung from a small rod above the opening can conceal the hookups while allowing quick access when needed. A hemmed piece of fabric or a narrow tension rod with a small panel works well for narrow gaps.
Can the hookups be relocated to a less visible spot?
Yes, it’s often possible to move the hookups, but relocating plumbing requires evaluation and work by a professional plumber. If aesthetics are a major concern and the budget allows, consider relocating the box during a remodel.
Can I hide the hookups with storage or decor?
Depending on the location, you can install a small shelf or cabinet nearby and use decor — a potted plant, attractive basket, or storage box — to help conceal the area. Just be sure the shelf or decor doesn’t block emergency access to the valves.