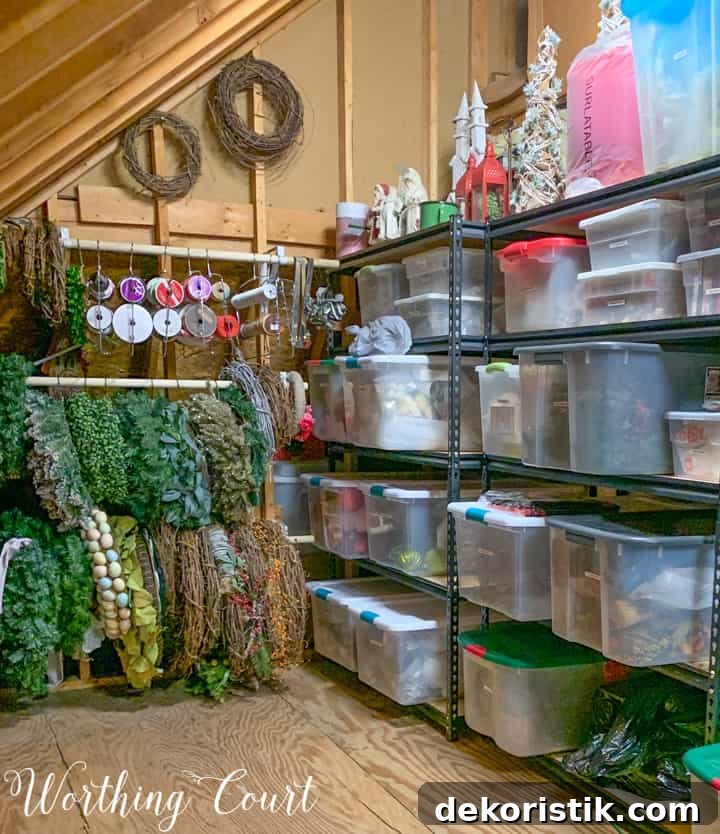
Good attic organization can earn you more useable space in that often neglected area. Here are 10 ideas to help you maximize your attic space and turn it into an organized haven.
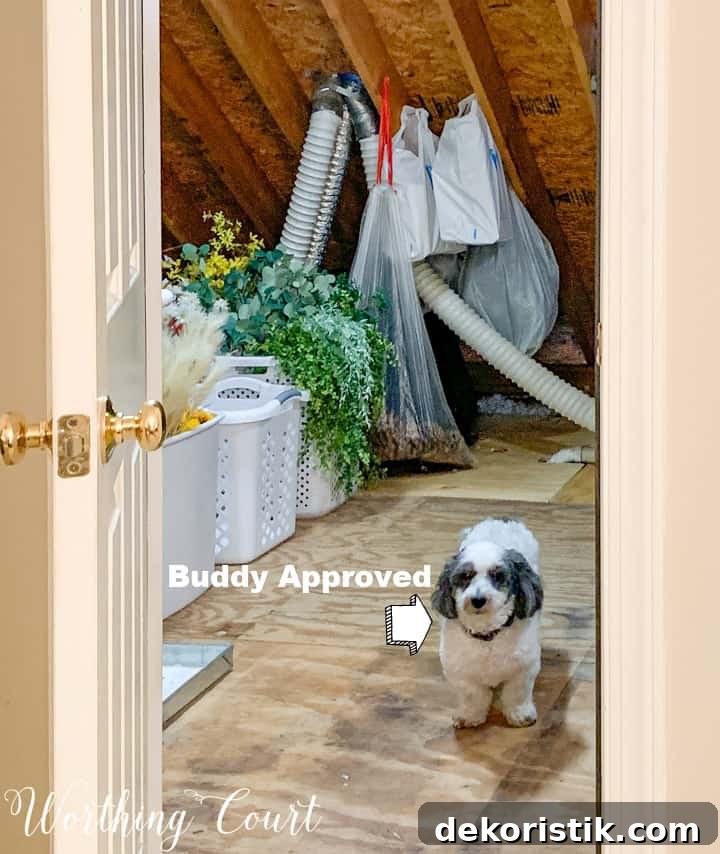
This post and photos may contain Amazon or other affiliate links. As an Amazon Associate I earn from qualifying purchases. If you purchase something through any link, I may receive a small commission, at no extra charge to you. All opinions are my own. See my full disclosure HERE.
Whether your attic is a walk-in space or accessed by pull-down stairs, a thoughtful organizing plan can unlock a lot of usable storage. The principles here apply to most storage areas in the home: declutter, plan a layout, add durable shelving and containers, and create easy access to frequently used items.
This article focuses on practical tips rather than staged photos. I didn’t intend to write a how-to when I started this project, so many of the progress photos were taken quickly. Still, the strategies I used proved so useful that I wanted to share them for anyone looking to get their attic in order.
The quick wins are simple: sort everything, inspect the space, expand solid flooring where needed, gather the right supplies, and then implement storage systems that keep items visible and accessible.
DECLUTTER, CLEAN OUT & SORT
Start by clearing out everything and going through each item. This is often the most time-consuming step, especially with seasonal and holiday decorations, but it’s essential. Decide what to keep, donate, gift, sell, or discard.
Once you’ve chosen what to keep, sort items into logical groups so they’re easier to find later. For example, keep all red Christmas decorations together, group fall foliage picks, and place pillows and pillow covers in their own piles.
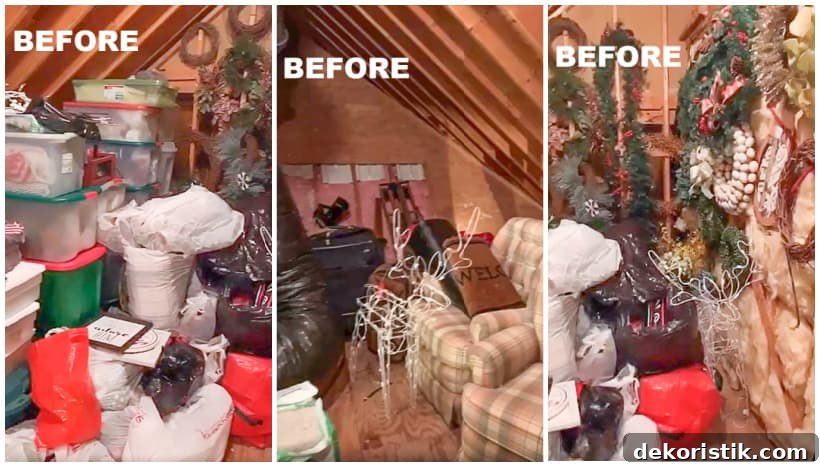
REMOVE EVERYTHING TO INSPECT & ANALYZE THE SPACE
After decluttering, remove all items so you can inspect the attic thoroughly. Look for loose wiring, insulation issues, pests, mold, plumbing, loose nails or screws, and any other problems that need attention.
Use this moment to sketch a floor plan and decide how best to use the available space. Address any needed repairs or safety concerns before you start reintroducing storage systems.
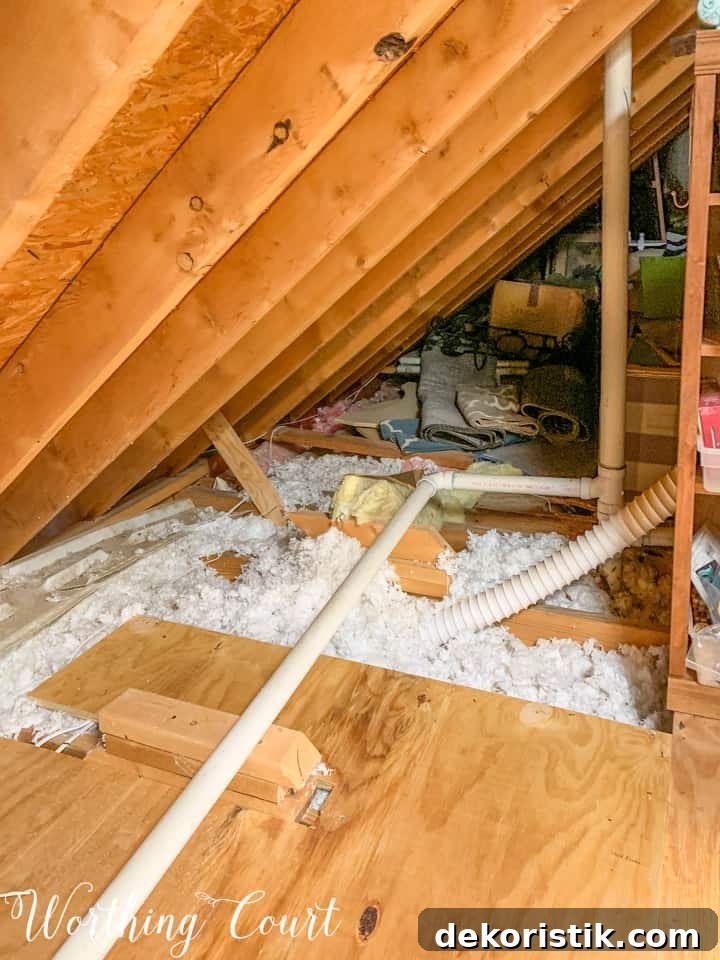
EXPAND THE FLOORING
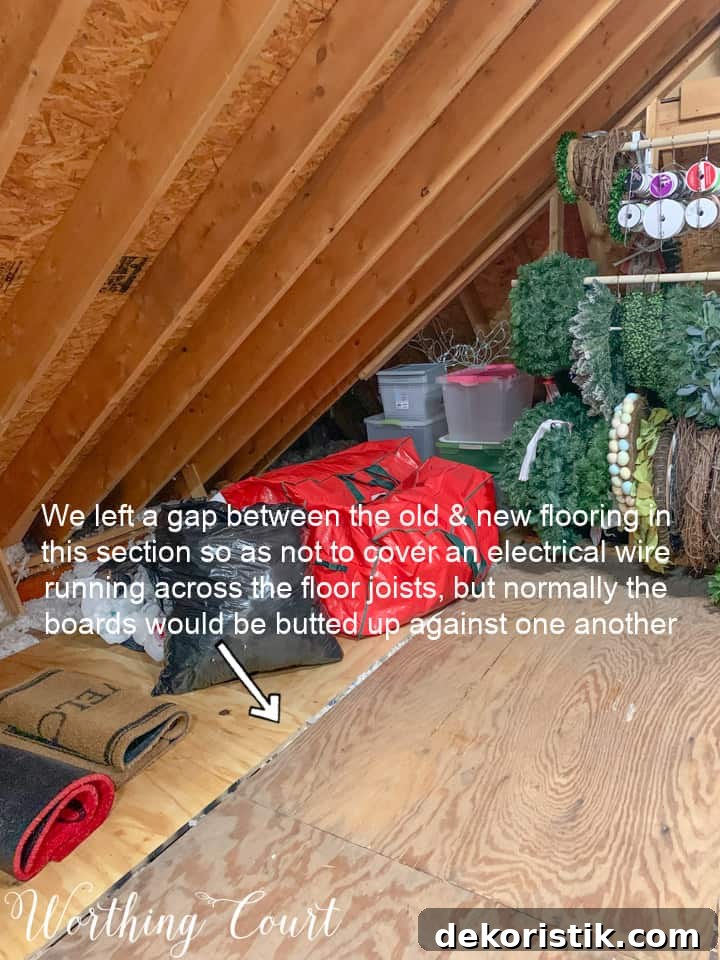
With the attic empty, consider expanding the floor to maximize usable space. Use 1/2″ or 3/4″ plywood for a sturdy walking surface. Match the thickness of any new plywood to existing flooring to avoid creating a tripping hazard at seams.
Screw plywood into ceiling joists rather than nailing it—screws are more secure and easier to remove if you need to change the layout later.
COLLECT SUPPLIES
After deciding what will return to the attic, refine your piles. Separate similar items into smaller, more specific groups so storage solutions can be chosen with purpose—for example, separate tree ornaments from other decorations.
Inventory the types of items you’ll store: decor, long faux greenery and floral stems, pillows, pillow covers, throws, wreaths, ribbon, craft supplies, and seasonal accessories. Then choose supplies that match: clear bins in various sizes, laundry hampers, closet dowel rods and brackets, shelves or shelving units, tree storage bags, and appropriate hangers.
Think about how bins will be used—stacked, shelved, or placed on the floor—and choose durable options accordingly.

USE SEE-THROUGH BINS & LABEL EVERYTHING
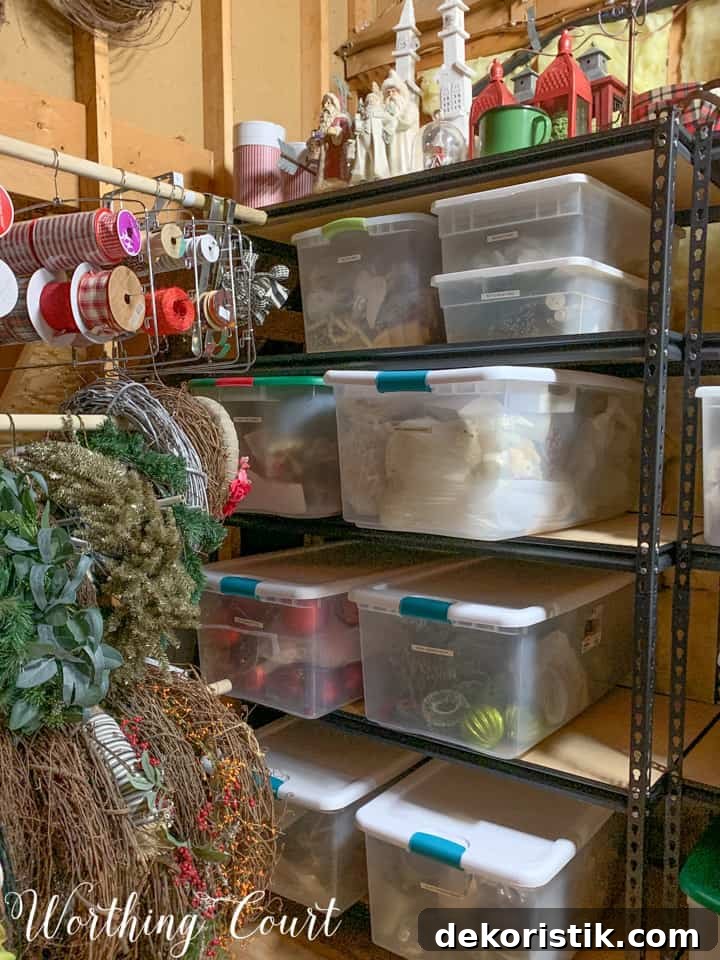
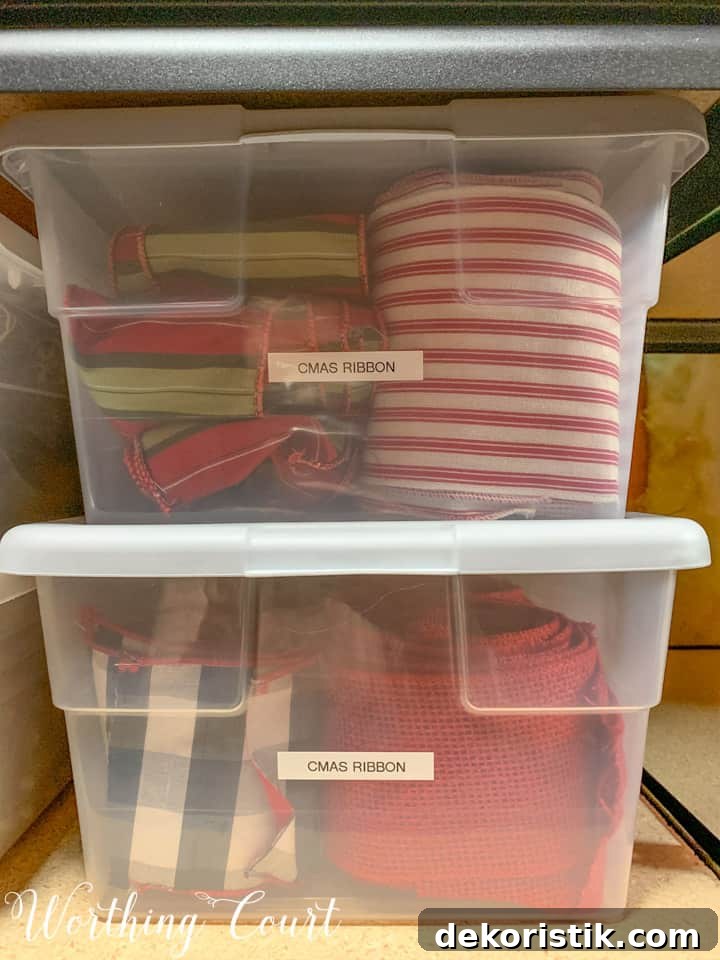
I replaced old opaque bins with translucent, see-through containers so I can identify contents at a glance. Even with clear bins, labeling remains invaluable. Labels speed up retrieval and make it easy to return items to their correct containers. I also reused old bins to transport donation items—rather than leaving them empty, they became convenient donation carriers.
GOOD SHELVING IS KEY
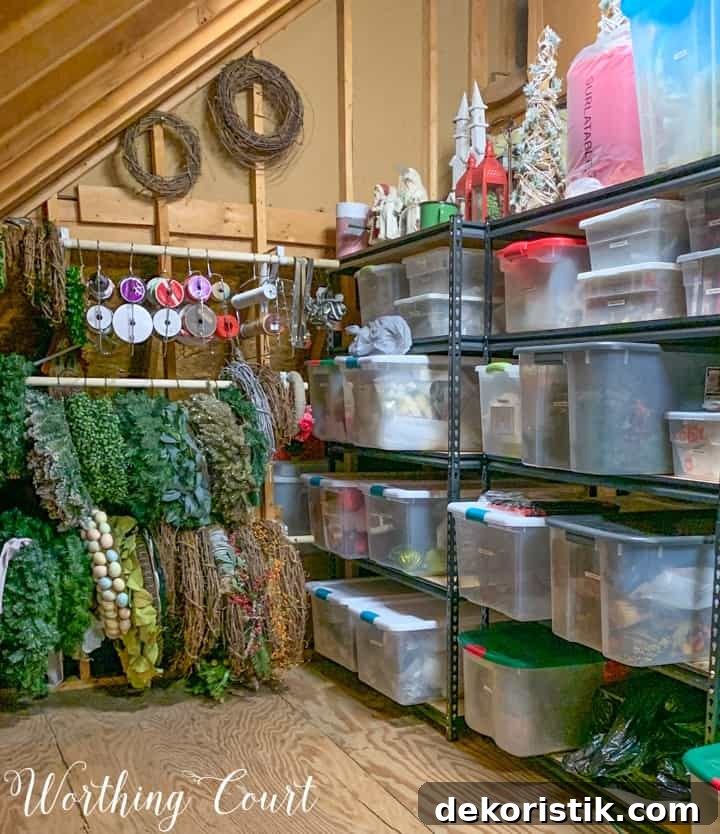
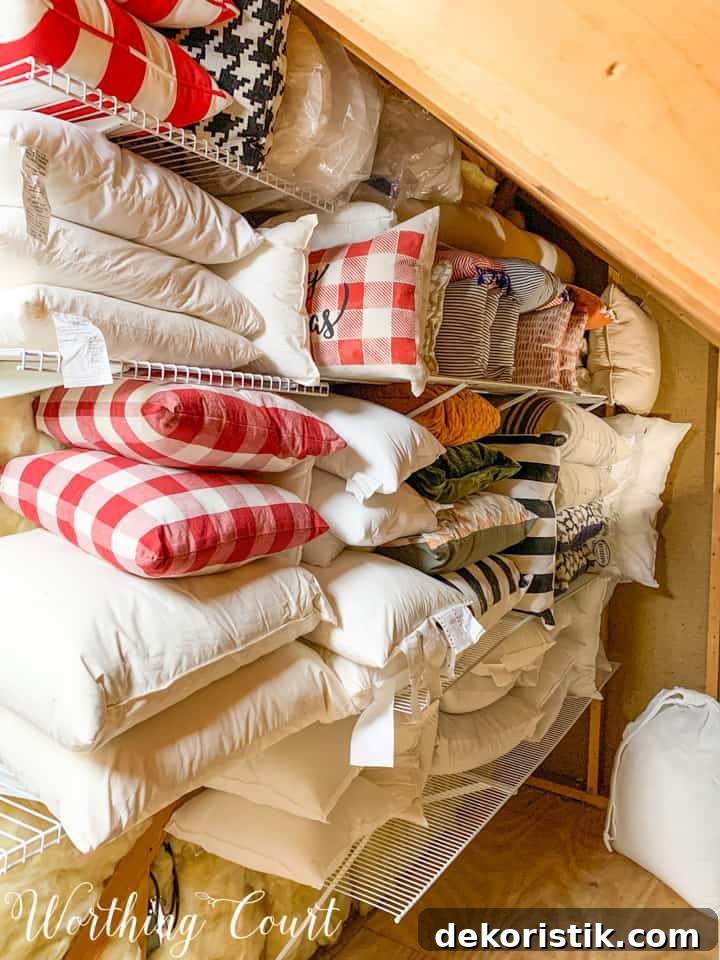
Sturdy shelving is essential. I use a mix of plywood shelves on brackets, wire shelving, and freestanding shelving units. These solutions hold bins, pillow forms, and decor that’s too large or awkward for containers.
Choose shelving that safely supports the anticipated weight and fits your attic layout. Adjustable or modular units are helpful because they let you adapt the space as your storage needs change.
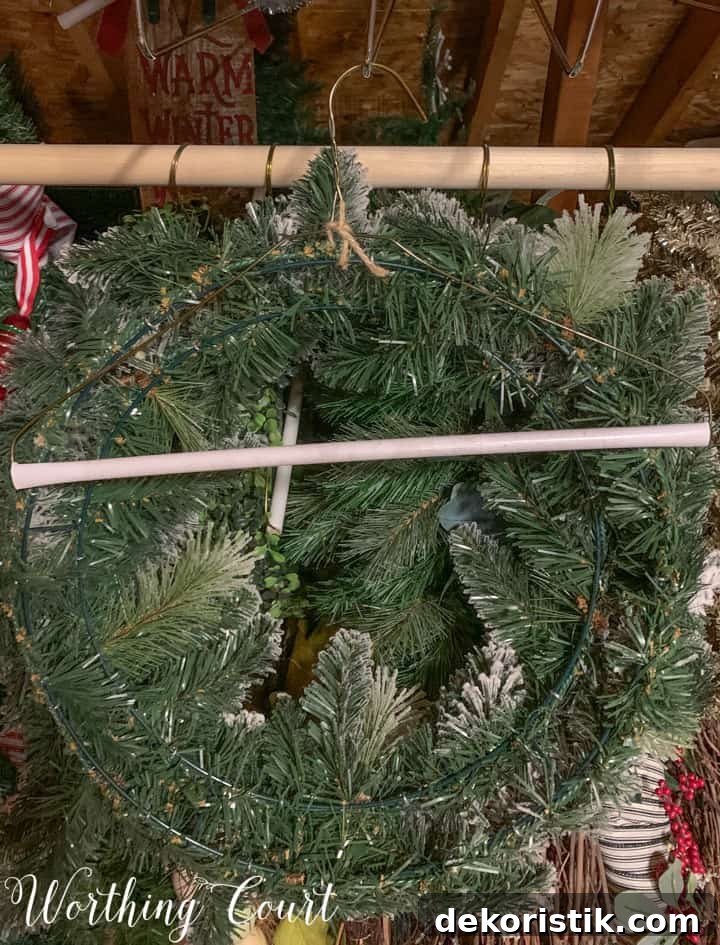
WREATH HANGING SOLUTION
Wreaths take up a lot of room when stacked on the floor. A compact, efficient solution is to mount wooden closet dowel rods with brackets and hang wreaths from the rod. Many wreaths can simply slide on and off the rod; for delicate pieces, hang them with twine looped over a coat hanger to prevent flattening.
This approach reduces floor clutter and keeps wreaths in good condition while letting you access any one easily.

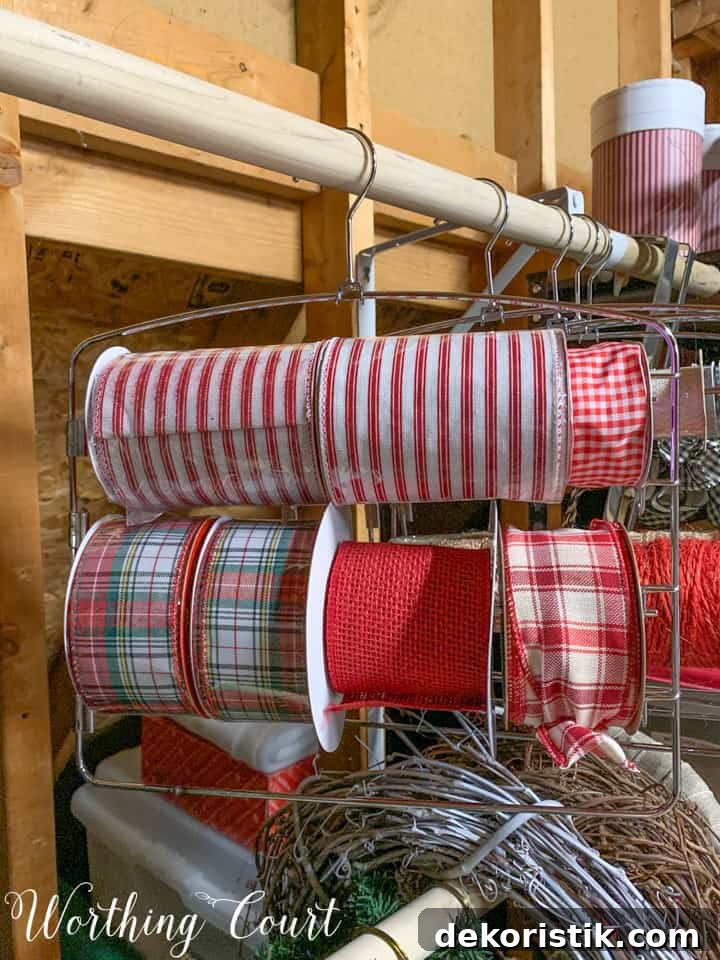
RIBBON ROLLS ORGANIZATION
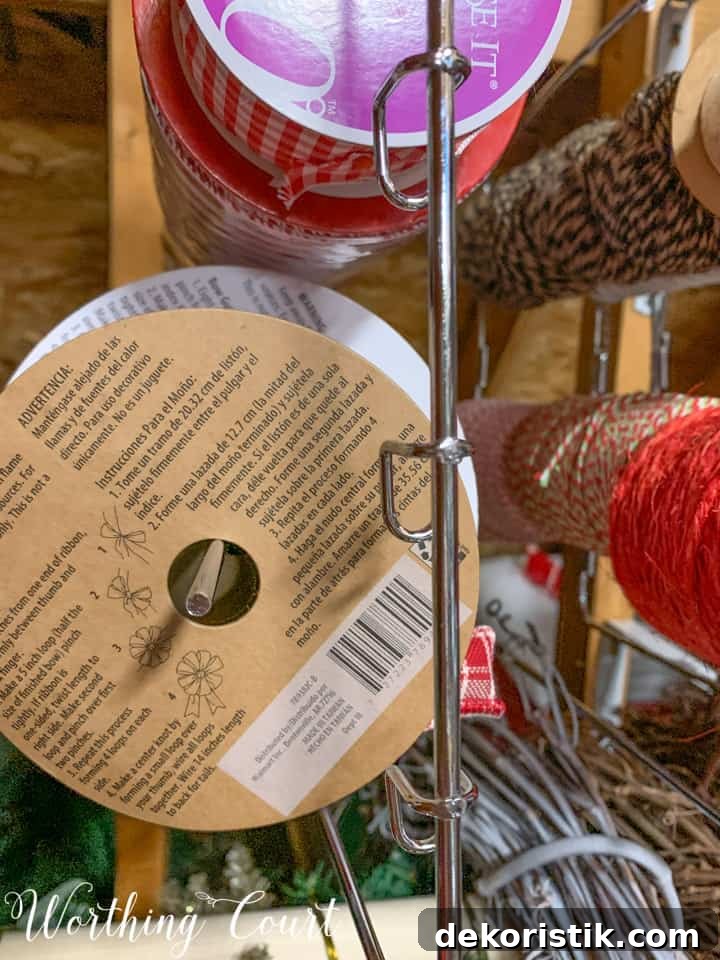
The dowel rod concept also works well for ribbon. A modified multi-rod hanger or rod system lets ribbon spools slide on individual rods so you can see each pattern and color. In one setup, rods swing out for easy access so you can quickly unspool what you need without rifling through a bin.
This simple change transforms an overflowing bin into a neat, visible collection.
PILLOW COVERS, THROW BLANKETS & STENCILS
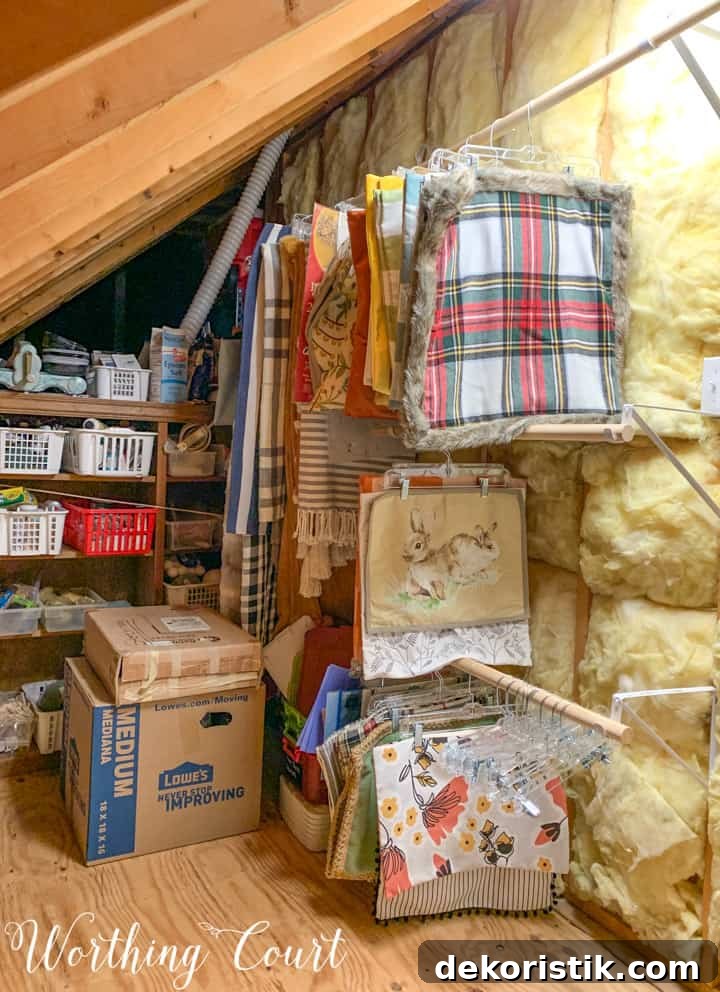
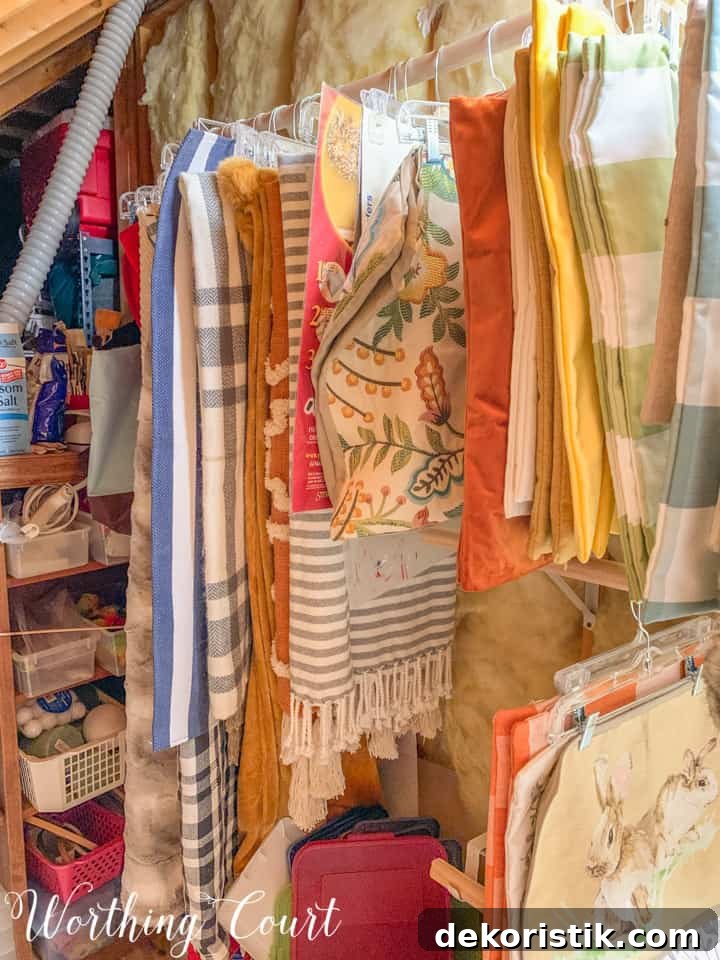
The dowel approach works again for textiles. Use skirt hangers with clips on dowels to store pillow covers, throw blankets, and fabric stencils. Leaving the top rod slightly longer than the others allows for longer throws to hang without crowding the lower rods.
Hanging textiles reduces creasing and makes it faster to find the specific cover or blanket you need.
USE THE SPACE ABOVE YOUR HEAD
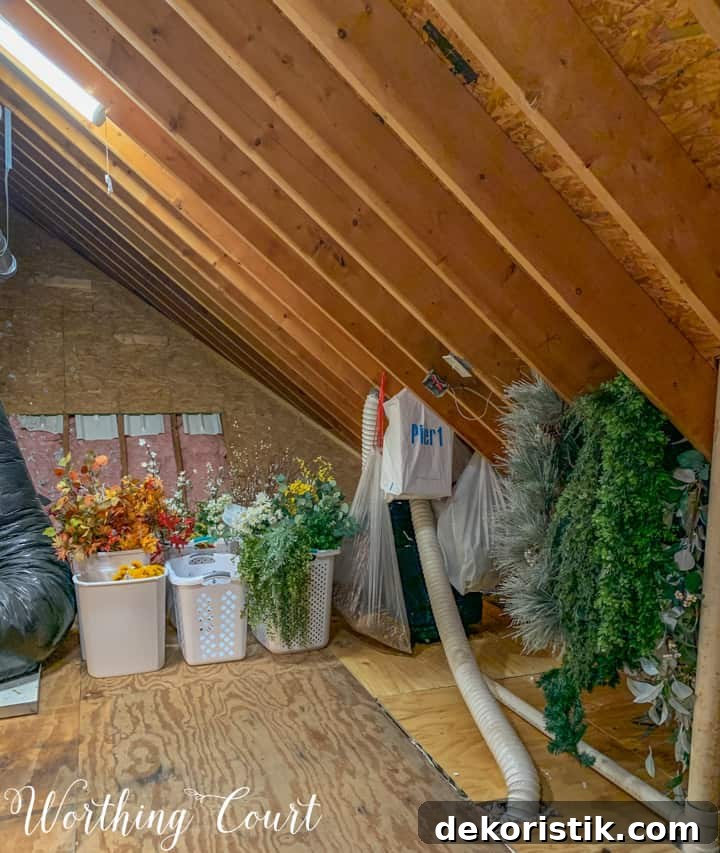
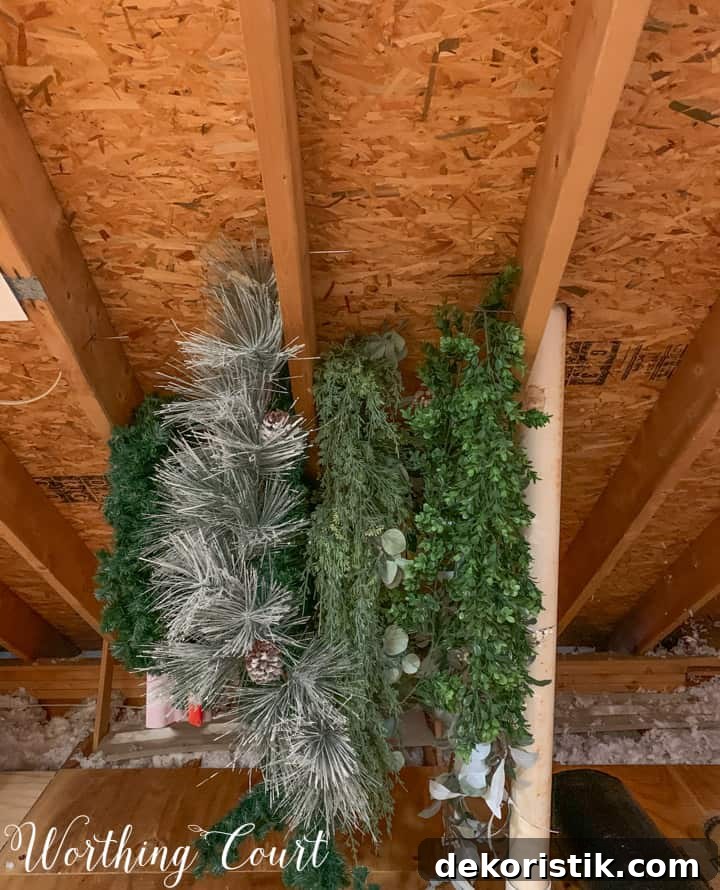
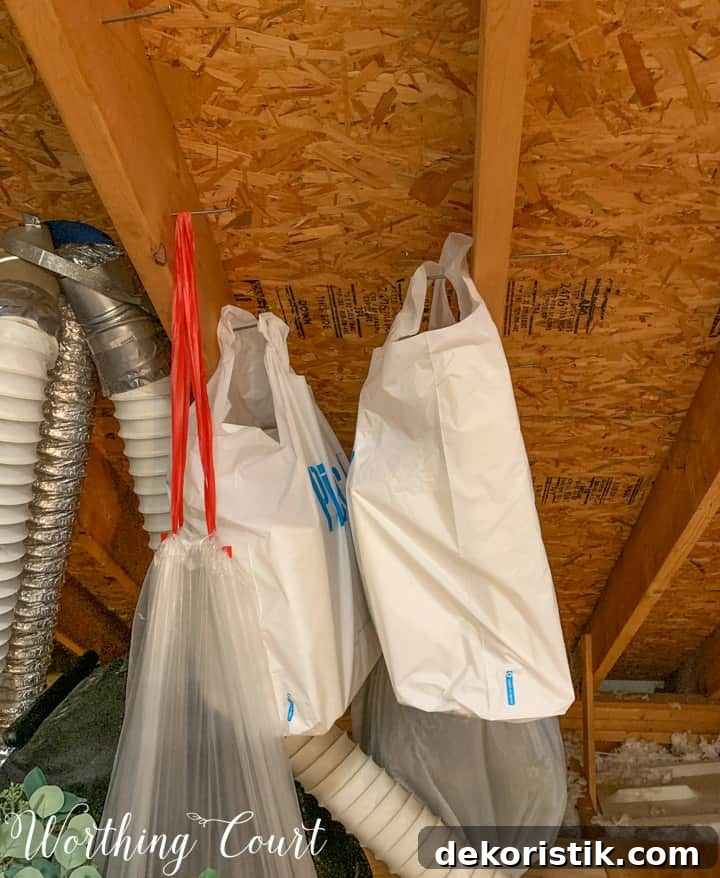
Don’t forget the rafters and overhead space. Driving a few nails into rafters or adding hooks lets you hang garlands, bags, and other long items so they’re stored flat and visible instead of crushed in a bin. This also makes it much easier to grab the piece you want without disturbing everything else.
After several days of work, my attic is now organized and much easier to use—particularly during the holidays when decorations are needed quickly. A clear plan, sturdy flooring and shelving, see-through bins, and smart hanging solutions can make a neglected attic into a functional storage area that you’ll actually enjoy using.