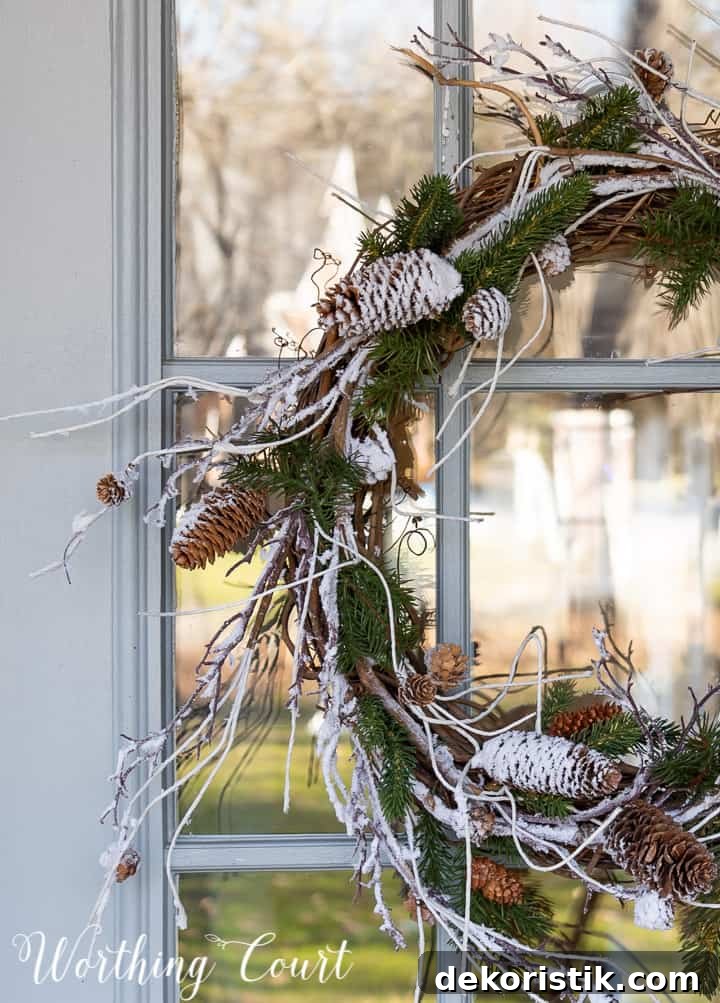
Make an Affordable, Easy Winter Wreath for Your Front Door in About 10 Minutes
Creating a simple, cozy winter wreath for your front door doesn’t need to be expensive or time-consuming. After the busyness of the holidays I prefer pared-back decor that still feels warm and inviting. Here’s a quick, budget-friendly tutorial for a winter wreath that uses just four basic supplies and takes roughly 10 minutes to assemble.

This post and photos may include Amazon or other affiliate links. As an Amazon Associate I earn from qualifying purchases. If you purchase through an affiliate link, I may receive a small commission at no extra cost to you. All opinions are my own.
I like to make a new wreath for each season, but supplies can add up quickly. Two smart ways to keep costs down are reusing a sturdy grapevine wreath base and buying craft supplies when they’re on sale. Grapevine bases are durable and versatile—you can remove old embellishments and reinvent the wreath repeatedly. Craft stores frequently offer sales and coupons, so plan purchases around those promotions for the best value.
What You’ll Need to Make This Winter Wreath
- One grapevine wreath (reusable)
- One wintery garland or snowy garland
- Faux pine sprigs, pinecones, or small greenery bits
- Ribbon for a simple bow
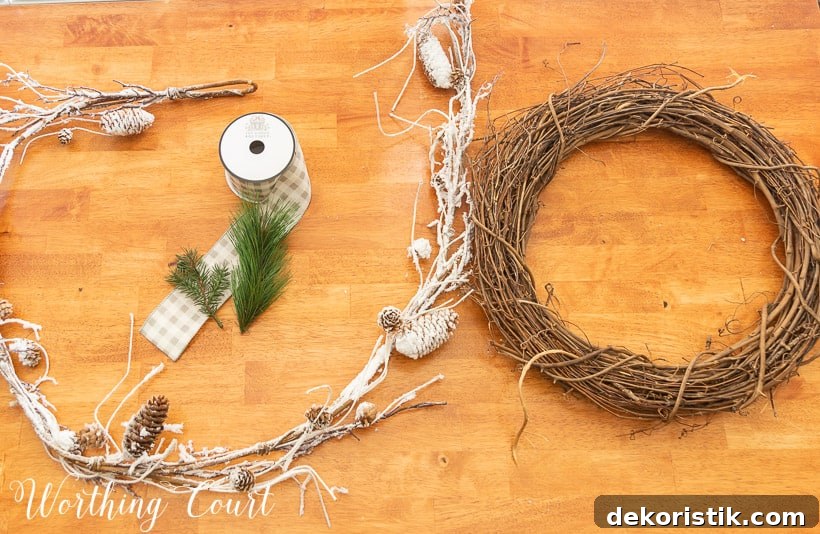
If you didn’t find a garland on clearance after the holidays, look for similar snowy or frosted garlands at craft stores or online retailers. A garland with long twiggy elements adds texture and visual interest, and it will tuck nicely into a grapevine base.
Step 1: Attach the Garland to the Grapevine Base
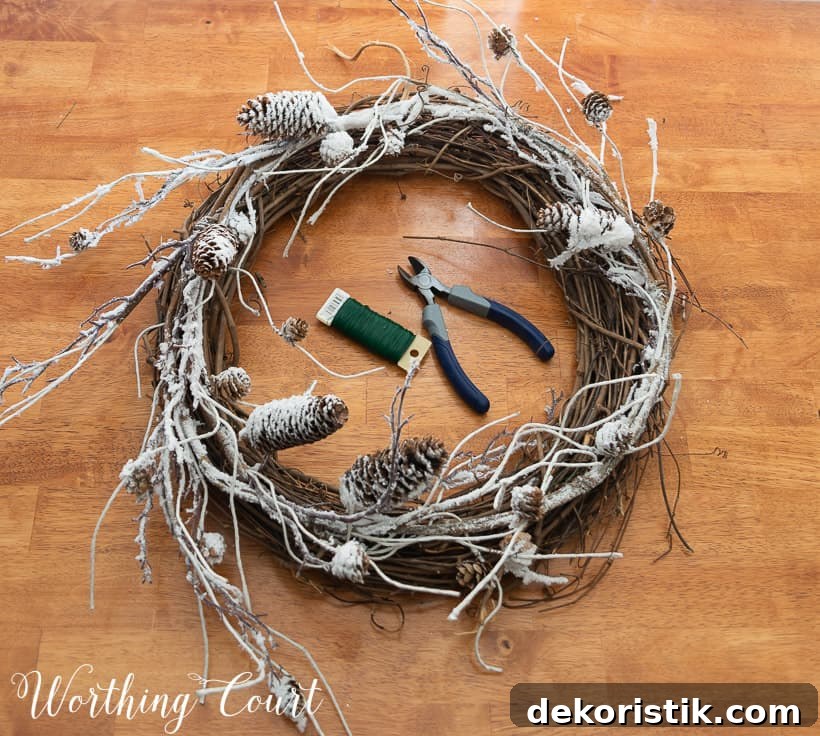
Lay the garland around the wreath and secure it with floral wire or pipe cleaners. Bend and shape the garland to follow the round form of the wreath, tucking and fluffing as you go. I used floral wire in six equally spaced spots and tucked the wire ends down into the wreath so they’re not visible. Once fastened, comb or fluff the garland to give it a natural, full look.
Step 2: Add a Simple Bow
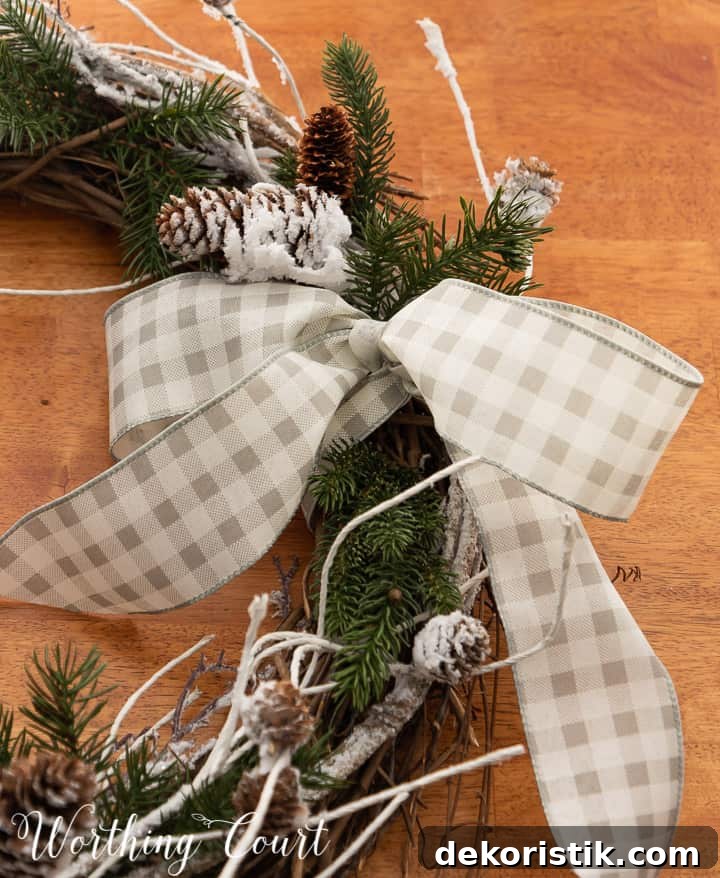
Tie a bow with your chosen ribbon and secure it to the wreath by looping the ribbon around the grapevine base and knotting it like a shoelace. For this wreath I opted for a modest bow rather than a large multi-loop style—the understated look complements the frosty garland and twigs. If you want a more dramatic bow, choose a wider velvet or wired ribbon and make larger loops.

Step 3: Tuck in Faux Pine Sprigs
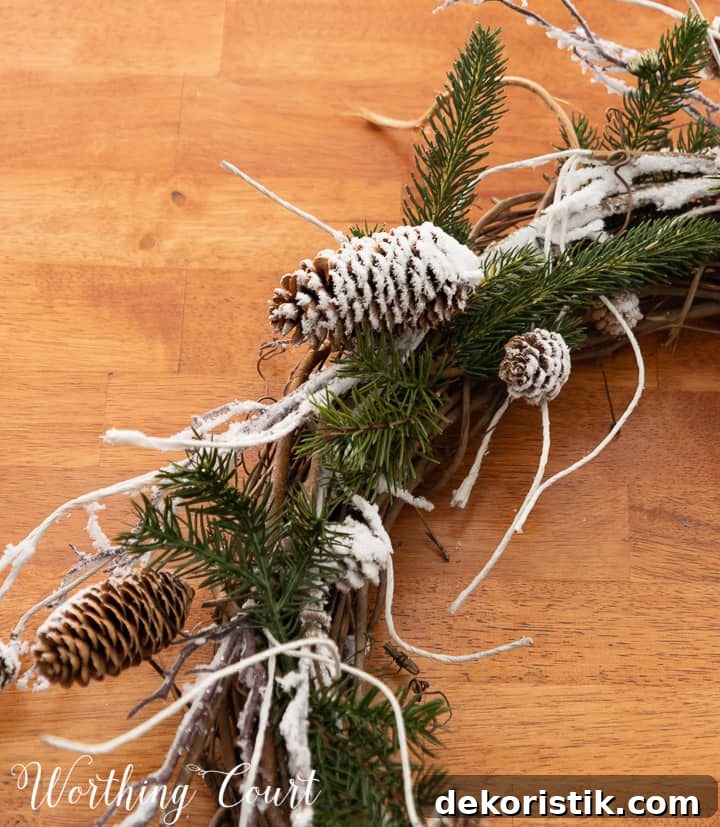
Cut small pieces from faux pine picks or remove sprigs from a larger arrangement and wedge them into the grapevine wreath at several points around the circle. No glue is needed—simply push the stems between the vine branches so they sit securely. Arrange them evenly for balance, or cluster them asymmetrically for a more rustic look.

That’s it—assembled in minutes and ready to hang. I used a suction cup hook on my glass front door, but other hanging options include an over-the-door wreath hanger or a loop of twine anchored with a small hook or command strip on the inside of the door. You can also attach a command hook upside down and loop twine around it so the wreath hangs neatly.
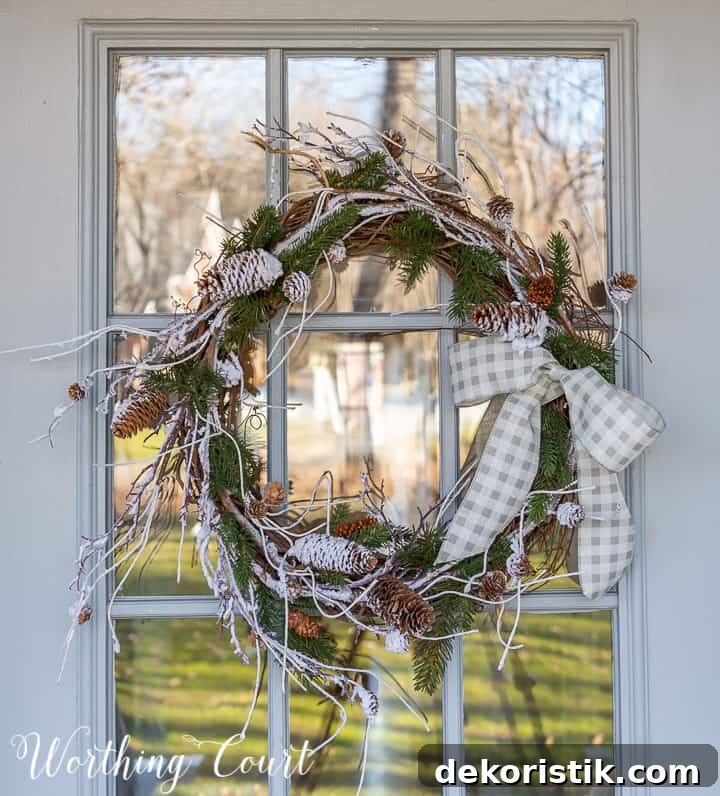
I really like garlands that include long twiggy pieces—they add movement and a bit of drama to the wreath without being fussy. I originally considered a green velvet ribbon for the bow, but settled on a gray-and-white checked ribbon I already had. It complements the frosted greenery nicely and keeps the overall look calm and classic.