
This step-by-step tutorial shows how to make a pillow sham for any pillow size. You’ll learn how to measure and cut the fabric, assemble the layers, add optional cording, and prepare the front panel so it’s ready for the back and final assembly.

This is a straightforward project. If you can take a few measurements and sew a straight seam, you can make a sham by following these clear steps.
The sham shown here has an envelope backing (two overlapping back panels). The fabric choices are from a previous bedroom project, but the construction method works for any fabric or color combination.

There are many tutorials for decorative pillows, but fewer that focus specifically on a tailored pillow sham. I’ll walk you through each step, with practical tips from my own experience.
Note: some of the workshop photos were taken in my sewing room, so the background is a working space rather than a styled set — just the reality of sewing at home.
Measure and Cut the Fabric for the Front of the Sham
The front panel is cut larger than the pillow to allow for a flange and seam allowances. The front and back are different sizes; this section covers the front only.
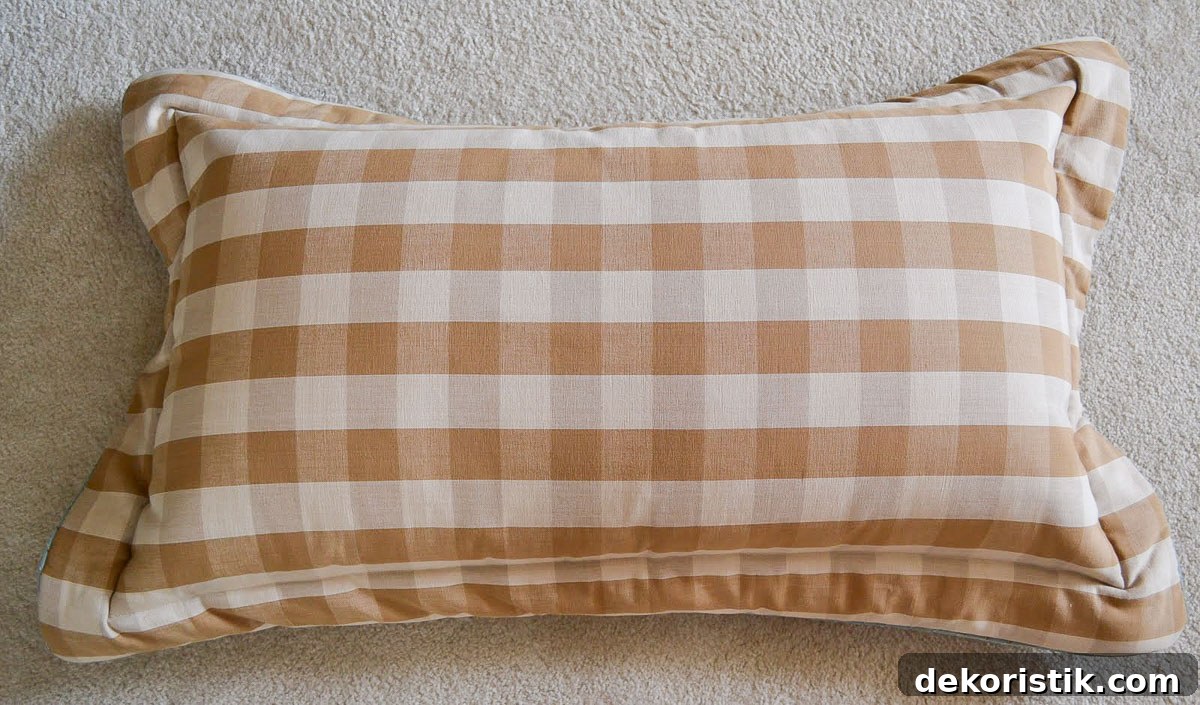
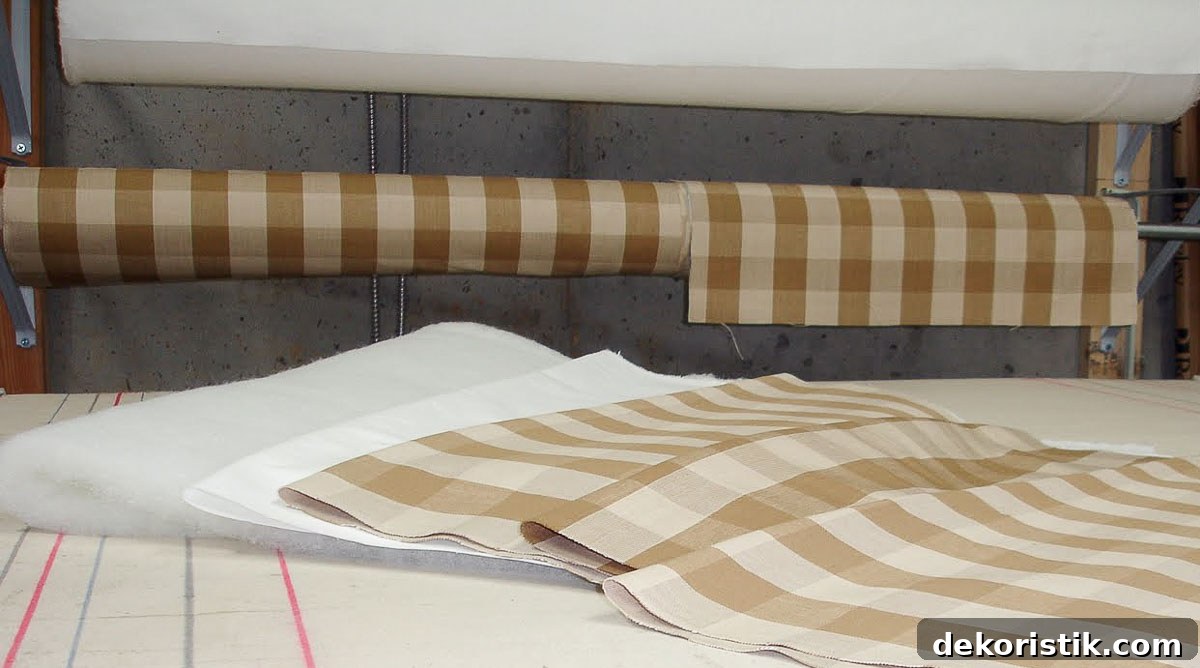
For my shams I used these materials:
- main fabric for the sham
- white drapery lining fabric
- batting (for a firmer flange)
- accent fabric to cover the cording
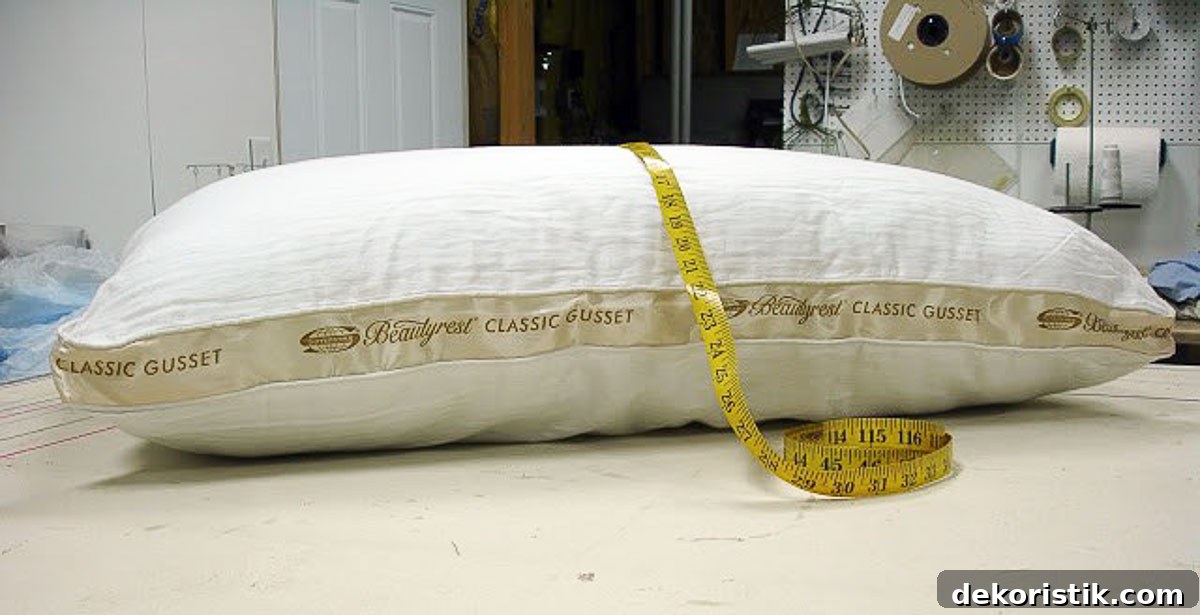
Start by measuring the pillow:
- Measure the longest side (width).
- Measure the shortest side (height).
Use these dimensions to calculate the cut size for the front piece. These formulas scale to any pillow size—standard, queen, or king.
My pillow is a king size, measuring 36″ wide by 27″ high.
Formula to Calculate the Cut Width
36″ = pillow width
+ 6″ = two 3″ flanges (one on each side)
+ 1″ = ½″ seam allowance each side
43″ = total cut width for the front piece
Formula to Calculate the Cut Height
27″ = pillow height
+ 6″ = two 3″ flanges (top and bottom)
+ 1″ = ½″ seam allowance top and bottom
34″ = total cut height for the front piece
For my king sham I cut three rectangles at 43″ wide x 34″ high: the main fabric, the batting, and the white lining. The batting and lining are optional but recommended for a neat, structured look.
Assemble and Prepare for Sewing
On a flat work surface, layer the pieces in this order:
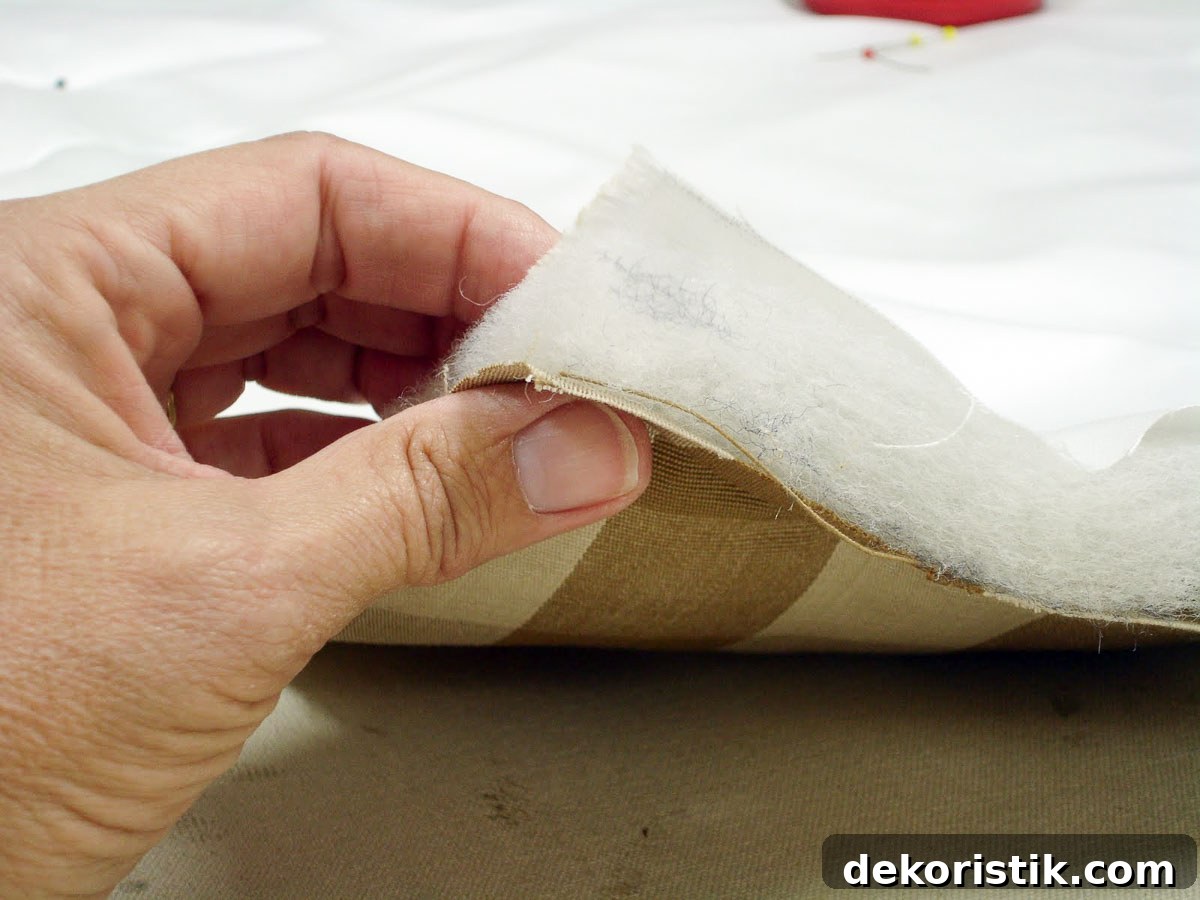
- Main fabric on the bottom, right side down.
- Batting in the middle.
- White lining on top.
Align the edges and pin all around. A quick note about the flange: the flat border around the fluffy center of the pillow is the flange. If left unsupported it can flop over. Adding batting inside the front panel gives the flange body and keeps it looking crisp when the pillow stands upright.
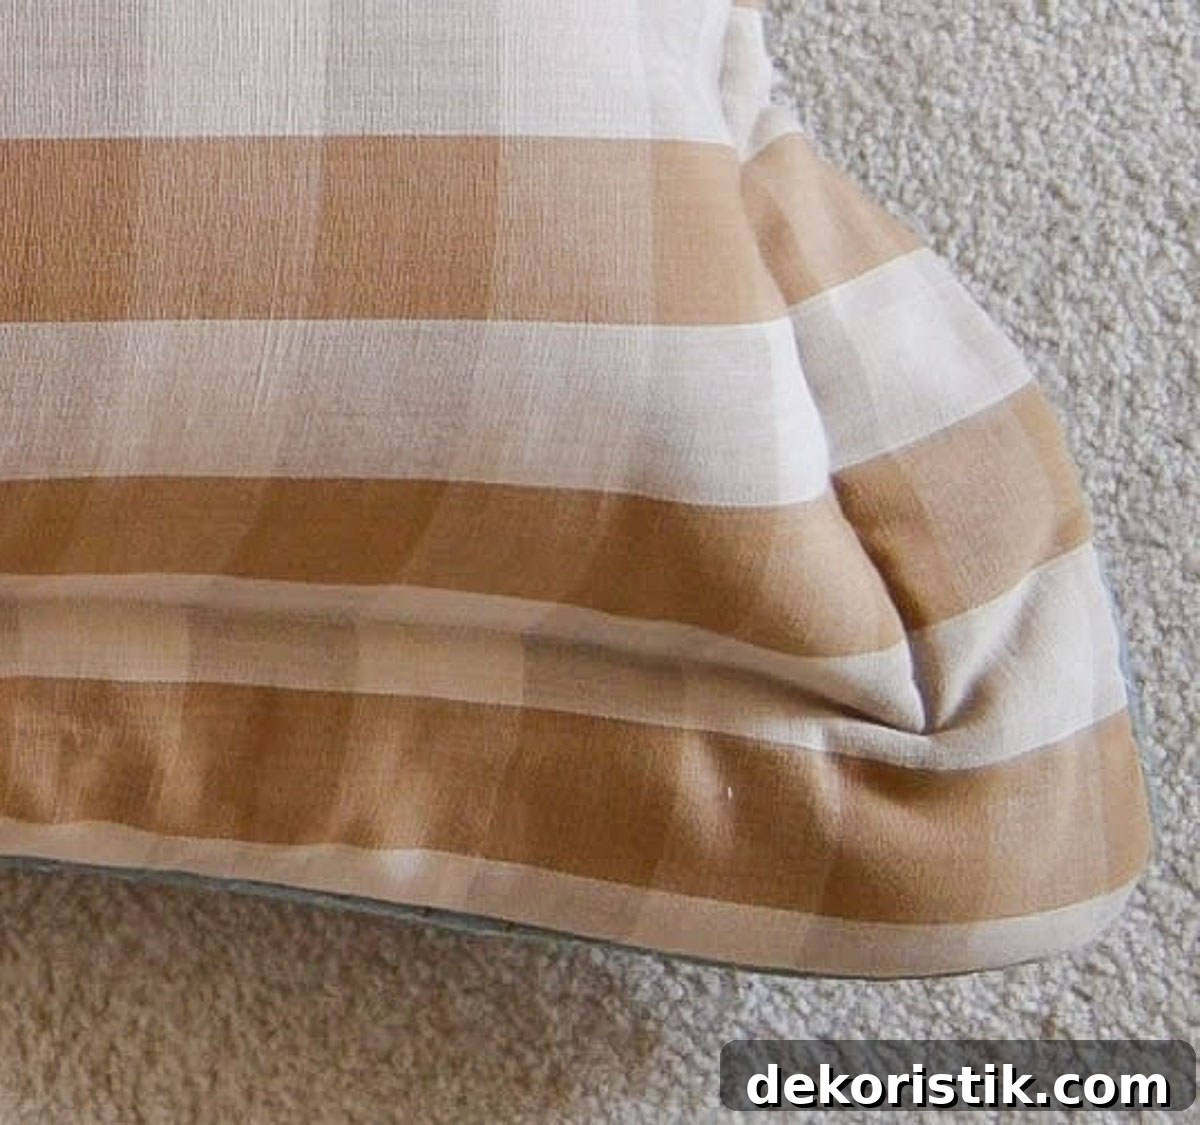
The white lining protects the batting from snagging during repeated insertion and removal of the pillow insert; it also keeps the interior neat.
Let’s Sew
With a needle appropriate for your fabric, baste the three layers together around all four sides using a long basting stitch. The basting holds the layers while you add any decorative details and do the final sewing.
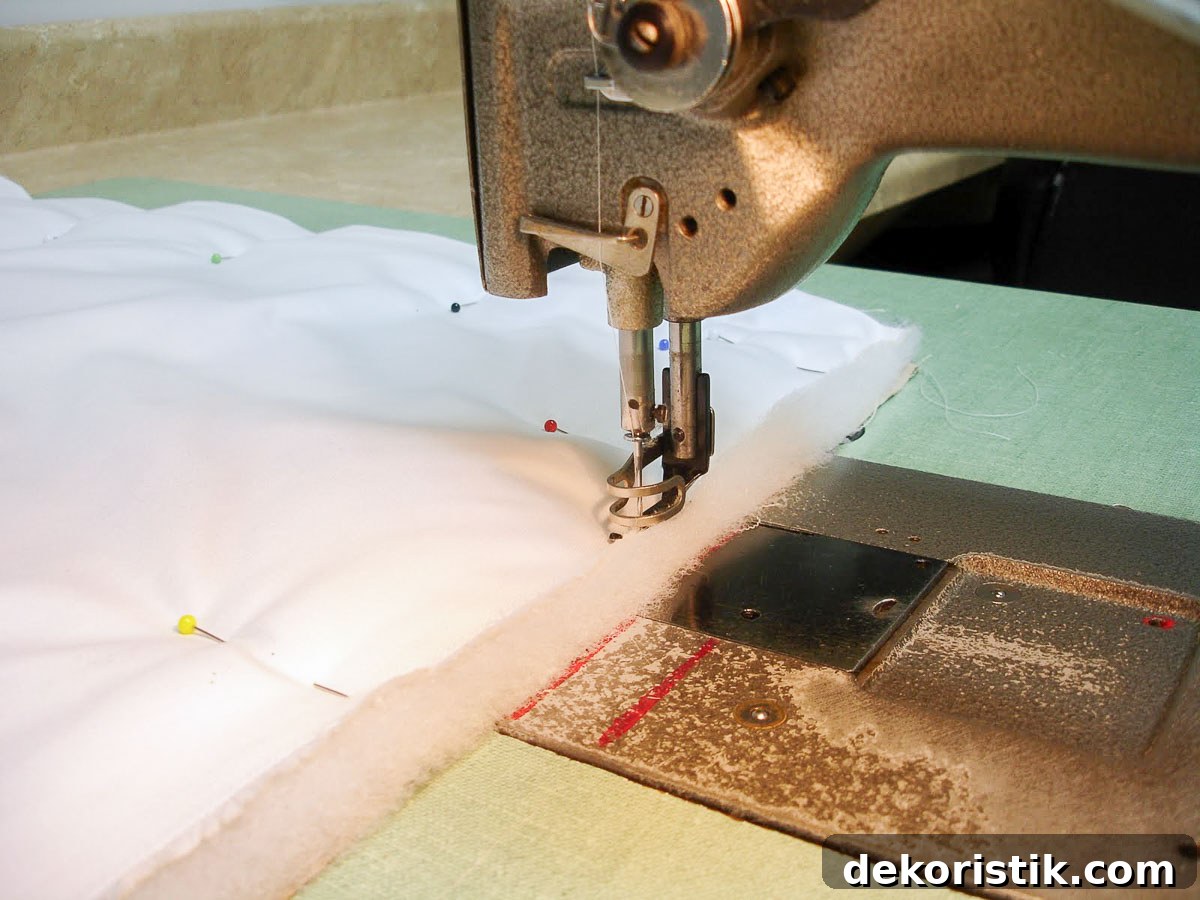
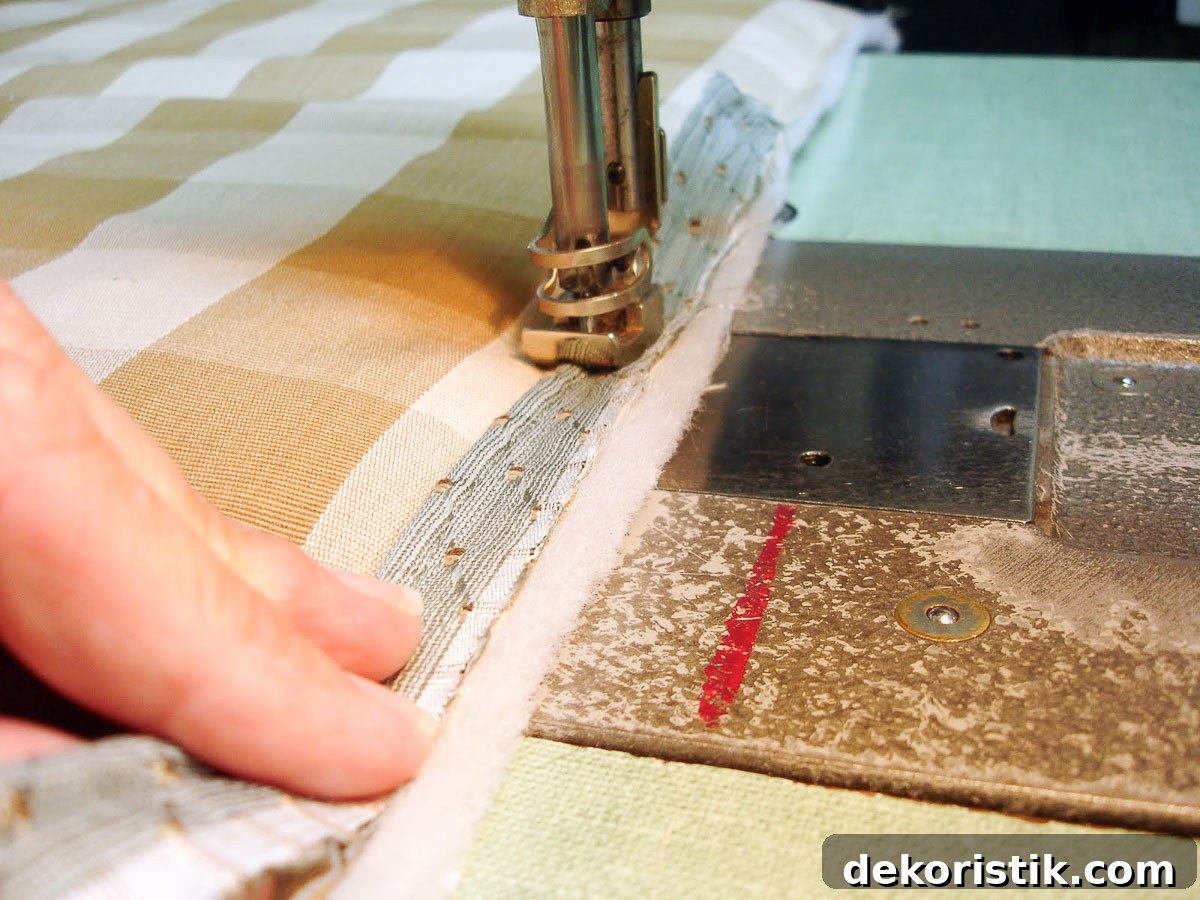
Next you may choose to add covered cording along the perimeter. This is optional; if you skip it you can move directly to Part 2 for the back and final assembly.
If you add cording, sew the covered cord to the front panel, aligning the raw edge of the cording fabric with the raw edges of your layers and basting the cord in place around all four sides. Leave a few inches free at each end so you can join the cord later.
When the cord ends meet, clip the basting at each end and fold back the fabric to expose the cord. Trim about 1″ from each cord end so each is slightly reduced in diameter, overlap the ends, and wrap the fabric layers back around the cord. Turn under the raw edge of the top fabric to hide it, then hand- or machine-stitch the joined cord ends securely to the sham.
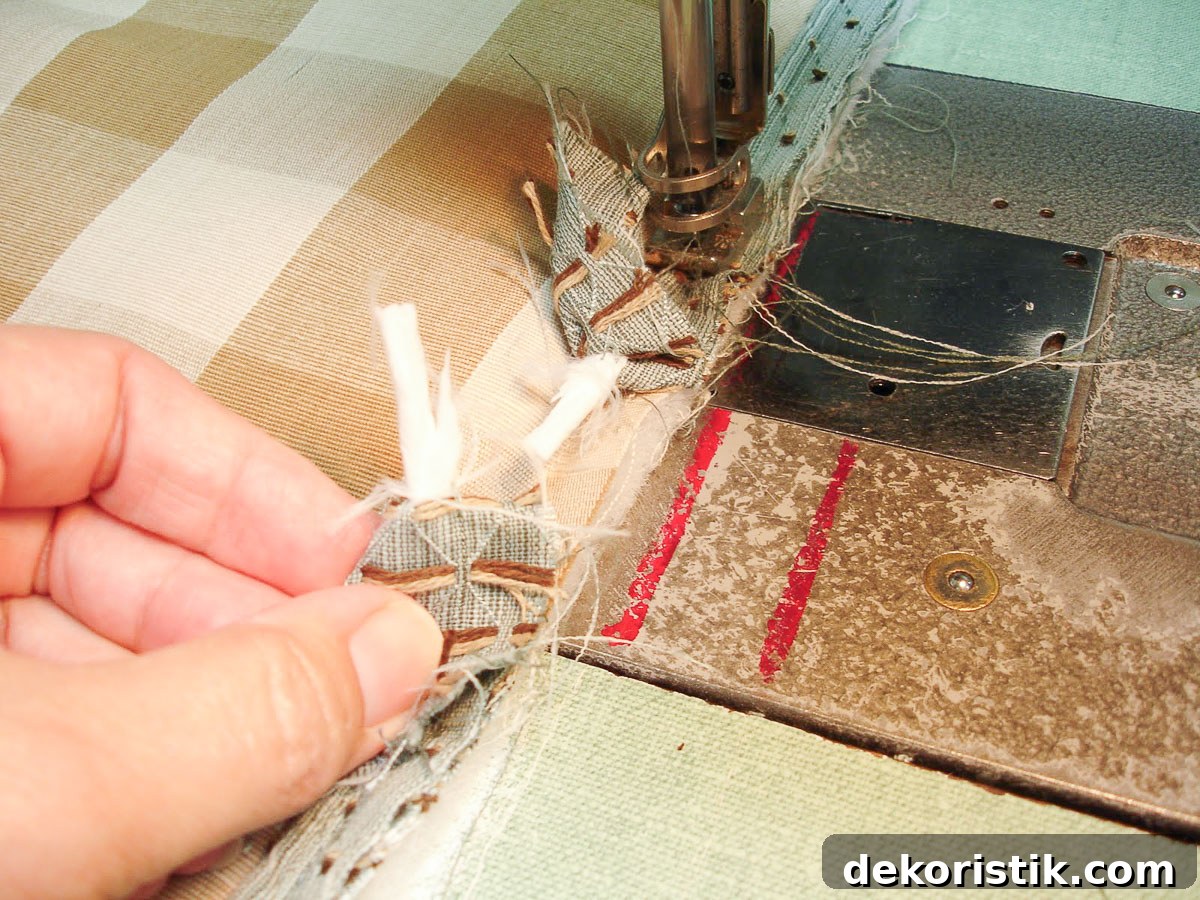
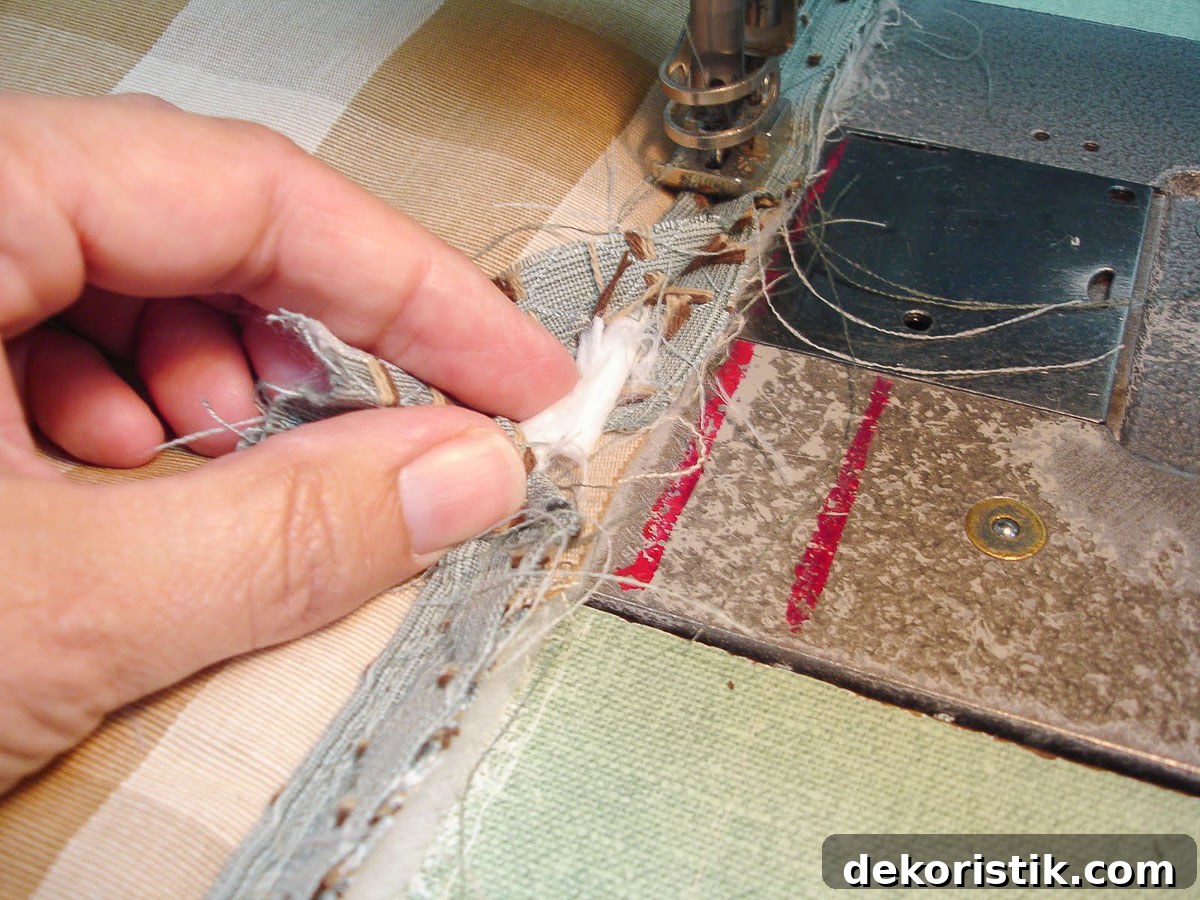
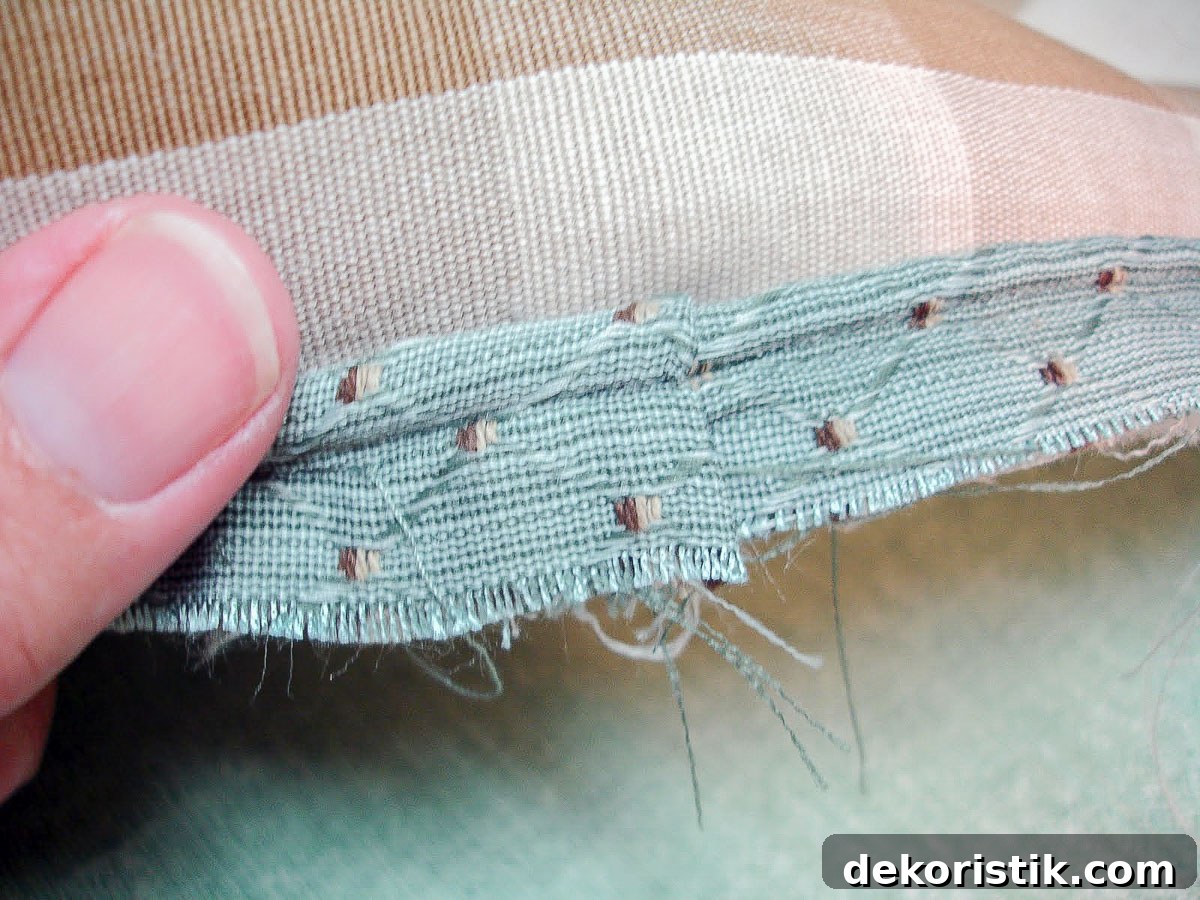
It took me a few attempts to get the join neat and even. If it’s tricky, work slowly on a table rather than at the machine. Patience and small adjustments make a tidy finish.
This is a good stopping point for Part 1: you’ve measured and cut the front pieces, basted them together, and attached optional covered cording. Part 2 covers cutting and assembling the back panels and completing the final seam to finish the sham.
Click here to view Part II of the tutorial