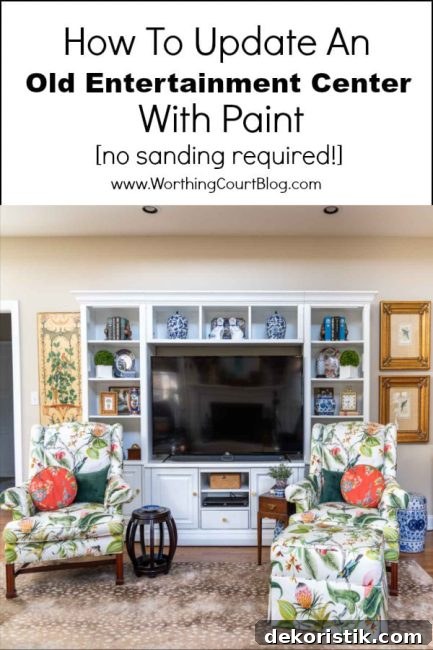
Here’s how I transformed an old entertainment center, the type of paint I used on wood furniture, and how it’s possible to paint furniture without sanding first.
Why I Decided to Update the Entertainment Center
After updating the rest of my family room to a brighter, more contemporary-traditional mix, I kept feeling like something was off. The natural wood of the old wall unit added warmth, but its tone no longer fit the refreshed palette. I agonized over whether to keep the wood, stain it a different color, or paint it. Ultimately I decided that painting the unit white would unify the room and create the clean backdrop I wanted for accessories and art.
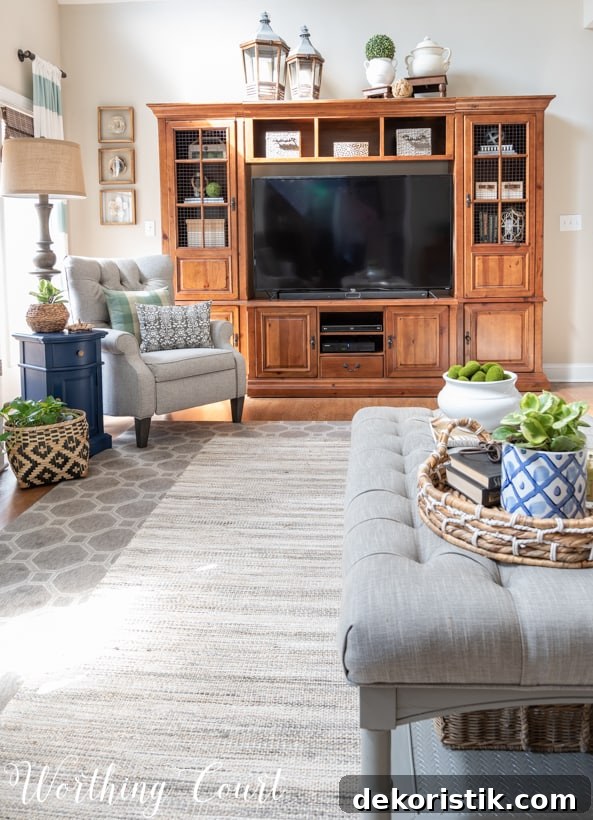
Facing the Fear of Making a Big Change
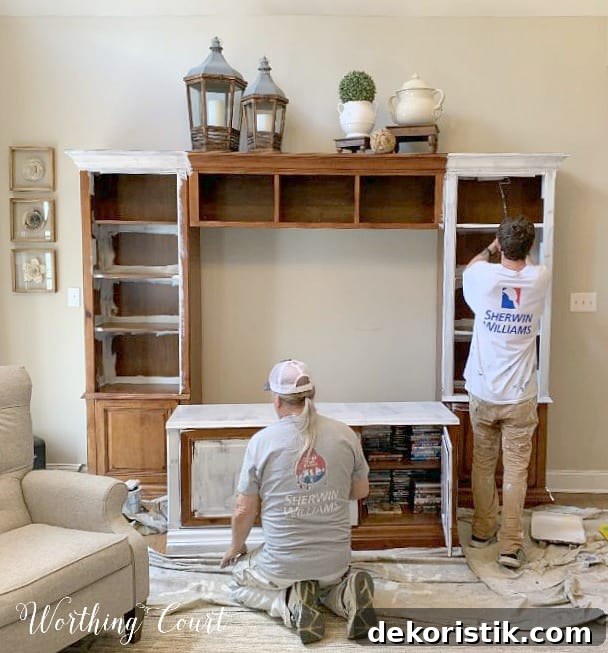
I worried about making a mistake—painting is pretty permanent in your mind—but I used mood boards and inspiration images to build confidence. I also decided to hire a professional painter. What would have taken me days and required a lot of patience and practice, the painters completed in a few hours. I took a quick photo of them in progress just so I could remember the process.
What Paint and Primer I Used
My painter used an oil-based primer first and then two coats of a high-quality interior latex paint in semi-gloss. Specifically, the job called for an oil-based ProBlock primer followed by two coats of a semi-gloss interior latex in Extra White. The primer provides excellent adhesion to the existing wood finish, and the semi-gloss topcoat is forgiving to clean and highlights trim detail.
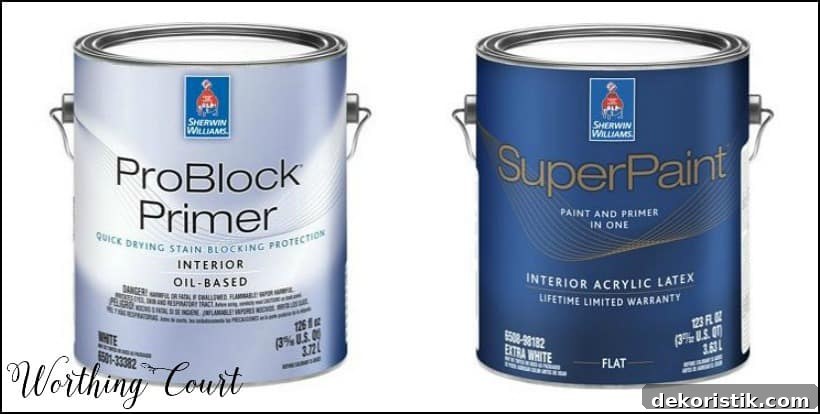
Because of the primer choice and the painters’ technique, no sanding or wiping down with mineral spirits was needed beforehand. Depending on your piece and the existing finish, some projects may benefit from a light scuff or a degreasing wipe; in this case the products and preparation used eliminated that step.
Other Changes I Made
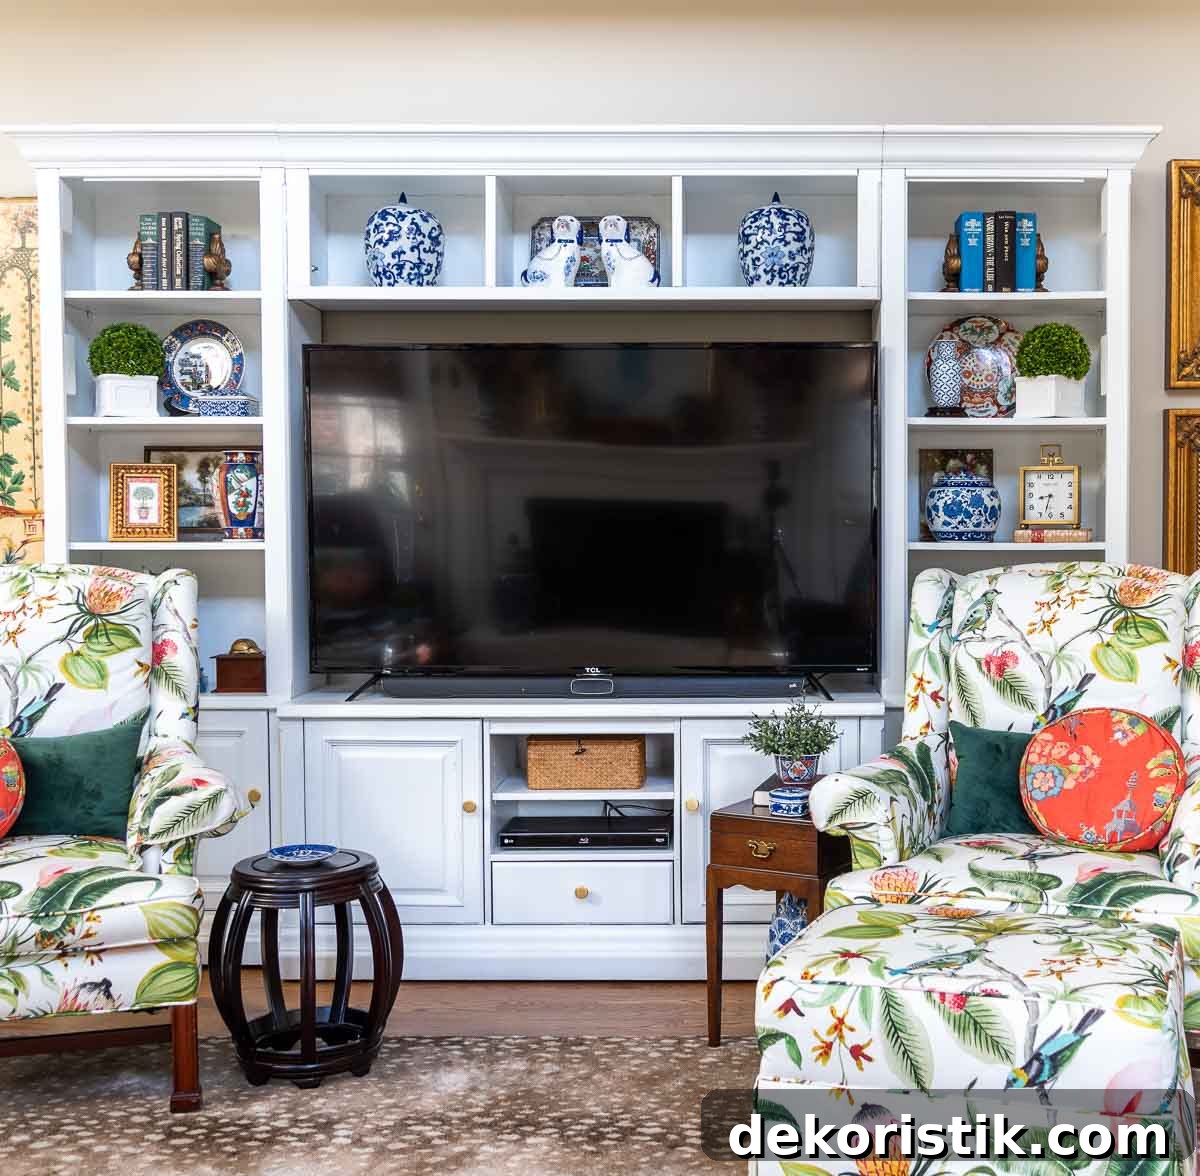
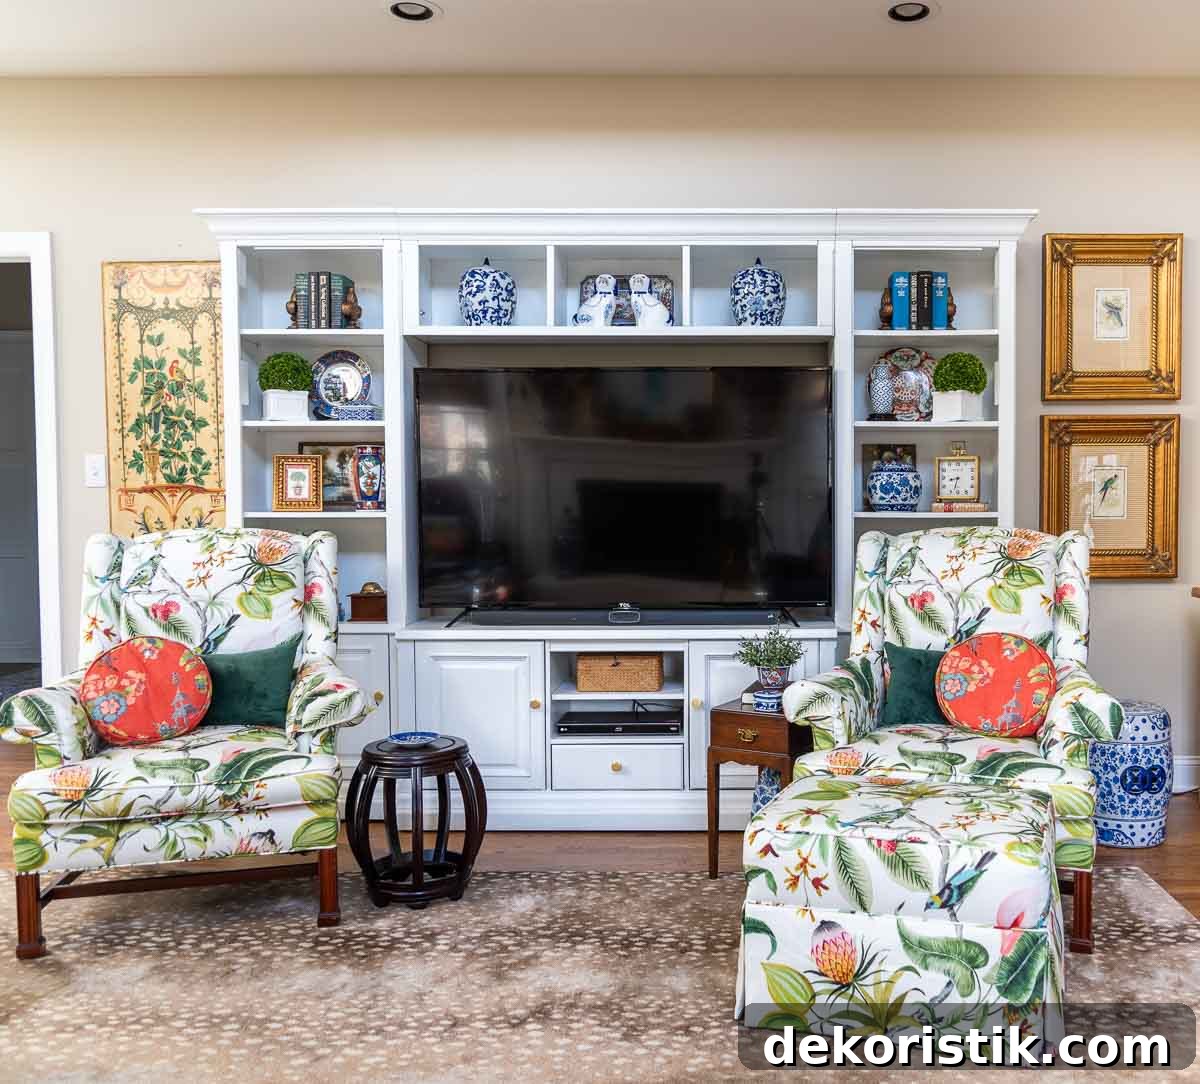
Painting the unit was only part of the refresh. I removed the bulky cabinet doors and filled the hinge holes for a cleaner, built-in look. Although I didn’t plan to reuse the doors, I had them painted and kept them in case I changed my mind later. I also swapped the dated black knobs for simple brushed-gold hardware—those small details make a surprisingly big difference in the overall look.
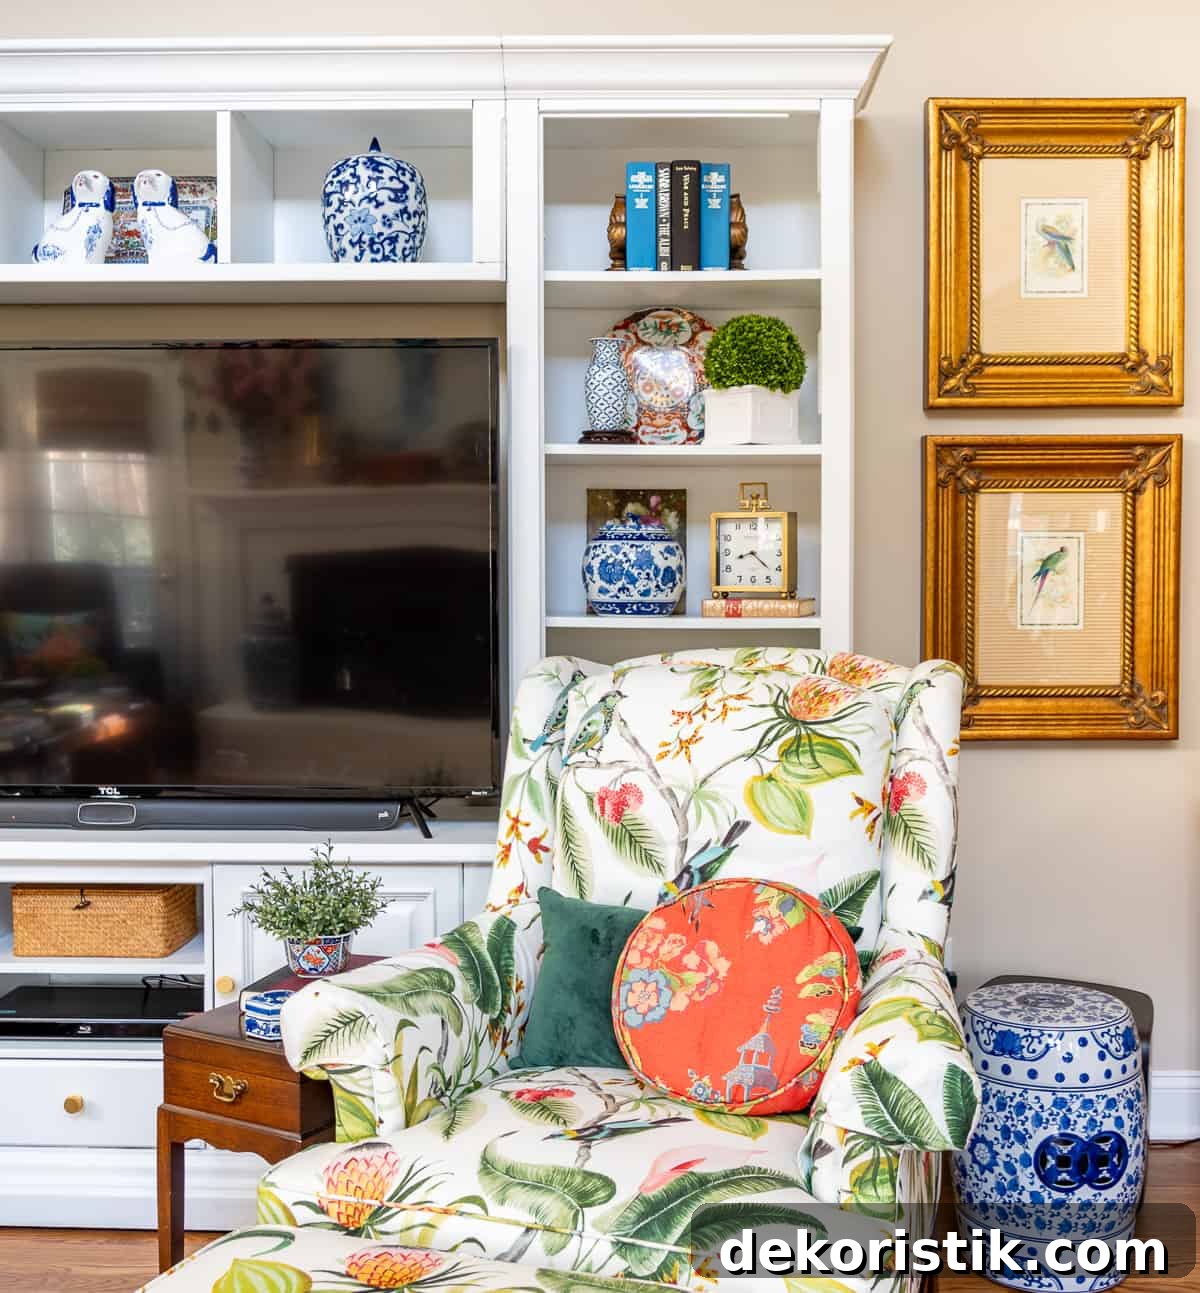
I allowed the painted unit to cure for three days before returning the TV and filling the shelves. That wait helped prevent marks and fingerprints while the paint fully set. I’m proud I didn’t buy new accessories for the shelves—everything used to style the unit came from my existing decor stash. Editing what I already owned gave the space a cohesive, collected feel without additional purchases.
Styling Choices and the Final Result
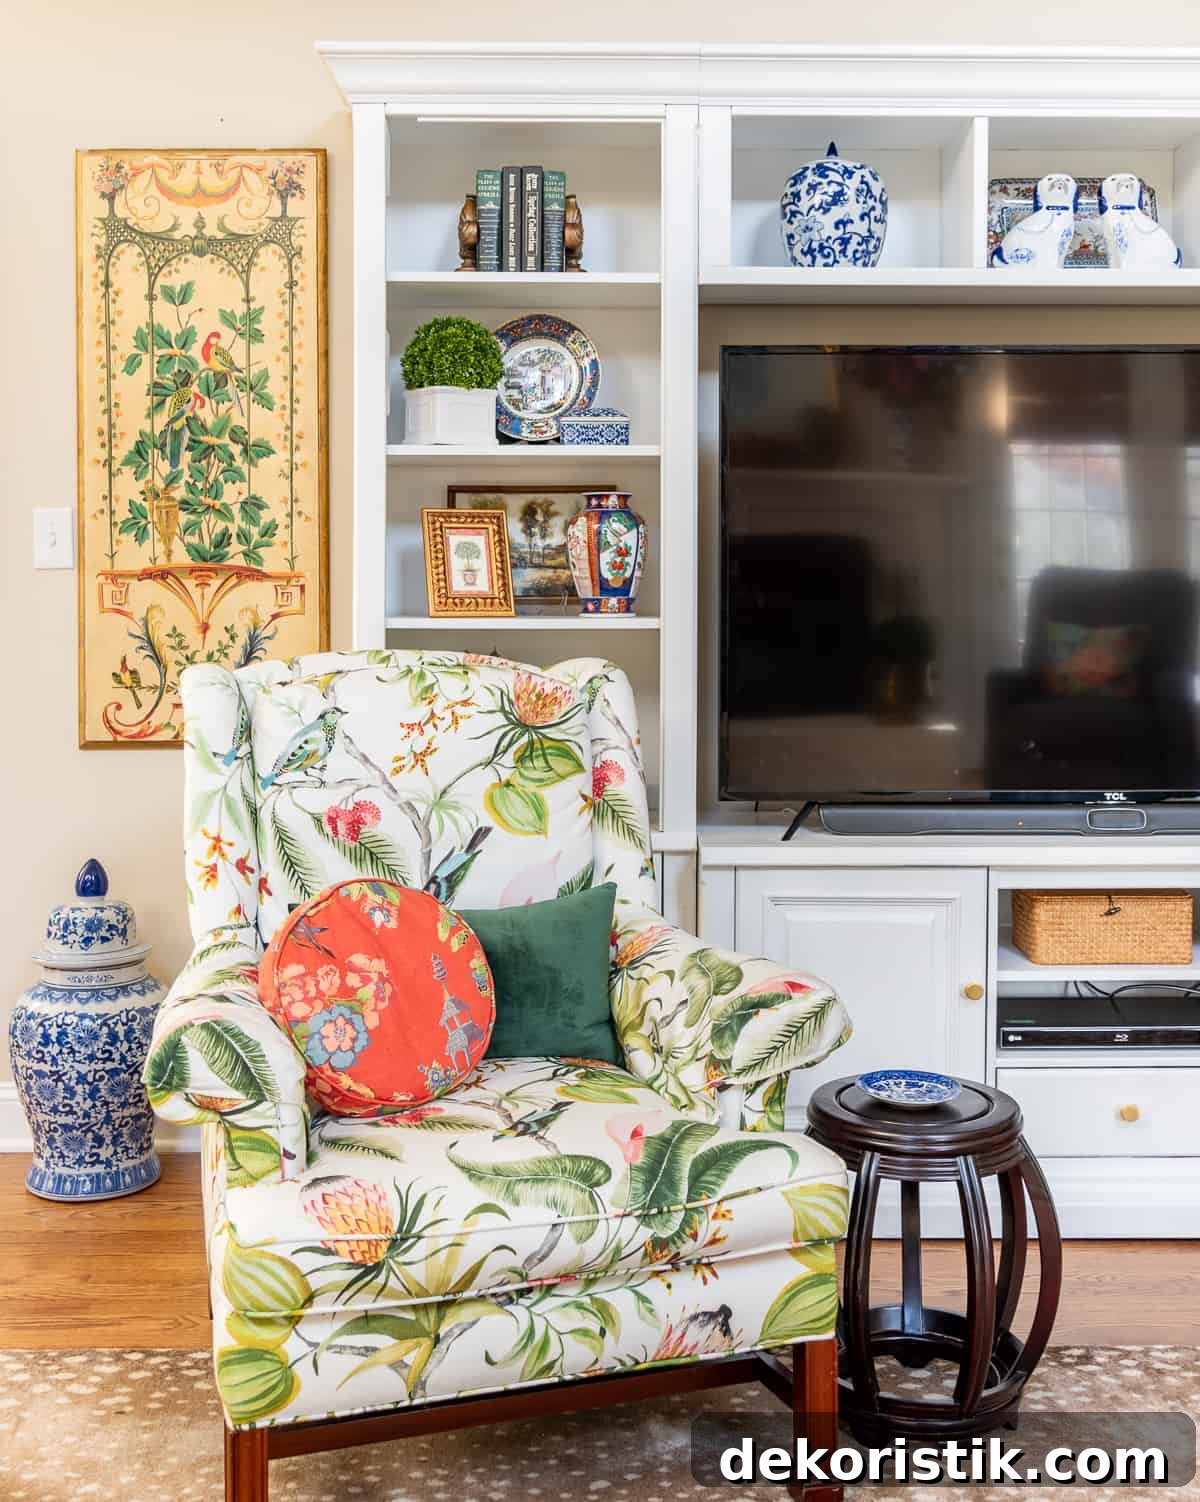
After restyling, I removed many of the heavy items that used to sit on top of the unit. With the bright white finish and open shelving, the previously heavy vignette felt too much. Leaving the top relatively clean gave the whole wall a lighter, airier appearance that complements the refreshed room.
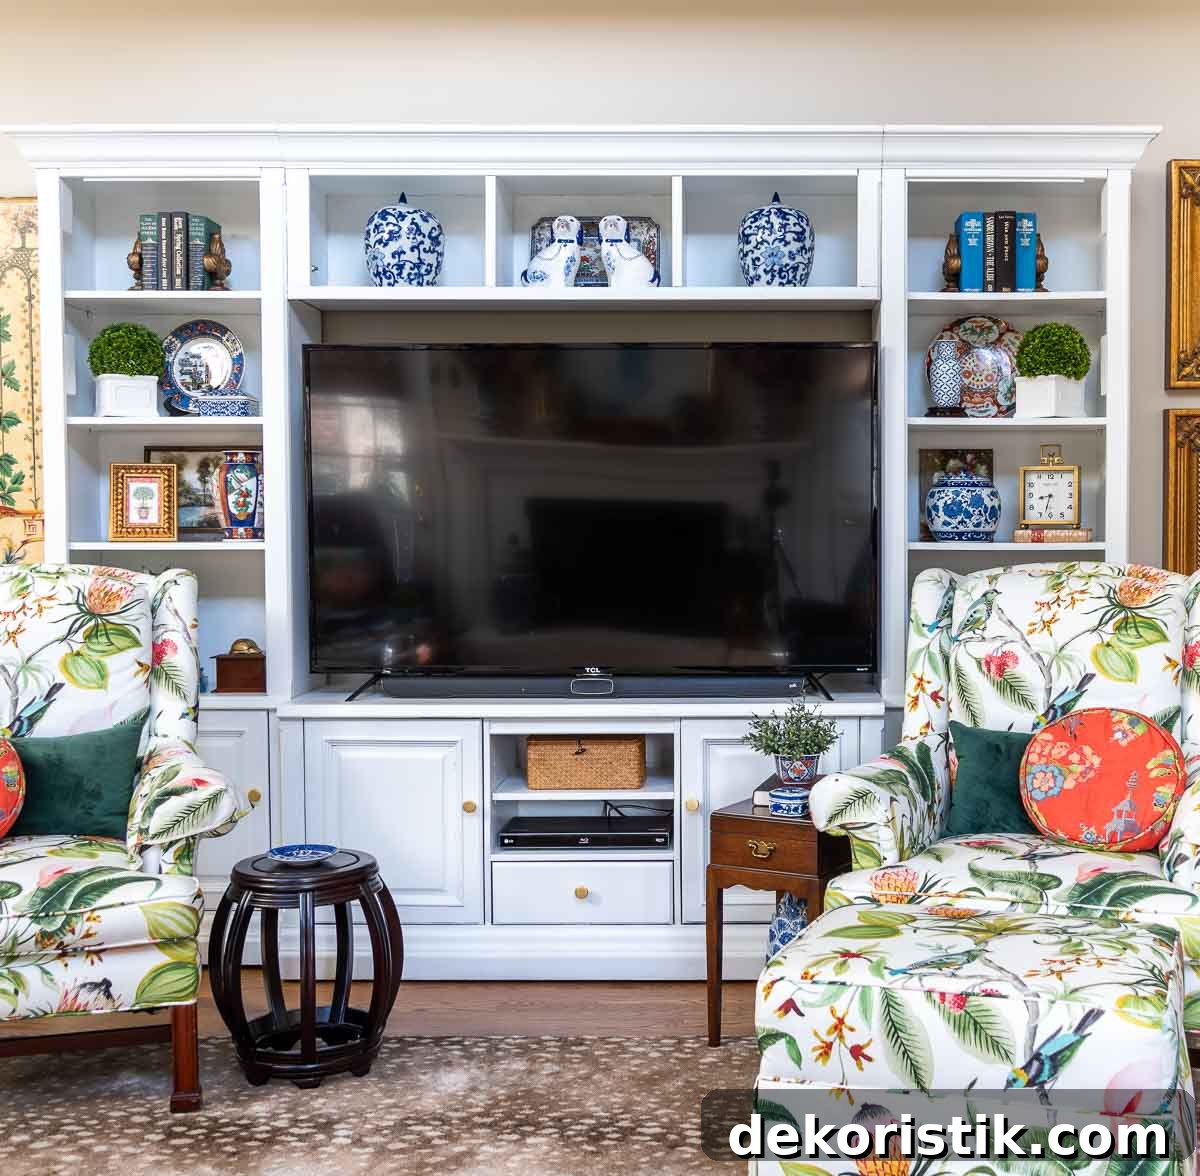
My daughter’s reaction was the sweetest validation: “Mom, that looks just like Pottery Barn!” Which is to say the makeover feels polished, intentional, and timeless. If you’re debating whether to update a built-in or large piece of furniture, a fresh paint job, thoughtful hardware, and careful editing of accessories can dramatically change the feel of a room without a major investment.
Quick Tips for a Furniture Makeover
- Choose a quality primer that will bond to the existing finish—oil-based primers are often used under latex topcoats for extra adhesion.
- Use a durable topcoat—semi-gloss or satin finishes clean well and show architectural details.
- Consider removing doors to open the piece, and fill hinge holes for a clean look.
- Swap hardware for an instant style update—small metal finishes change the mood dramatically.
- Let newly painted surfaces cure before loading them with objects to avoid marks.
- Shop your own home for styling pieces—editing what you already own can be more effective than buying new.
More How-To’s & DIY
- Small Living Room Ideas: How I Made Ours Beautiful and Functional
- Small Foyer Decorating Ideas for a Warm, Welcoming Entry
- How to Fix a Room That Feels Off
- How to Mix Decorating Styles to Keep Your Home From Looking Boring
- How to Decorate by Shopping Your Own House
- The Do’s and Don’ts of Home Decorating: Basic Tips for Getting It Right