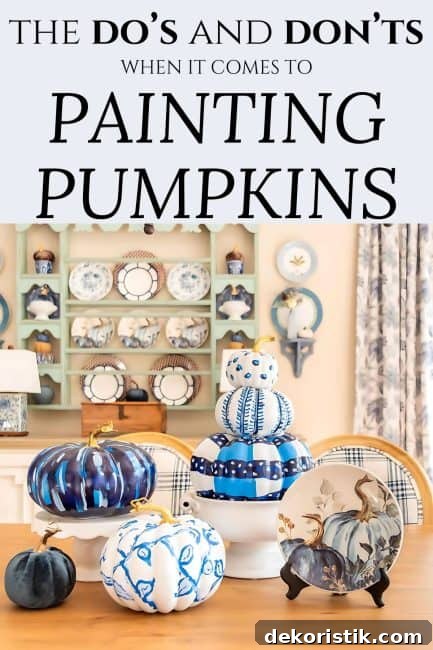
With just a few simple supplies and a little creativity, you can paint your own pumpkins for a fraction of the cost charged by professional artists. Painted pumpkins are an easy, budget-friendly way to refresh your fall decor and customize pieces to suit any color palette.
This post contains affiliate links from Amazon and other retailers. See my full disclosure.
Painted pumpkins are a major trend in fall decorating because they’re simple, fun, and highly customizable. You don’t need to be a professional artist to create attractive pieces—basic patterns like lines, dots, and vines go a long way, and imperfections often add to the charm.
My own painted pumpkins are far from perfect, but that uniqueness is what makes them special. If you prefer more detailed scenes, try drawing your design on paper first, then transfer it to the pumpkin. I experimented with a pagoda design, which didn’t turn out as planned, but simple motifs are easy to execute and look great grouped together.
Supplies used
I painted all of these pumpkins on a work table in my sewing room. Below are the basic supplies that worked well for this project. You can adapt based on what you already have.
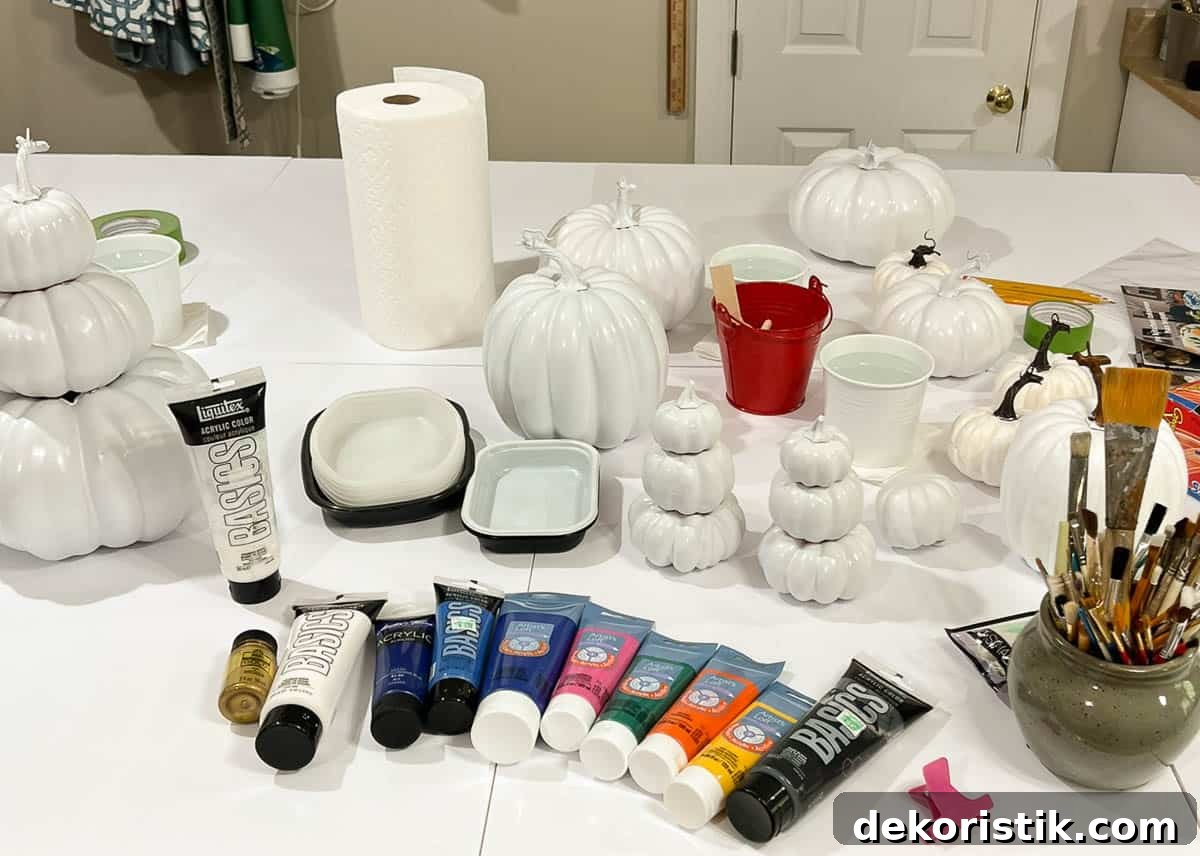
- Faux pumpkins (foam or plastic)
- Acrylic paints in your chosen colors
- Metallic gold or brass paint for stems and accents
- Assorted paint brushes (various sizes for detail and coverage)
- Trays for mixing paint colors (recycled containers work fine)
- Water for rinsing brushes and paper towels for wiping
- Pencils for lightly sketching designs before painting
- Gallon-size baggies for storing wet brushes between sessions
- Painters tape for blocking off areas if you want crisp edges
Tips for painting pumpkins
These practical tips will help your paint project go smoothly and improve the finished look.
- Protect your workspace with paper, plastic, or foam core—paint can seep through and stain surfaces.
- Faux pumpkins with shallow grooves are easier to paint cleanly than those with deep ridges.
- Wipe excess paint from the brush before you start to avoid drips and blobs.
- Practice your pattern on paper first so you’re comfortable with shapes and strokes.
- When mixing colors, start with the lightest tone and add darker shades gradually until you reach the hue you want.
- Consider hand dominance when deciding the paint direction to avoid smudging fresh paint.
- Allow each color or layer to dry thoroughly before applying the next to prevent bleeding.
- Paint stems and metallic highlights last to avoid smearing metallics into base colors.
- If you don’t like a design, let the paint dry and then paint over the pumpkin with a neutral base (white or a light shade) before starting again.
- Imperfections are part of the handmade look—embrace them.
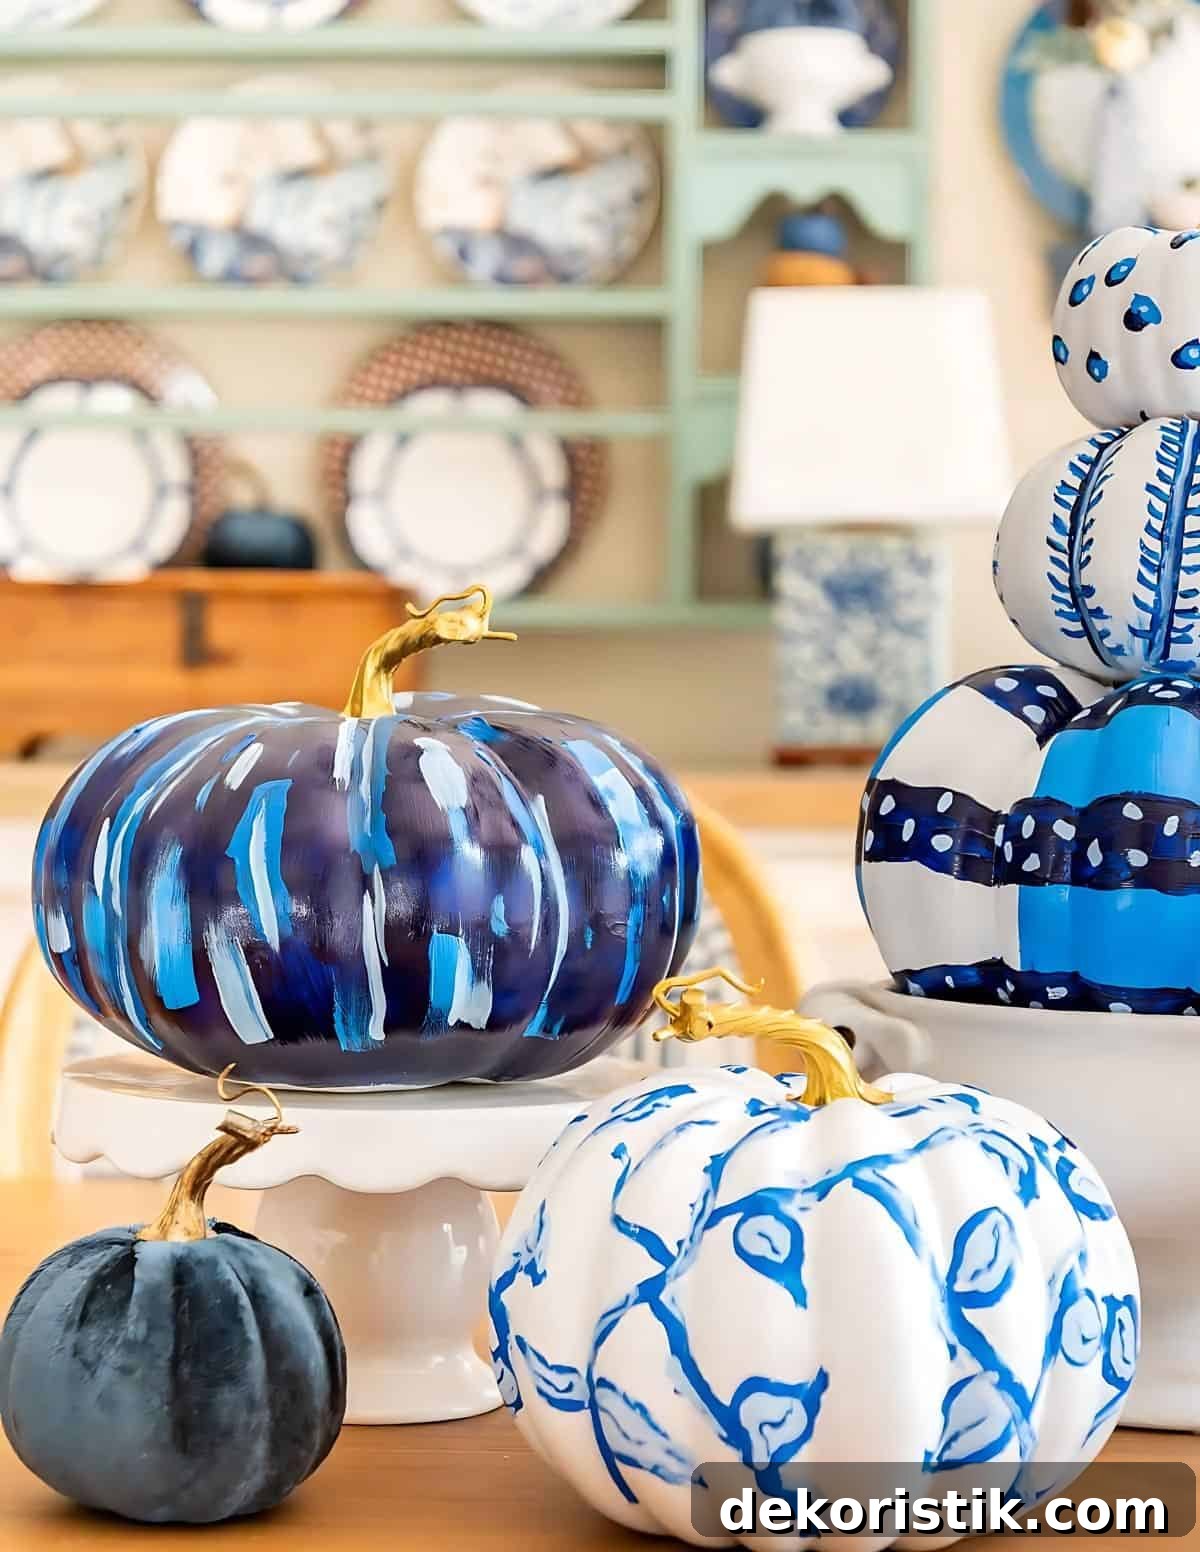
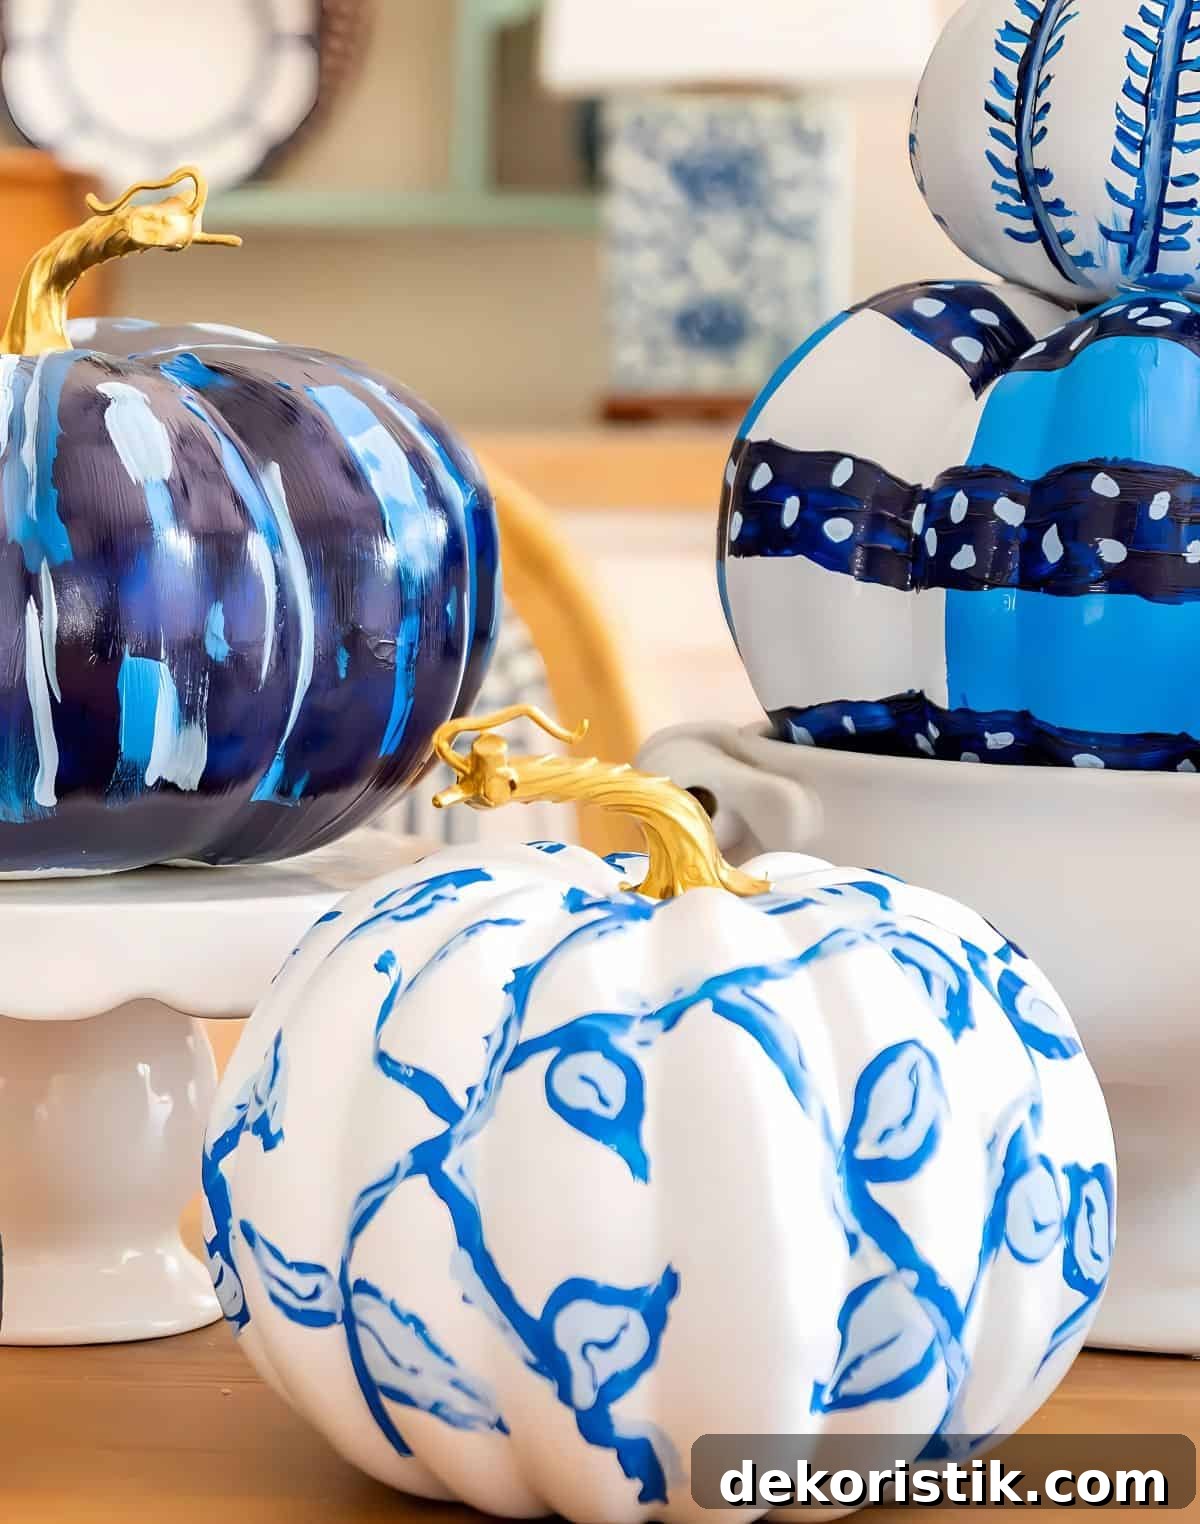
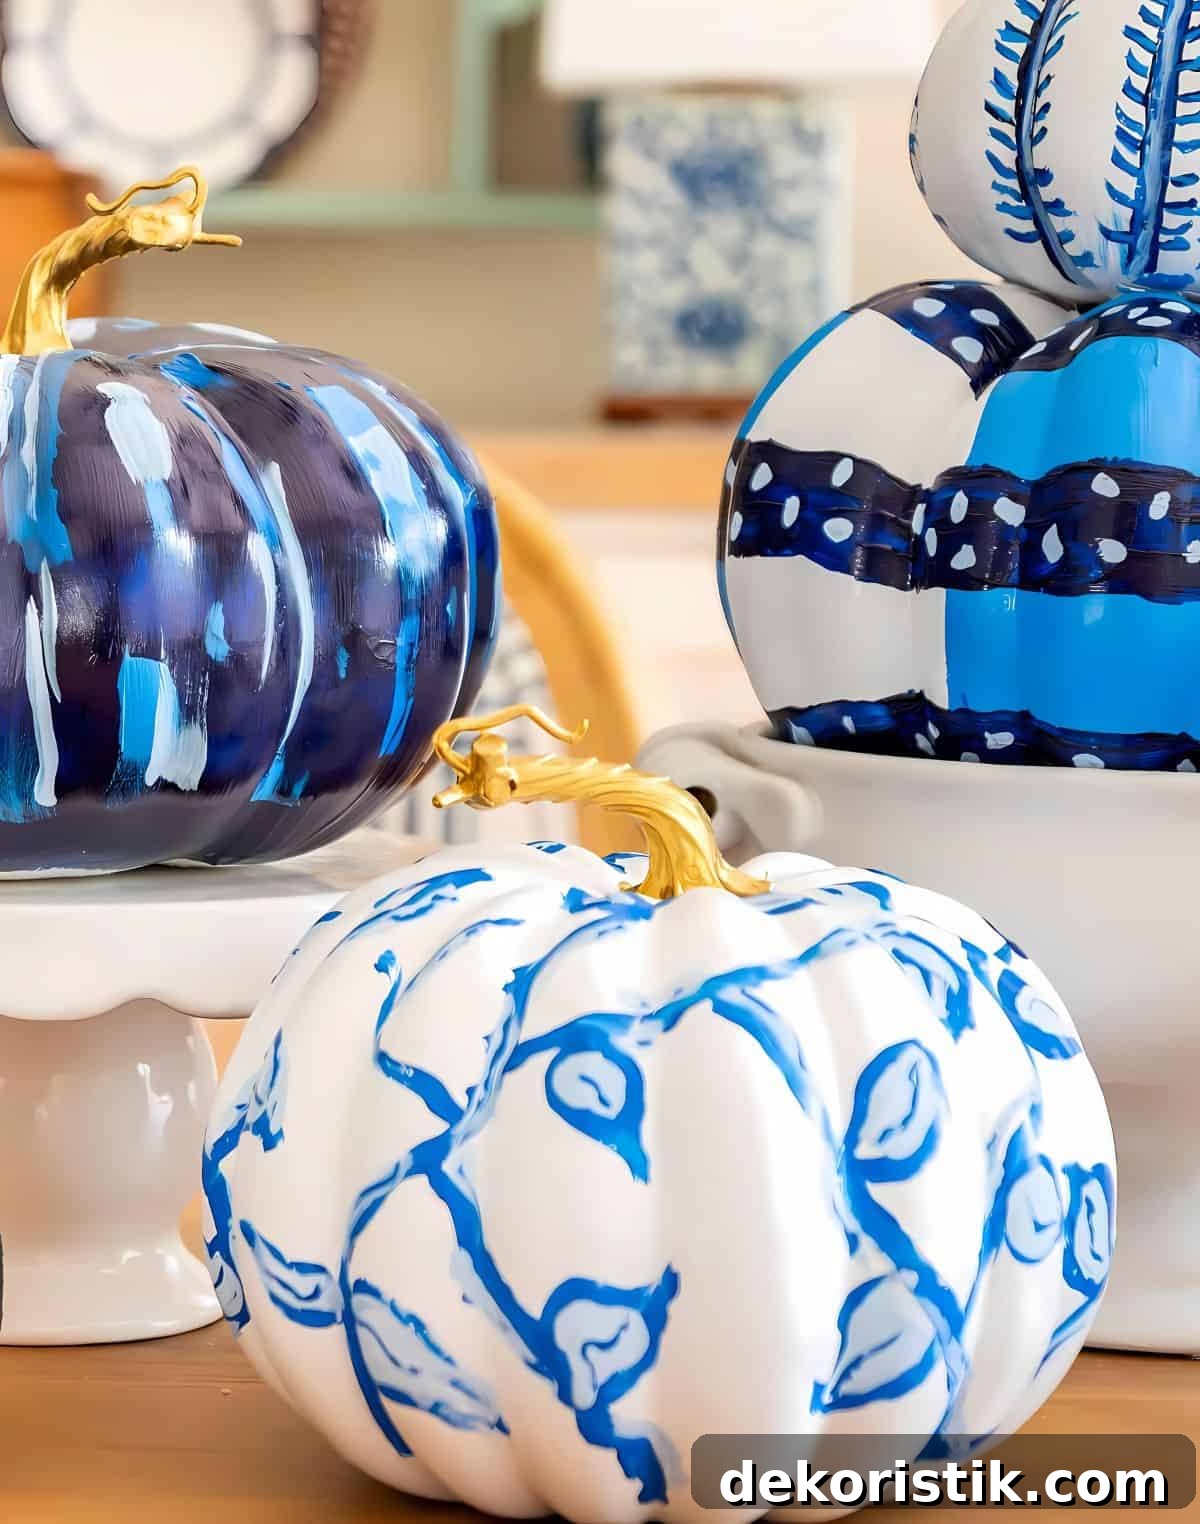
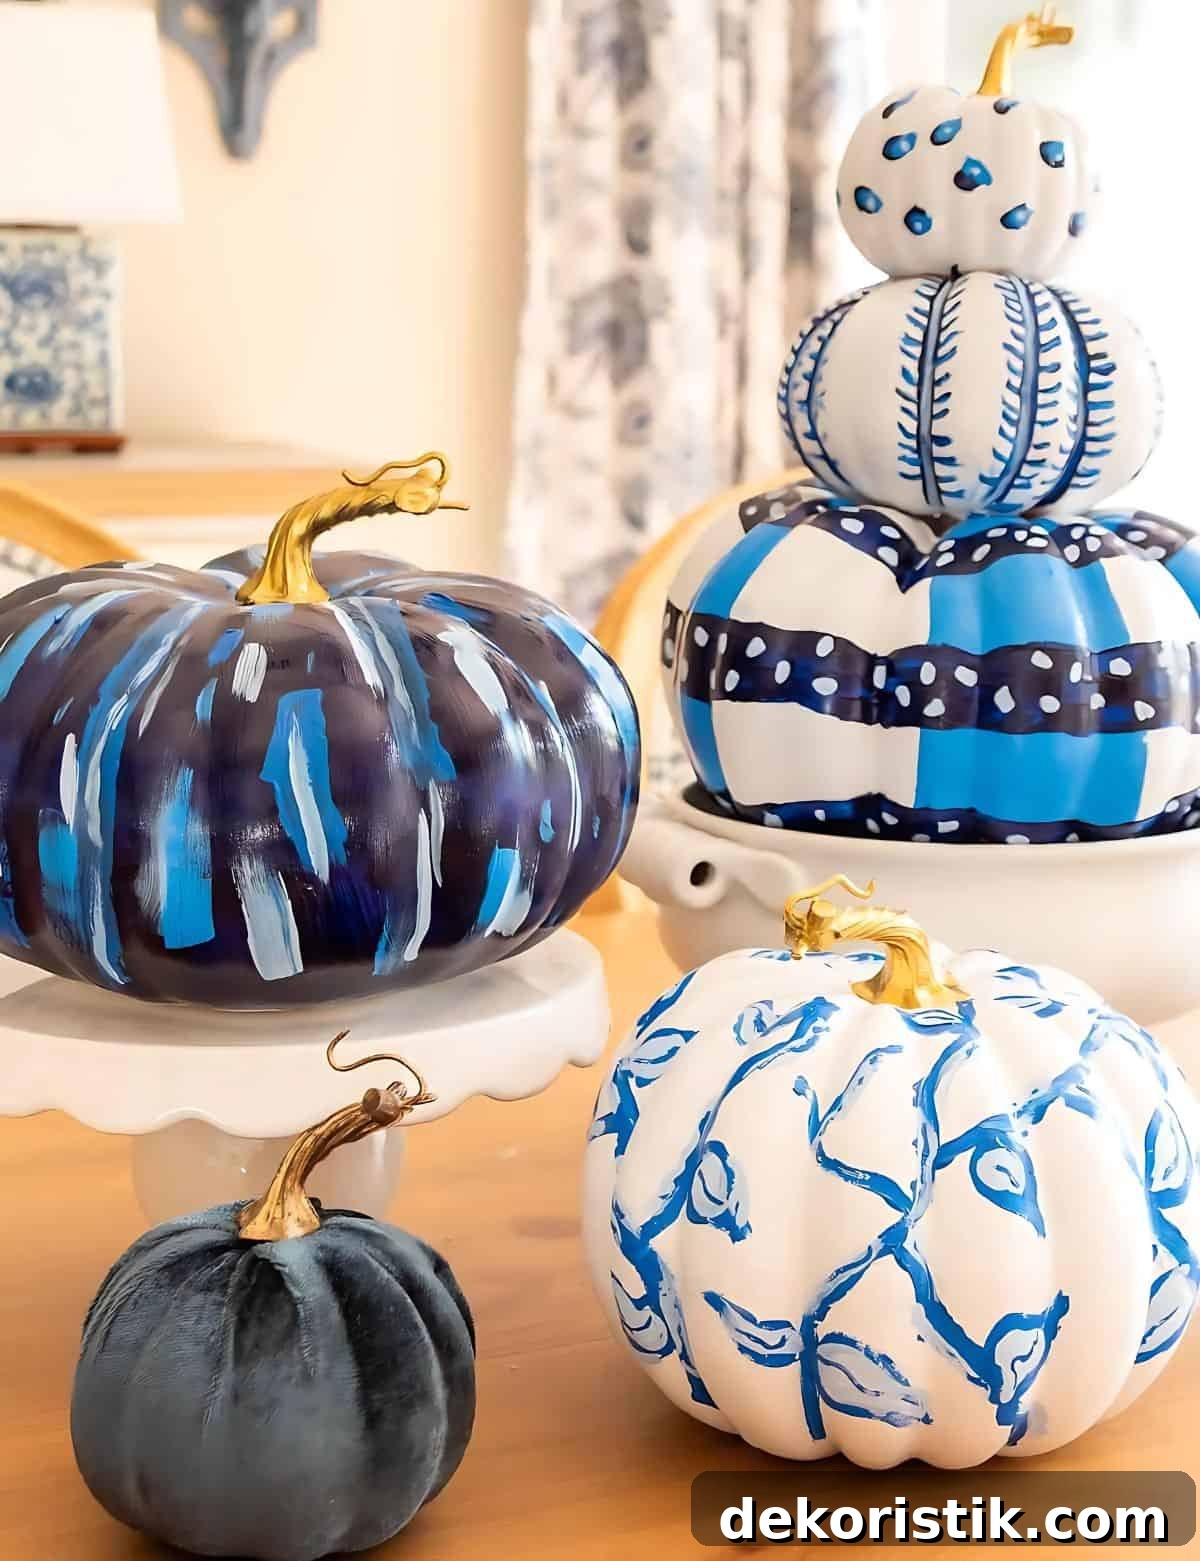
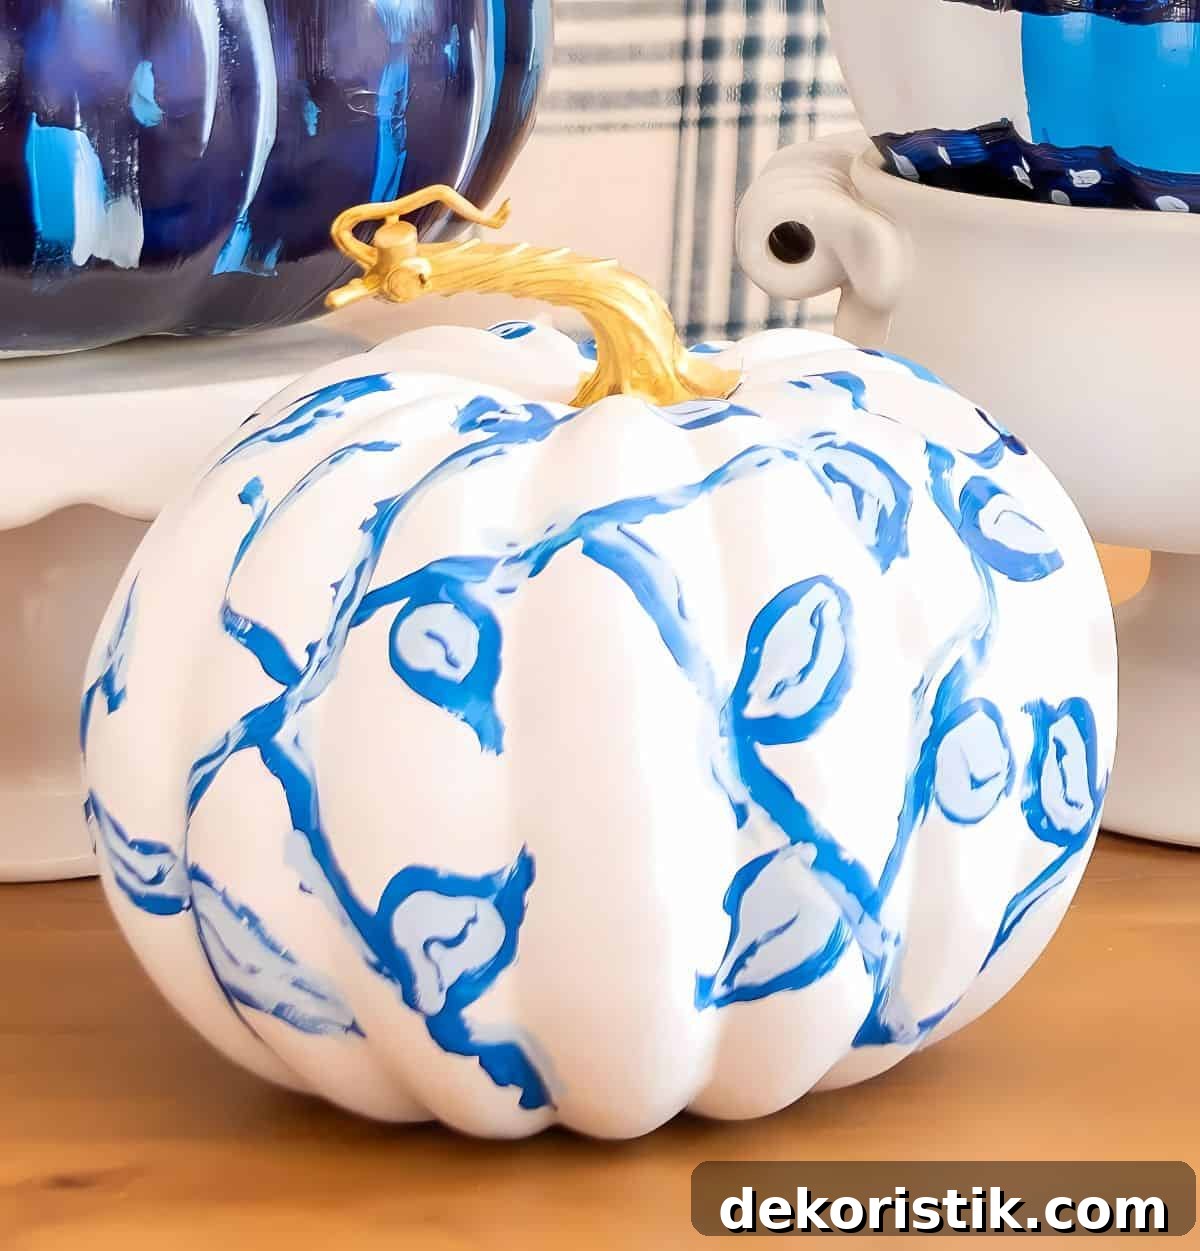
My favorite pumpkin features freehand vines and leaves painted in two shades of blue to create depth. I painted the darker shade first, then added lighter blue inside the leaves and along the vine edges. A thin line of the lighter blue down the middle of each leaf gives them a more realistic look.
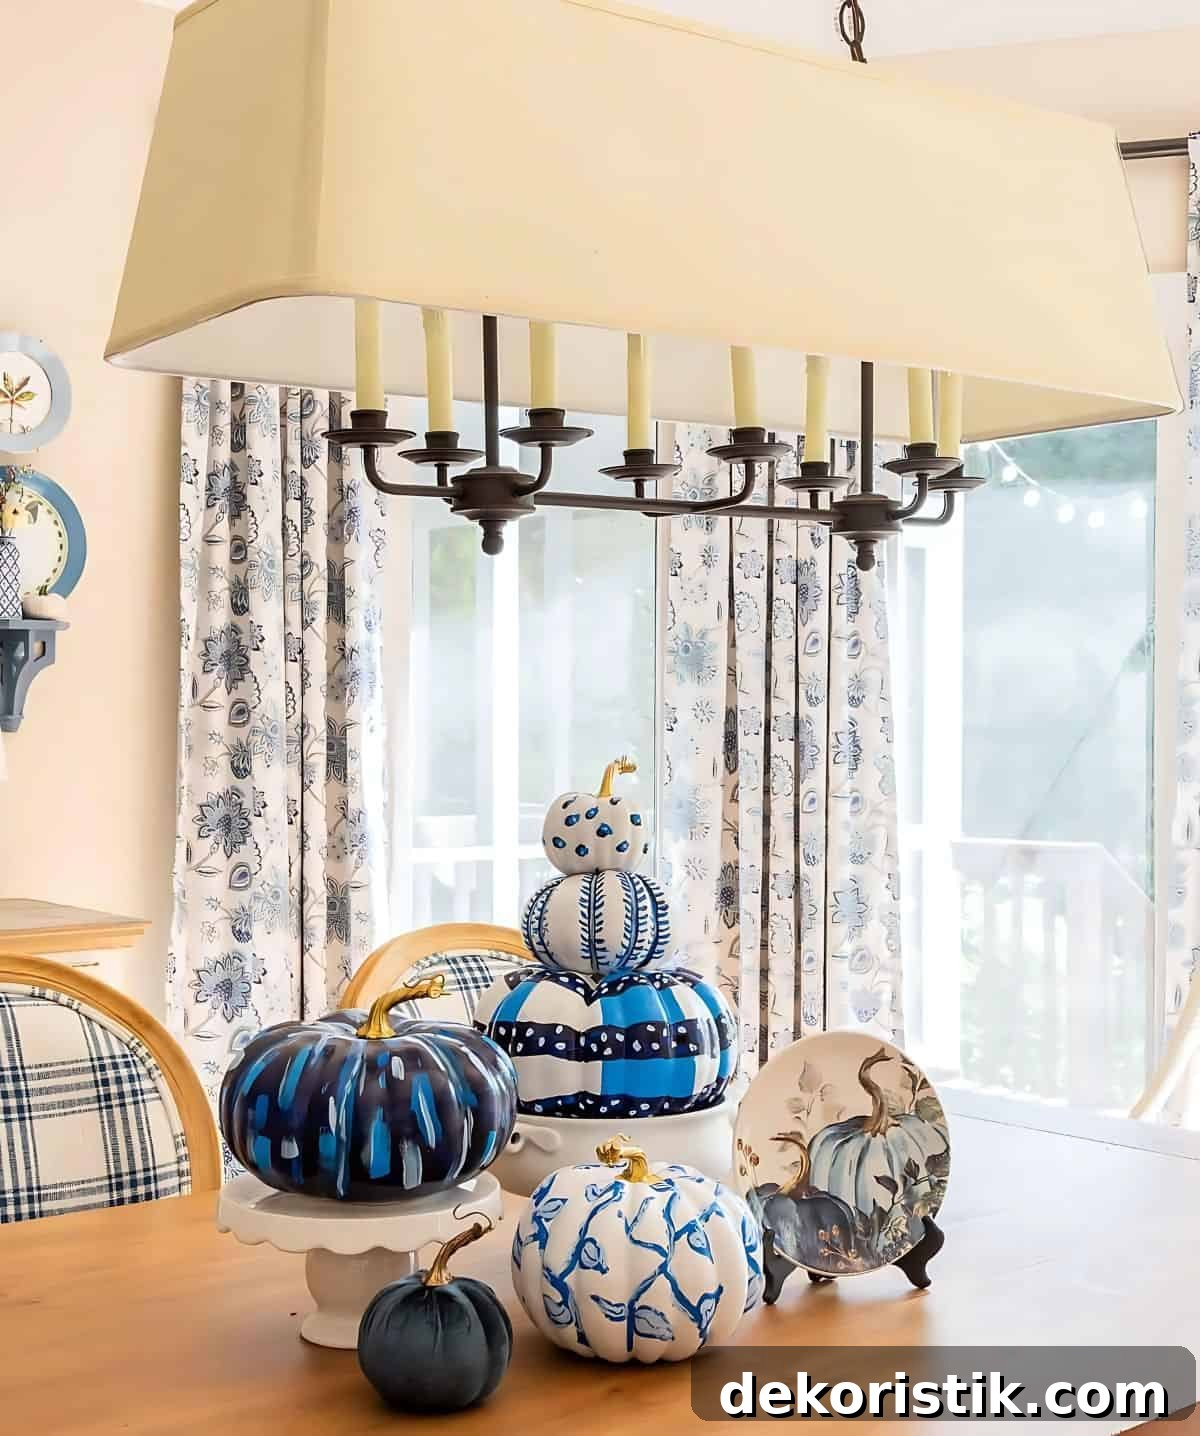
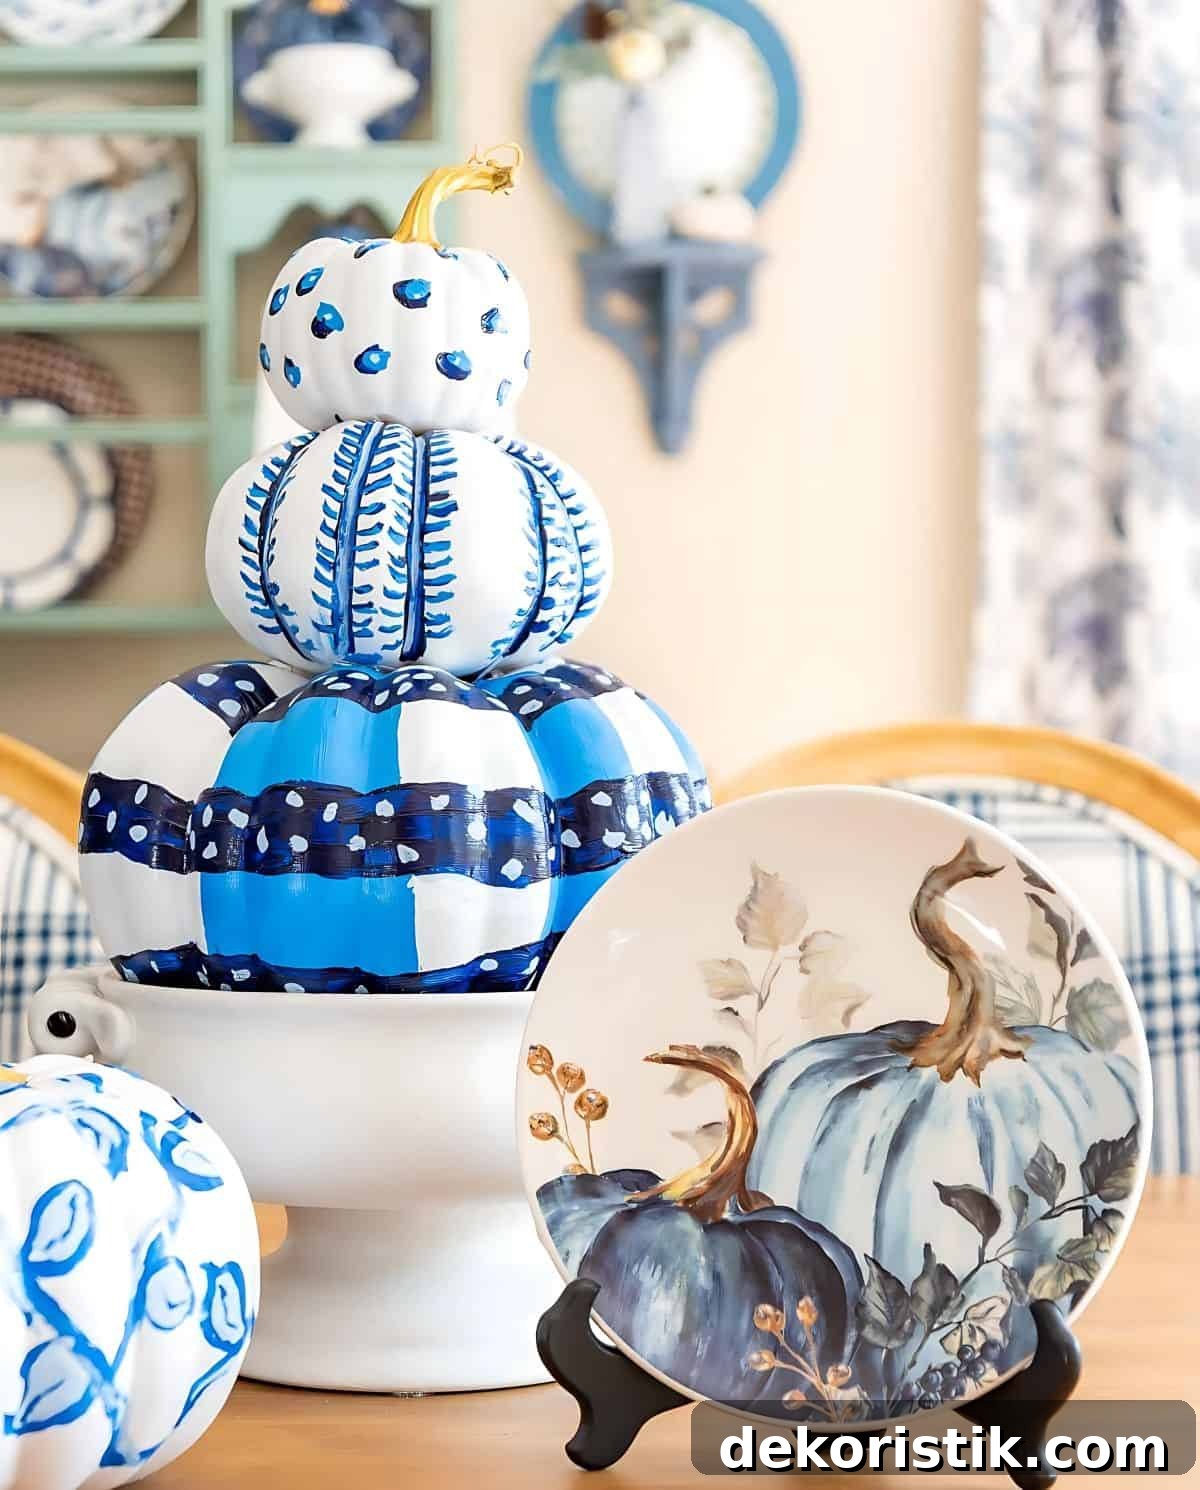
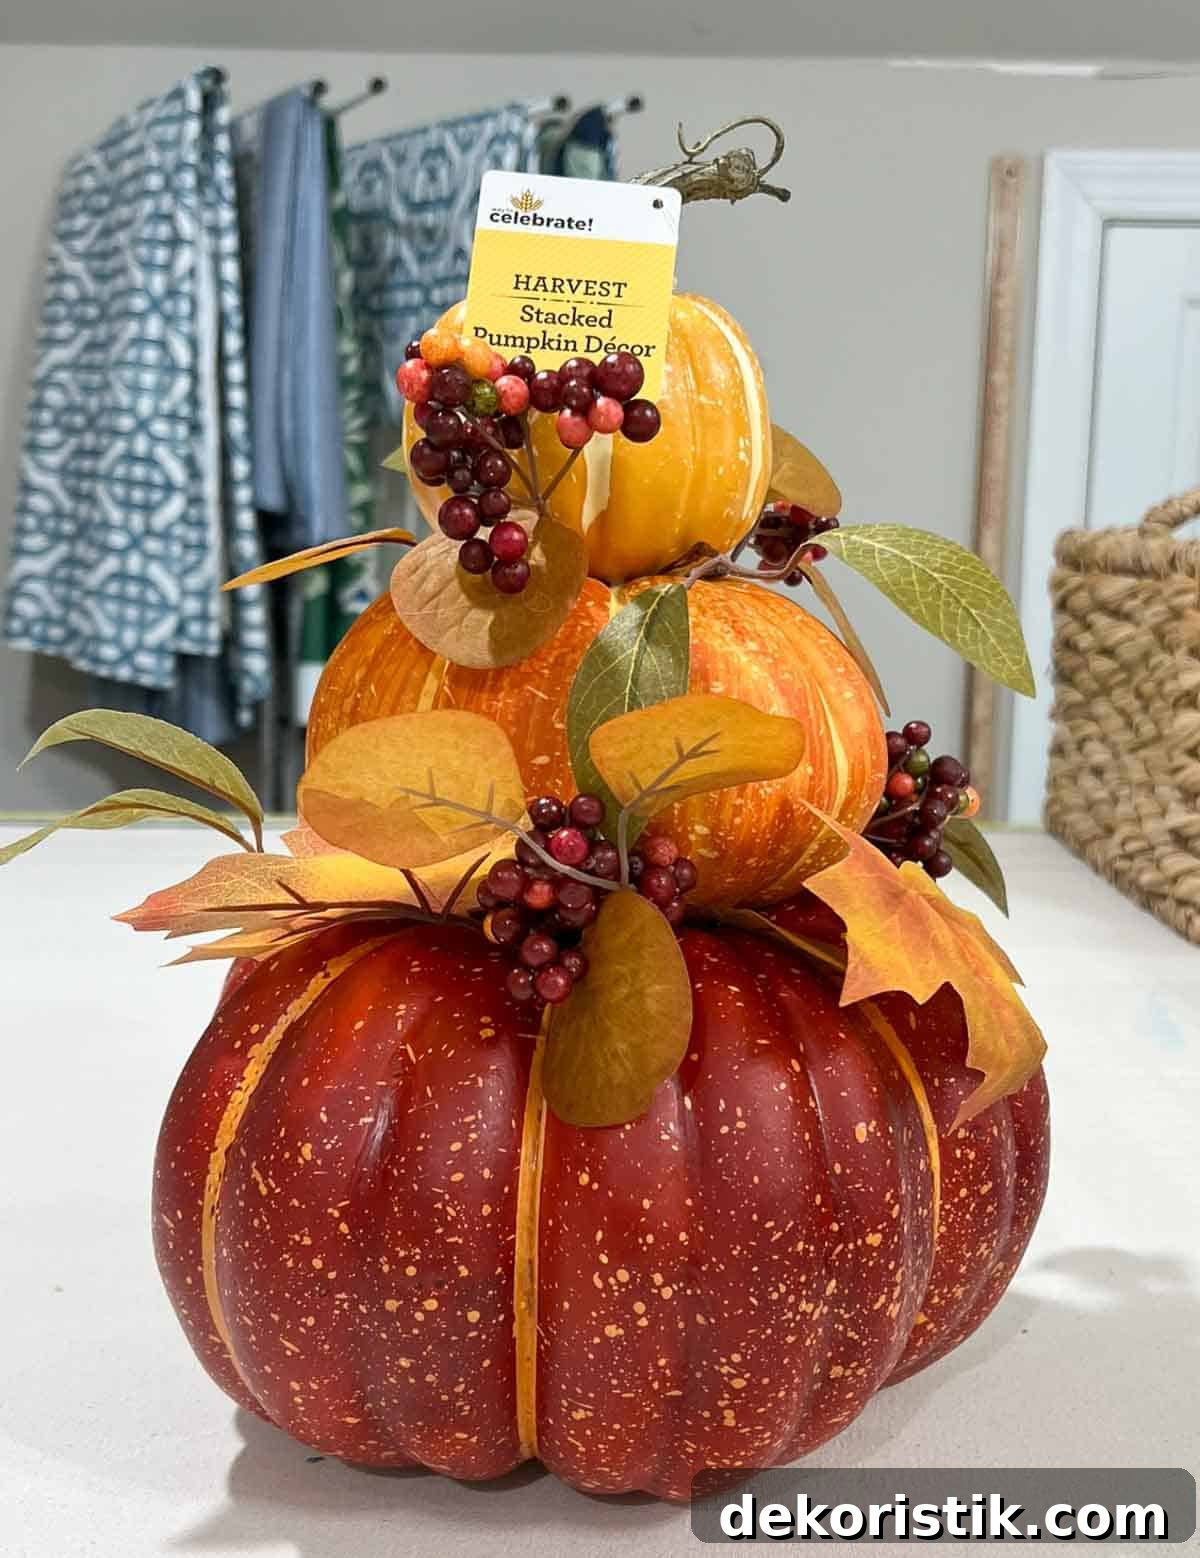
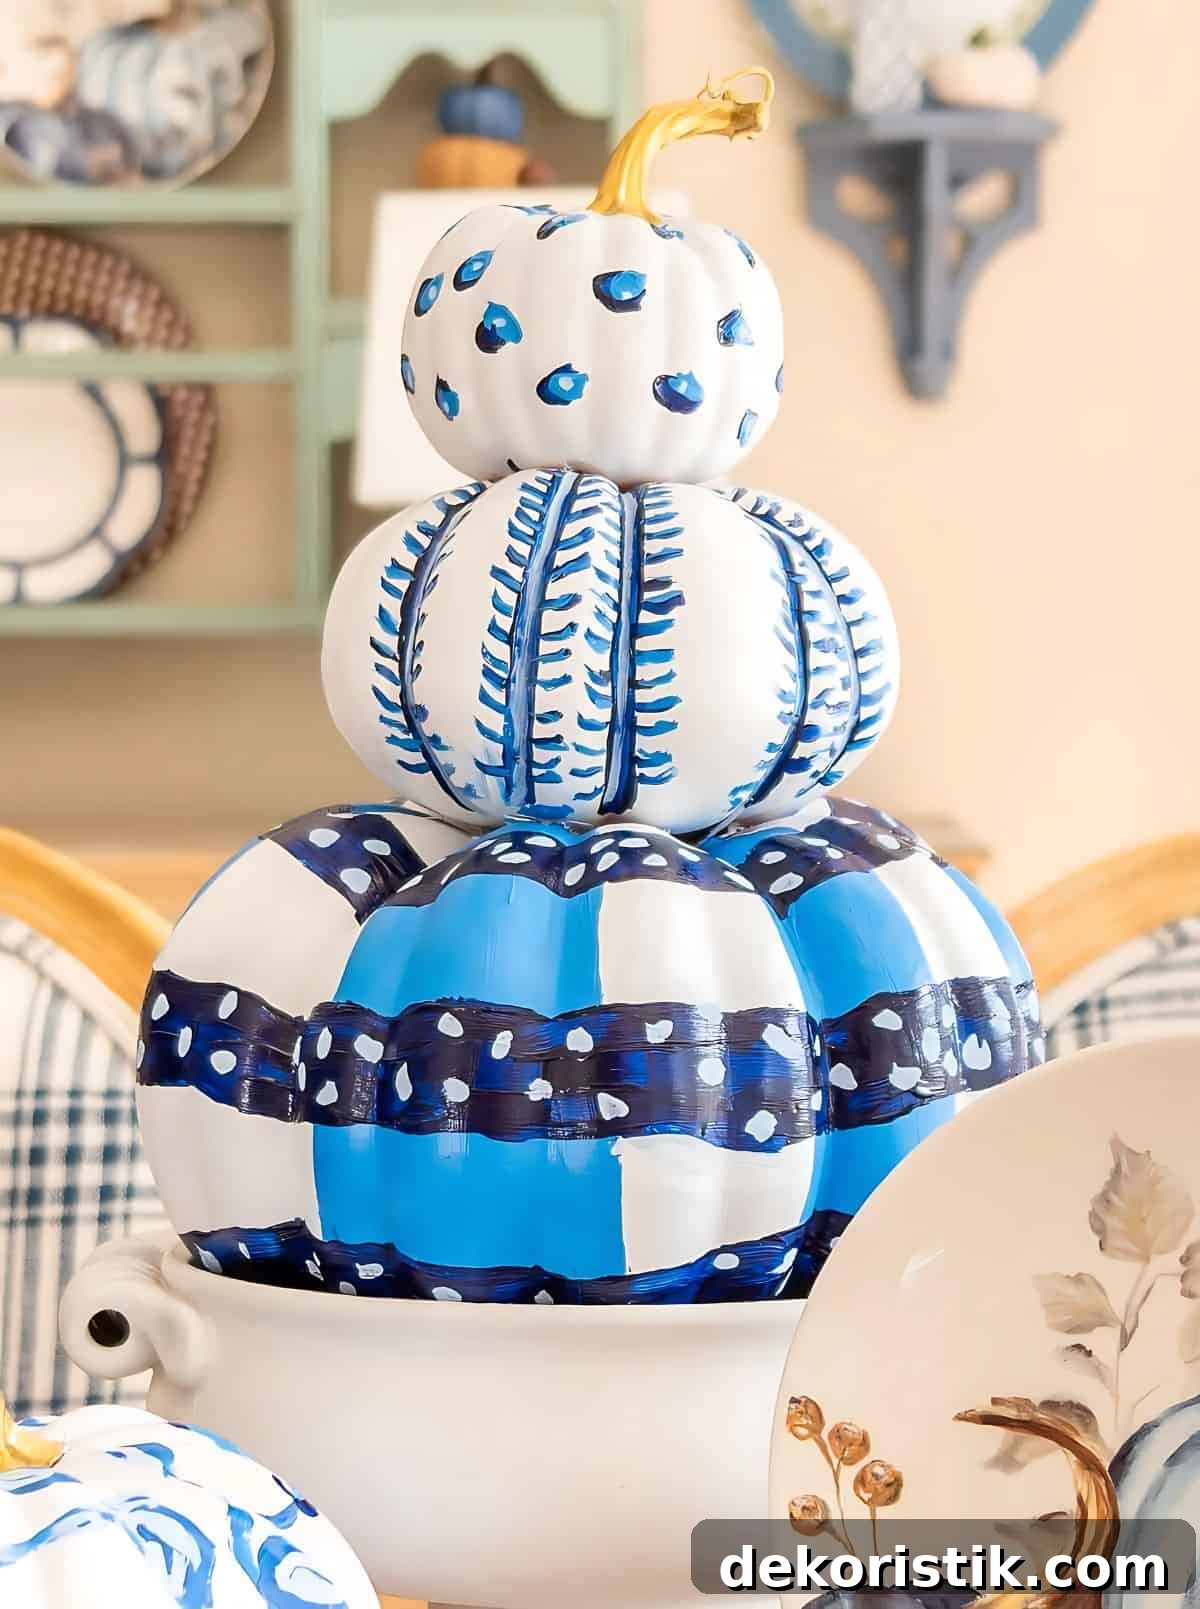
The pumpkin topiary was especially fun. I removed the original leaves and berries and worked section by section, using the same color family but varying the pattern. The bottom section became stripes with smudged dots for texture. The middle section featured curved “leaf” brush strokes inside the crevices, layered with a lighter color for dimension. The top section was treated with larger smudged dots layered in several shades to mimic an abstract leopard print. Mistakes happened—and are visible—but the overall effect is cohesive and playful.
The easiest pumpkin was a solid dark-blue piece. I emphasized the grooves by dry-brushing lighter blue into the indentations and adding loose brush strokes around the body. One minor error left a small unpainted area near the bottom, which shows in photos but reads as a shadow in person. Little imperfections like that are barely noticeable when the pumpkins are grouped together.
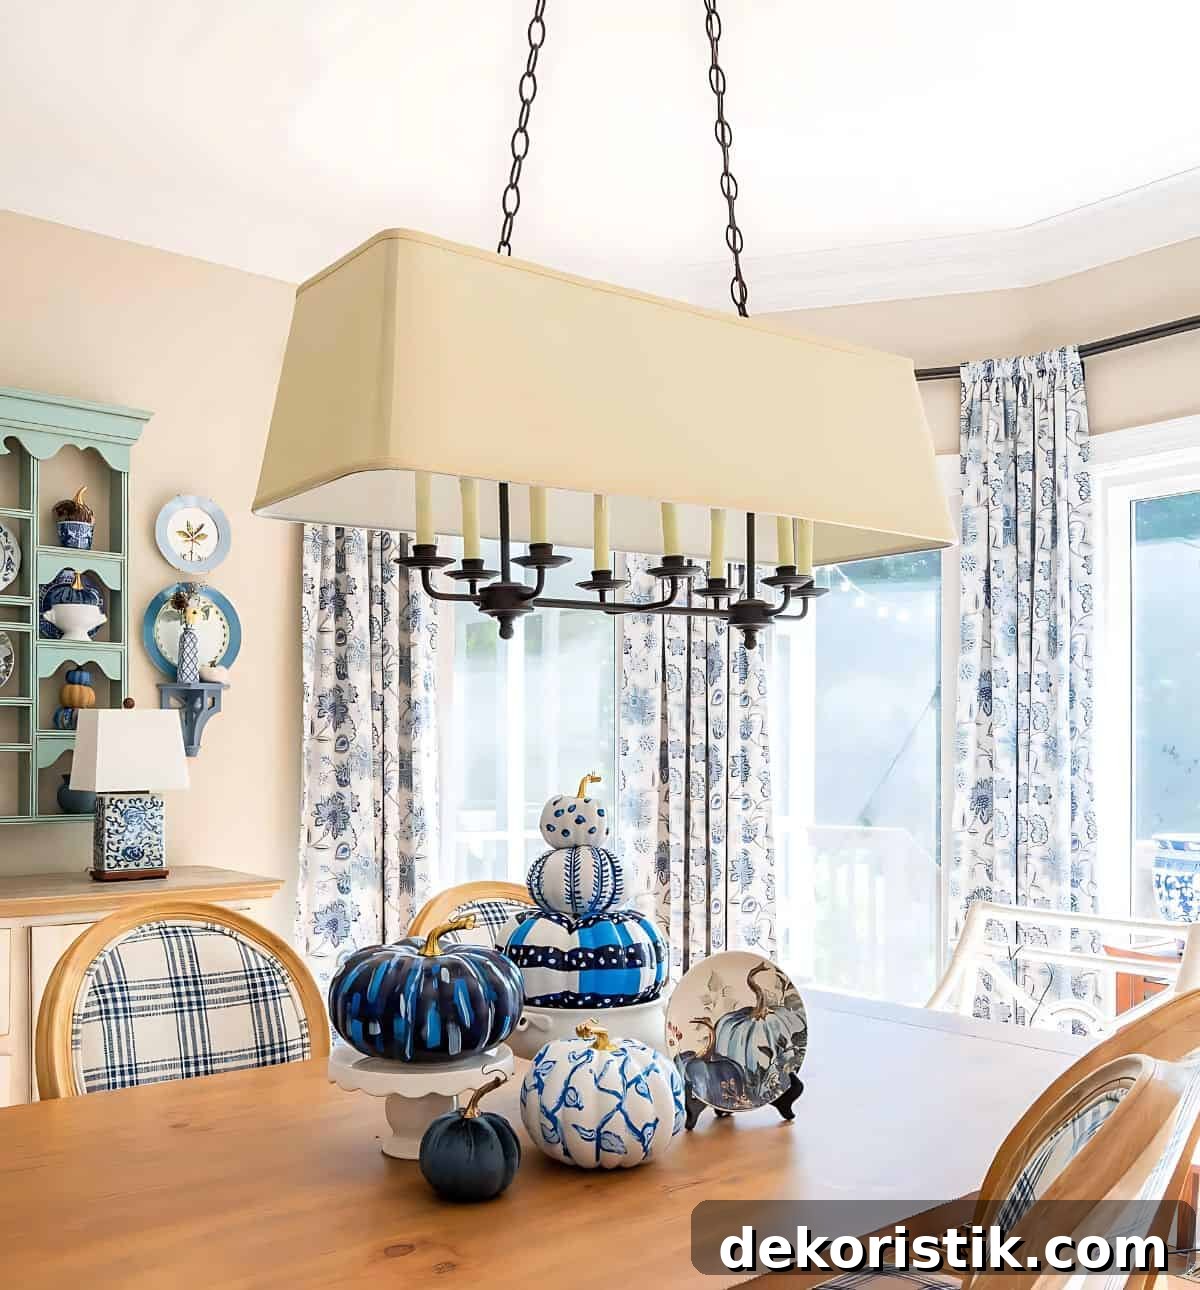
This year I arranged the pumpkins into a centerpiece, but they can be displayed on a mantel, entry table, porch grouping, or scattered around a room for a coordinated fall look. Mixing patterns, finishes, and sizes will make the display feel intentional and handcrafted.
Creating a DIY painted pumpkin centerpiece is not only enjoyable—it’s also a great way to personalize your seasonal decor. The handmade quality and mix of colors and patterns ensure each piece is one-of-a-kind. Gather your supplies, experiment with shapes and textures, and most importantly, have fun. Happy pumpkin painting!