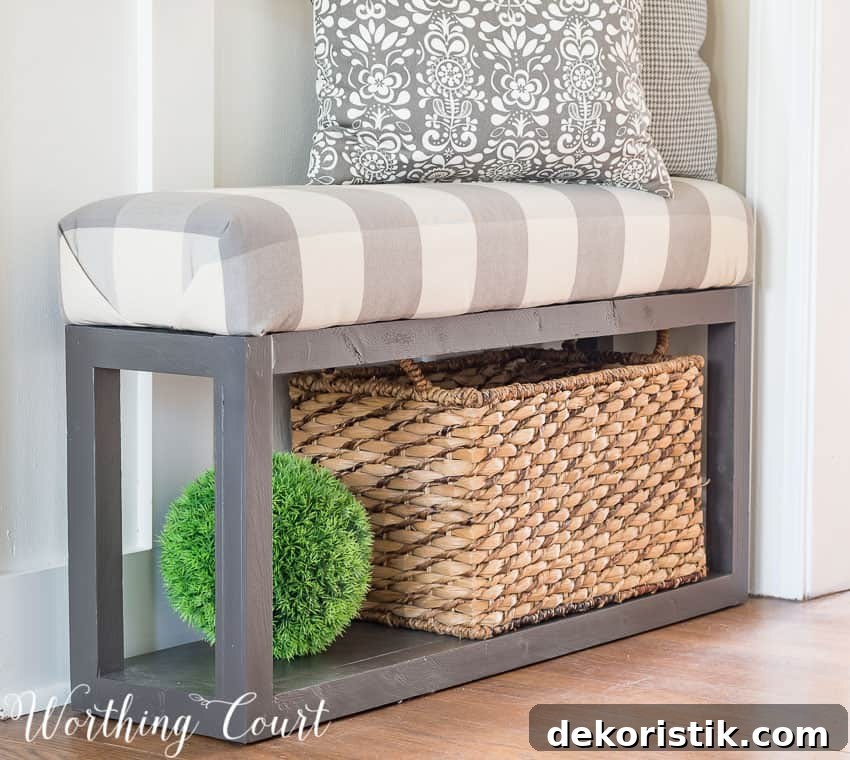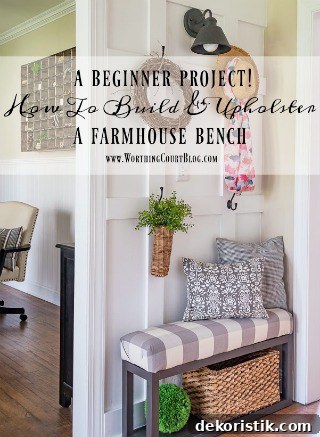
At the end of Part 1 of this farmhouse bench tutorial we had finished building the bench base. If you missed Part 1, follow the included link to review construction tips and measurements before continuing. With the base complete, the next steps are painting the frame (if desired), building and upholstering the seat frame, and attaching the finished seat to the bench.
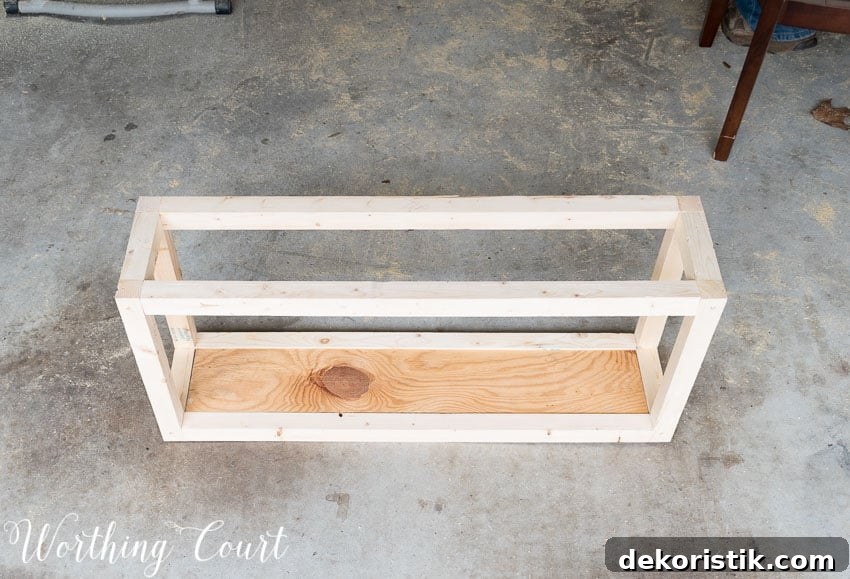
Before upholstering, paint the bench base. I used spray paint for a smooth finish; if you want details on paint types and application, consult the referenced painting guide. You don’t need to paint the seat frame because the fabric will fully cover it.
SUPPLIES NEEDED TO BUILD AND UPHOLSTER ONE SEAT FRAME:
- 1 – 2″ x 2″ board, at least 8′ long
- 1 piece of ¾″ thick plywood (cut to seat dimensions)
- 2½″–3″ wood screws
- Chop saw
- Circular saw or jigsaw
- Drill and drill bits
- Screwdriver (if not using a drill)
- 1 – 36″ long x 9″ wide x 2″ thick piece of foam rubber (adjust thickness as desired)
- Spray adhesive
- 1 yard batting, at least 48″ wide
- 1 yard upholstery fabric, at least 48″ wide
- Staple gun and staples
- Scissors
STEP 1: Assemble the seat frame
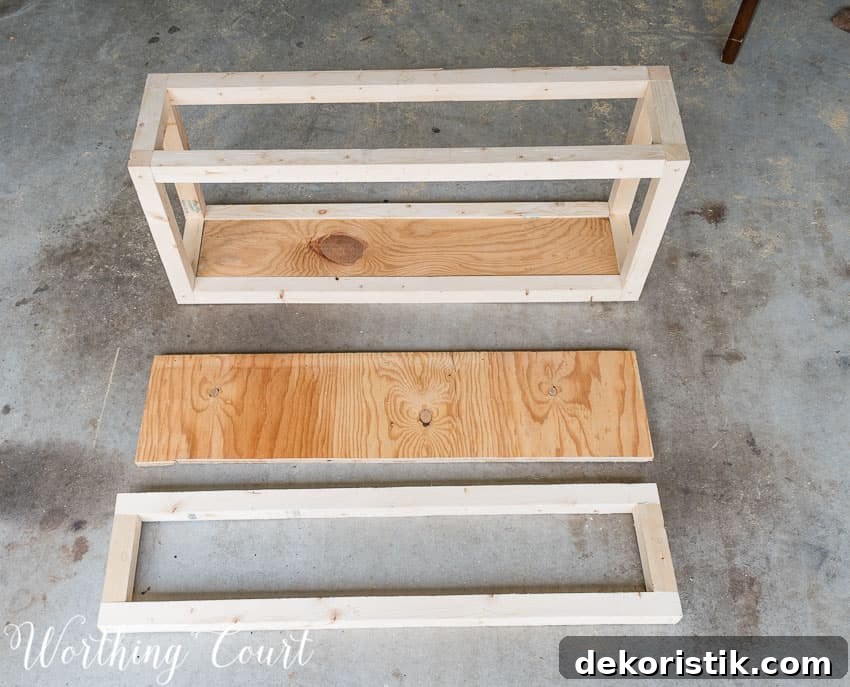
Cut the 2″ x 2″ boards to the following lengths: two pieces at 36″ and two pieces at 7″. Cut a piece of ¾″ plywood to 36″ long x 9″ wide for the seat surface.
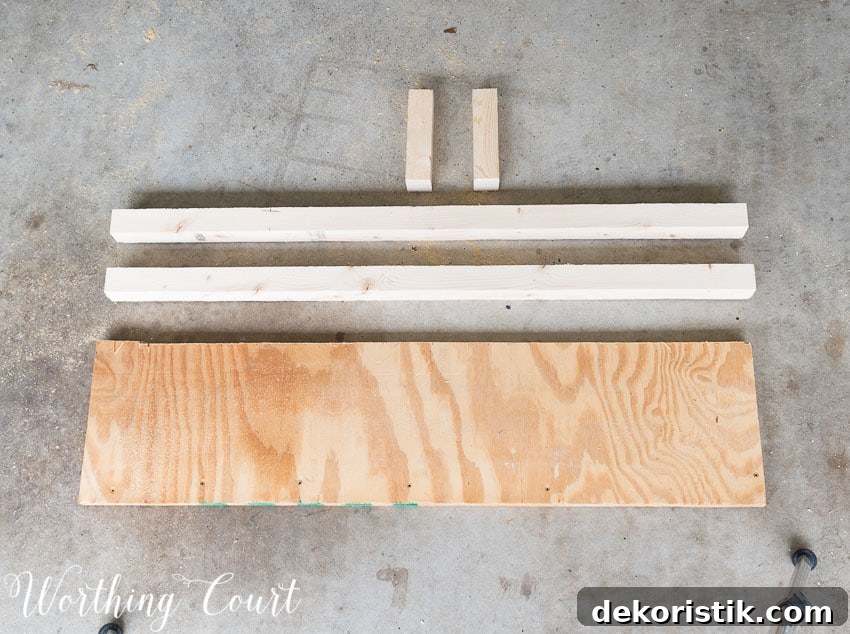
Assemble the 2″ x 2″ pieces into a rectangular frame using wood glue and screws. Then attach the plywood seat to the top of that frame. This creates a sturdy base for the foam and upholstery. Note: once the plywood, frame, and foam are combined, the finished seat will be about 4″ thick. If you prefer a slimmer profile, reduce the foam thickness or adjust the frame height accordingly.
STEP 2: Attach the foam to the seat frame
Spray the plywood top lightly with adhesive and press the foam firmly onto the seat. Smooth the foam so it aligns with the frame edges. An electric knife or long serrated blade makes cutting foam to size much easier and yields a cleaner edge.
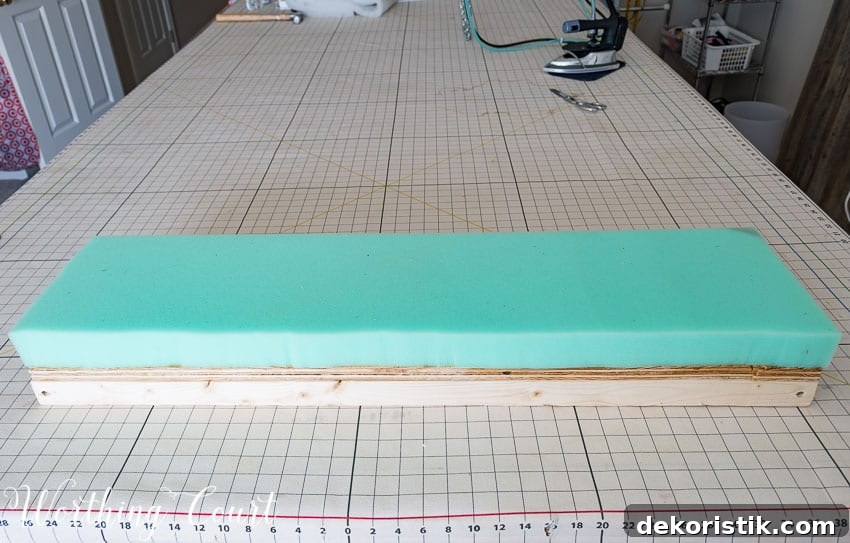
Here’s what the underside looks like after the foam has been attached to the plywood seat.
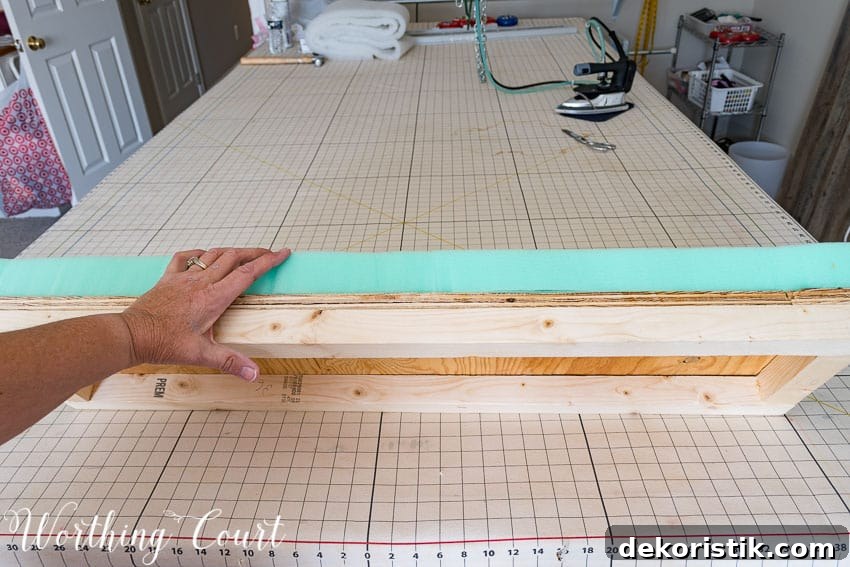
STEP 3: Upholster the seat
Lay your fabric right side down on a clean work surface. Place the batting on top of the fabric and smooth both layers to remove wrinkles. Position the seat frame, foam side down, on top of the batting, aligning any patterned fabric so the design sits straight across the seat.
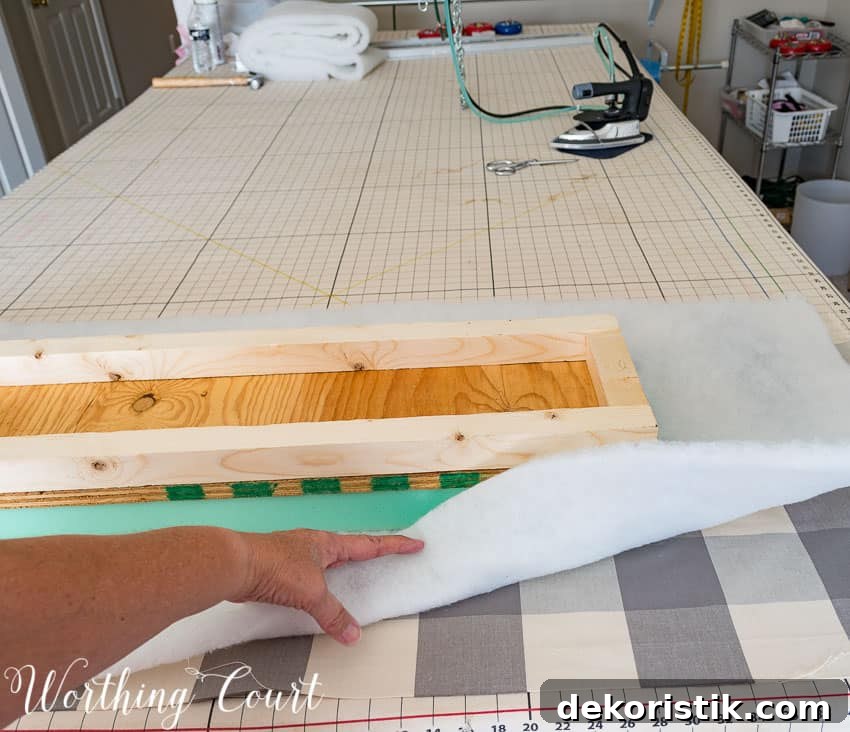
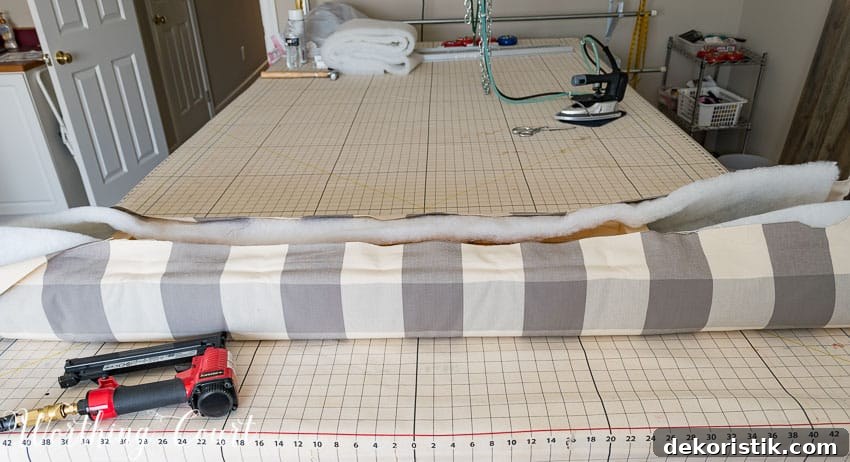
Begin stapling in the center of one long side. Pull the fabric and batting taut (but not stretched), and place a matching staple in the center of the opposite long side. Work outward from the center, alternating sides and placing staples approximately every 3″. Alternating sides helps keep the fabric even and prevents distortion of the pattern.
Tips while stapling:
- Regularly check the top of the seat to ensure there are no wrinkles or puckers.
- If your fabric has a pattern, confirm alignment as you staple.
- If a staple is misplaced, remove and reposition it—this is a normal part of the process.
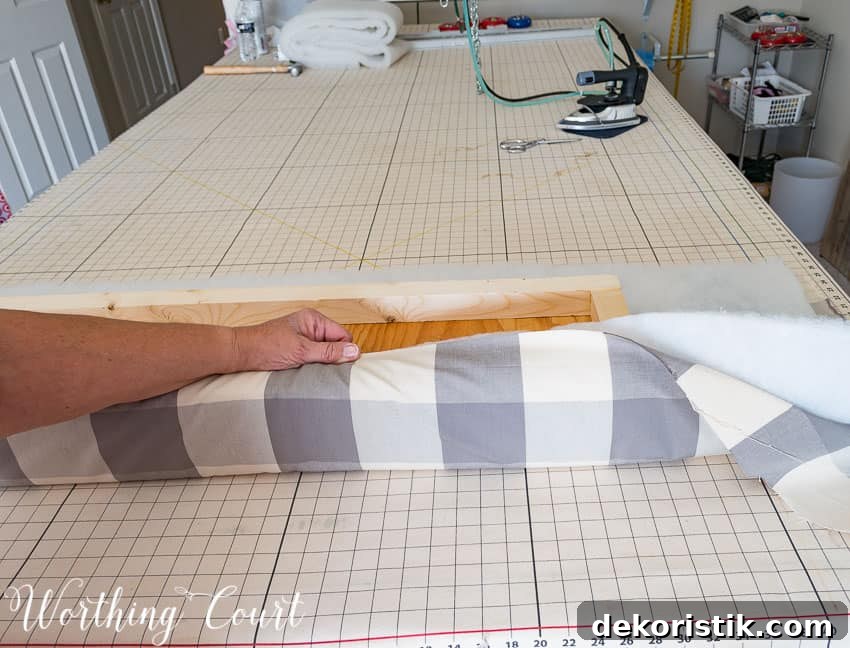
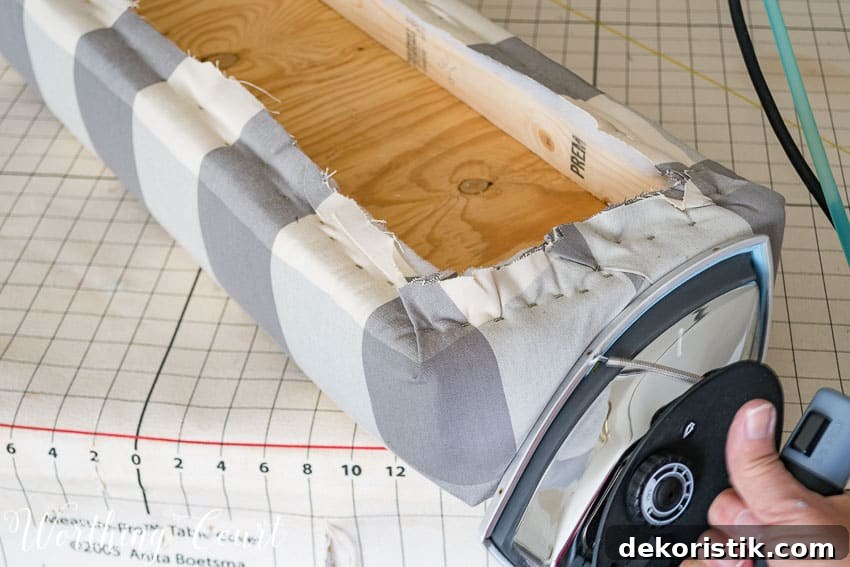
After both long sides are secured, move to the ends. Pull the fabric up at one end and secure a few staples near the center, then work outward toward each corner. For the corners, fold the batting up to a point and trim the excess at an upward angle to reduce bulk—be careful not to cut through the outer fabric. Fold the fabric neatly like wrapping a present, smoothing as you go, and secure with staples. Corners may take a few tries to get smooth; patience yields a clean finish.
STEP 4: Finishing touches
Once all sides and corners are stapled, add extra staples where needed to ensure the fabric is secure and smooth. Trim excess batting and fabric close to the staples for a tidy underside. If your fabric tolerates heat, pressing the folded corners briefly with a steam iron can help flatten and set the folds for a more polished appearance.
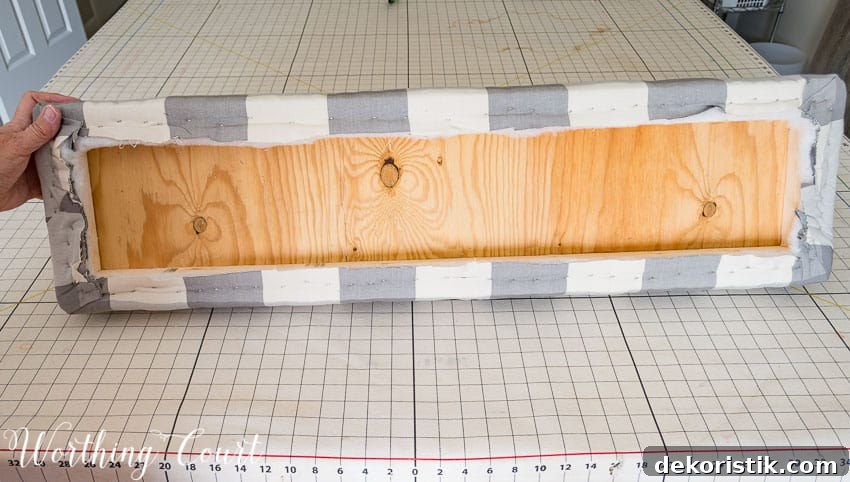
STEP 5: Attach the upholstered seat to the base
With the seat finished, place it foam-side up and lay the painted bench base on top, aligning edges and pattern if needed. From underneath, screw through the 2″ x 2″ frame up into the seat to secure it. Use long wood screws and pre-drill to prevent splitting. Check alignment and tighten screws until the seat feels solid and stable.
And that’s it — your upholstered farmhouse bench is complete and ready to use. This project is easy to adapt: change dimensions, foam thickness, or fabric style to create a custom bench for an entryway, dining area, or bedroom. Enjoy your handcrafted bench and the satisfaction of a finished upholstery project.