
A full before tour and modern traditional plans for updating and completing our master bathroom renovation.
This post contains affiliate links. See my full disclosure HERE.
When we bought our house nearly six years ago, it was a mid-90s home in need of a complete makeover. Most rooms required cosmetic updates like new paint and flooring, but the master bathroom demanded a more substantial renovation. Over time we’ve transformed it from dated and wallpaper-heavy to a bright, functional space—yet several finishing touches remain to achieve the modern traditional look I’m after.
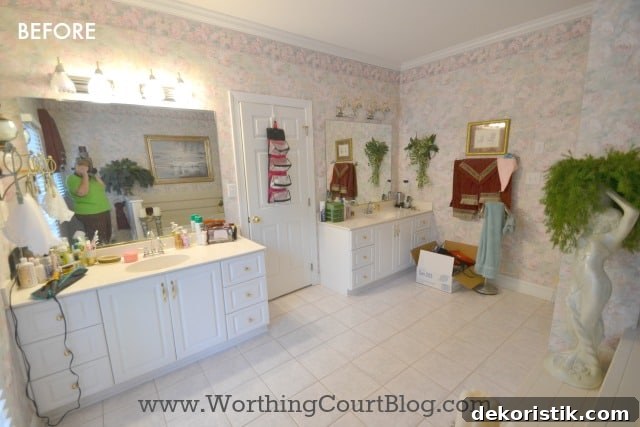
On our initial remodel we removed all the wallpaper, painted the walls, and replaced the floor tile. We also added a ceiling fan and made multiple upgrades to the vanity wall:
- Raised each vanity by 6 inches for a more comfortable height
- Installed new vanity tops
- Replaced the faucets
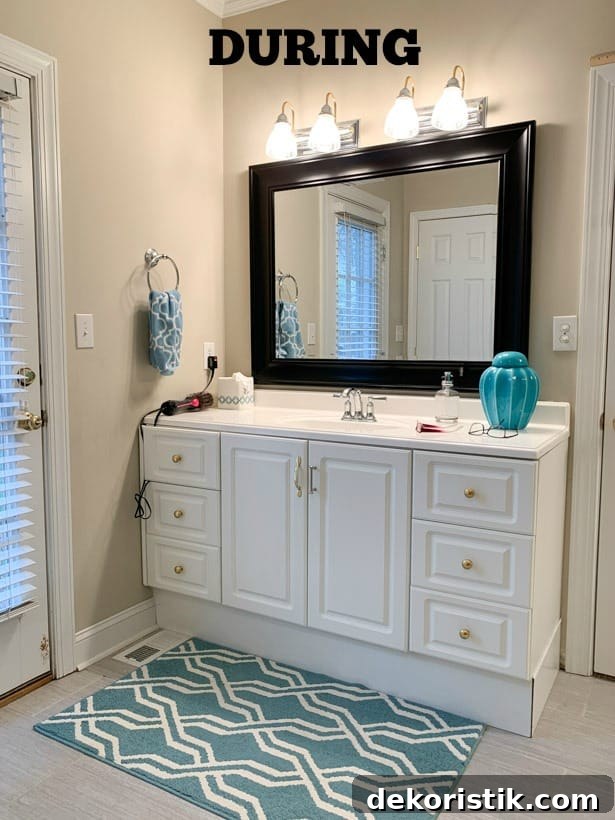
- Removed the oversized original mirrors and installed inexpensive temporary mirrors as a stopgap
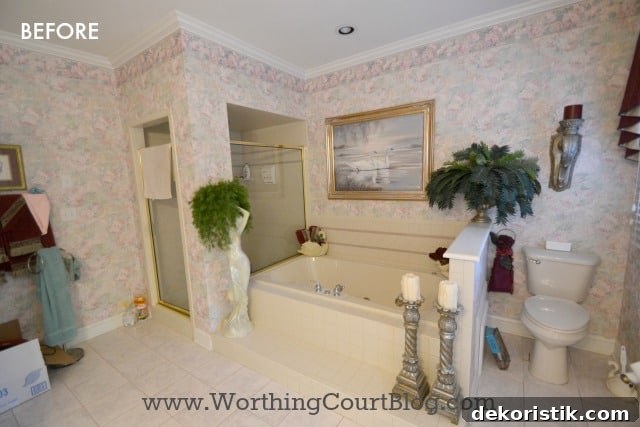
The other side of the room required even more extensive work. For this area we:
- Tore out the bathtub and the surrounding step
- Opened up the shower ceiling to create a taller, airier space
- Expanded the shower width
- Added a built-in bench and installed new tile, glass walls, and a glass door
- Removed a knee wall and carved out a separate toilet room, replacing the original toilet
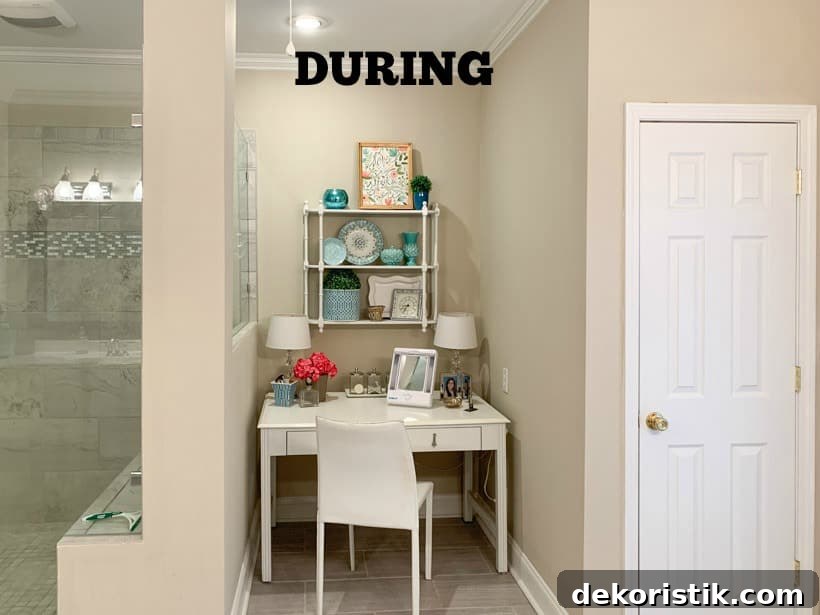
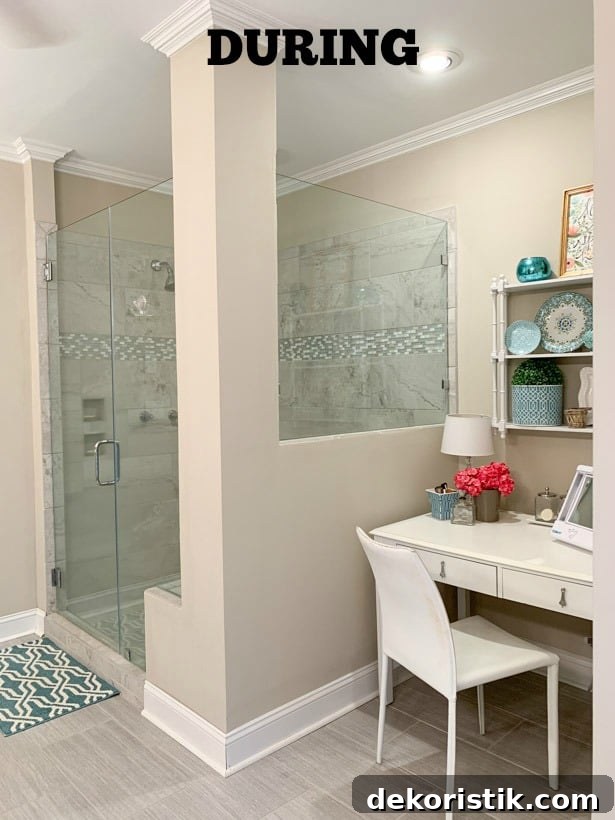
These photos show parts of the current space. I didn’t use a wide-angle lens, so each image captures smaller sections rather than the whole room at once. Where the original tub faced the bathroom doorway, we now have a charming makeup nook tucked into the newly created alcove—what used to be the tub niche is now a pretty and practical spot for morning routines.
The makeup table is actually a thrifted desk that I painted white, and I repurposed an older set of shelves above it to hold decorative accents. In one photo you can see the built-in shower bench; the closed door beside it is the added toilet room.
The new shower features modern tile, frameless glass walls and door, a modern showerhead, and updated water controls for a clean, spa-like feel.
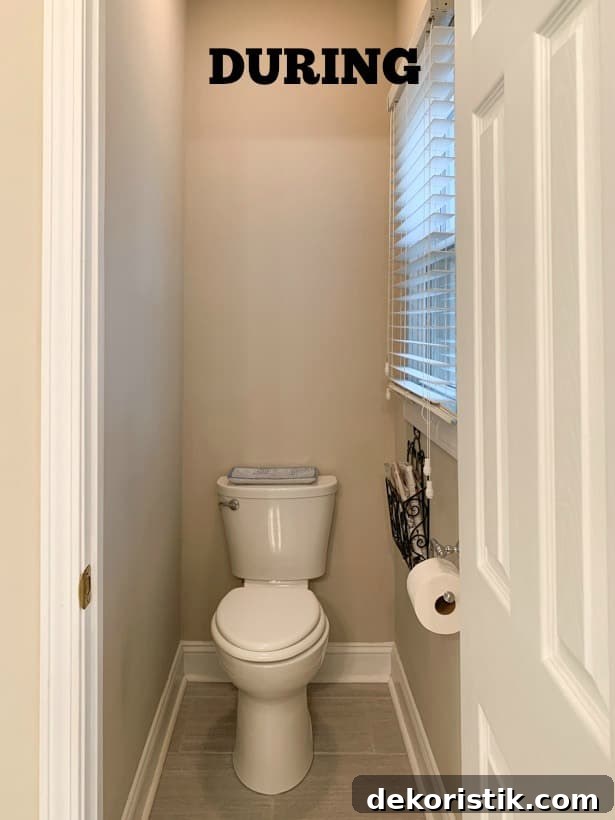
Here’s a quick look inside the small toilet room—simple for now, but it’s on the list for styling and finishing details.
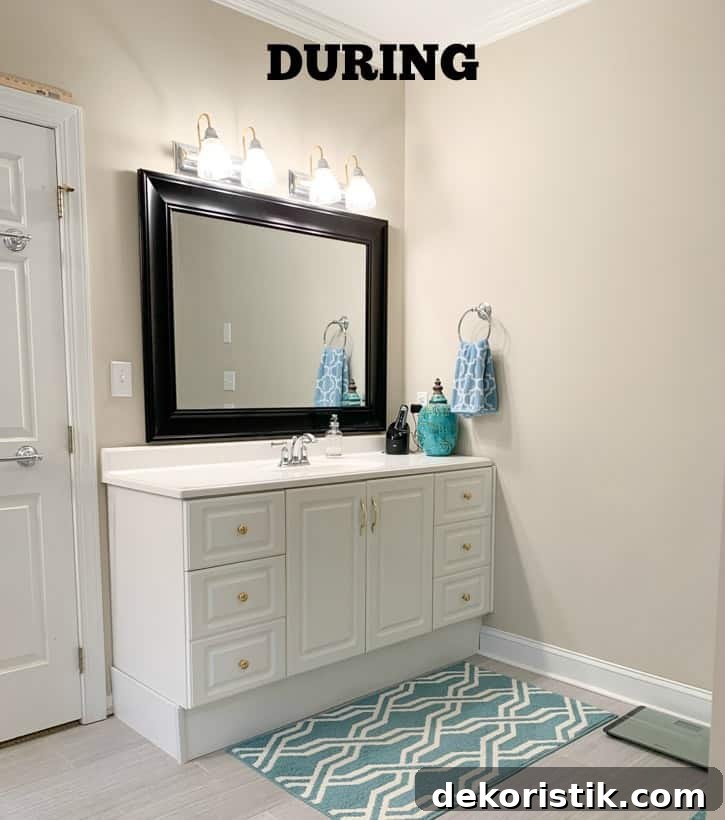
The original vanities were structurally sound and had great storage, so we saved several thousand dollars by keeping them. After a deep clean, we built a base to raise each cabinet to a comfortable height, added temporary skirting around the base, and installed fresh vanity tops.
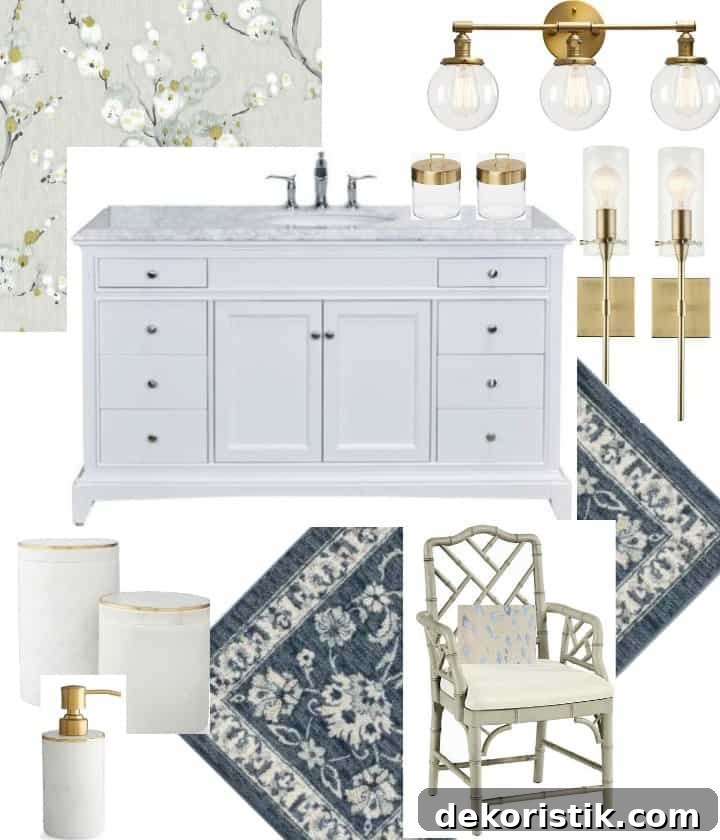
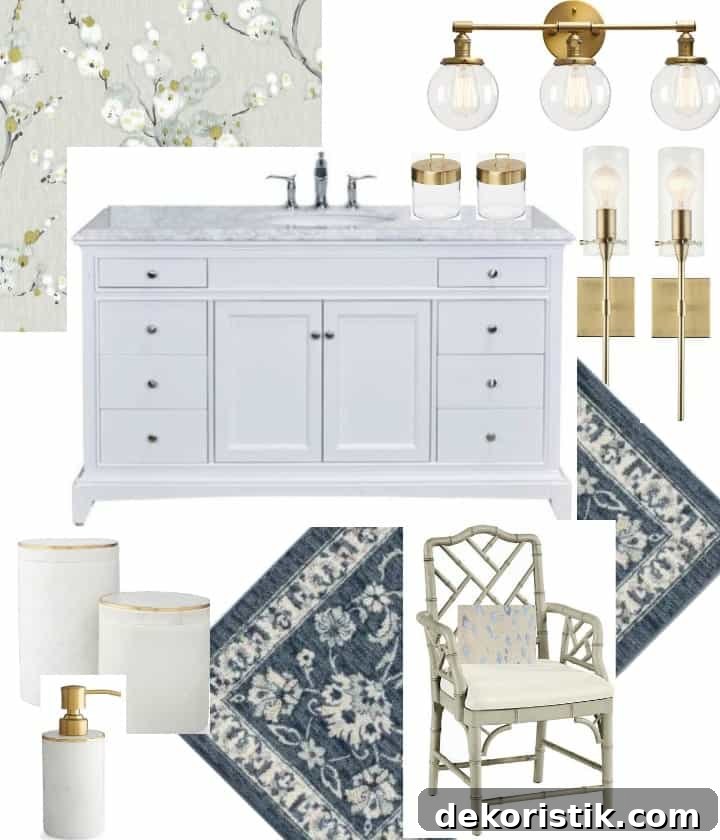
To guide the finishing touches, I created a design board that leans into a modern traditional aesthetic—clean lines, layered textures, and a mix of metal finishes for visual interest. I’m intentionally mixing metals to add depth and warmth to the space while keeping the palette fresh and neutral.
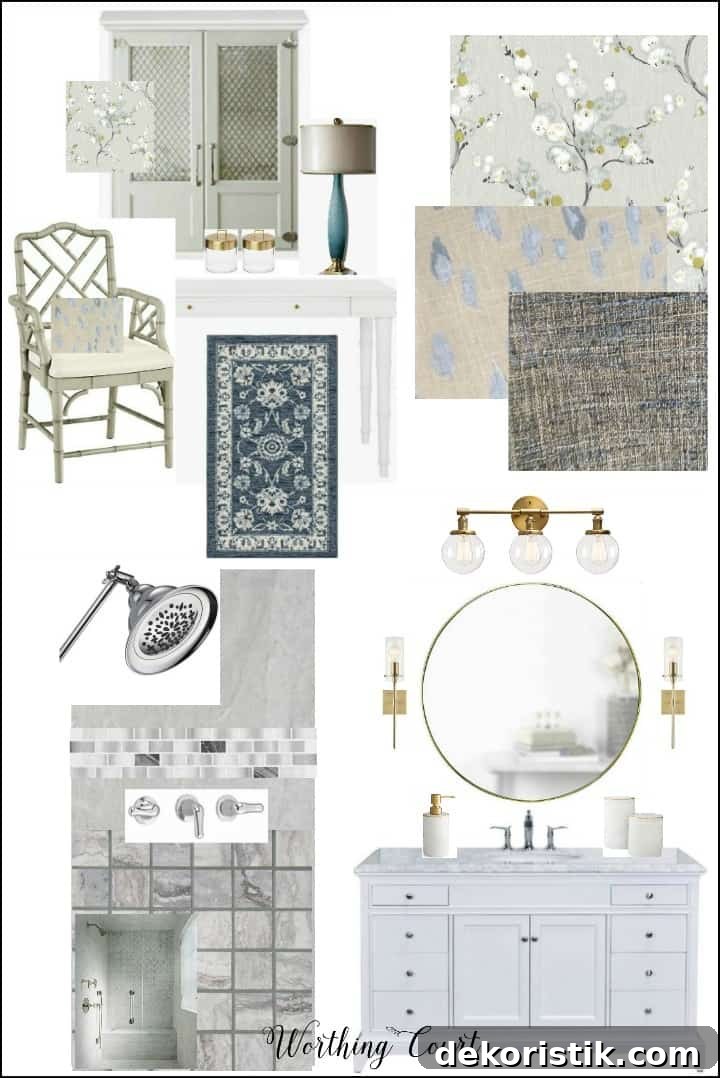
CLICK ON THE BELOW IMAGES TO SHOP
I’m thrilled to be closing out this renovation. One recent finished piece is a new cabinet my husband built to go above the makeup table, reusing doors from our entertainment center makeover—repurposing materials like that keeps the design cohesive and sustainable.
If you follow along on Instagram, you may have seen some of these updates in my stories as they happened. I often share real-time progress and quick sneak peeks there.
Here’s the remaining to-do list for the master bathroom. These finishing touches will pull together the modern traditional look and make the space feel complete and personalized:
- Replace the temporary mirrors above the vanities with final mirror selections
- Install a new light fixture above each mirror and add wall sconces on either side for layered lighting
- Swap out vanity hardware to coordinate with the mixed-metal plan
- Build out and finish permanent skirting around the vanity bases
- Touch up and caulk where new baseboards were installed after retiling the floor
- Wallpaper the back of the new cabinet and add styling to the interior shelves
- Repaint the makeup table and refresh or replace the lamps
- Find a fun, comfortable chair for the makeup area
- Replace bath mats with ones that complement the new palette and textures
- Give the toilet room a design refresh to make it cohesive with the rest of the bathroom
- Add final accessories—towels, storage baskets, trays, and greenery—to complete the look
Once these items are finished, the master bathroom will feel like a thoughtful, cohesive retreat—modern yet timeless, comfortable, and fully functional. I’m excited to share the finished room when it’s all done.